
Purpose
This SOP describes how to create a new file in a GitHub repository and commit it directly to the main branch using GitHub's web interface.
Scope
This procedure is intended for users with write access to a GitHub repository. Follow this SOP when you need to add new files to a repository without using the command line or a local development environment.
Prerequisites
Active GitHub account
Write access to the target repository
Web browser with internet access
Procedure
- Step 1 of 7
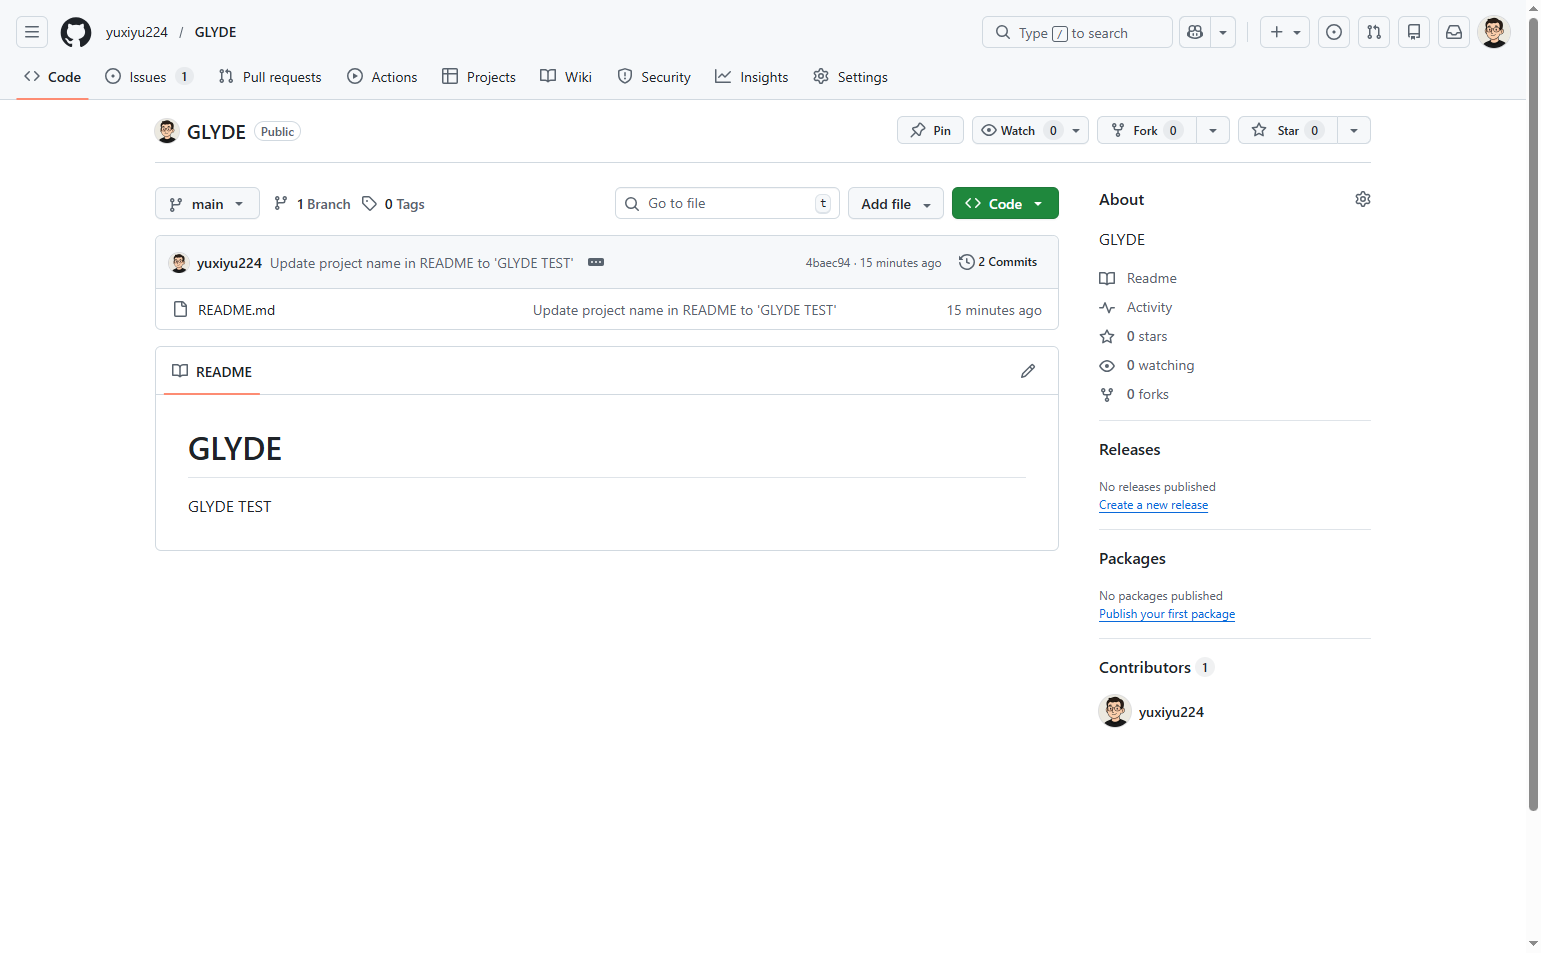
Navigate to the GLYDE repository
Open the GitHub repository
Navigate to github.com/yuxiyu224/GLYDE and ensure you are signed in to your GitHub account.
- Step 2 of 7
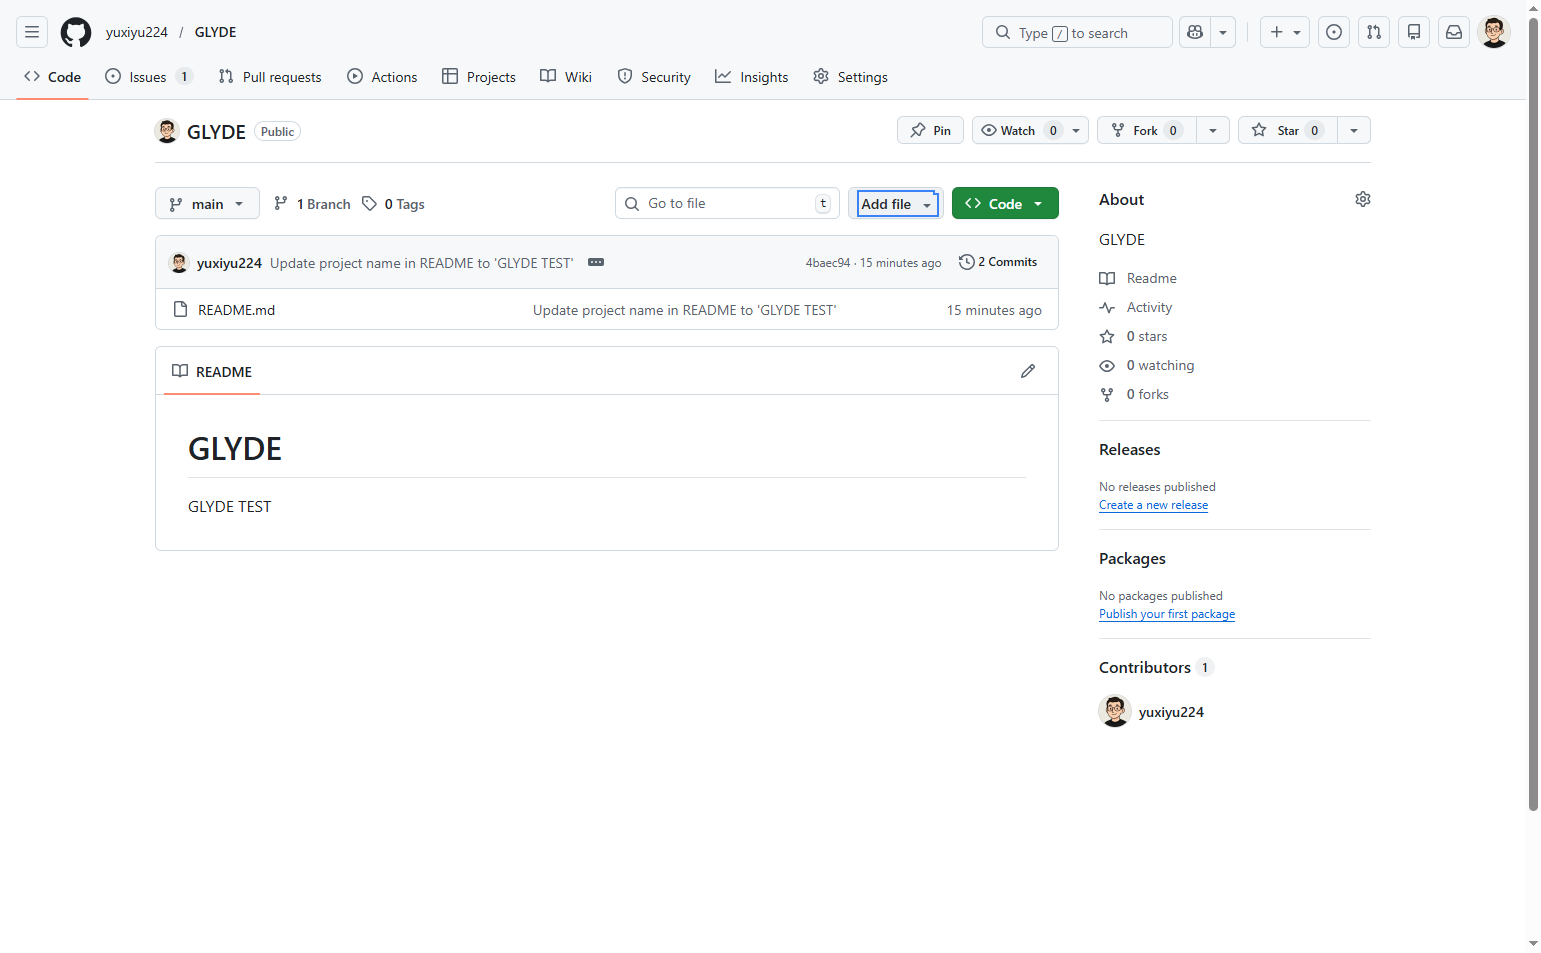
Open the Add file menu
Click the Add file button
Click the Add file button located in the repository toolbar, next to the green Code button.
- Step 3 of 7
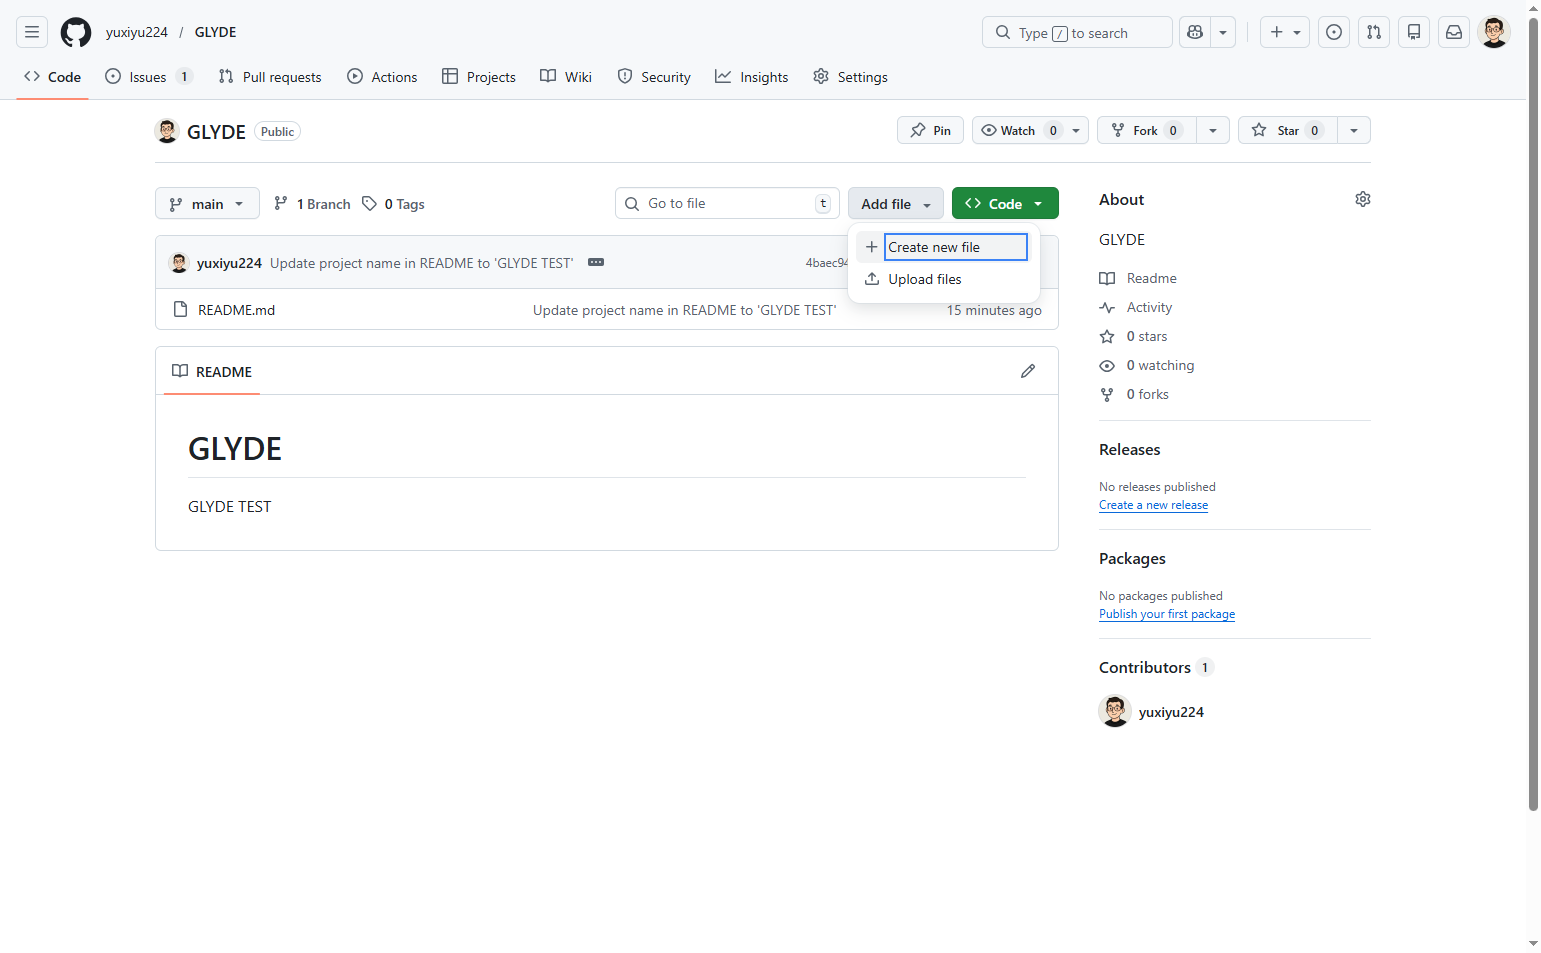
Select Create new file option
Choose Create new file from the dropdown
From the dropdown menu that appears, select Create new file. Alternatively, you can select Upload files if you want to upload an existing file from your computer instead of creating one in the browser.
- Step 4 of 7
Enter the filename
Type the filename in the name field
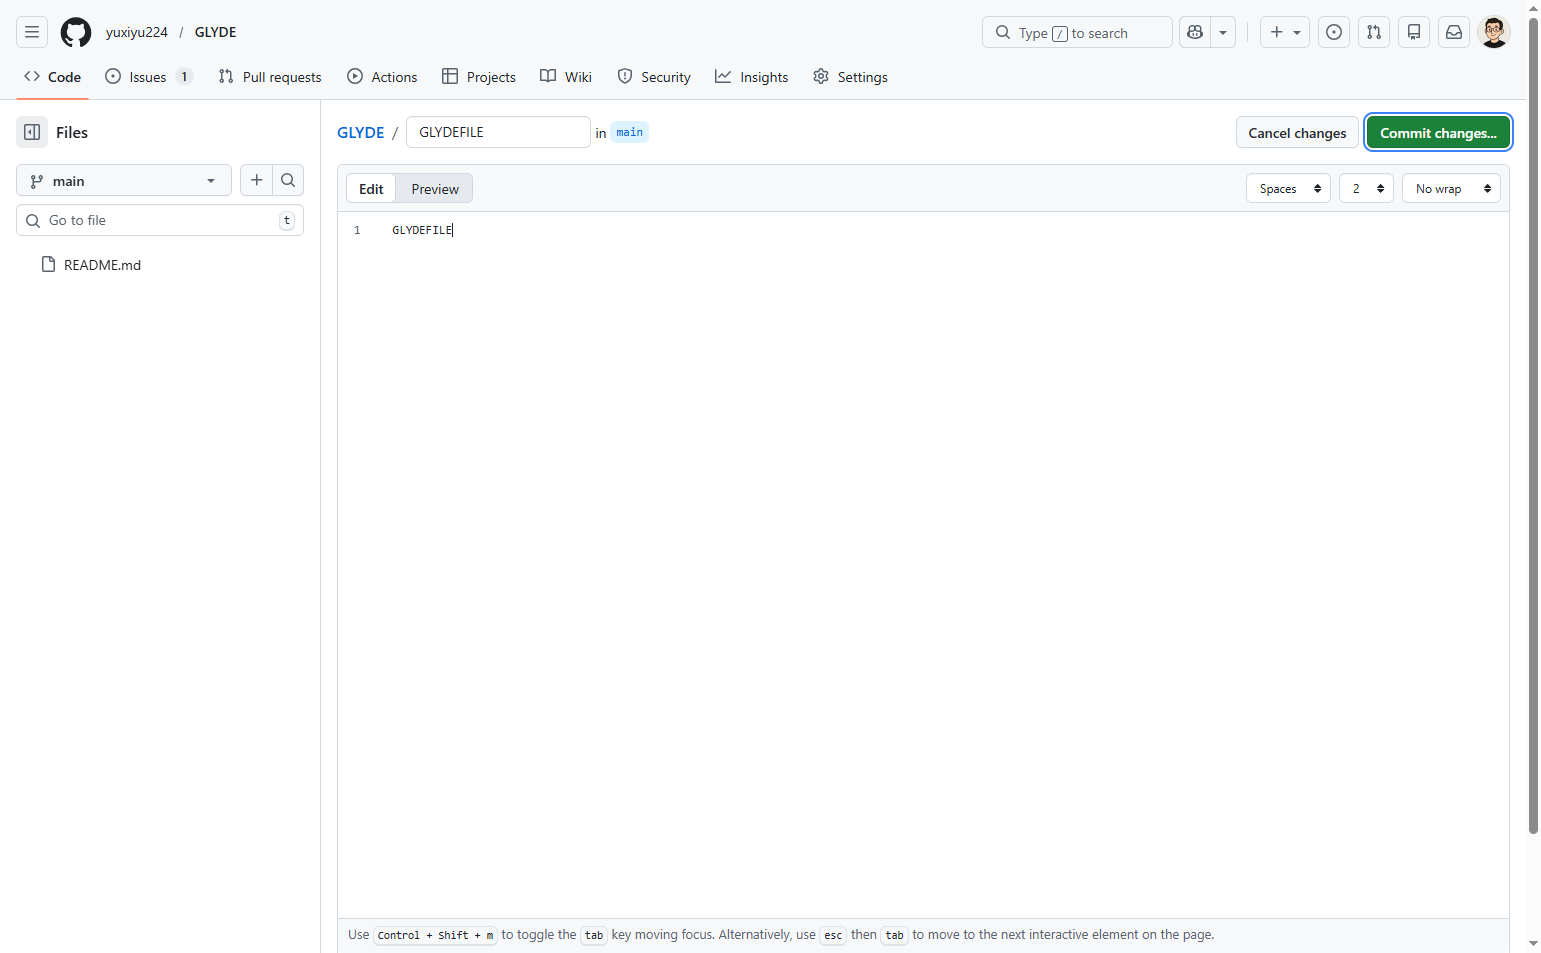
Click on the filename input field (located at the top of the editor, showing placeholder text) and enter GLYDEFILE as the filename.
- Step 5 of 7
Add file content
Enter content in the editor
Click in the text editor area below the filename and enter the desired file content. For this example, type GLYDEFILE as the content.
- Step 6 of 7
Initiate the commit process
Click Commit changes button
Click the green Commit changes... button located in the top-right corner of the editor.

- Step 7 of 7
Confirm and commit the file
Click Commit changes in the modal
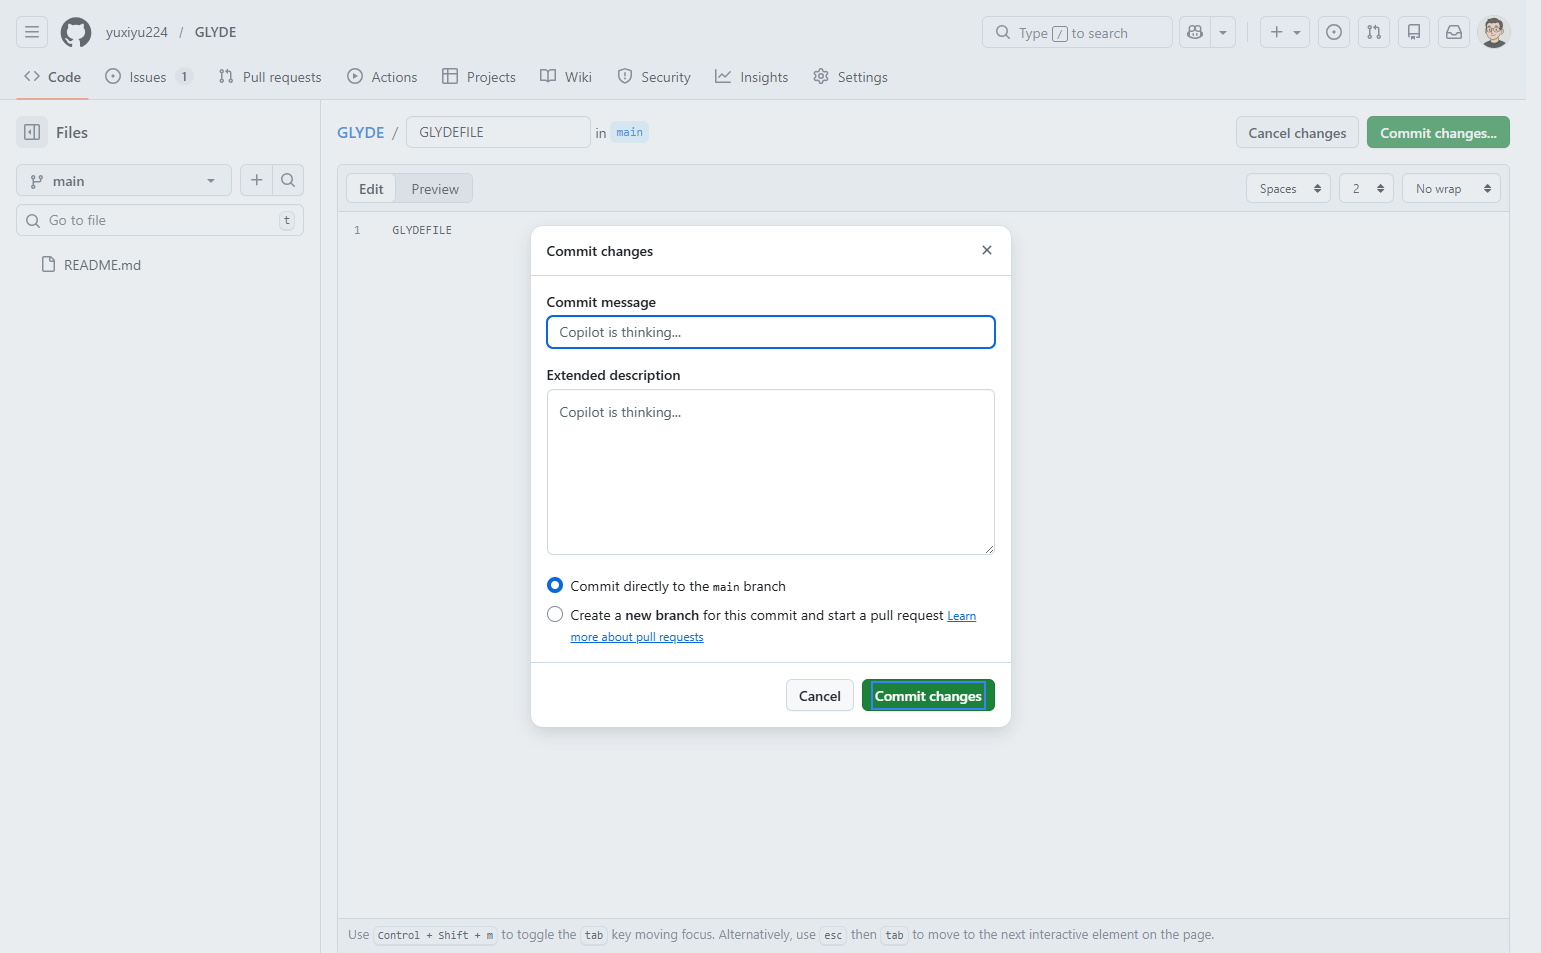
In the commit dialog that appears, review the commit message. GitHub will automatically suggest a commit message (e.g., "Create GLYDEFILE"). You can optionally add an extended description in the Extended description field.
Verification
After completing the procedure, verify the file was created successfully:
You will be redirected back to the repository main page
The newly created file (GLYDEFILE) should appear in the file list
The commit count should increase, and the latest commit message should reference the file creation
Click on the filename to view its contents and confirm they match what you entered
Troubleshooting
Cannot see the Add file button
If you cannot see the Add file button, you may not have write access to this repository. Contact the repository owner to request appropriate permissions or fork the repository to create the file in your own copy.
Commit changes button is disabled
If the Commit changes button is grayed out or disabled, ensure you have entered both a filename and some content in the file. The button remains inactive until both fields are populated.
File already exists error
If you receive an error that the file already exists, choose a different filename or navigate to the existing file and edit it instead of creating a new one.
Conclusion
You have successfully created a new file named GLYDEFILE in the GLYDE repository and committed it directly to the main branch. The file is now available for viewing and editing by all users with repository access.