
Purpose
This SOP describes how to edit a file directly in a GitHub repository and commit the changes to save them to the repository.
Scope
This procedure is intended for GitHub users with write access to a repository. Follow this SOP when you need to make quick edits to repository files such as README files, documentation, or configuration files directly through the GitHub web interface.
Prerequisites
A GitHub account with an active login session
Write access to the target repository (owner or collaborator permissions)
The URL of the GitHub repository you want to edit
Procedure
- Step 1 of 7
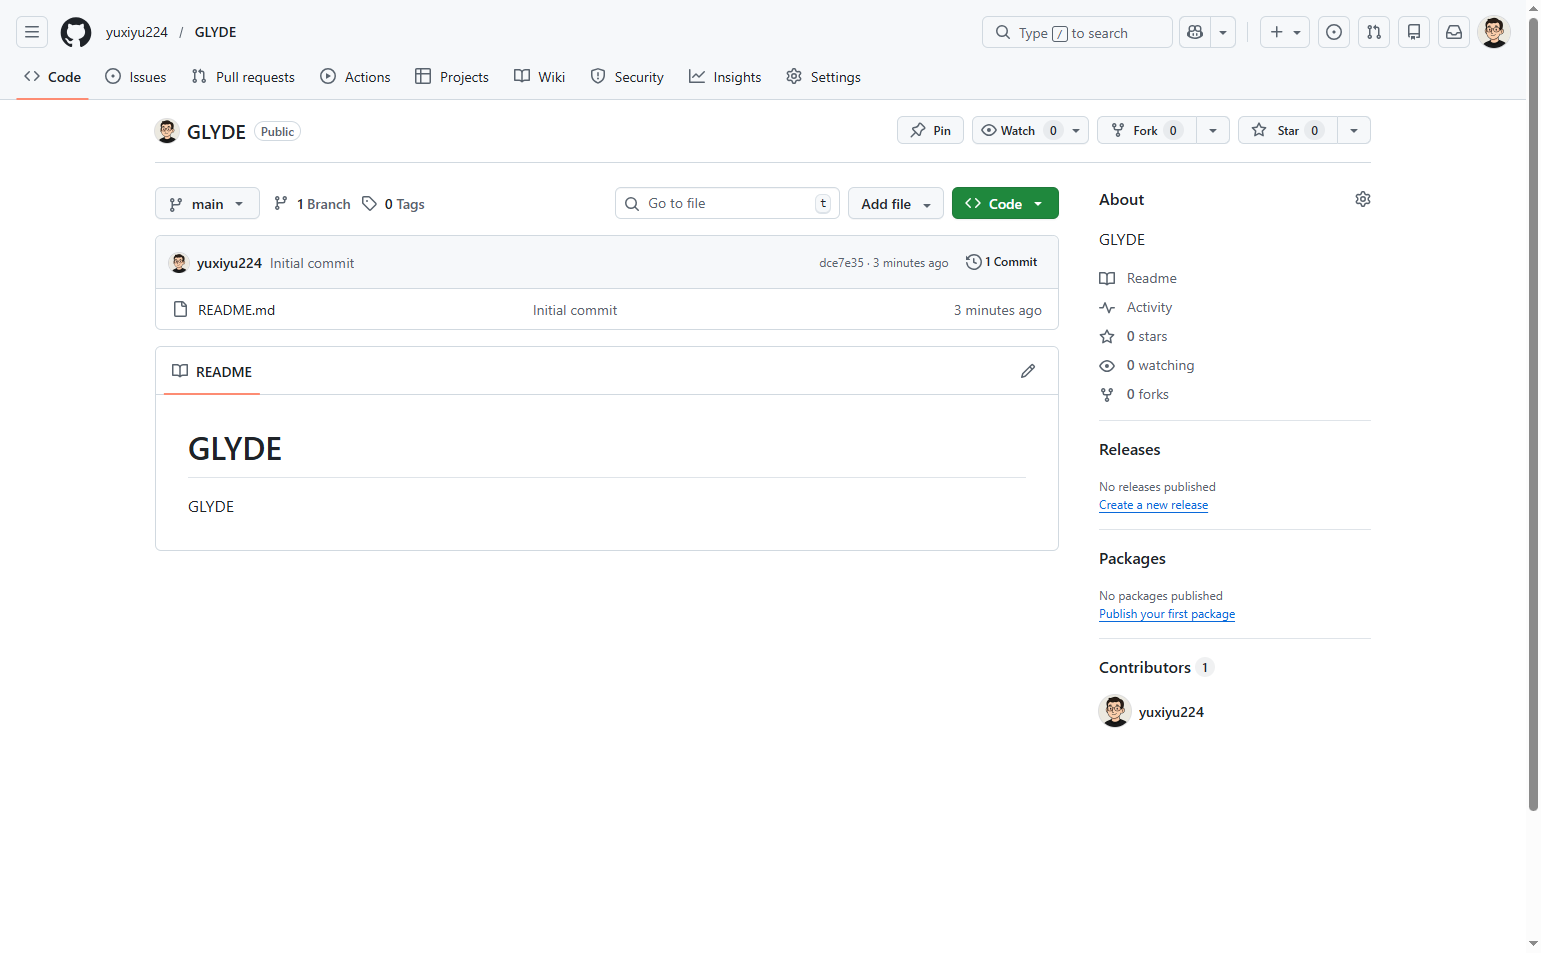
Navigate to the GitHub repository
Open the repository URL in your browser
Navigate to github.com and ensure you are signed in to your GitHub account. You should see the repository homepage with the file listing and README content displayed.
- Step 2 of 7
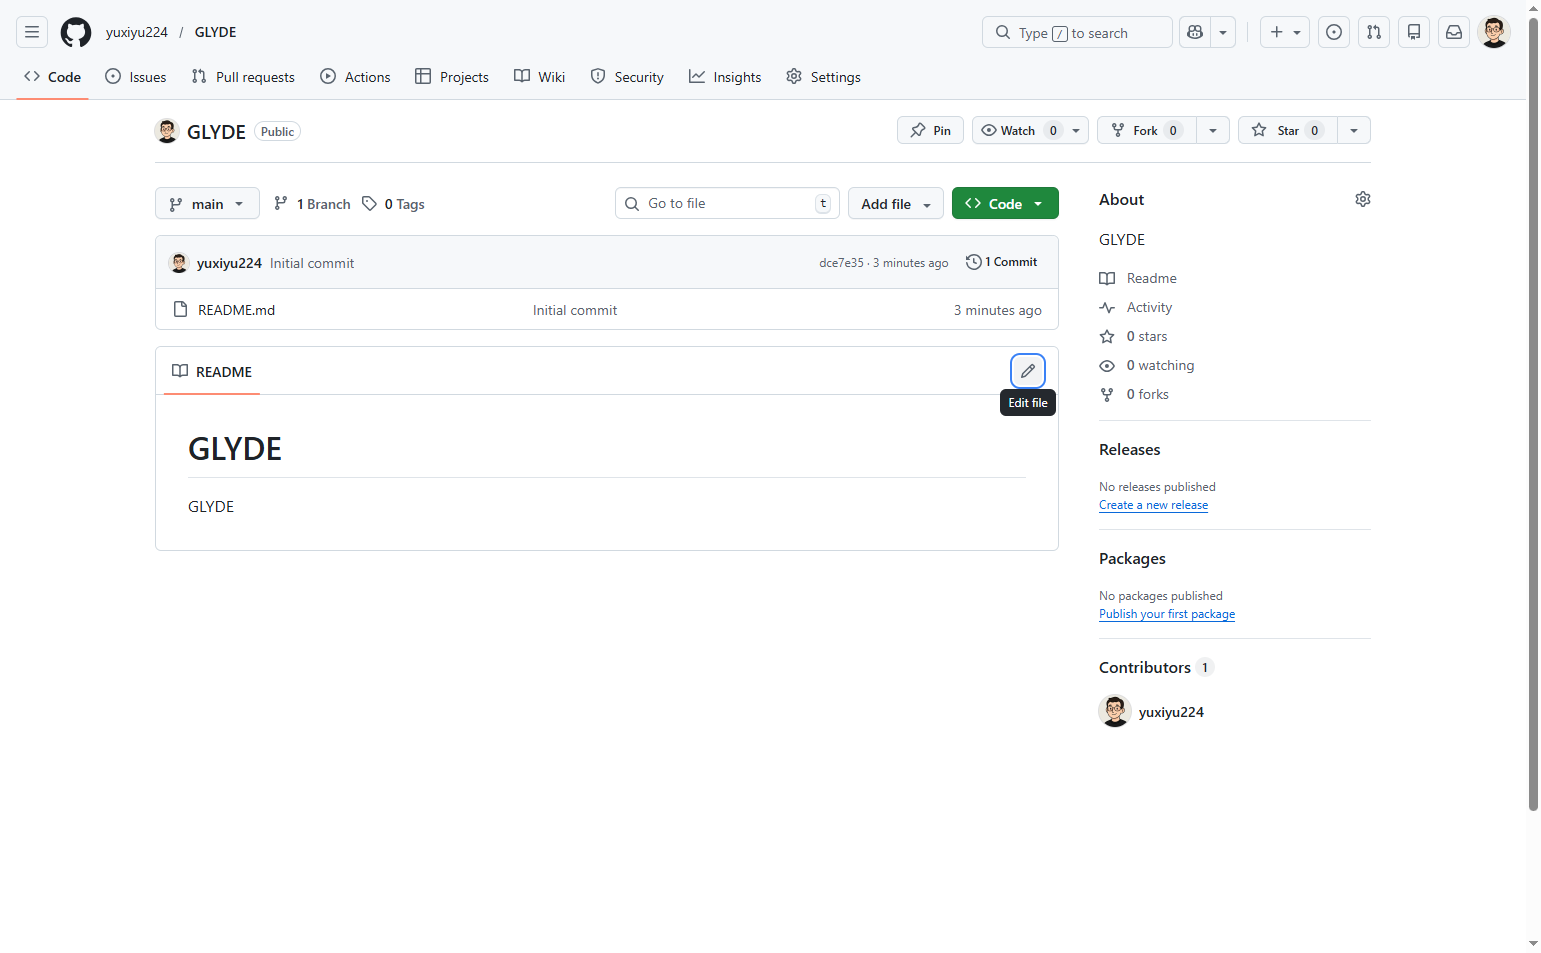
Open the file editor
Click the Edit file button
Locate the file you want to edit (such as README.md). Click the Edit file button, which appears as a pencil icon next to the file content. The page will load the built-in text editor with the current file content.
- Step 3 of 7
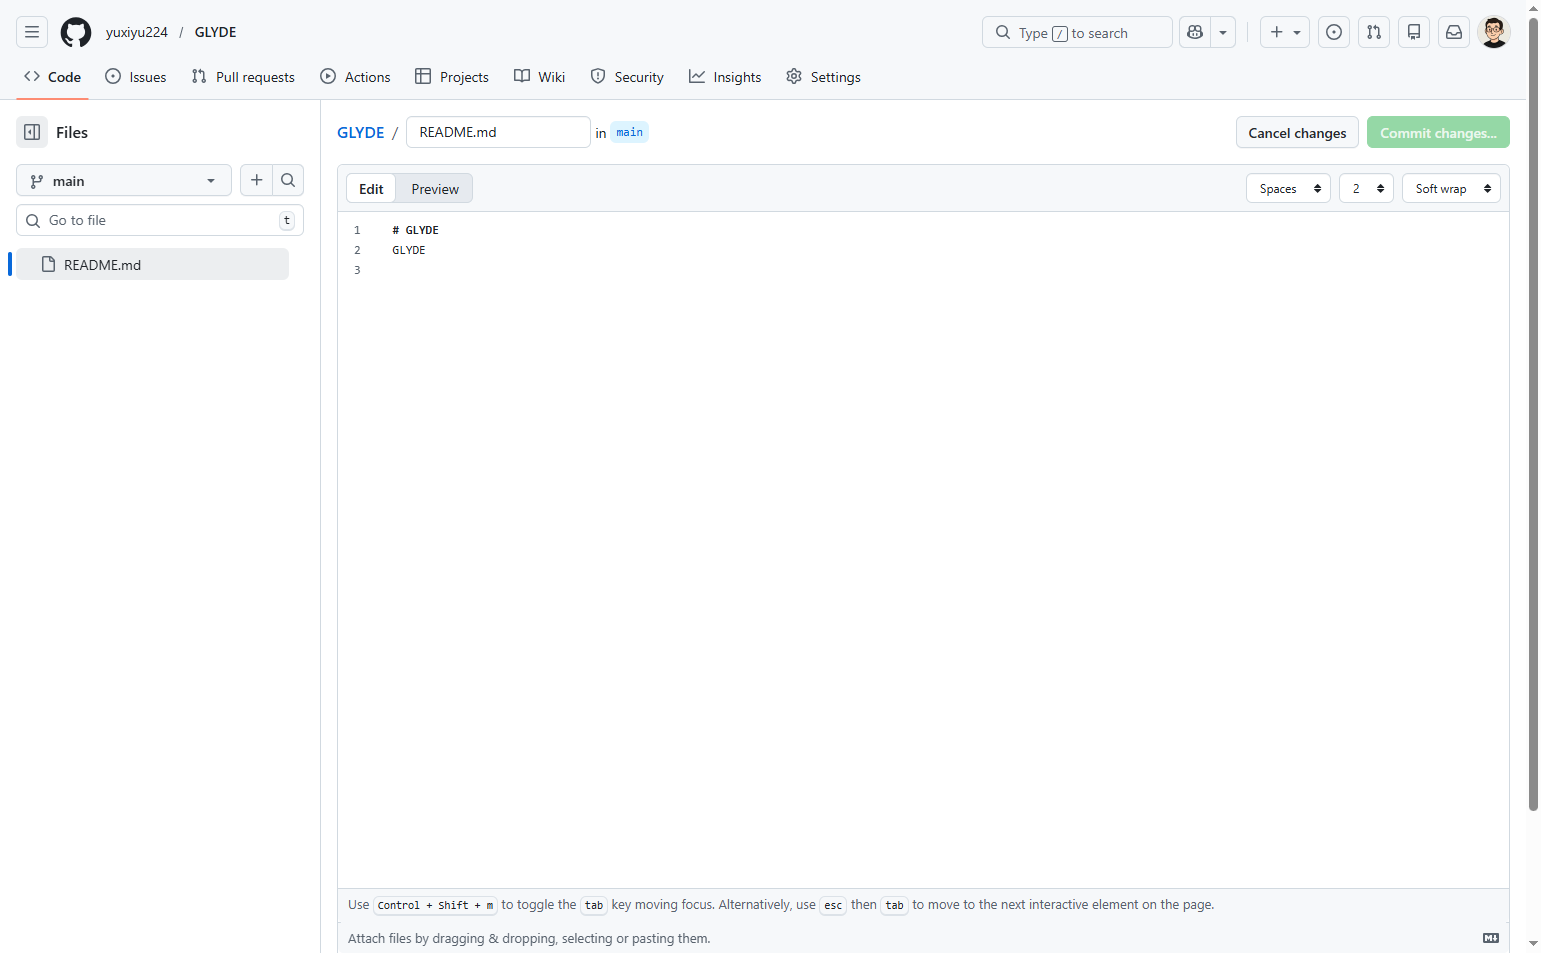
Edit the file content
Modify the text in the editor
In the text editor, make your desired changes to the file content. You can add, delete, or modify text as needed. The editor supports Markdown formatting for README files. Review your changes in the editor to ensure they are correct.
- Step 4 of 7
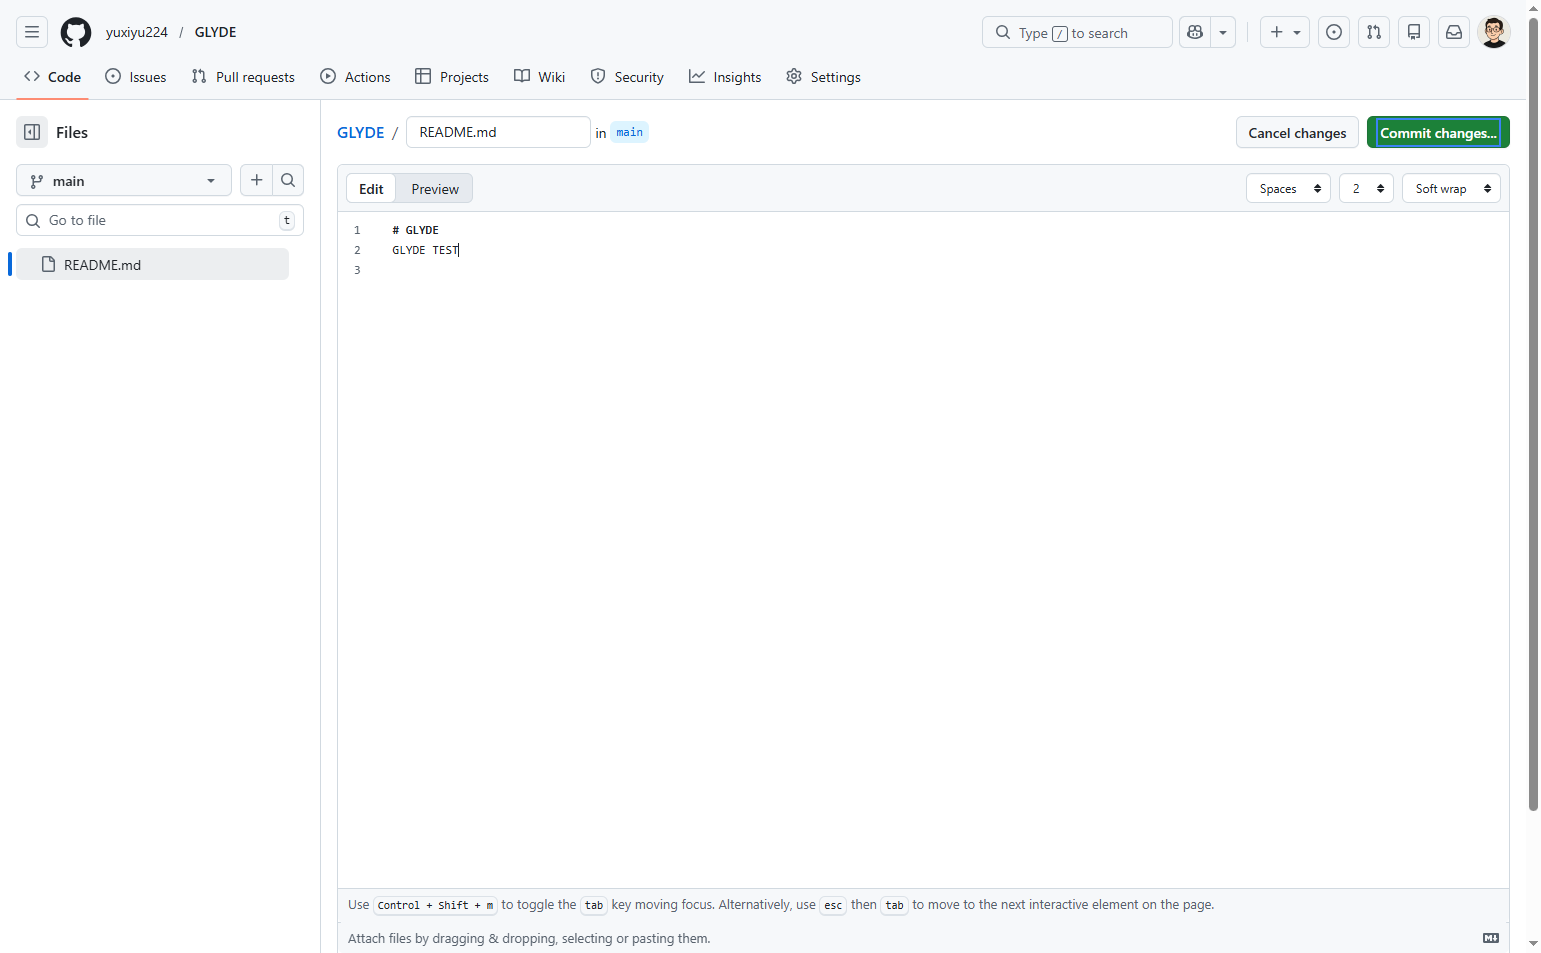
Initiate the commit process
Click the Commit changes button
After making your edits, click the green Commit changes... button located in the top-right area of the editor. This will open the commit dialog where you can add a commit message and description.
- Step 5 of 7
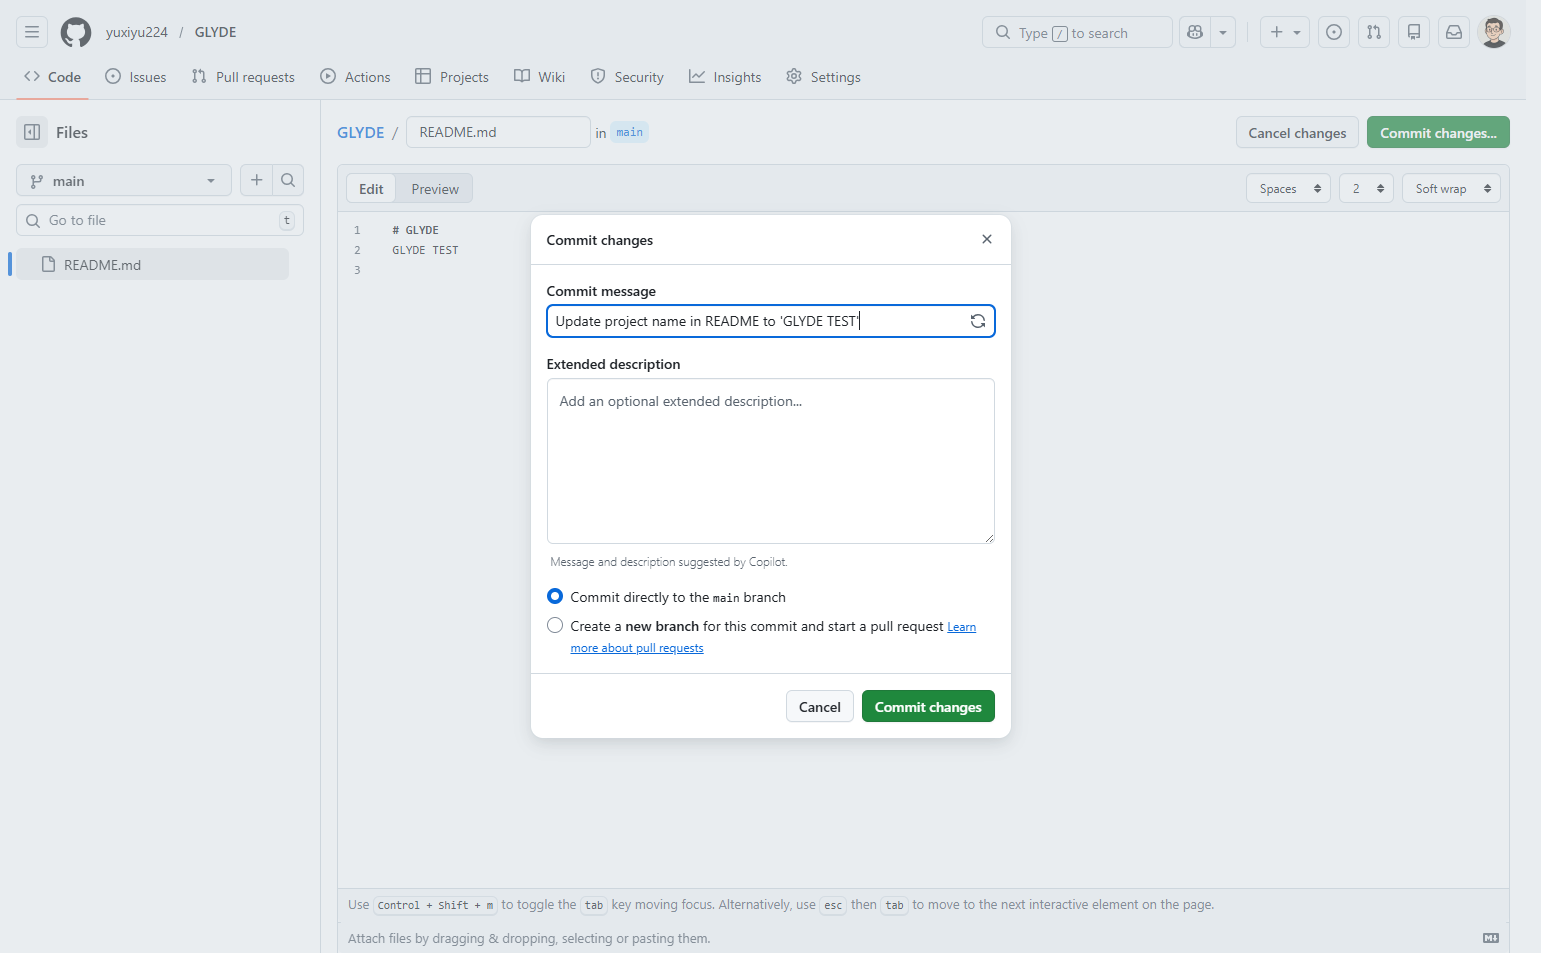
Add a commit message
Enter a commit message describing your changes
In the Commit message field, enter a brief summary of the changes you made. A good commit message clearly describes what changed and why. For example: "Update project name in README" or "Fix typo in documentation".
- Step 6 of 7
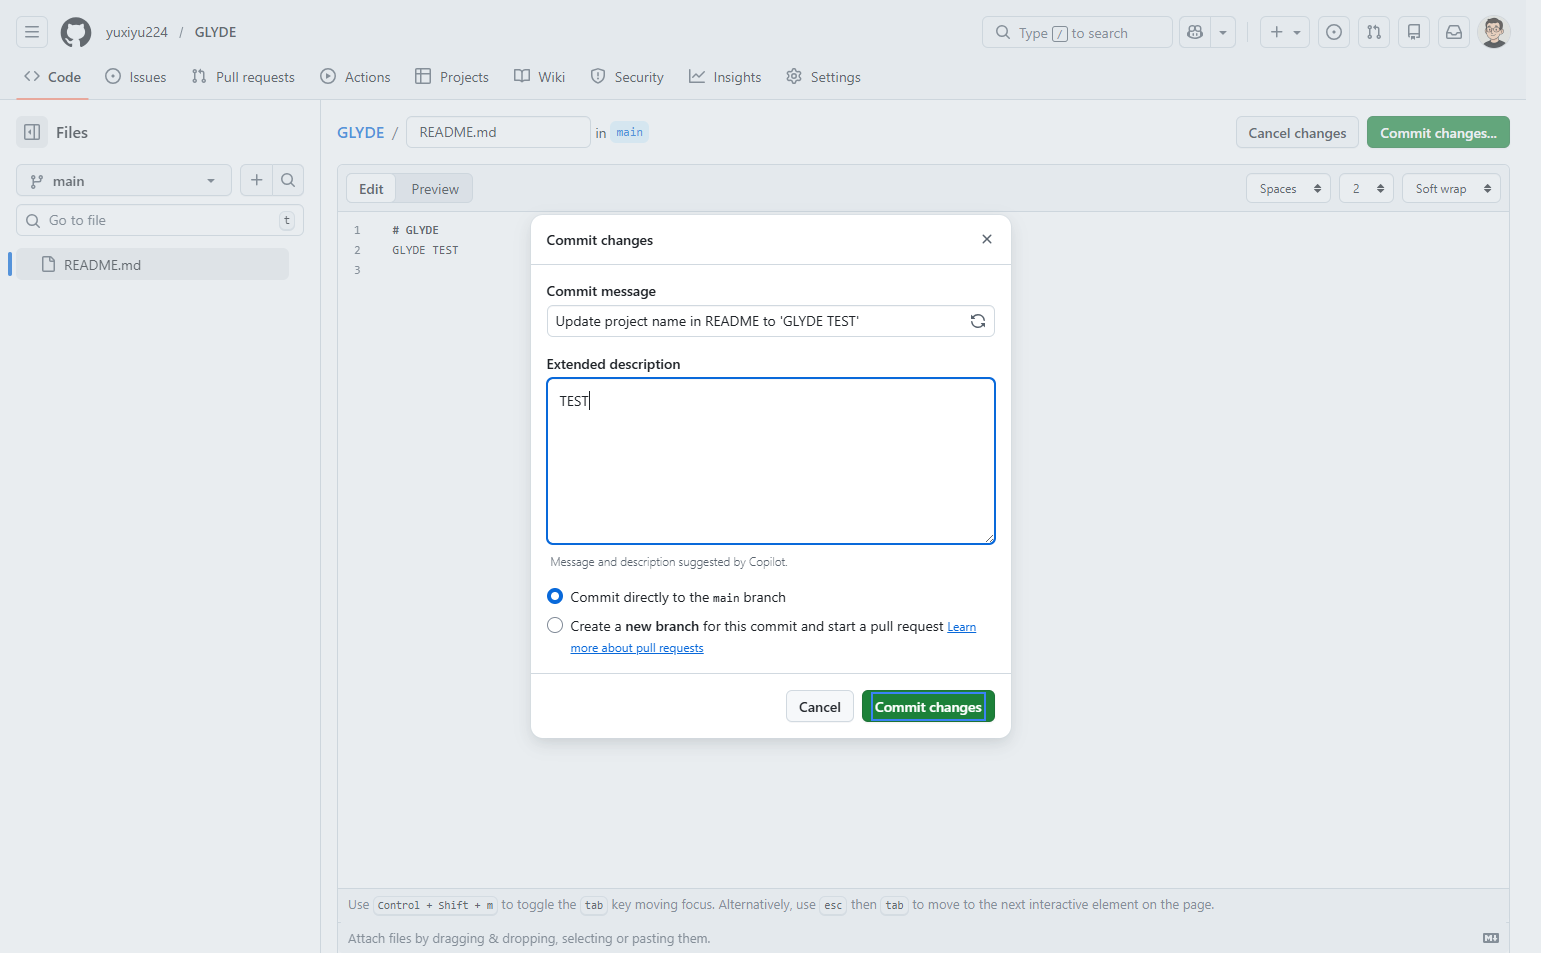
Add an extended description (optional)
Enter additional details in the extended description
If your changes require more detailed explanation, click into the Extended description text area and provide additional context. This is optional but recommended for complex changes.

- Step 7 of 7
Commit the changes
Click the Commit changes button to save
Choose the commit option:
Verification
To confirm your changes were successfully committed:
After clicking Commit changes, GitHub will redirect you to the repository main page or the file view.
Verify that the file content reflects your edits by scrolling through the README or clicking on the file to view it.
Check the commit history by clicking the commit count or viewing recent activity to see your commit with the message you provided.
Troubleshooting
Cannot see the Edit file button
If you don't see the Edit file button (pencil icon), you may not have write access to the repository. Verify that you are signed in to the correct GitHub account and that you have the necessary permissions for the repository.
Commit button is disabled or grayed out
Ensure you have entered a commit message in the required field. GitHub requires at least a summary message before you can commit changes. Also verify that you have actually made changes to the file content—if no changes were detected, the commit button may be disabled.
Changes not appearing after commit
Refresh the browser page to see the latest version of the file. If you created a pull request instead of committing directly to main, your changes are on a separate branch and need to be merged before they appear on the main branch.
Conclusion
You have successfully edited a file in a GitHub repository and committed the changes. Your modifications are now saved to the repository and visible to all collaborators.