
Purpose
This SOP describes how to create a new support ticket in Zendesk while simultaneously onboarding a new user who does not yet exist in the system.
Scope
This procedure is intended for support agents and administrators who need to create tickets on behalf of new customers. Follow this SOP when handling support requests from users who are not yet registered in the Zendesk system.
Prerequisites
Logged in to Zendesk with agent or administrator privileges
Access to the Zendesk Agent Dashboard
Procedure
- Step 1 of 12
Navigate to kubaniosupport.zendesk.com
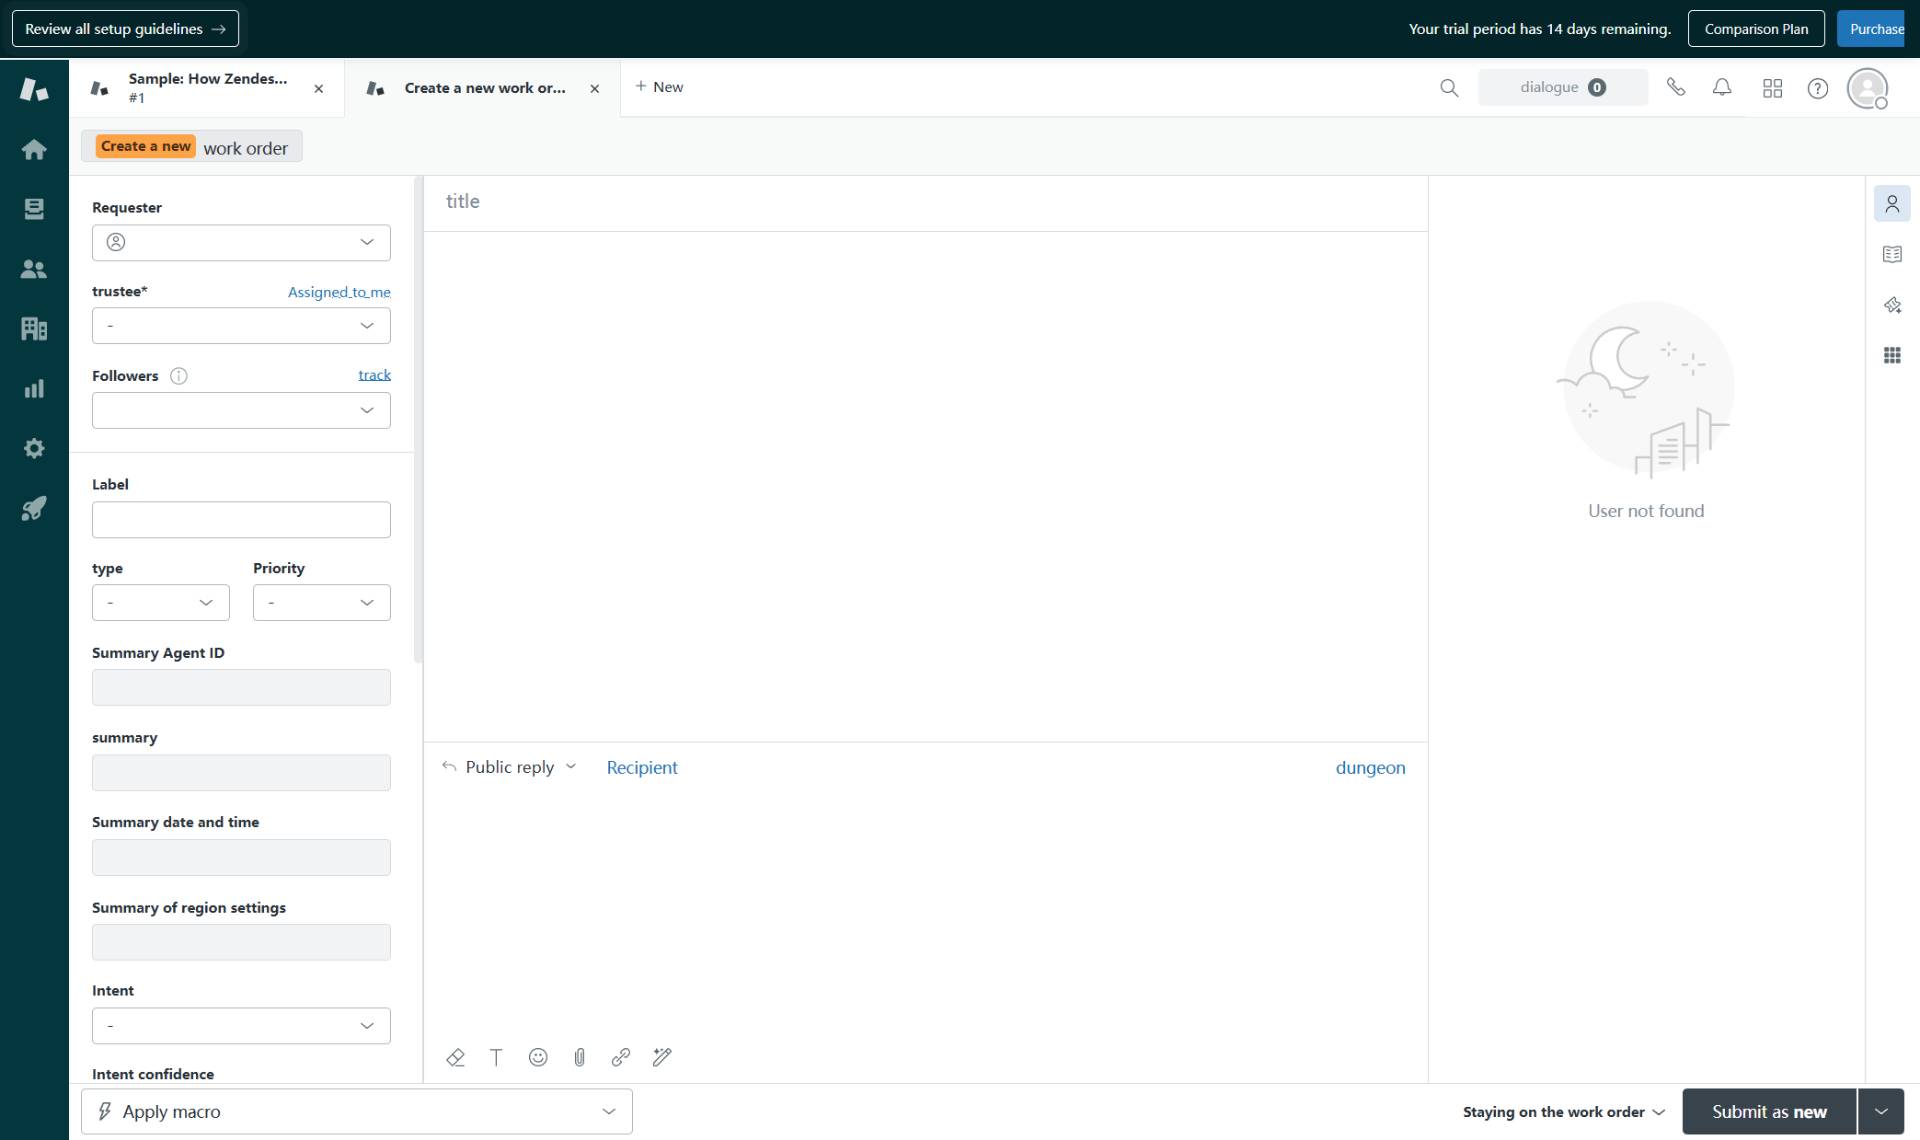
Open the ticket creation page
Navigate to kubaniosupport.zendesk.com to access the new ticket creation interface.
- Step 2 of 12
Open the Requester selection
Click the Requester dropdown
Click on the Requester field to open the user selection dropdown. This field is marked with a red asterisk indicating it is required.

- Step 3 of 12
Select New users option
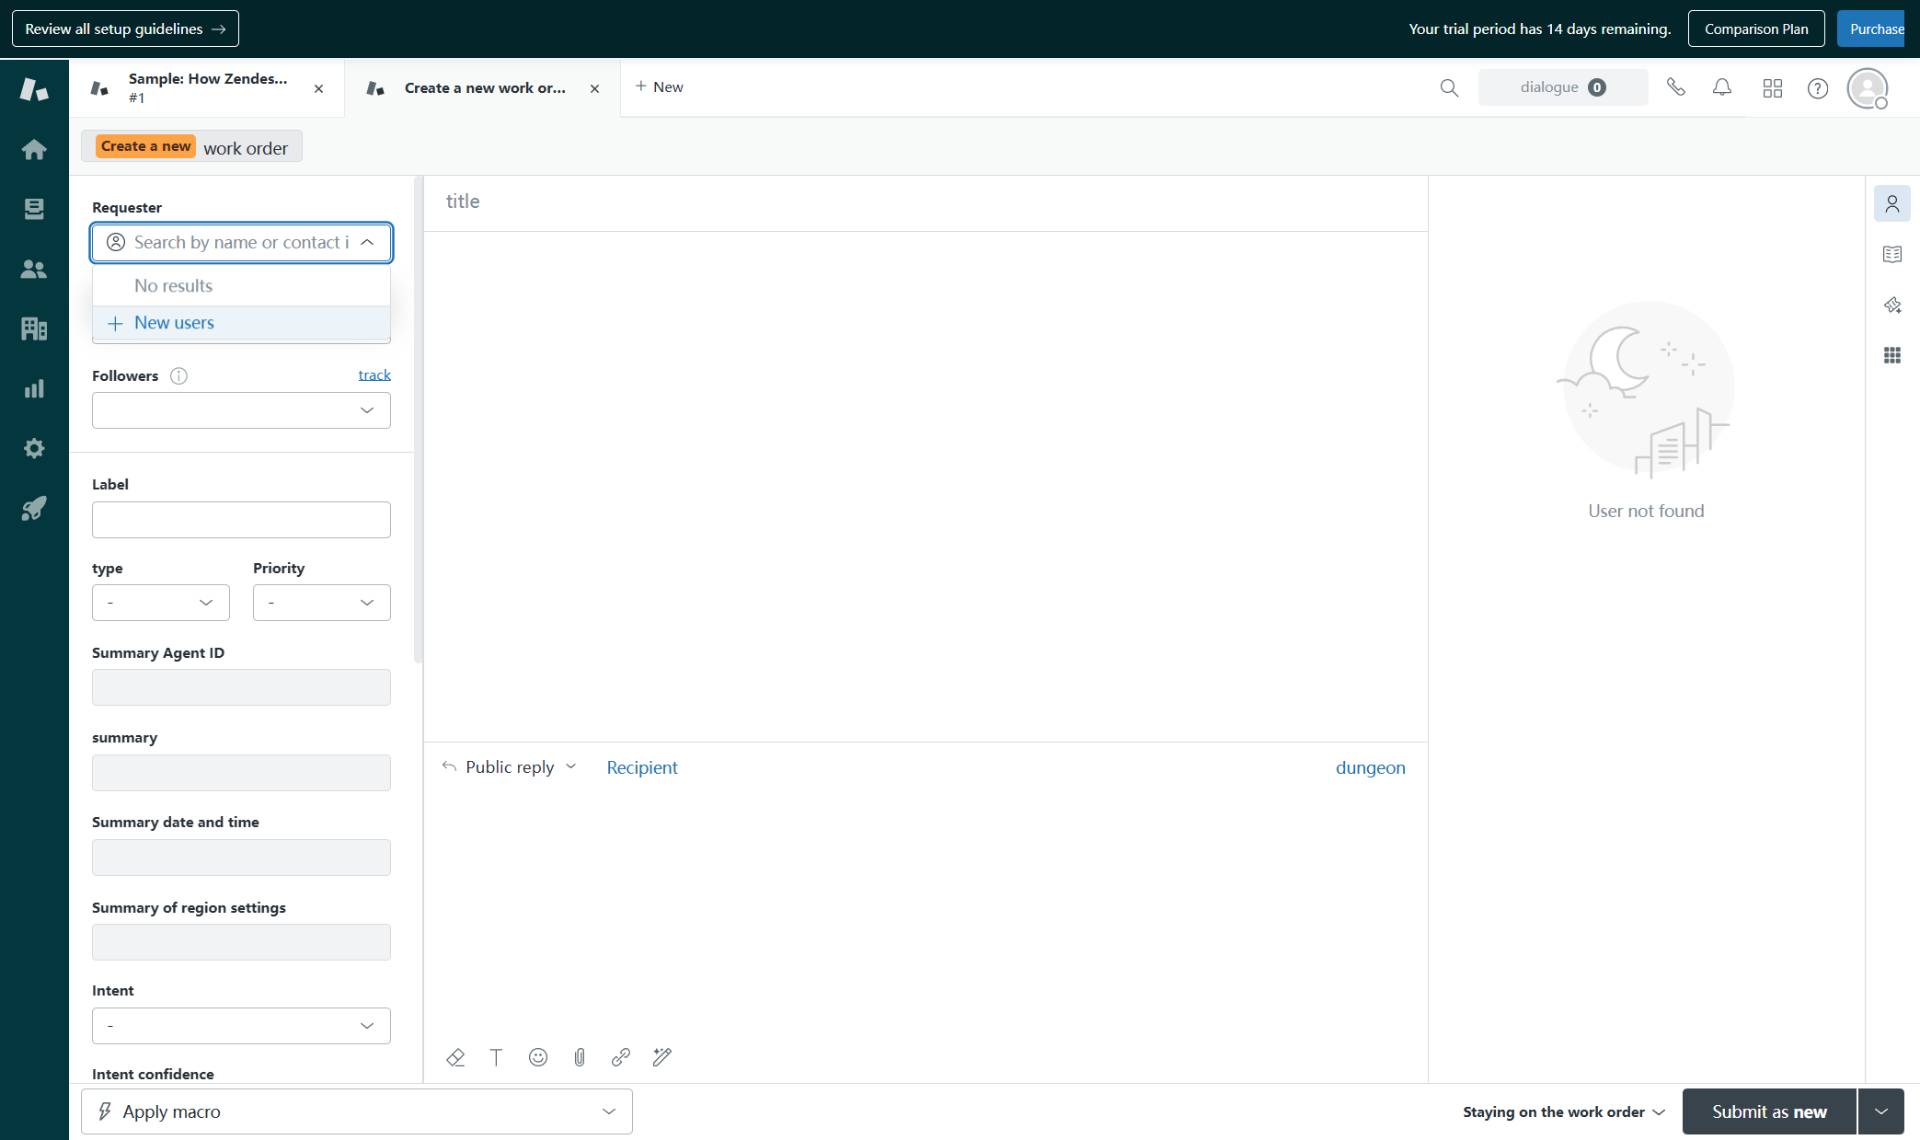
Click + New users
From the dropdown, click on + New users to create a new user profile for the requester.
- Step 4 of 12
Enter user name
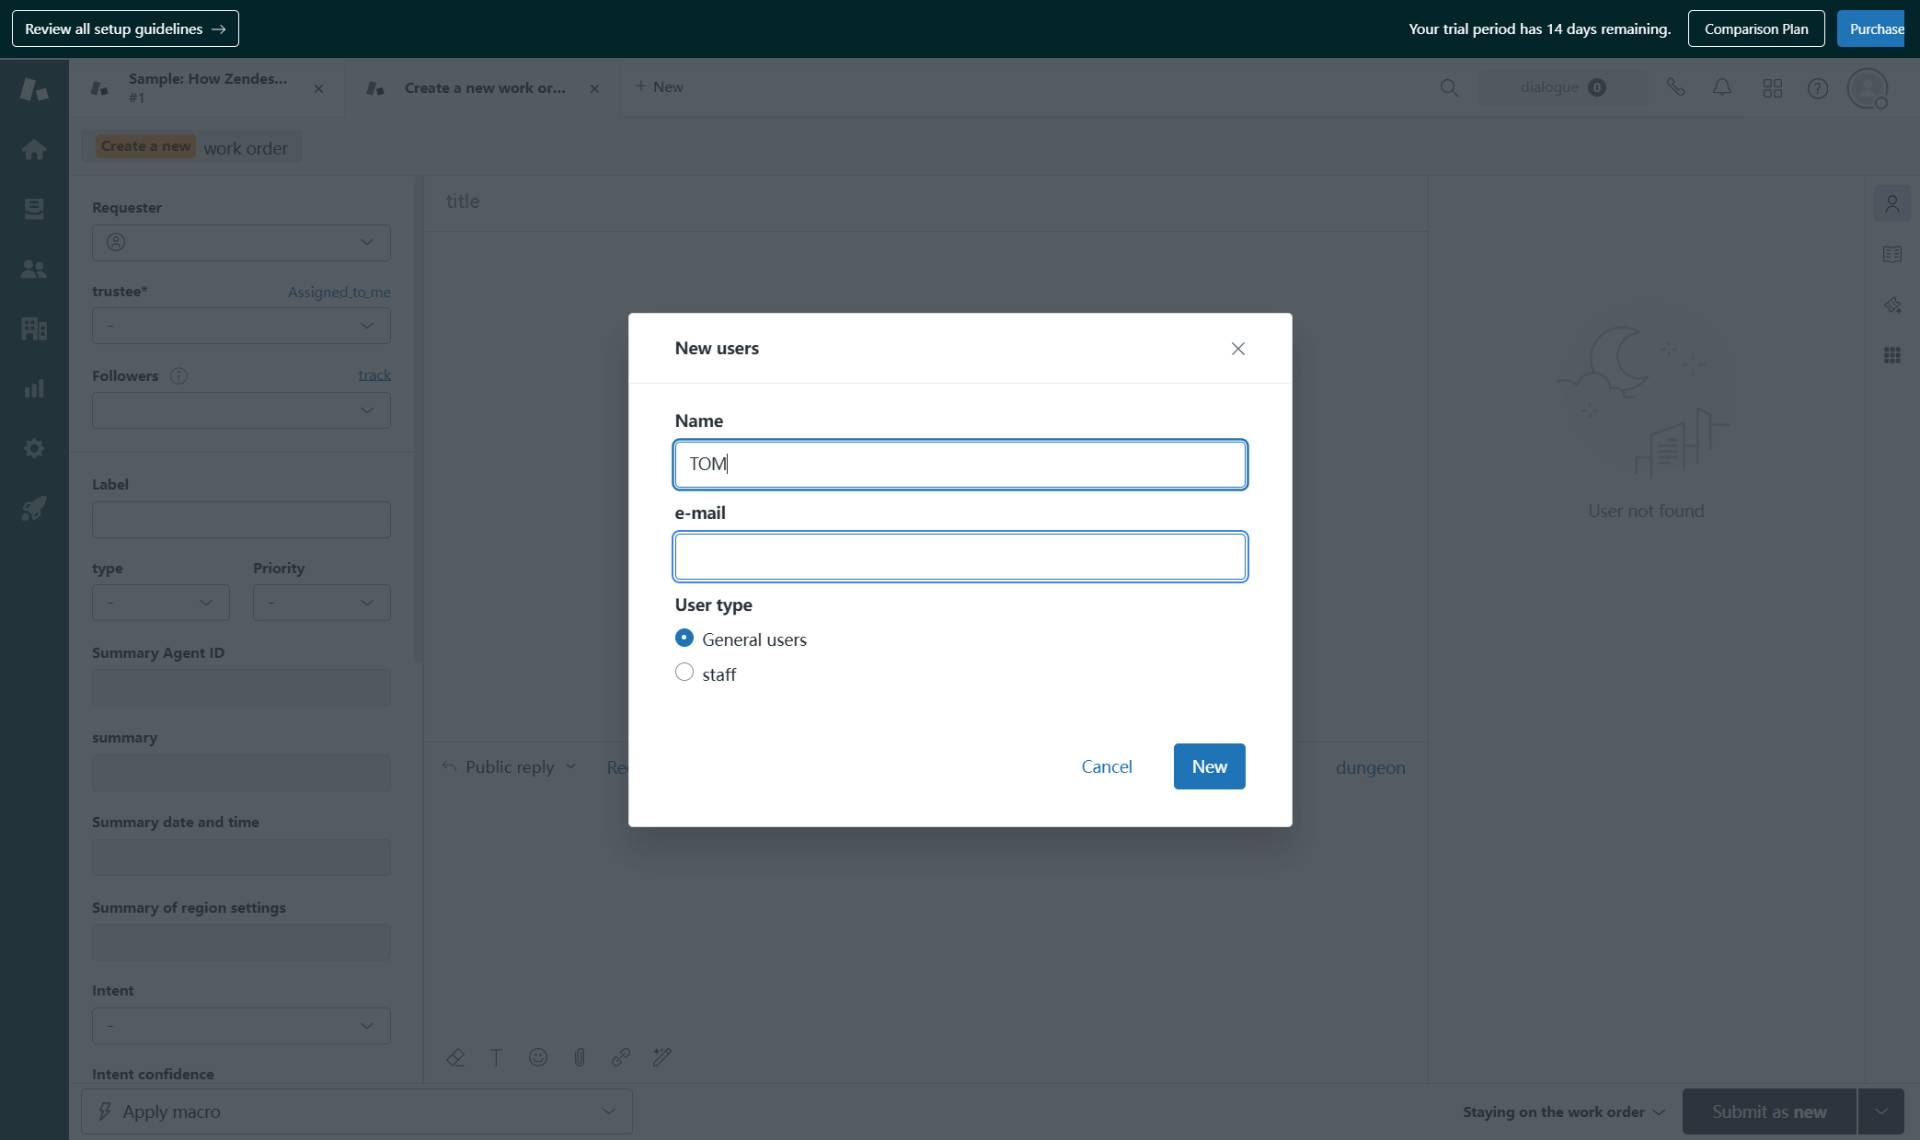
Type the user's name
In the Name field of the New users dialog, enter the full name of the requester (for example: TOM).
- Step 5 of 12
Enter email address
Type the user's email
In the e-mail field, enter the user's valid email address. This will be used for ticket notifications.

- Step 6 of 12
Create the user
Click the New button
Click the New button to create the user account. The dialog will close and the Requester field will be populated with the new user.

- Step 7 of 12
Assign the ticket
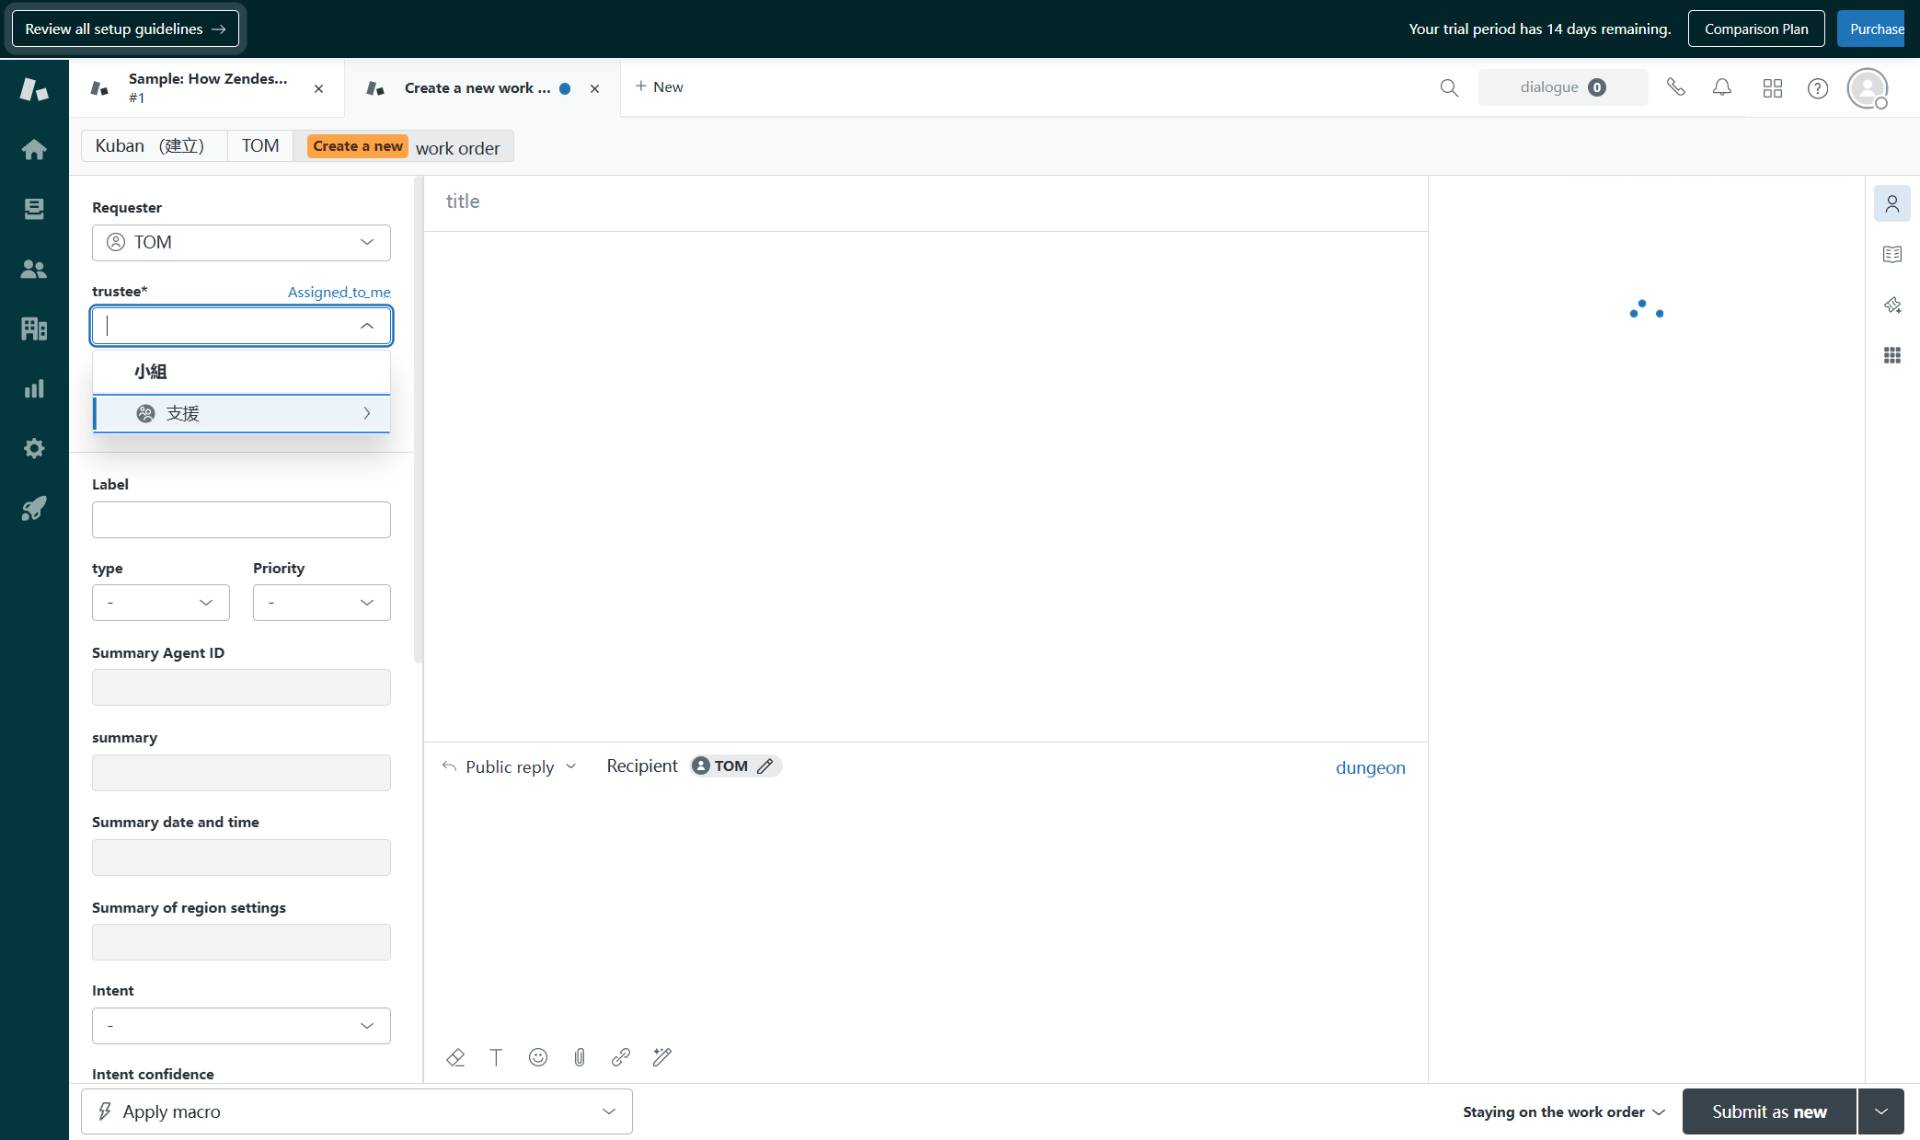
Select an assignee
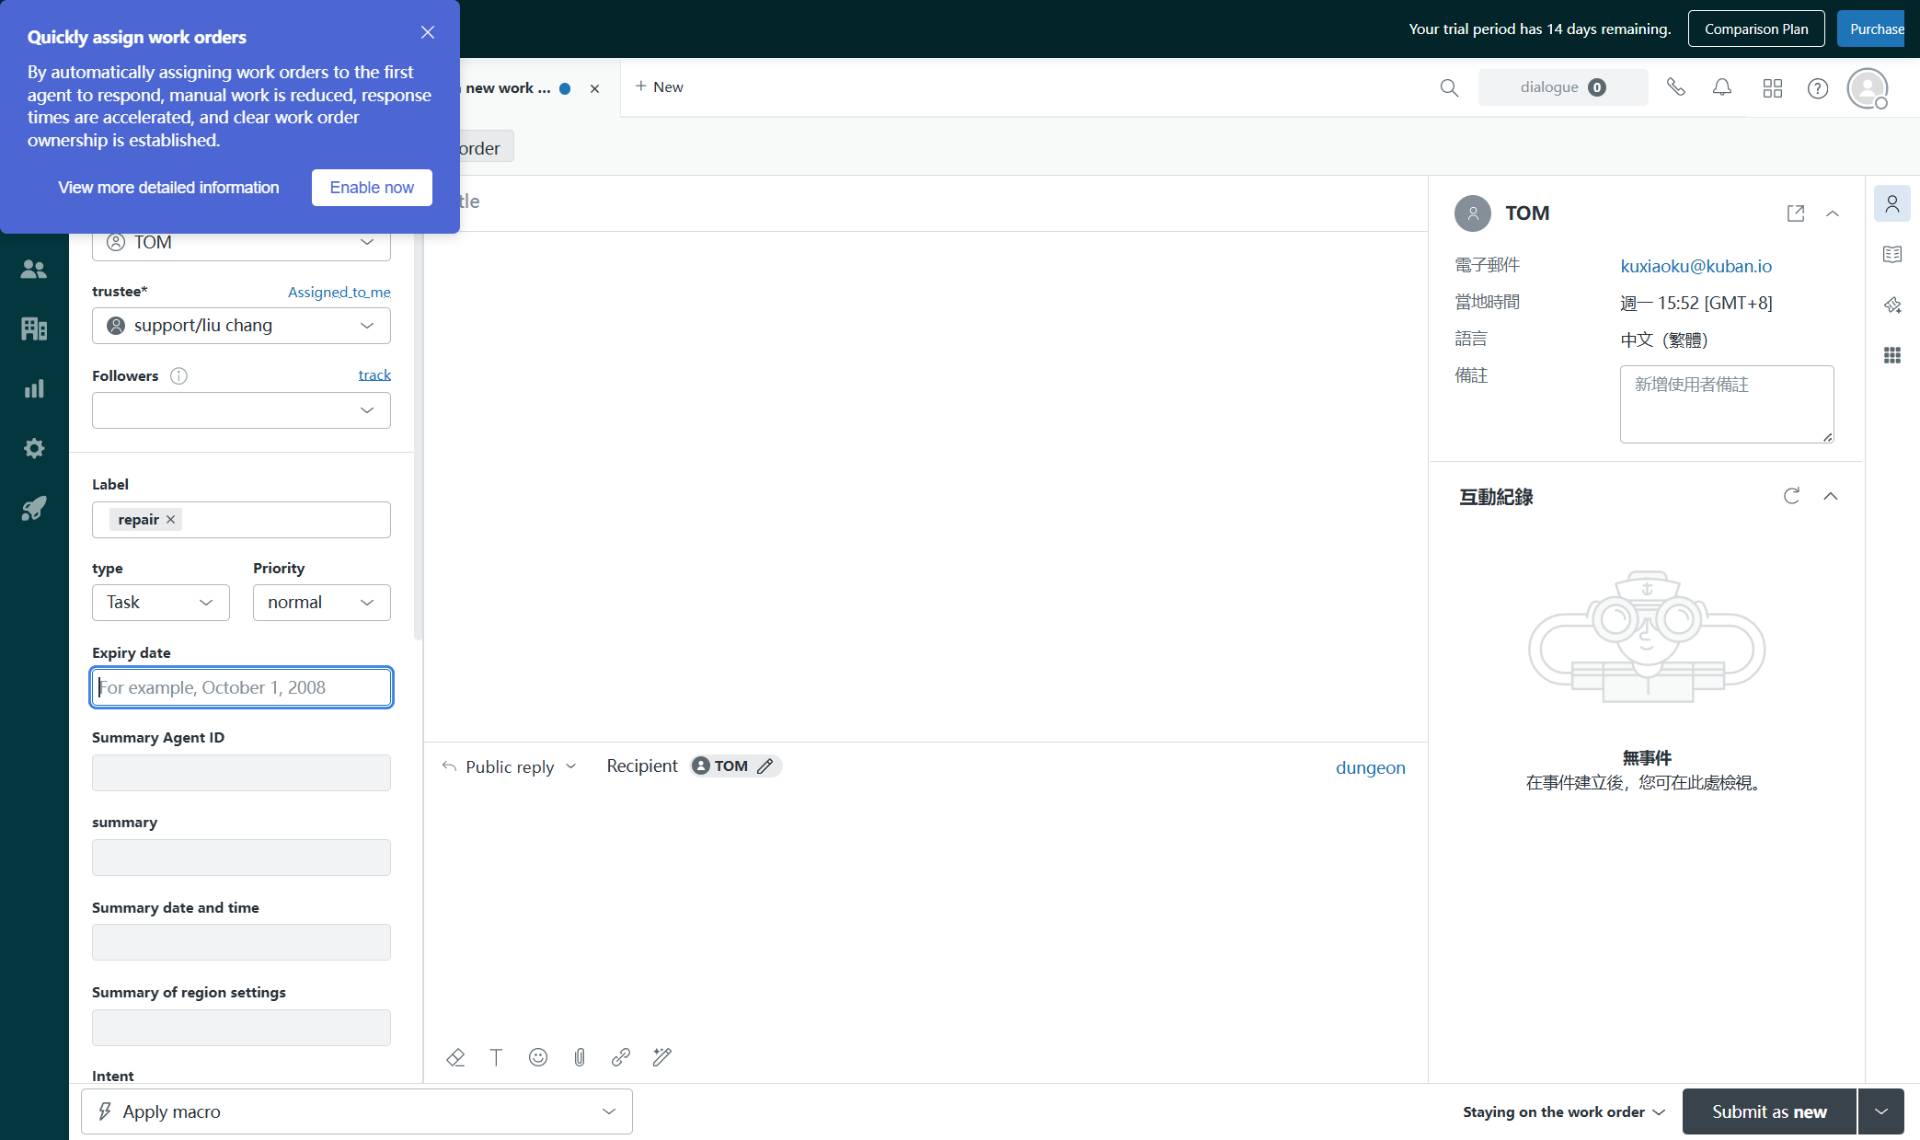
Click on the trustee field (labeled with a red asterisk) to open the assignee selection menu. Navigate through the group hierarchy (for example: 支援) and select the appropriate agent to handle this ticket.
- Step 8 of 12
Add labels
Enter ticket labels
Click on the Label field and type a descriptive label (for example: repair). If the label does not exist, click Add tags to create it. Labels help categorize tickets for reporting and filtering.

- Step 9 of 12
Set ticket type
Select ticket type
Click on the type dropdown and select the appropriate ticket type:

- Step 10 of 12
Set priority
Select priority level
Click on the Priority dropdown and select the appropriate level:

- Step 11 of 12
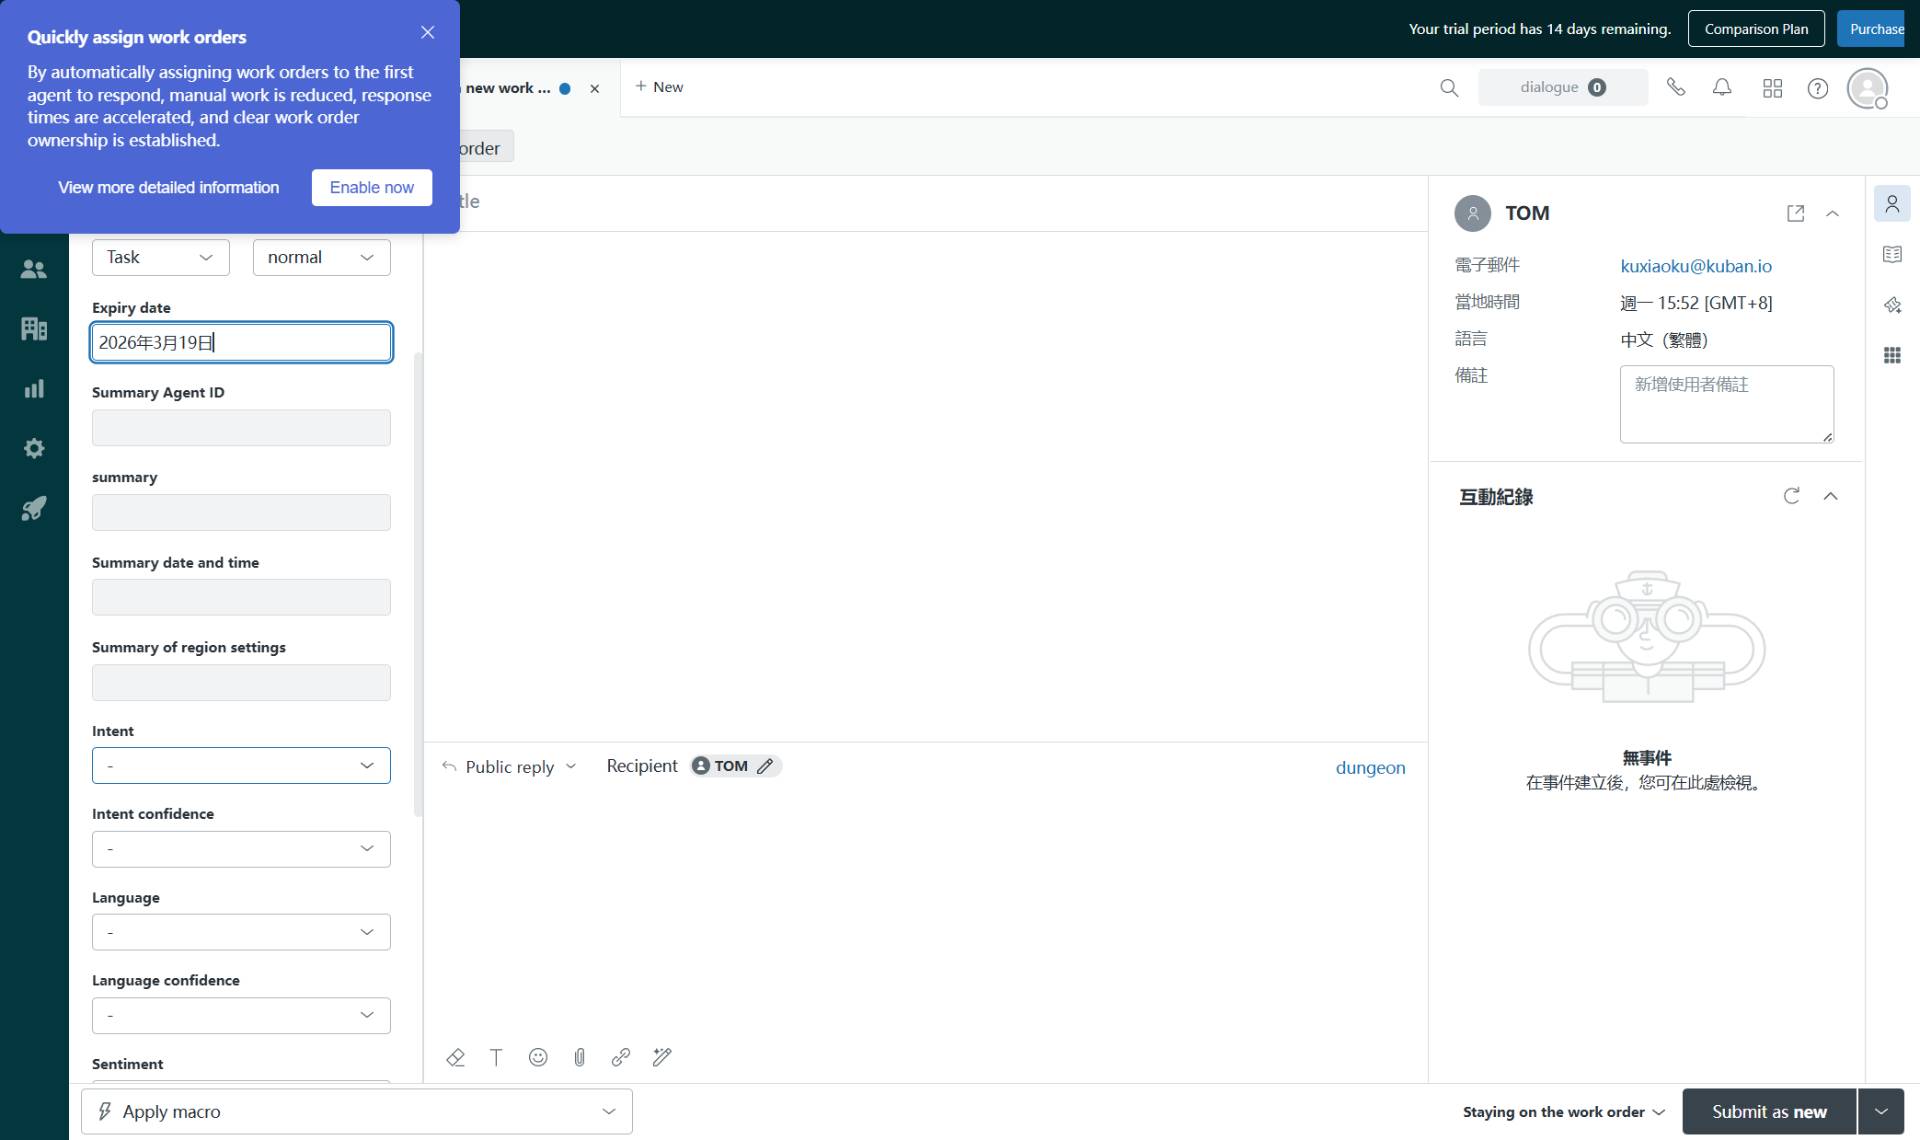
Set expiry date
Select due date
Click on the Expiry date field to open the date picker. Select the desired date from the calendar. This field appears when Task is selected as the ticket type.
- Step 12 of 12
Configure intent and service
Select service category
Click on the Intent dropdown to open the service category menu. Navigate through the hierarchy to select the specific service type (for example: Service > Service information > Available services). This categorization helps route the ticket to the appropriate support team.
Verification
Before submitting the ticket, verify the following:
The Requester field displays the newly created user's name
The trustee field shows the assigned agent
All required fields (marked with asterisks) are completed
The Submit as new button is active and clickable
Conclusion
You have successfully created a new support ticket with an onboarded user. The ticket is now ready to be submitted with all necessary categorization, assignment, and metadata configured.