
Purpose
This SOP describes how to perform bulk edits on multiple Zendesk tickets simultaneously, allowing you to efficiently update properties such as tags, priority, and ticket type across selected tickets.
Scope
This procedure is intended for Zendesk agents and administrators who need to update multiple tickets at once. Use this SOP when you need to apply the same changes to several tickets simultaneously, such as reassigning priorities, adding tags, or changing ticket types.
Prerequisites
Active Zendesk agent account with appropriate permissions
Access to the ticket views containing the tickets you need to edit
Tickets must be accessible in a view (unsolved tickets or custom views)
Procedure
- Step 1 of 9
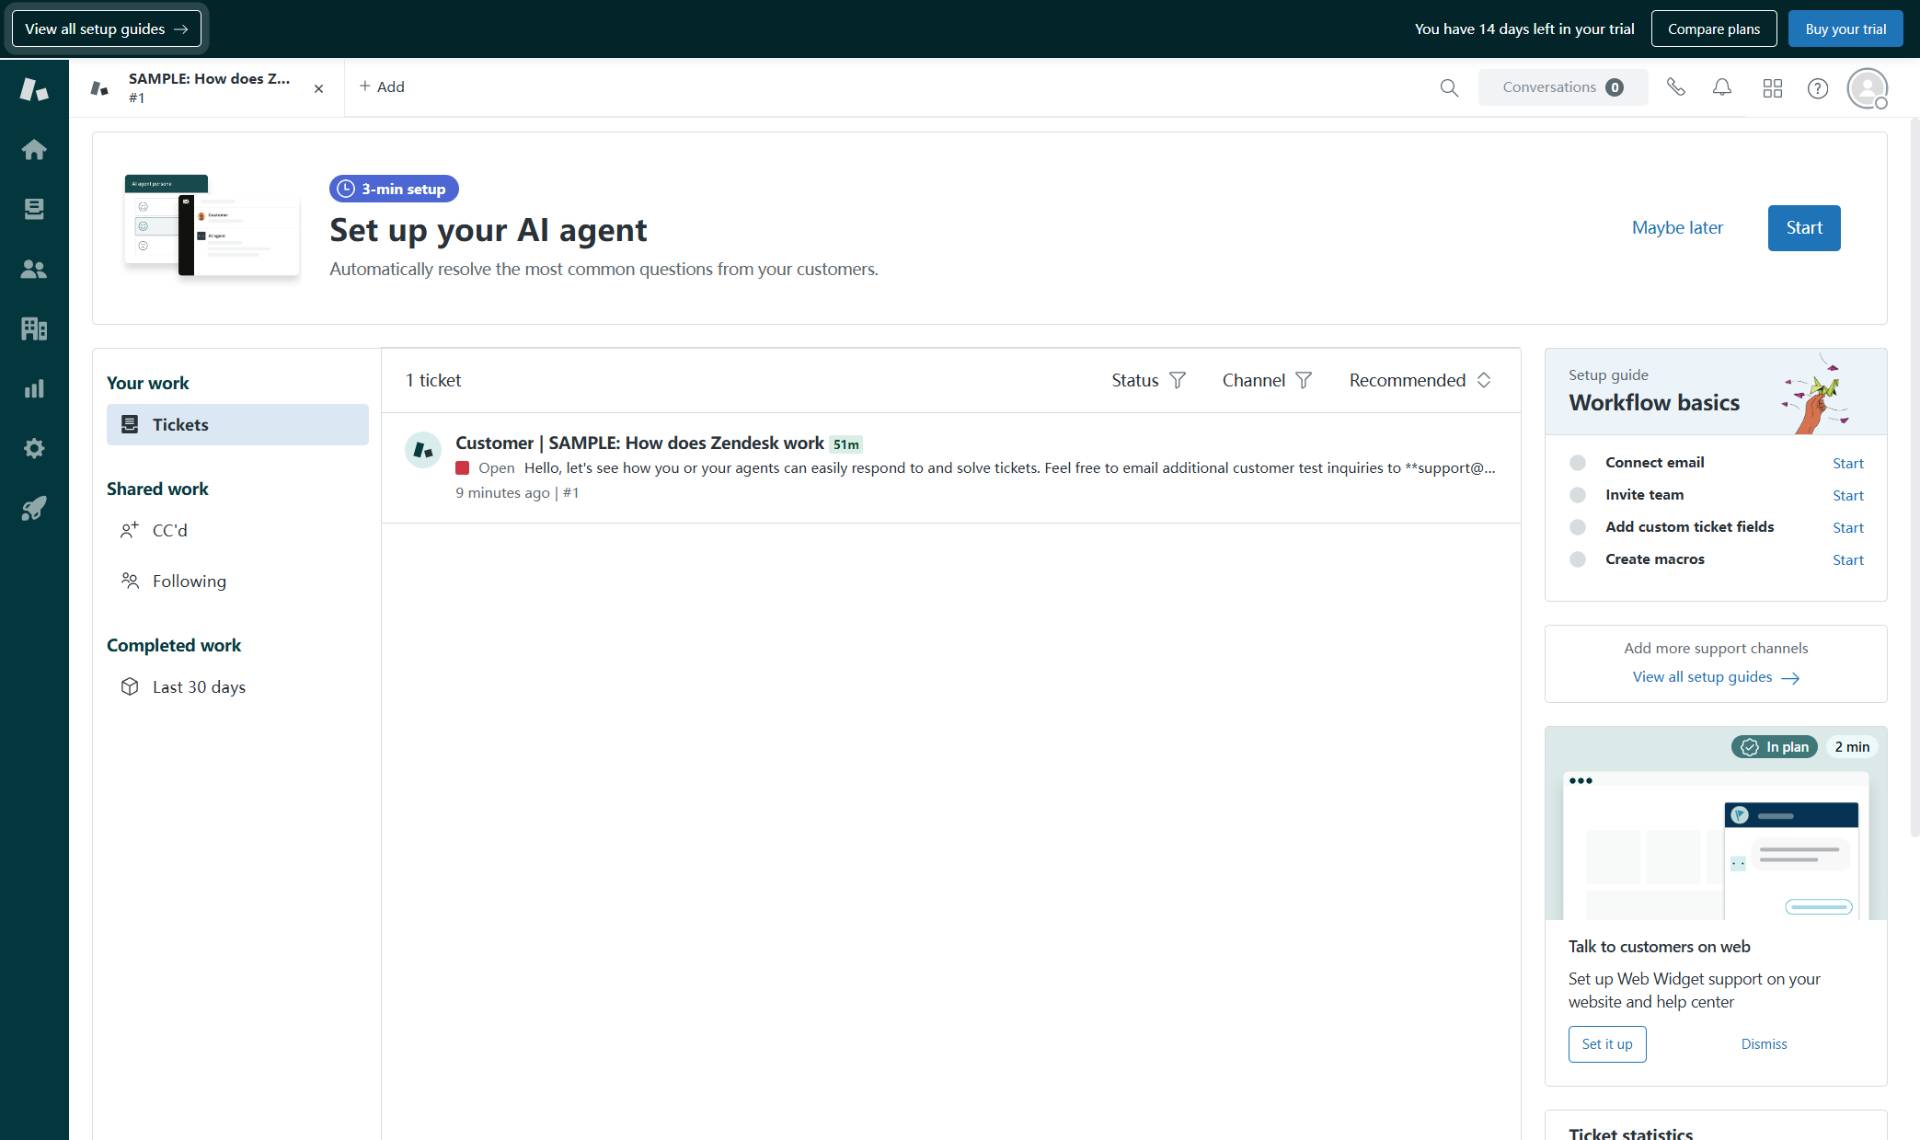
Navigate to kubanio-73920.zendesk.com
Open the Zendesk agent interface
Navigate to kubanio-73920.zendesk.com and sign in with your agent credentials to access the Zendesk agent interface.
- Step 2 of 9
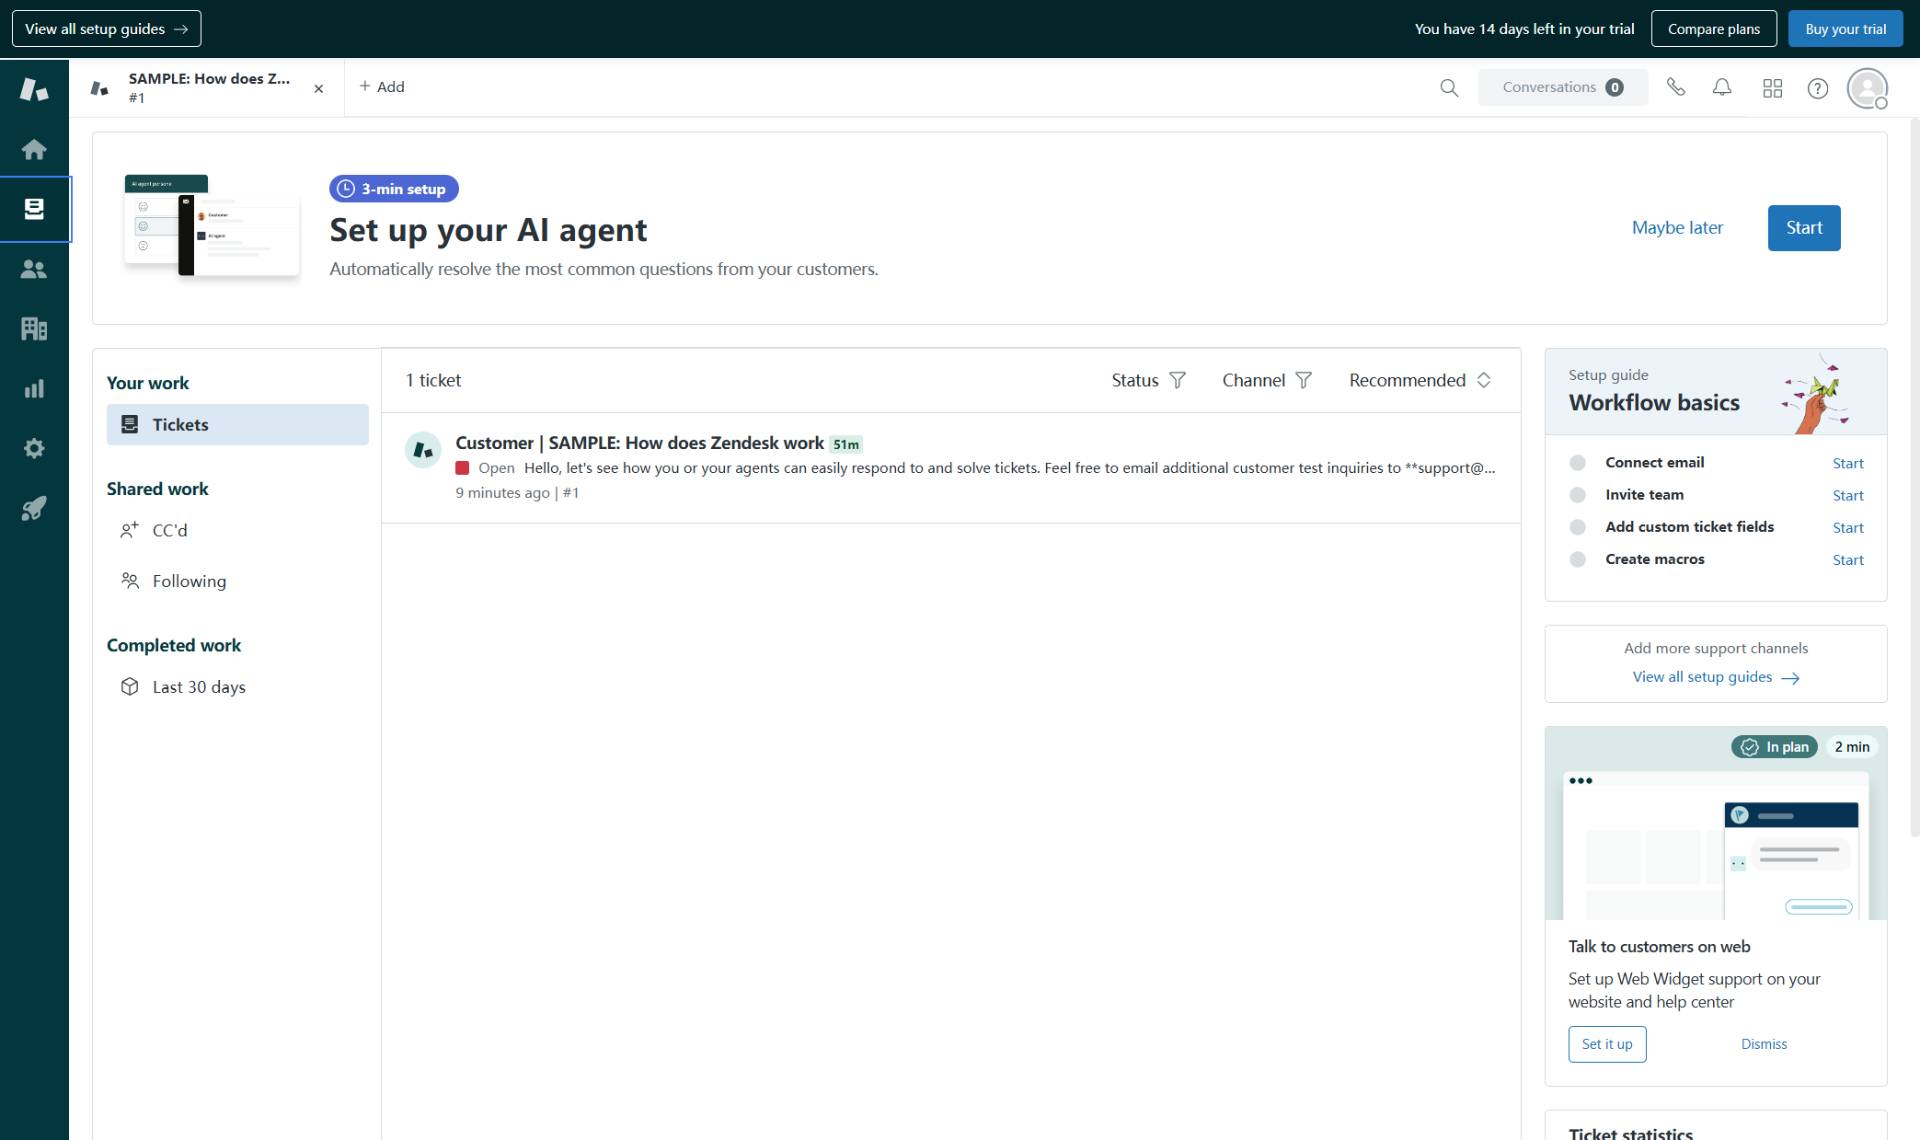
Open the Views menu
Click the Views button in the left sidebar
Click the Views button (folder icon) in the left sidebar to expand the available ticket views.
- Step 3 of 9
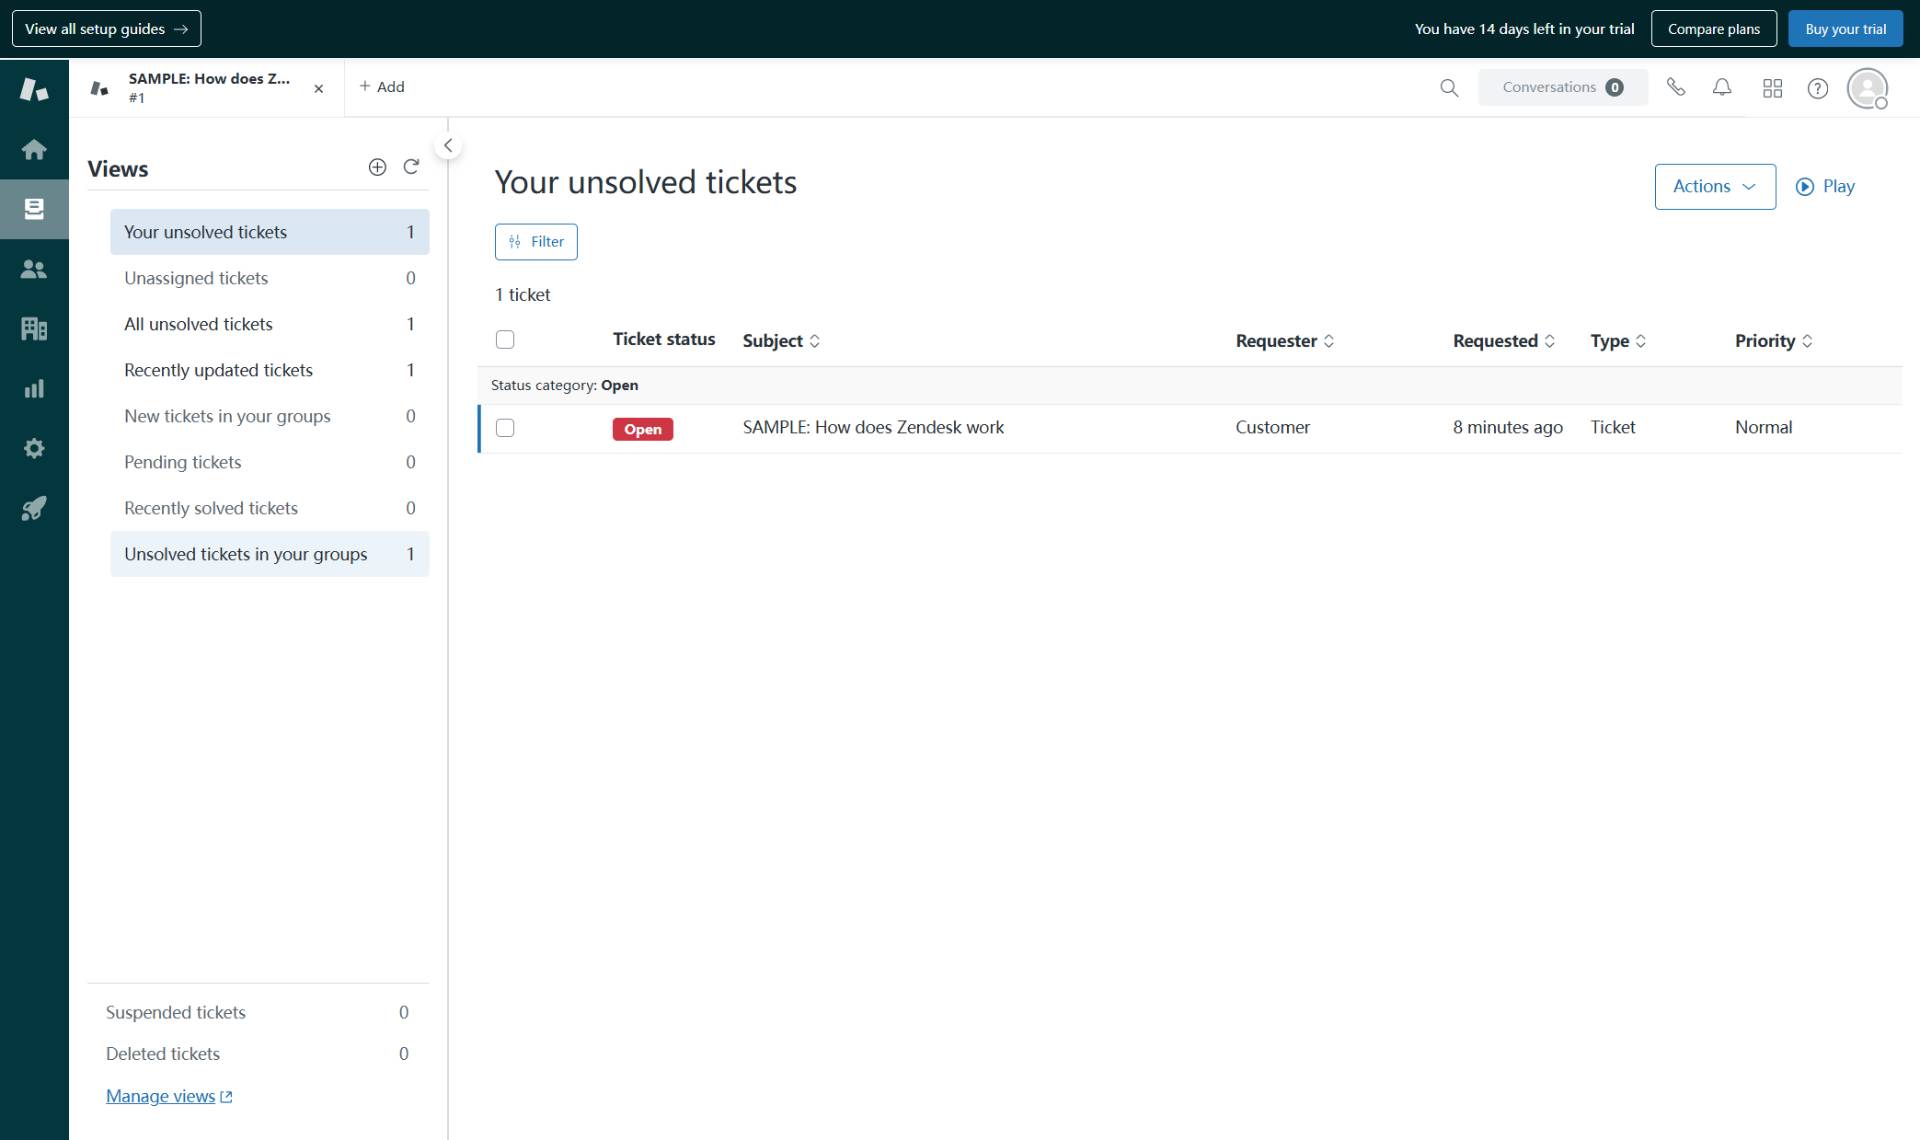
Select the appropriate ticket view
Click on a ticket view to display tickets
Click on a view that contains the tickets you want to edit. Common views include:
- Step 4 of 9
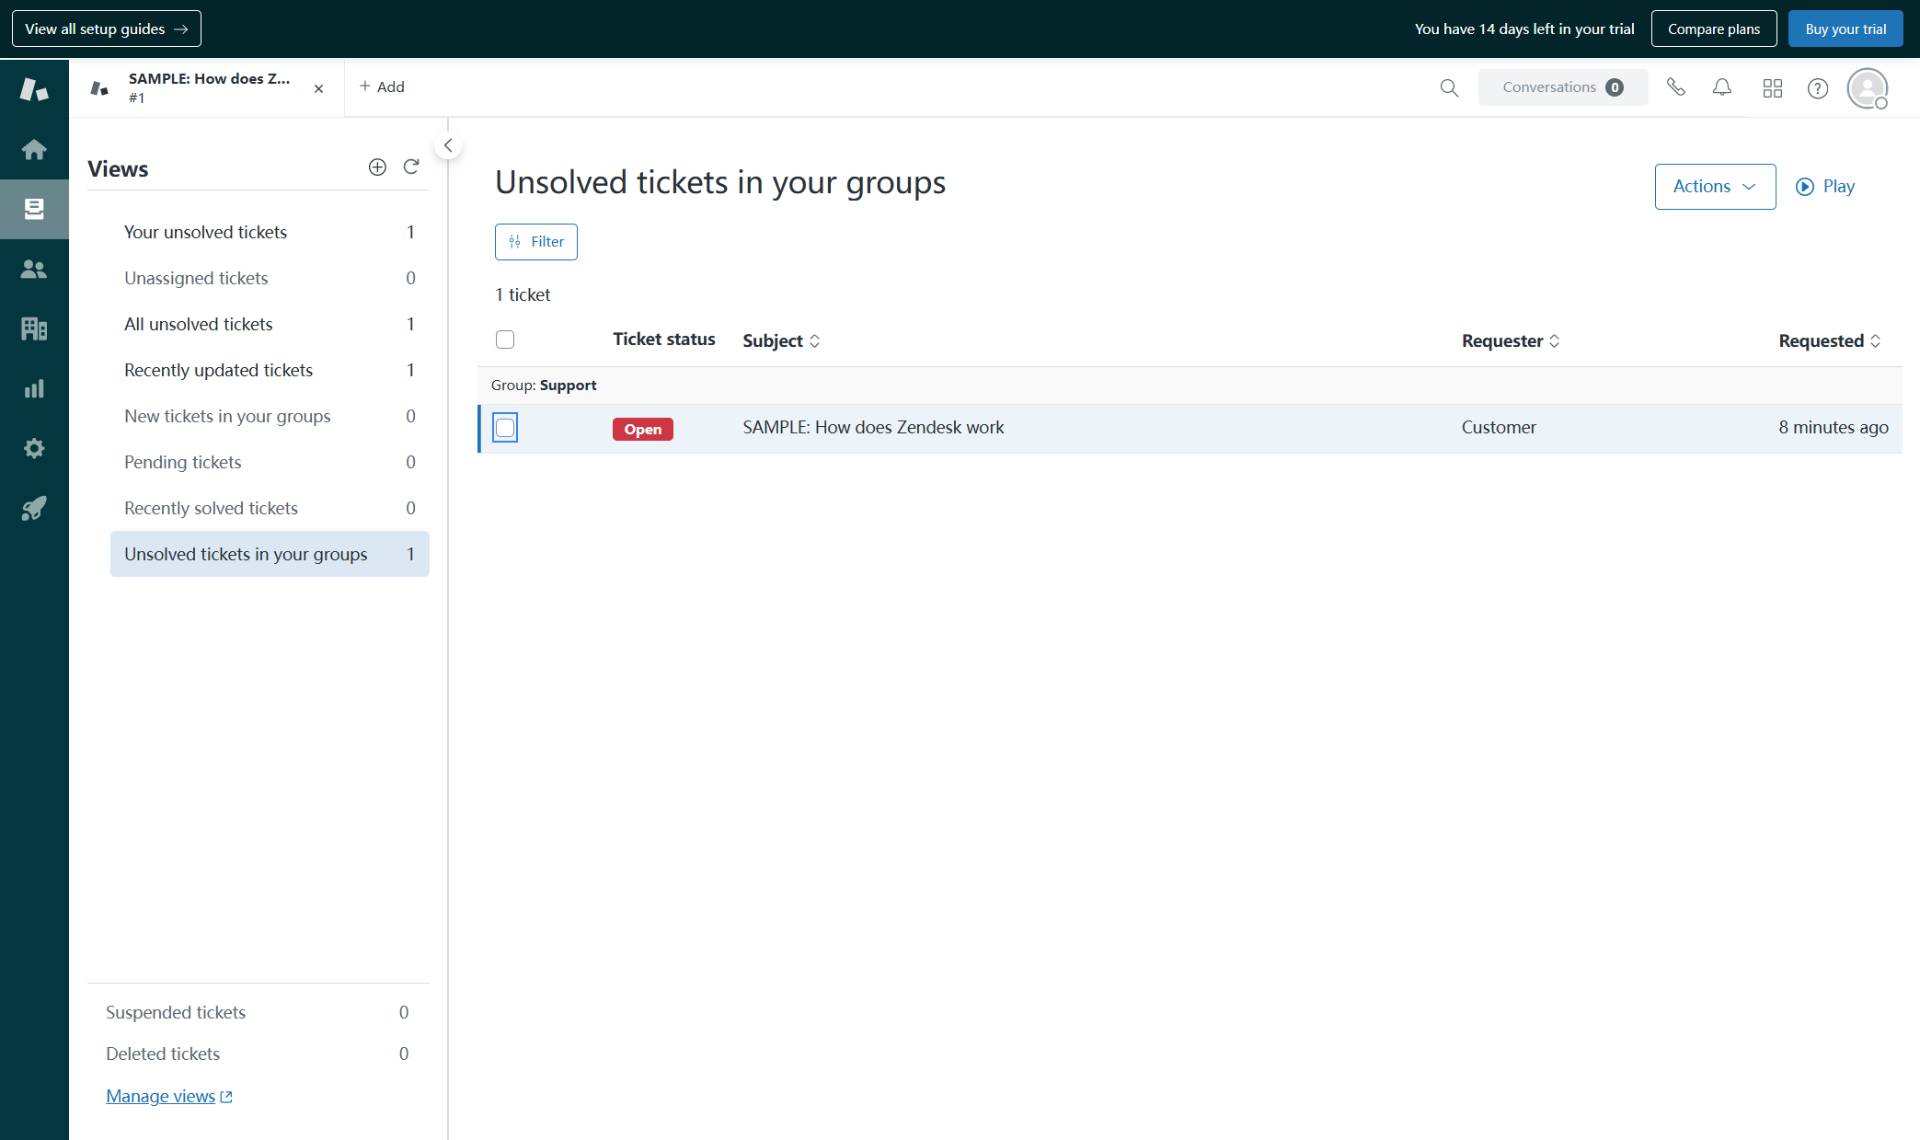
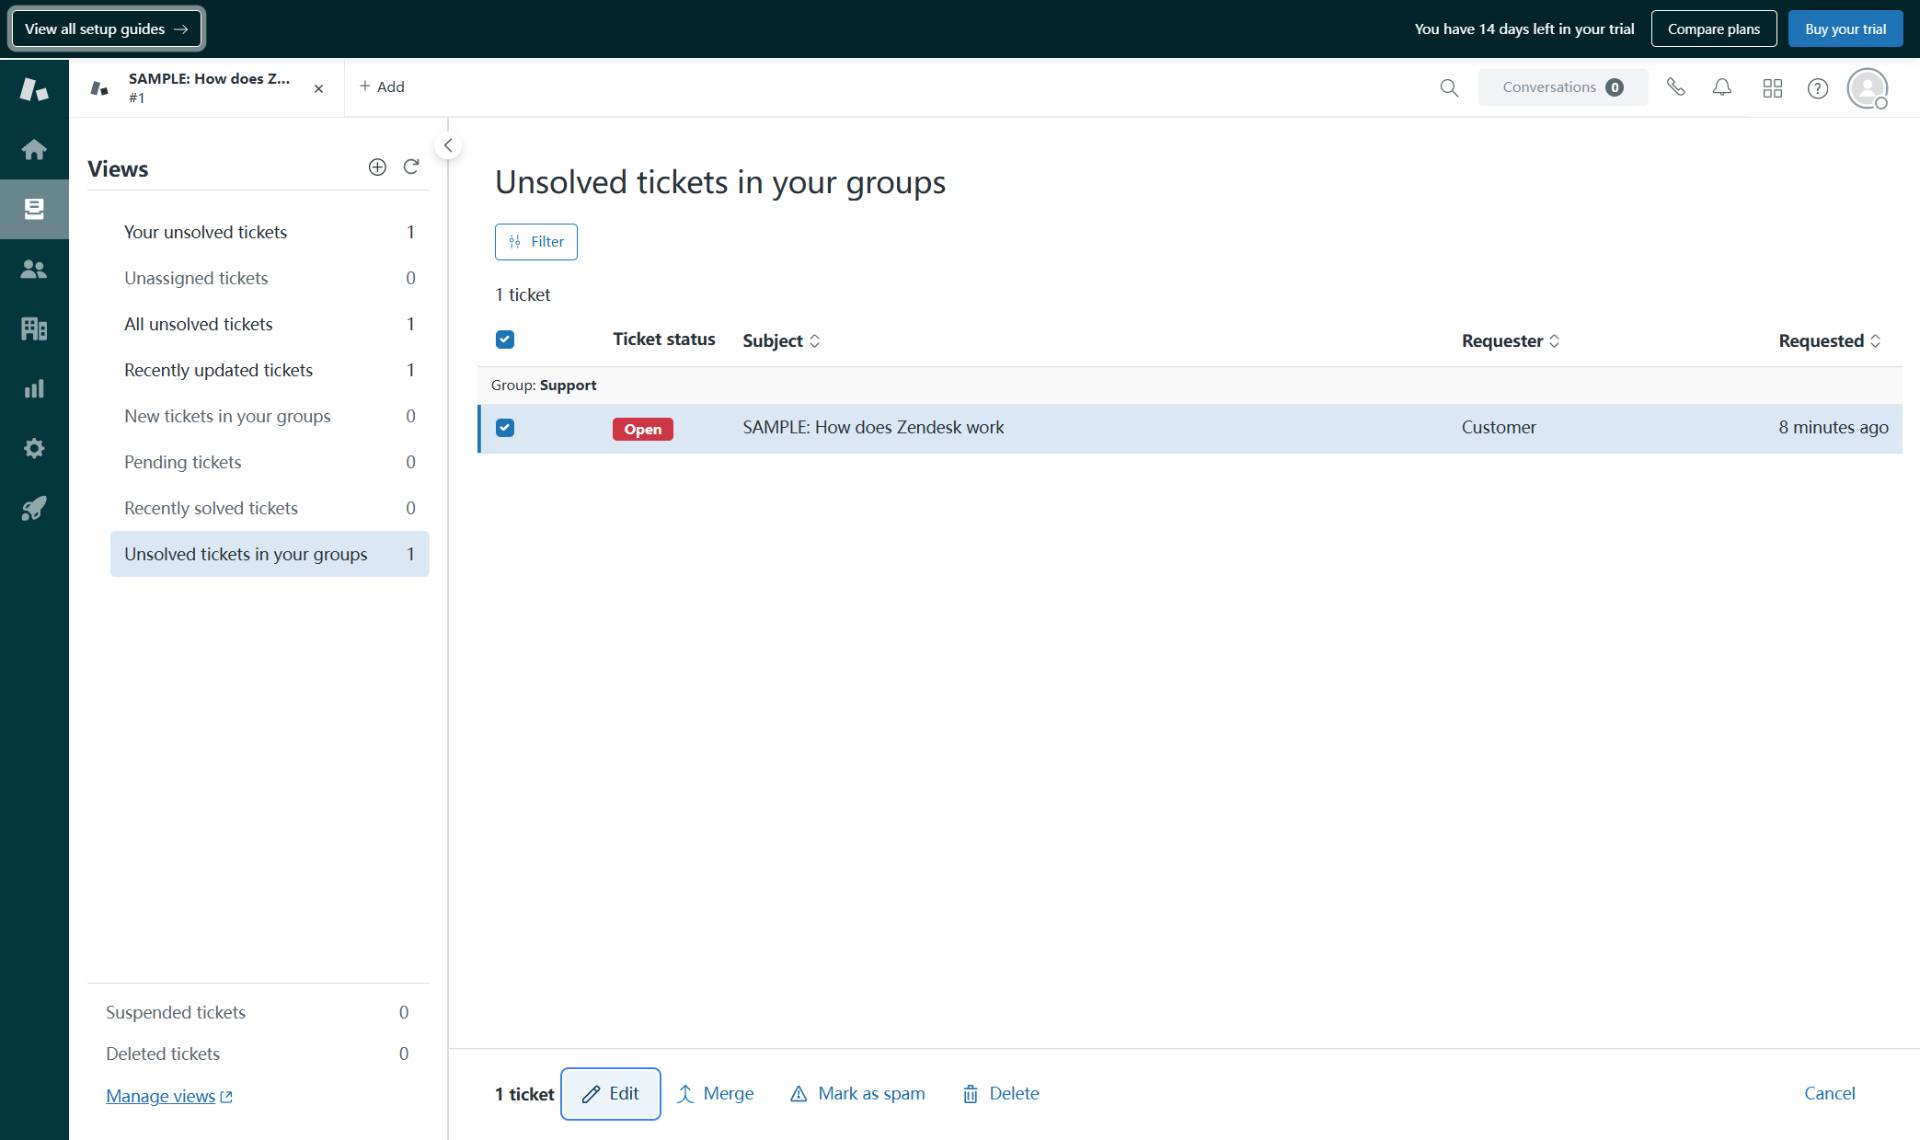
Select tickets for bulk editing
Click the checkbox next to each ticket
Click the checkbox in the leftmost column for each ticket you want to include in the bulk edit. You can select multiple tickets by checking their individual checkboxes.
- Step 5 of 9
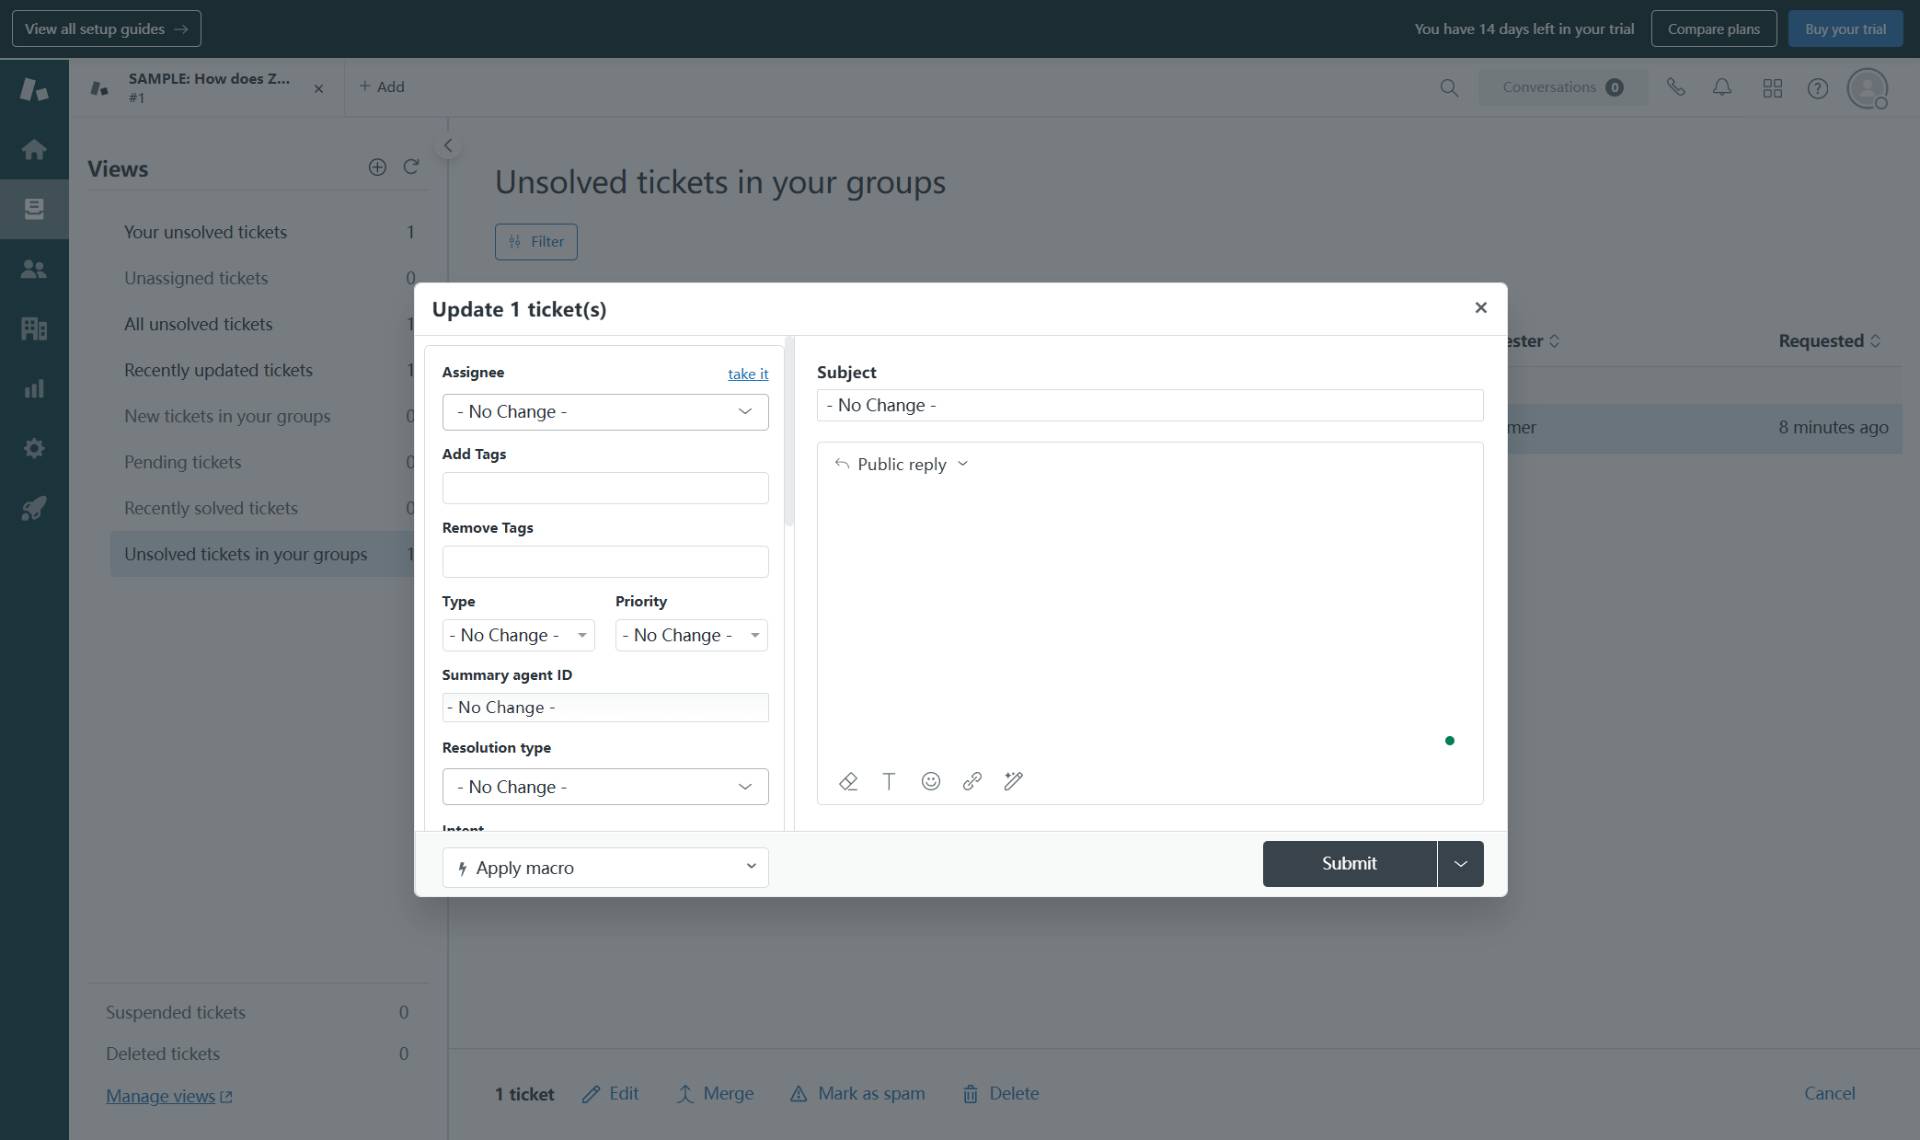
Open the bulk edit interface
Click the Edit button at the bottom of the screen
After selecting at least one ticket, a toolbar appears at the bottom of the screen. Click the Edit button (with the pencil icon) to open the bulk update dialog.
- Step 6 of 9
Add tags to selected tickets
Enter tags in the Add Tags field
In the Add Tags field, type the tags you want to add to all selected tickets. Tags help categorize and filter tickets. Separate multiple tags with spaces. For example, enter vip processing to add both the "vip" and "processing" tags.
- Step 7 of 9
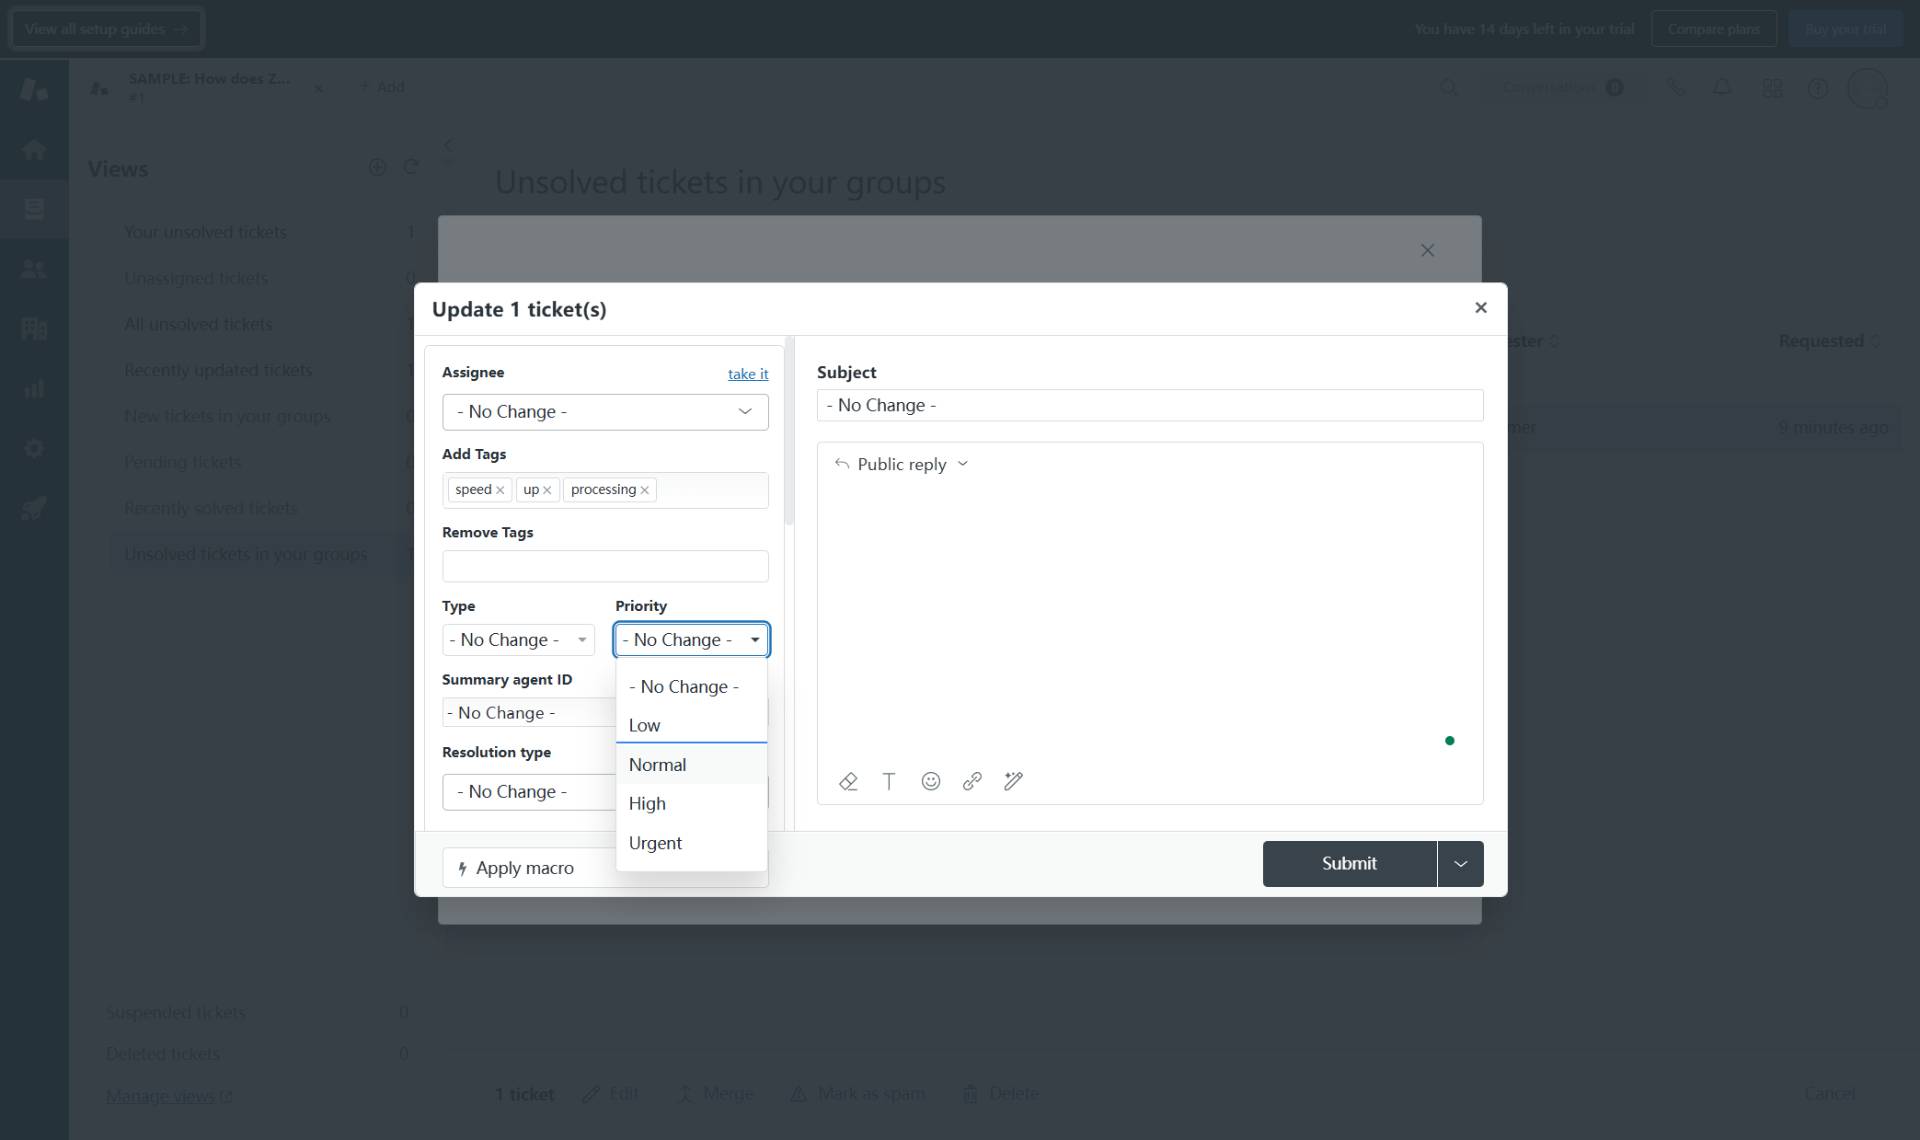
Set the ticket priority
Select a priority level from the dropdown
Click the Priority dropdown (currently showing "- No Change -") and select the appropriate priority level:
- Step 8 of 9
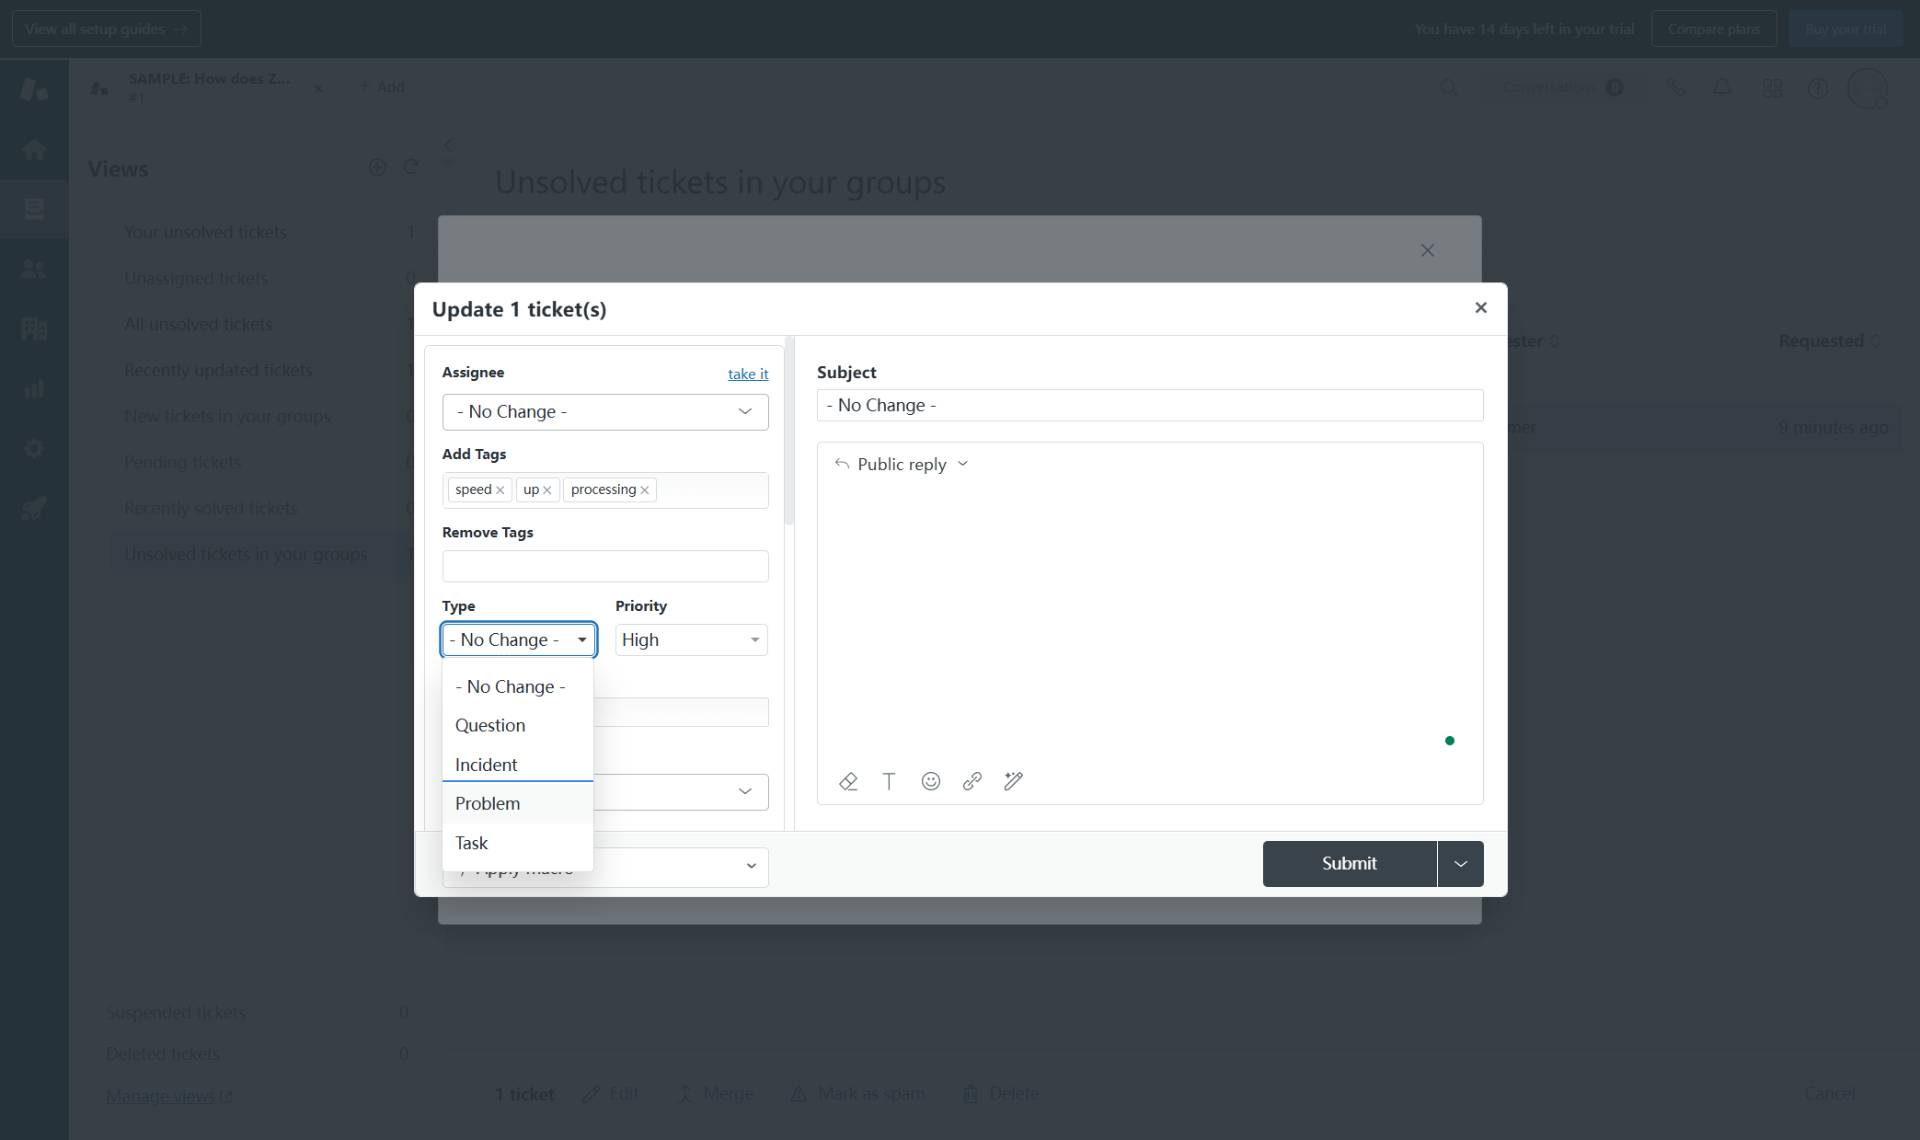
Set the ticket type
Select a ticket type from the dropdown
Click the Type dropdown (currently showing "- No Change -") and select the appropriate ticket type:
- Step 9 of 9
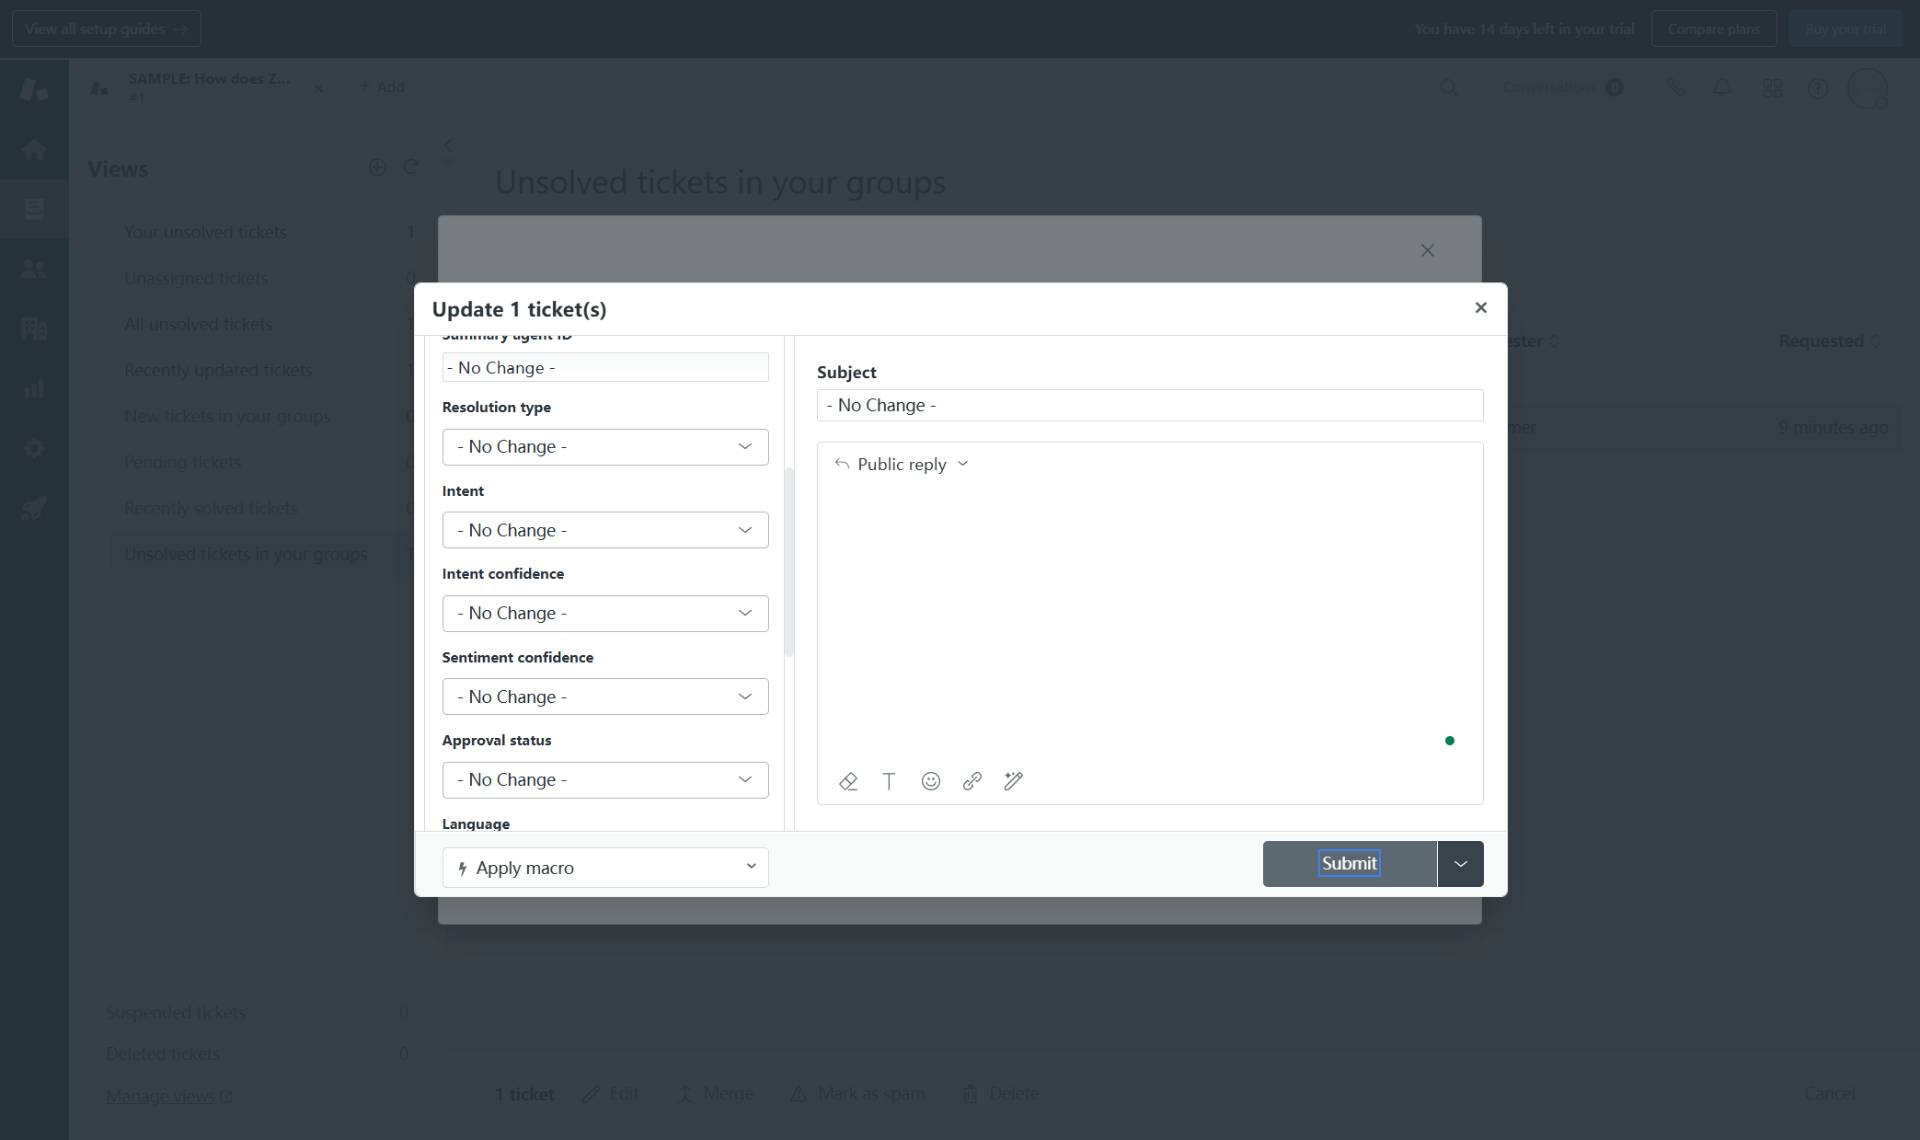
Submit the bulk update
Click the Submit button to apply changes
Review your changes in the dialog. Once satisfied, click the Submit button to apply all changes to the selected tickets.
Verification
After submitting the bulk edit, verify that the changes were applied successfully:
Return to the ticket view and refresh the page if necessary.
Check that the tickets display the updated priority and type values in their respective columns.
Open one of the updated tickets to confirm the tags were added correctly.
Troubleshooting
Edit button does not appear after selecting tickets
Ensure you have selected at least one ticket by clicking its checkbox. The bulk action toolbar only appears when tickets are selected. Also verify you have the necessary permissions to edit tickets in bulk.
Changes not applied to all selected tickets
Some tickets may have restrictions that prevent bulk edits (such as closed tickets or tickets in certain groups). Check each ticket individually if bulk update fails on specific items. Also verify you have edit permissions for all selected tickets.
Cannot find the ticket view I need
If the view containing your tickets is not visible in the sidebar, click Manage views at the bottom of the Views section to see all available views, or create a custom view that filters for the tickets you need to edit.
Conclusion
You have successfully applied bulk edits to multiple Zendesk tickets simultaneously. The selected tickets now reflect the updated priority, type, and tags as configured in the bulk update dialog.