
Purpose
This SOP describes the workflow for managing contact information by adding tags and creating new support tickets for specific contacts in Freshdesk.
Scope
This procedure is intended for support agents and helpdesk administrators who need to organize contacts with tags and create tickets on behalf of customers. Use this workflow when you need to categorize contacts or initiate new support requests.
Prerequisites
Logged in to Freshdesk with your agent credentials
Access to Contacts and Tickets modules
The contact you need to work with already exists in the system
Procedure
- Step 1 of 8
Navigate to kuban-help.freshdesk.com
Access the Freshdesk portal
Navigate to kuban-help.freshdesk.com and sign in with your agent credentials.
- Step 2 of 8
Navigate to the Contacts section
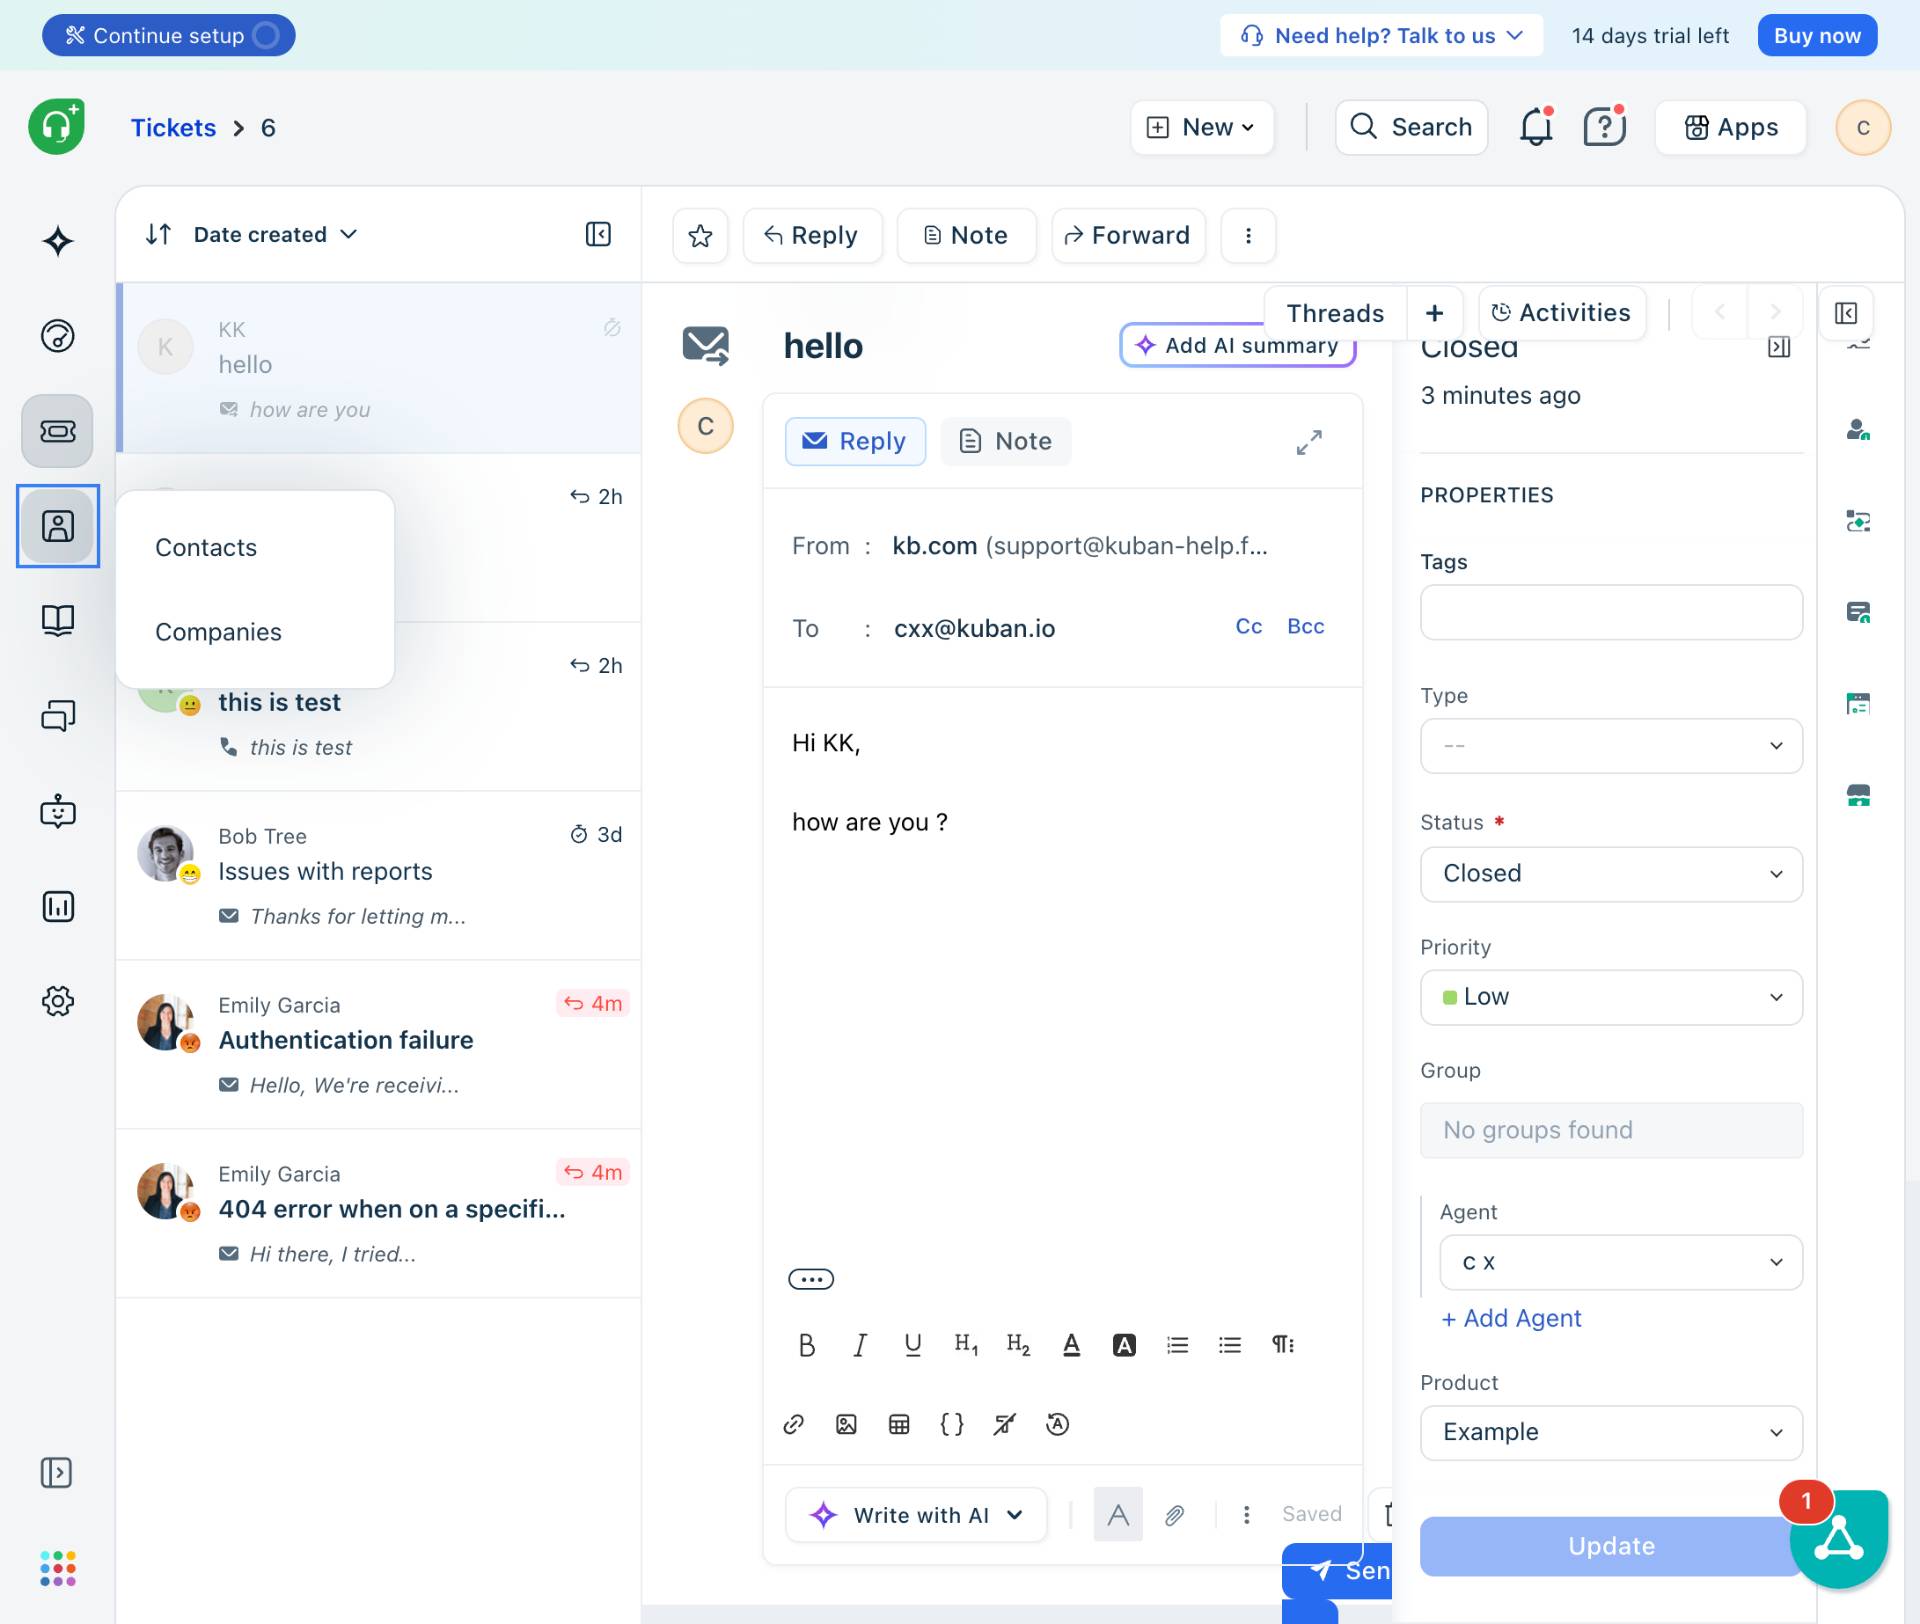
Click Contacts in the left sidebar
Click the Contacts option in the left sidebar navigation menu. This will display the contacts list page showing all customer contacts in your helpdesk.

- Step 3 of 8
Select the target contact
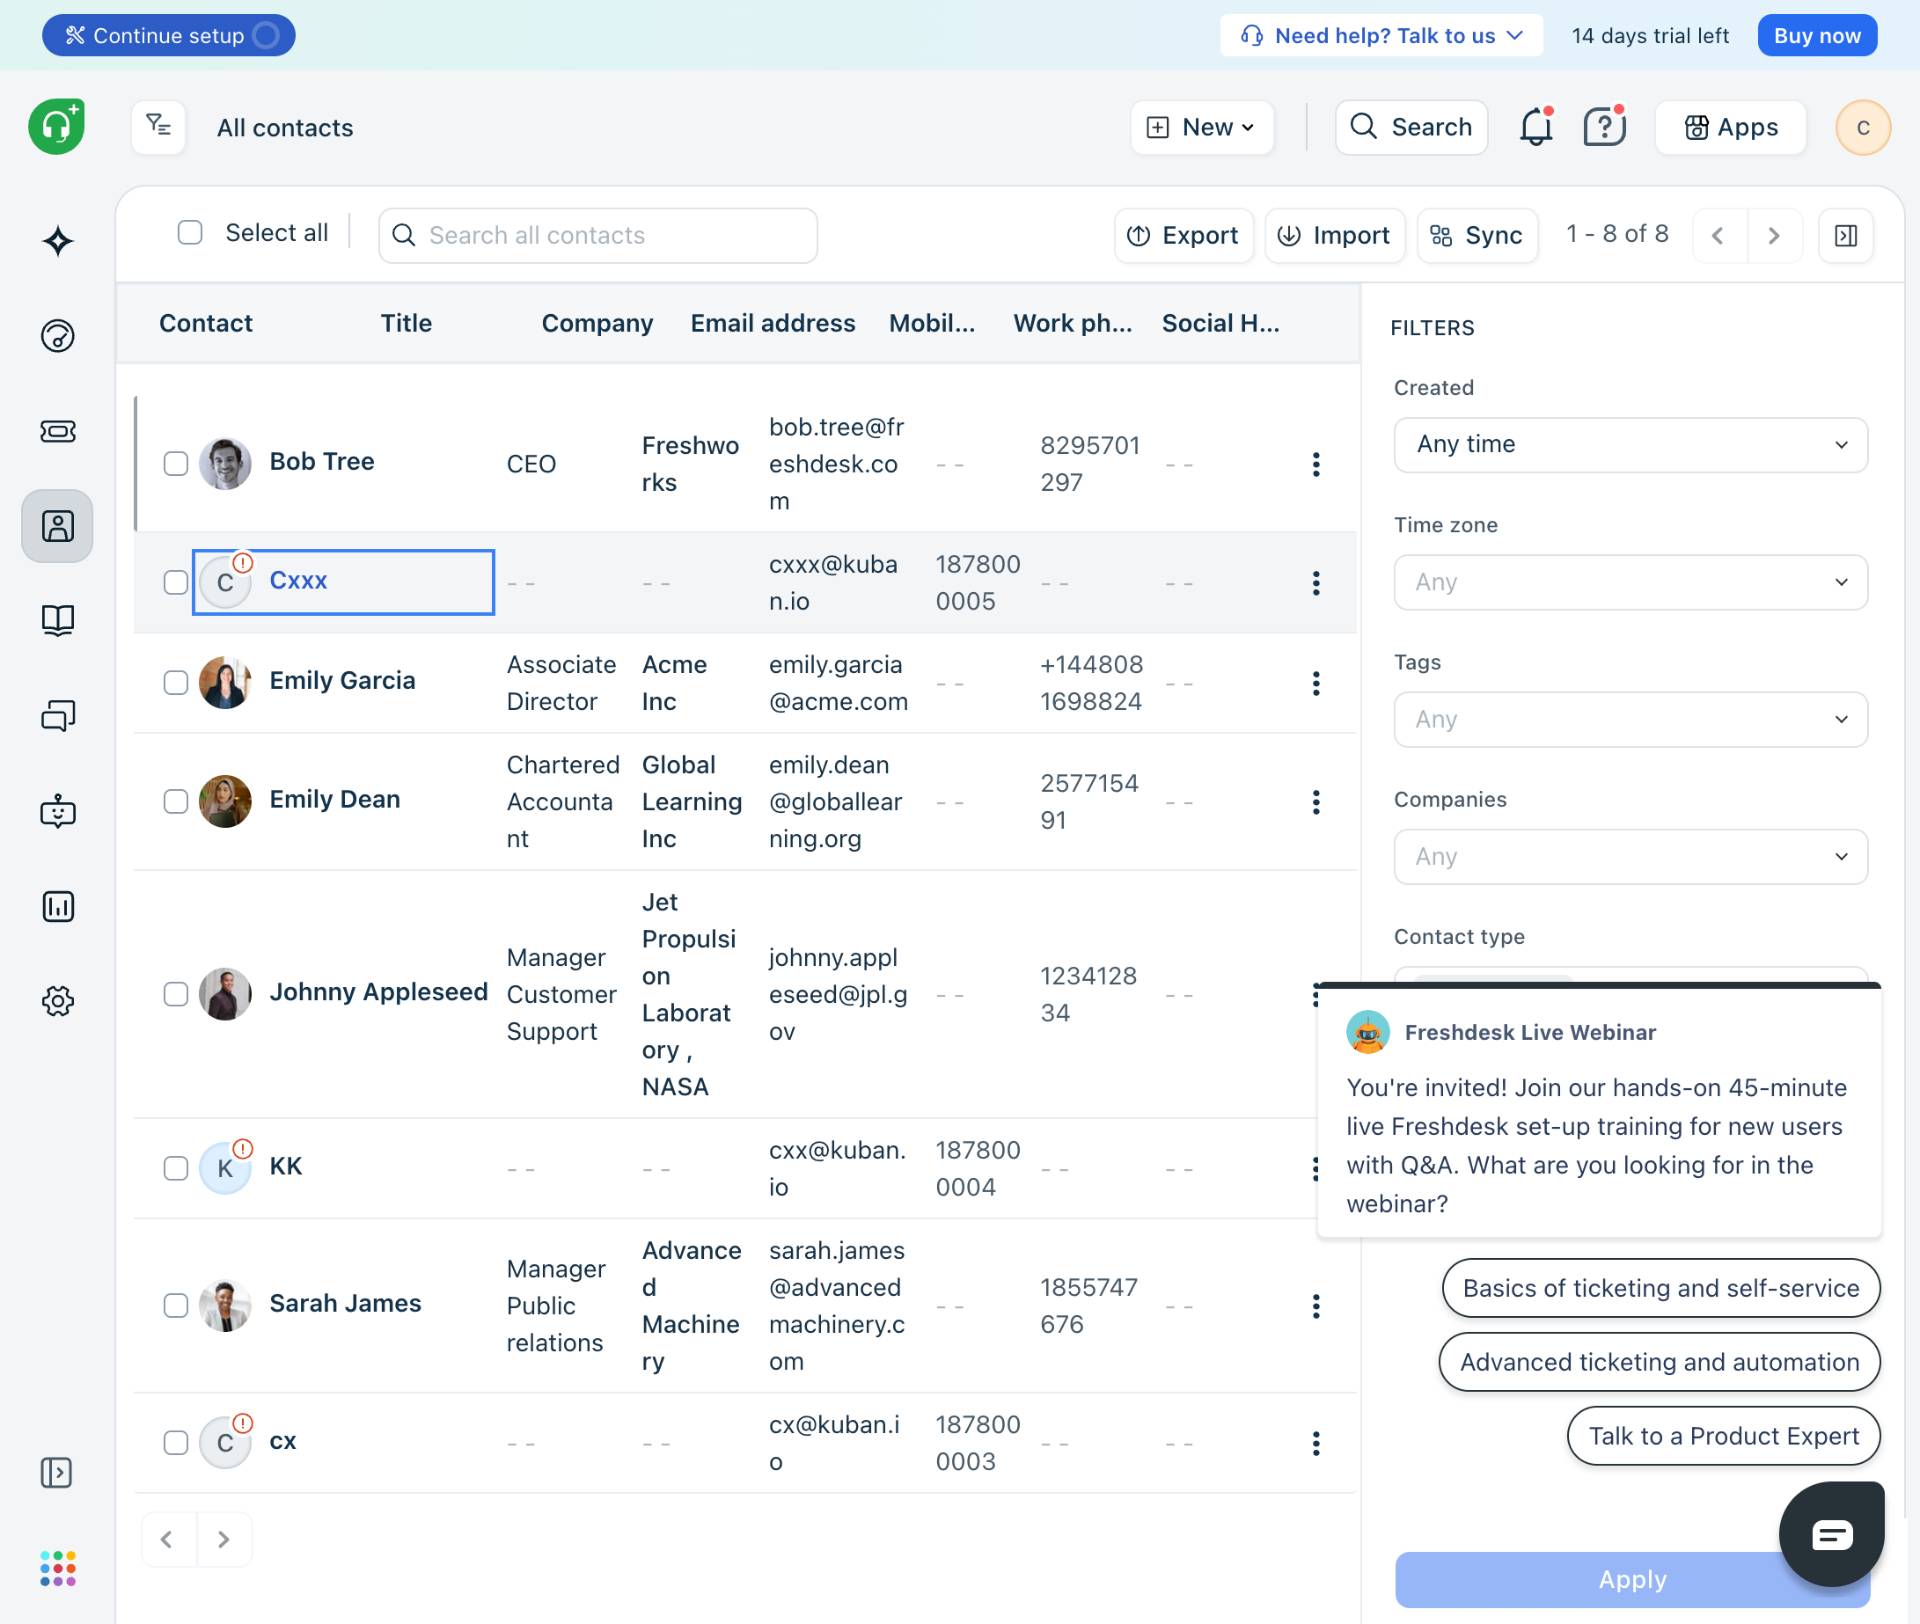
Click on the contact name
From the contacts list, locate and click on the contact you need to work with. In this example, click on the contact named Cxxx to open their contact details page.
- Step 4 of 8
Open the Tags section
Click Add tags
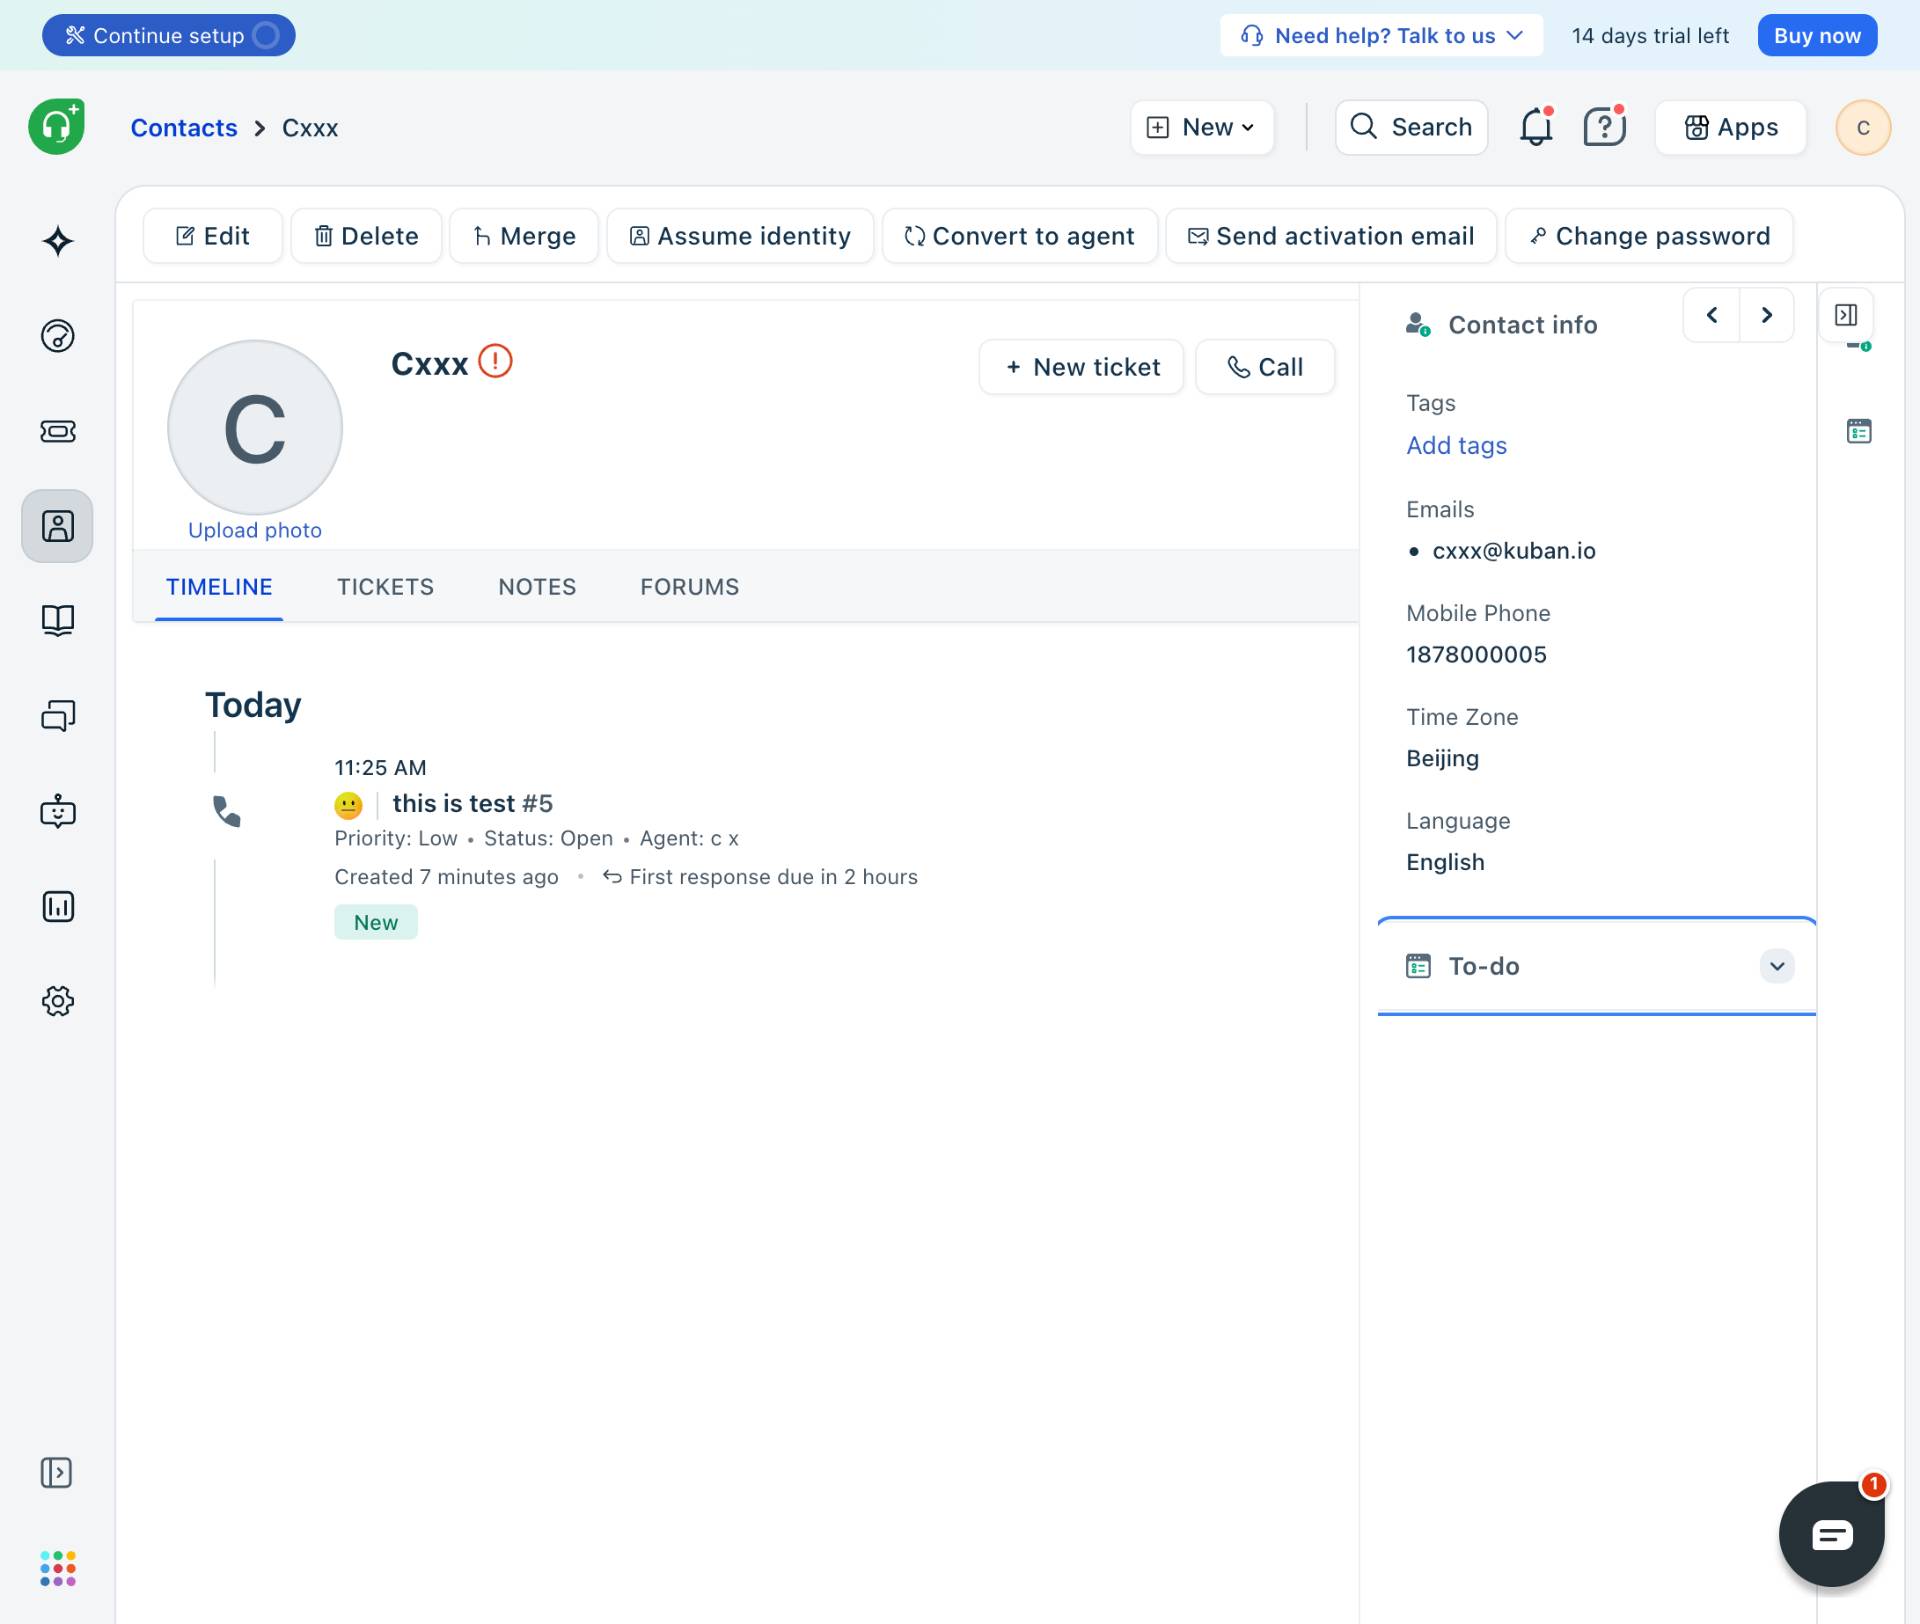
In the Contact info panel on the right side of the screen, locate the Tags field. Click the Add tags button to enable tag input.

- Step 5 of 8
Enter the tag value
Type the tag name
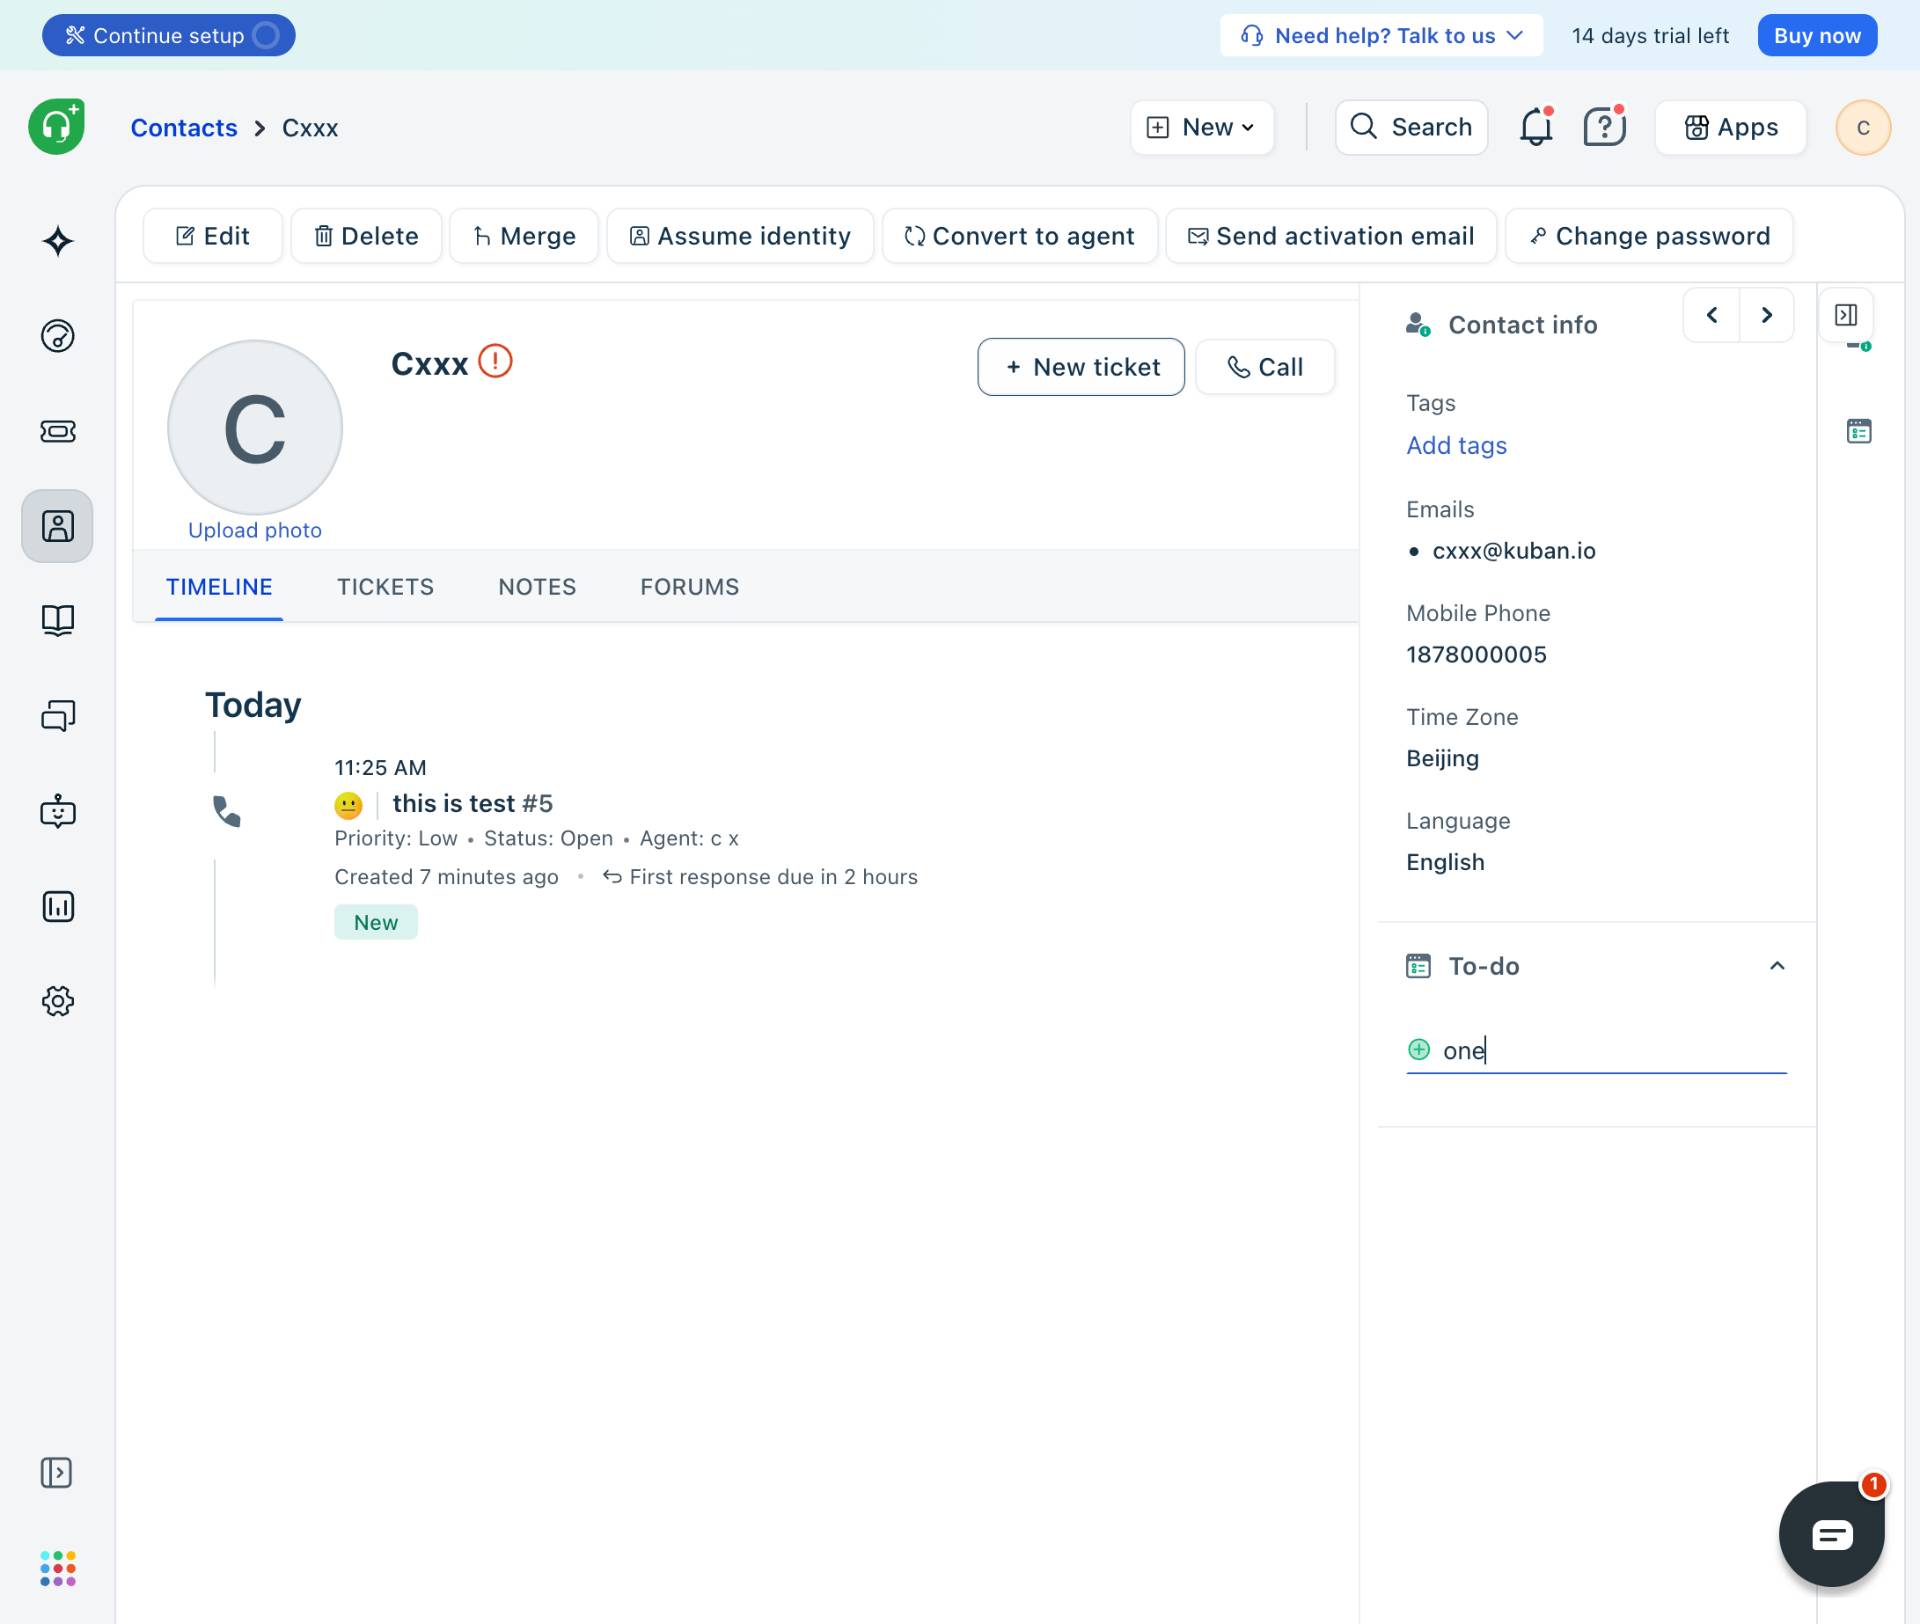
Type the desired tag value into the active input field. For example, enter
"12"to categorize this contact. The system will either match existing tags or create a new one.
- Step 6 of 8
Confirm the tag addition
Click outside the input field
Press Enter or click elsewhere on the page to save the tag. The tag will be added to the contact and displayed in the Tags section of the Contact info panel.
- Step 7 of 8
Initiate new ticket creation
Click New ticket button
To create a support ticket for this contact, click the New ticket button located in the top action bar of the contact profile page. This button is positioned near the Call button.
- Step 8 of 8
Configure and create the ticket
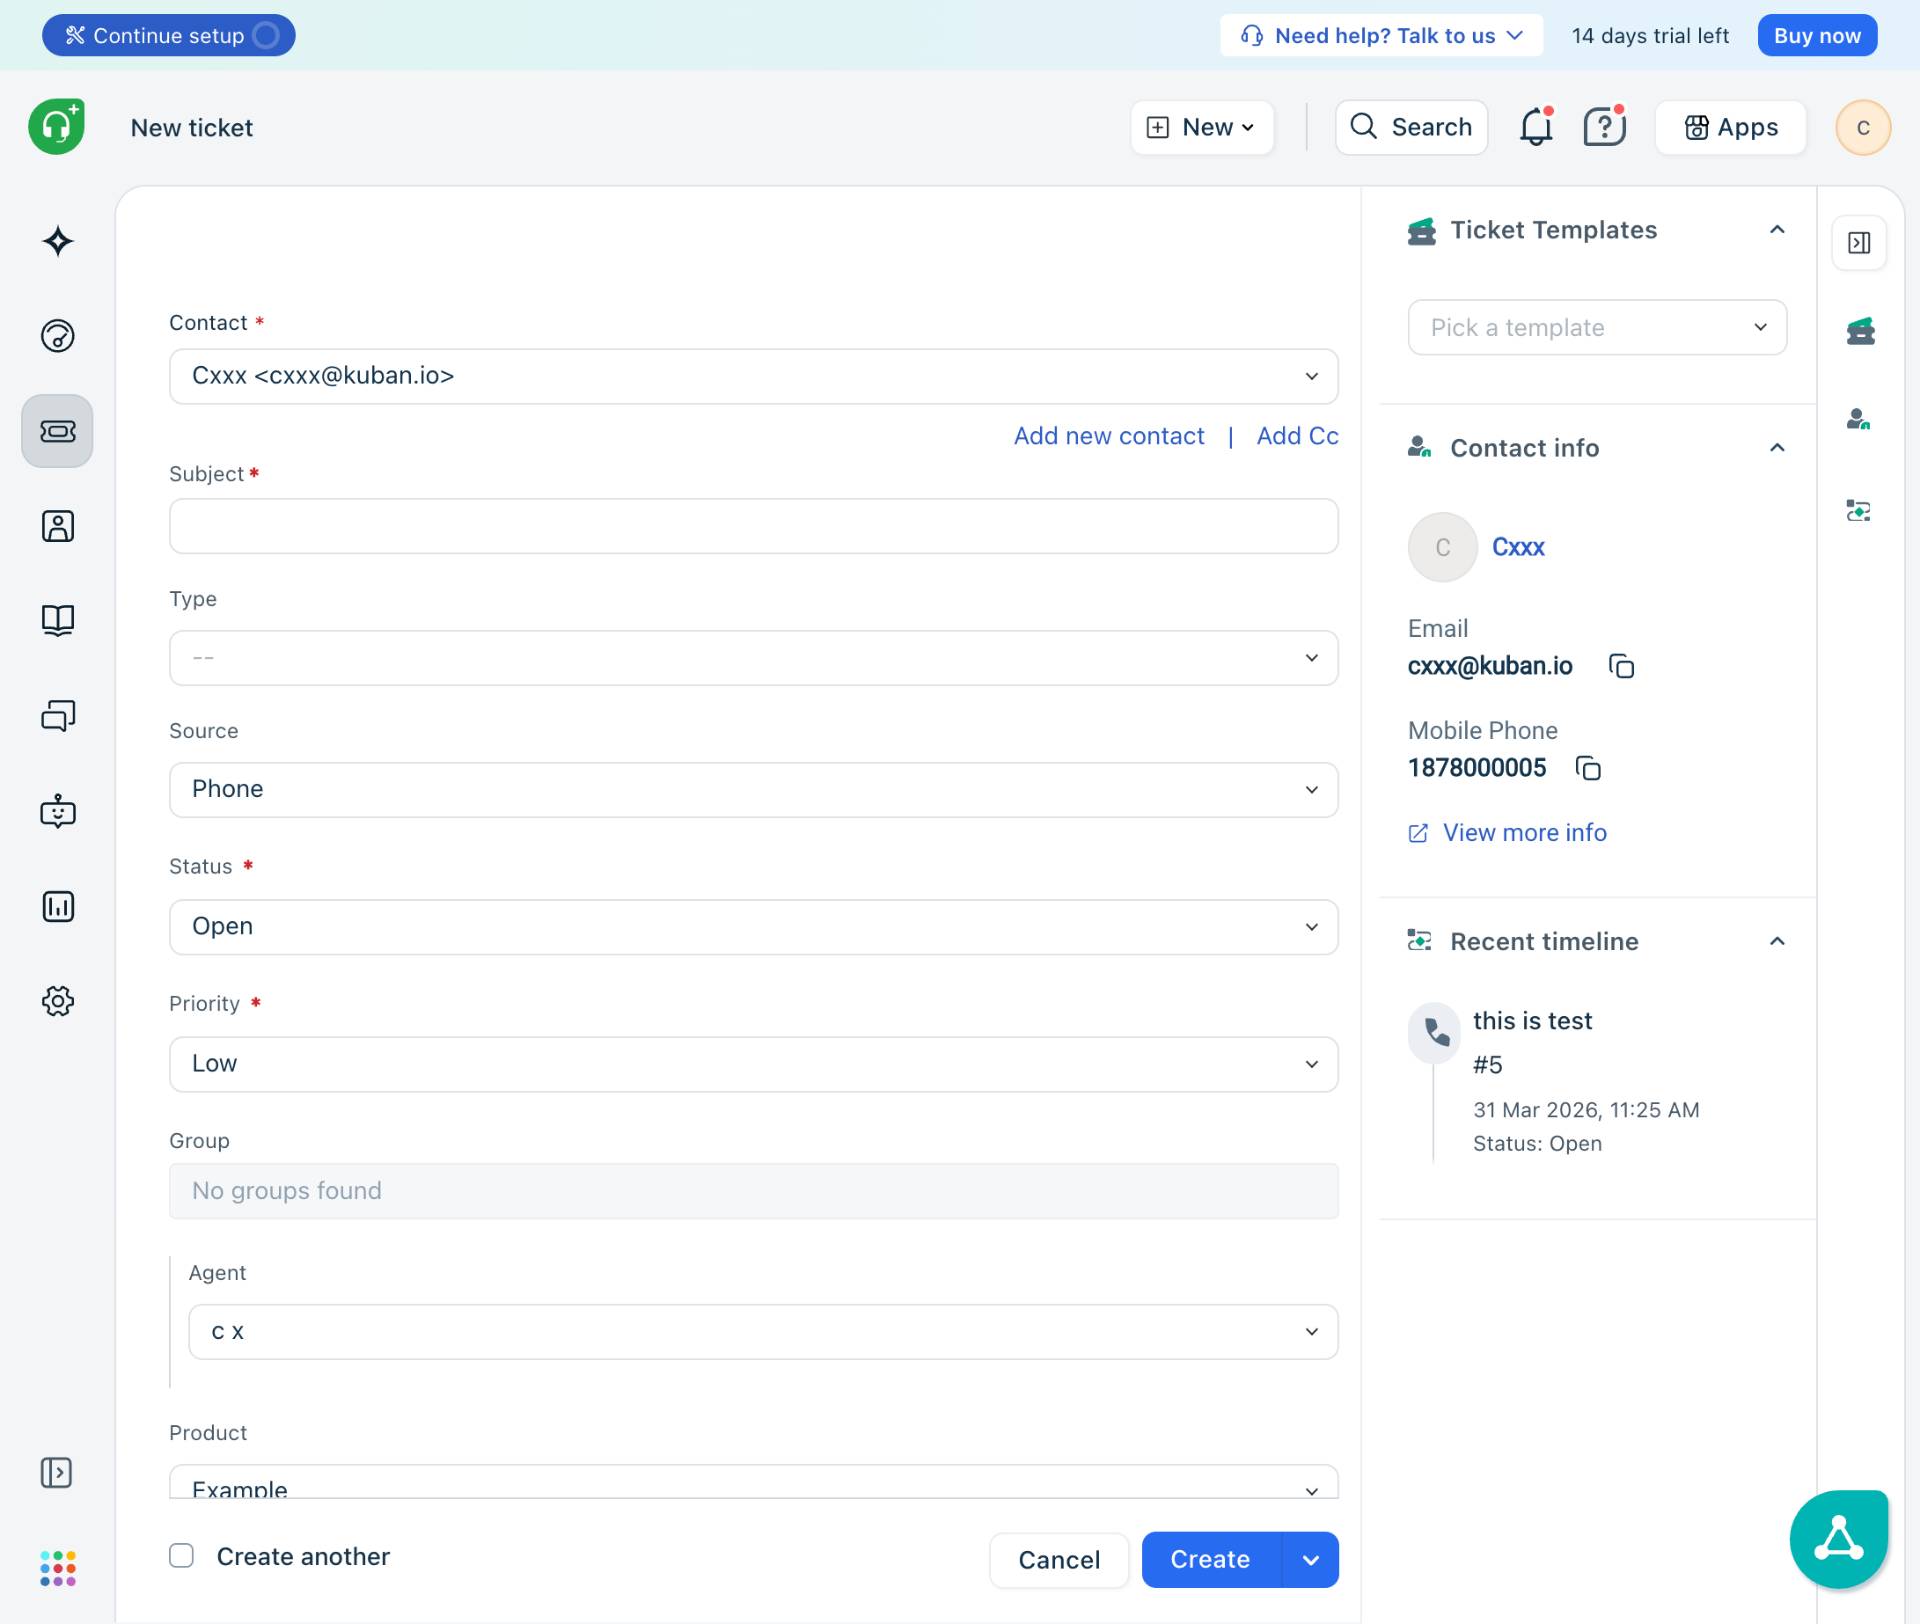
Fill in ticket details and submit
The new ticket form will open with the Contact field pre-filled with the selected contact. Complete the following required fields:
Verification
To confirm the procedure was completed successfully:
Return to the contact profile page and verify the tag appears in the Tags section under Contact info.
Check the TIMELINE tab on the contact page to confirm the new ticket appears in the activity history.
Navigate to the Tickets section and search for the newly created ticket to verify it exists with correct details.
Conclusion
You have successfully tagged a contact and created a new support ticket for them in Freshdesk. The contact is now categorized for easier filtering, and the support request has been logged in the system for your team to address.