
Purpose
This SOP describes how to create a new agent role and configure its privileges in Freshdesk, enabling fine-grained control over agent access and permissions.
Scope
This procedure is intended for account administrators who need to create custom roles with specific permissions for agents. Use this SOP when setting up new roles for your support team.
Prerequisites
Logged in to Freshdesk with Account Administrator or Administrator privileges
Access to the Admin panel
Procedure
- Step 1 of 6
Navigate to kuban-help.freshdesk.com
Open the Freshdesk admin portal
Navigate to kuban-help.freshdesk.com to access the admin dashboard.
- Step 2 of 6
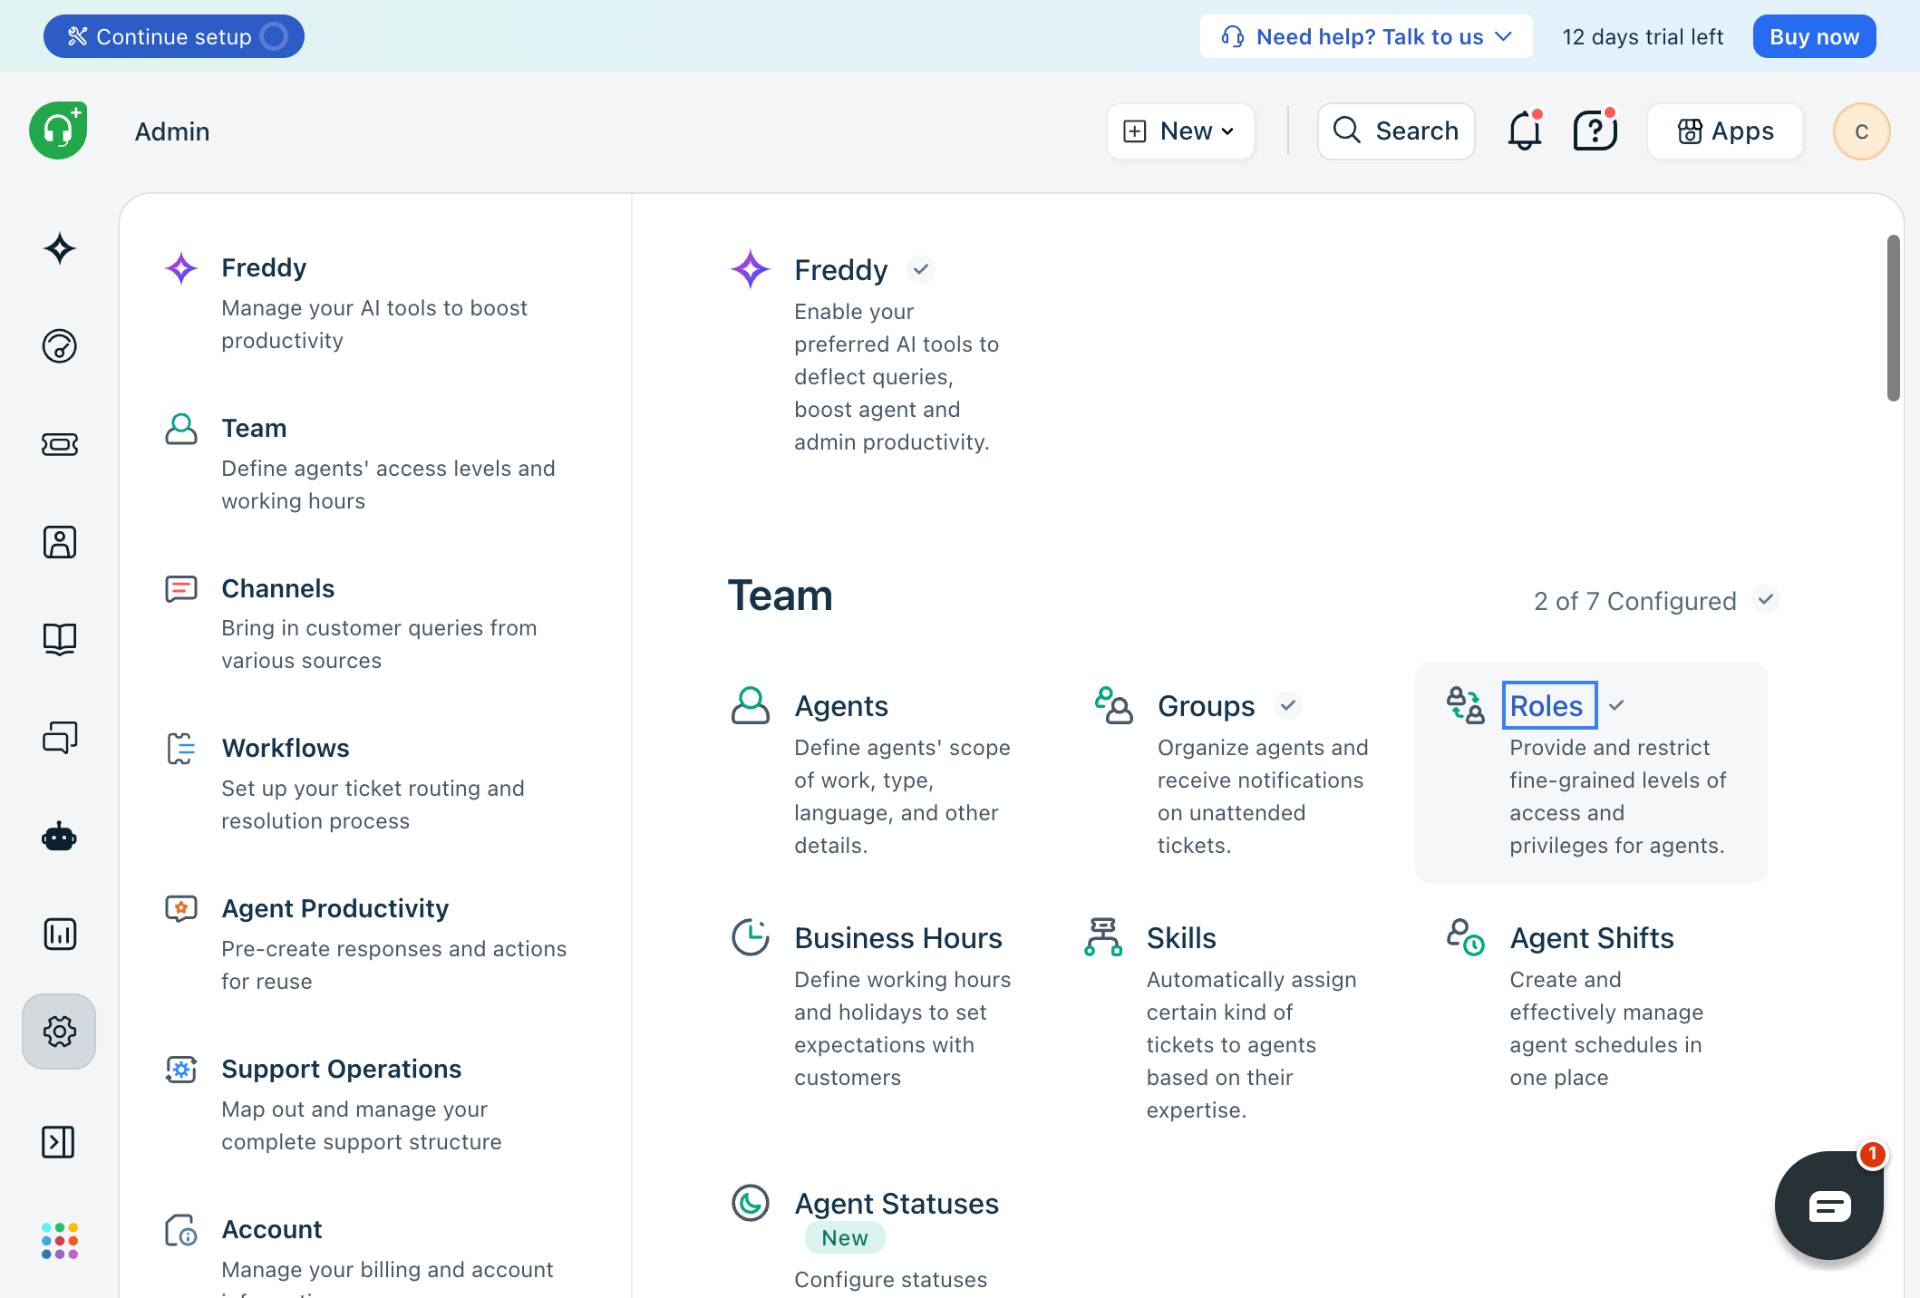
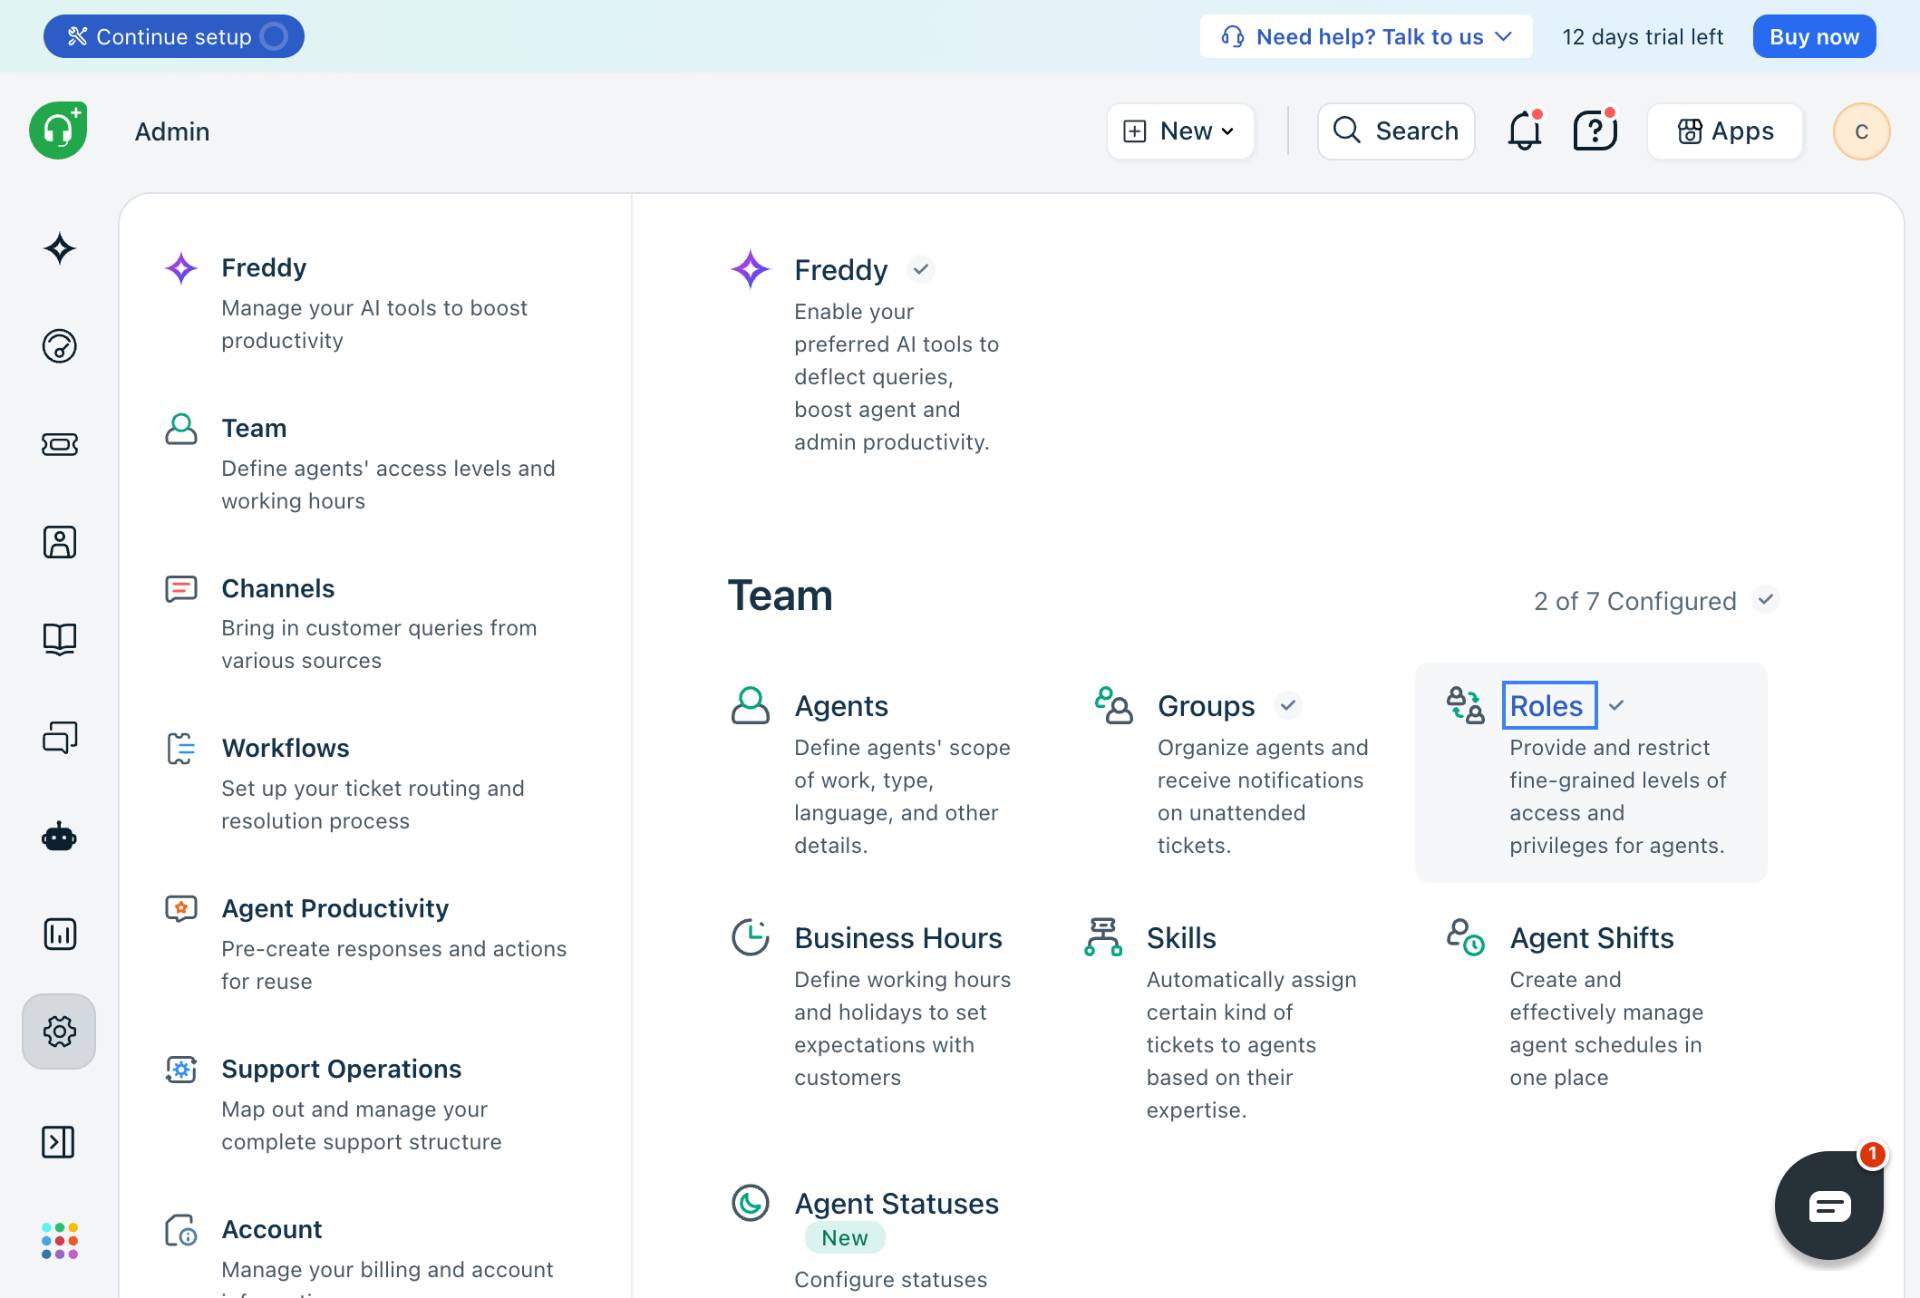
Access Roles Management
Click the Roles option
In the Team section, click Roles to manage agent roles and privileges.
- Step 3 of 6
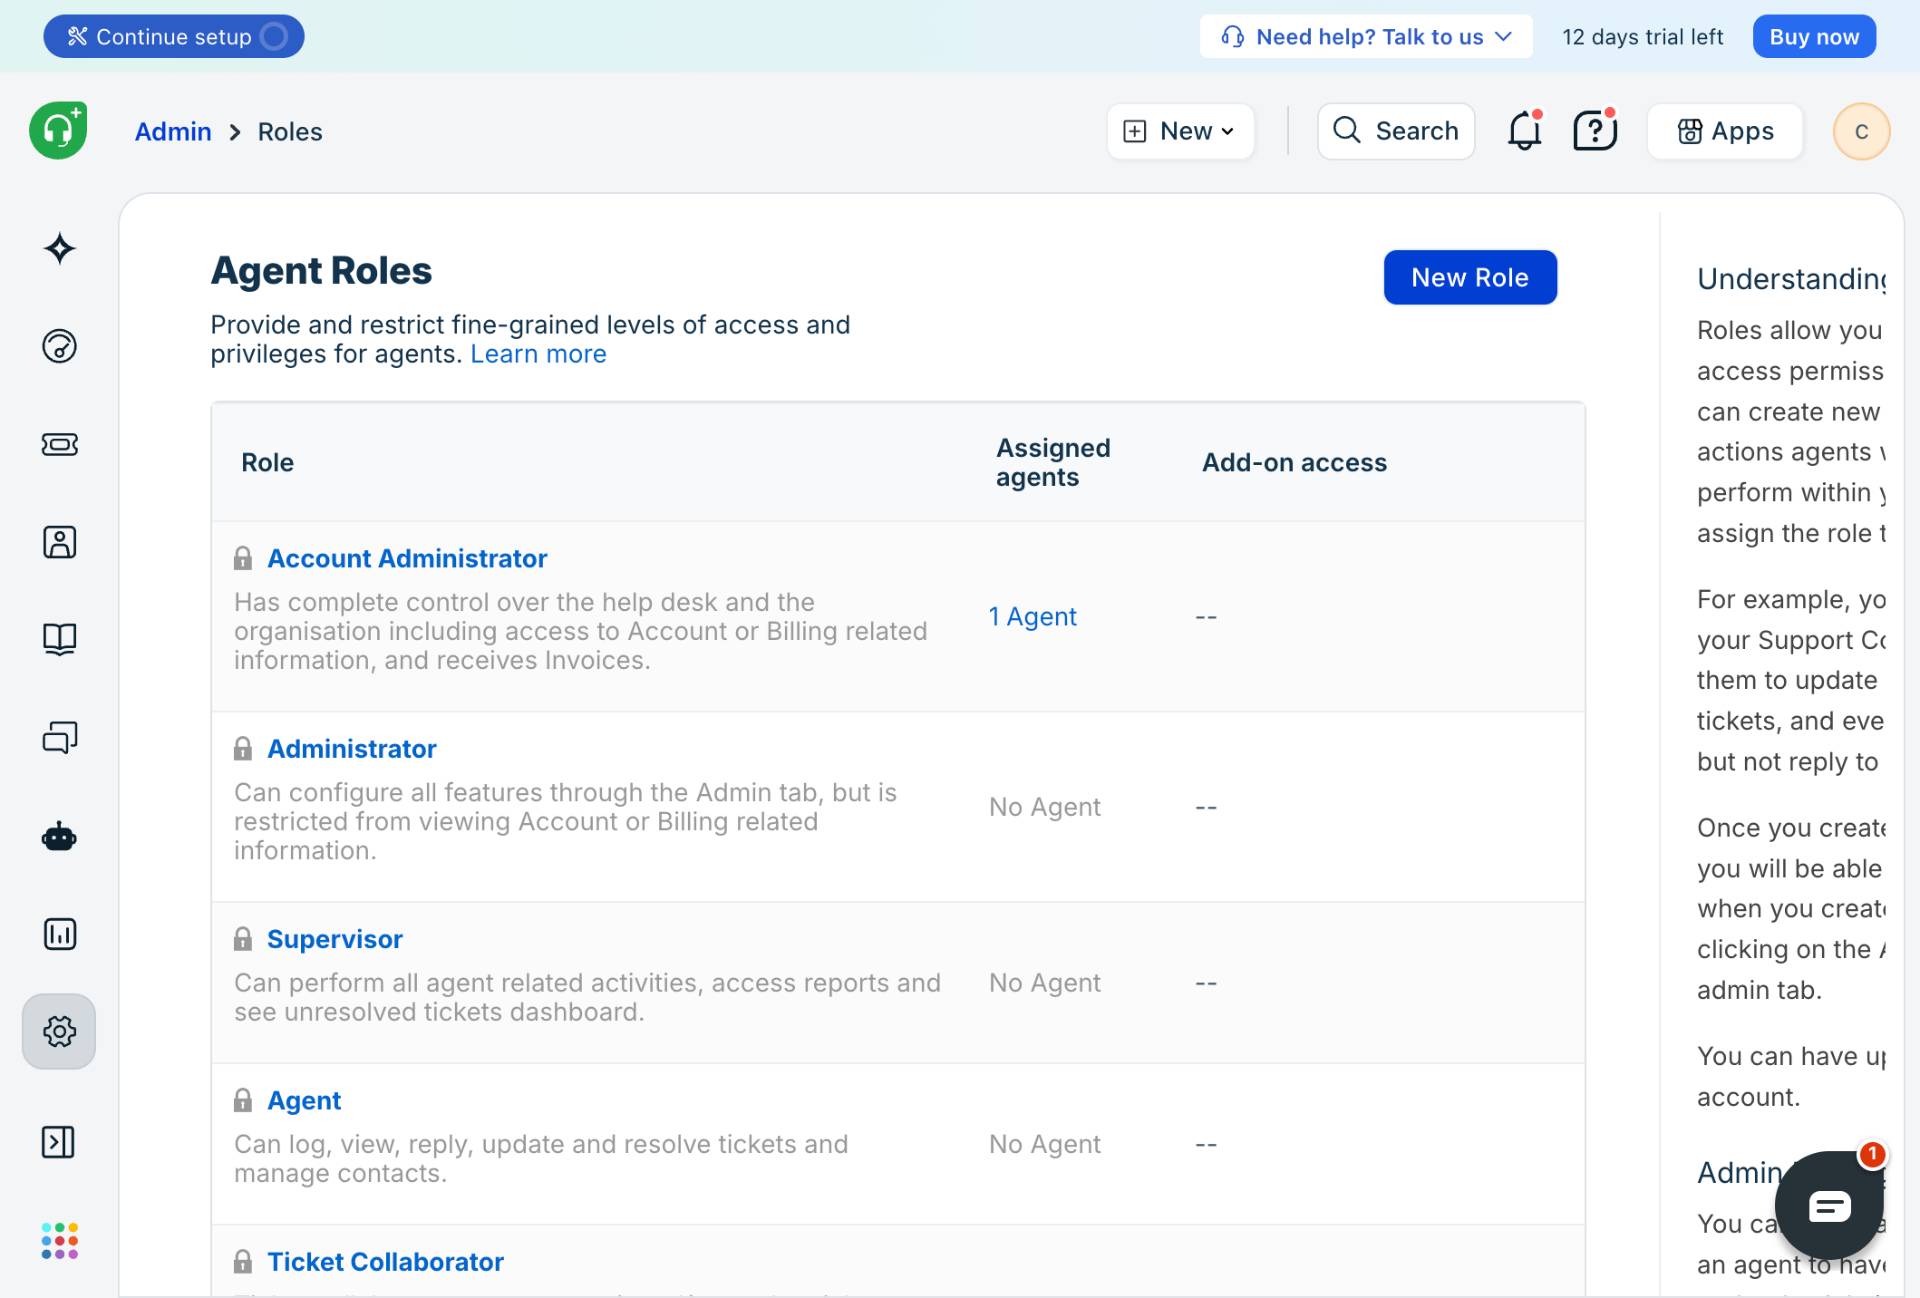
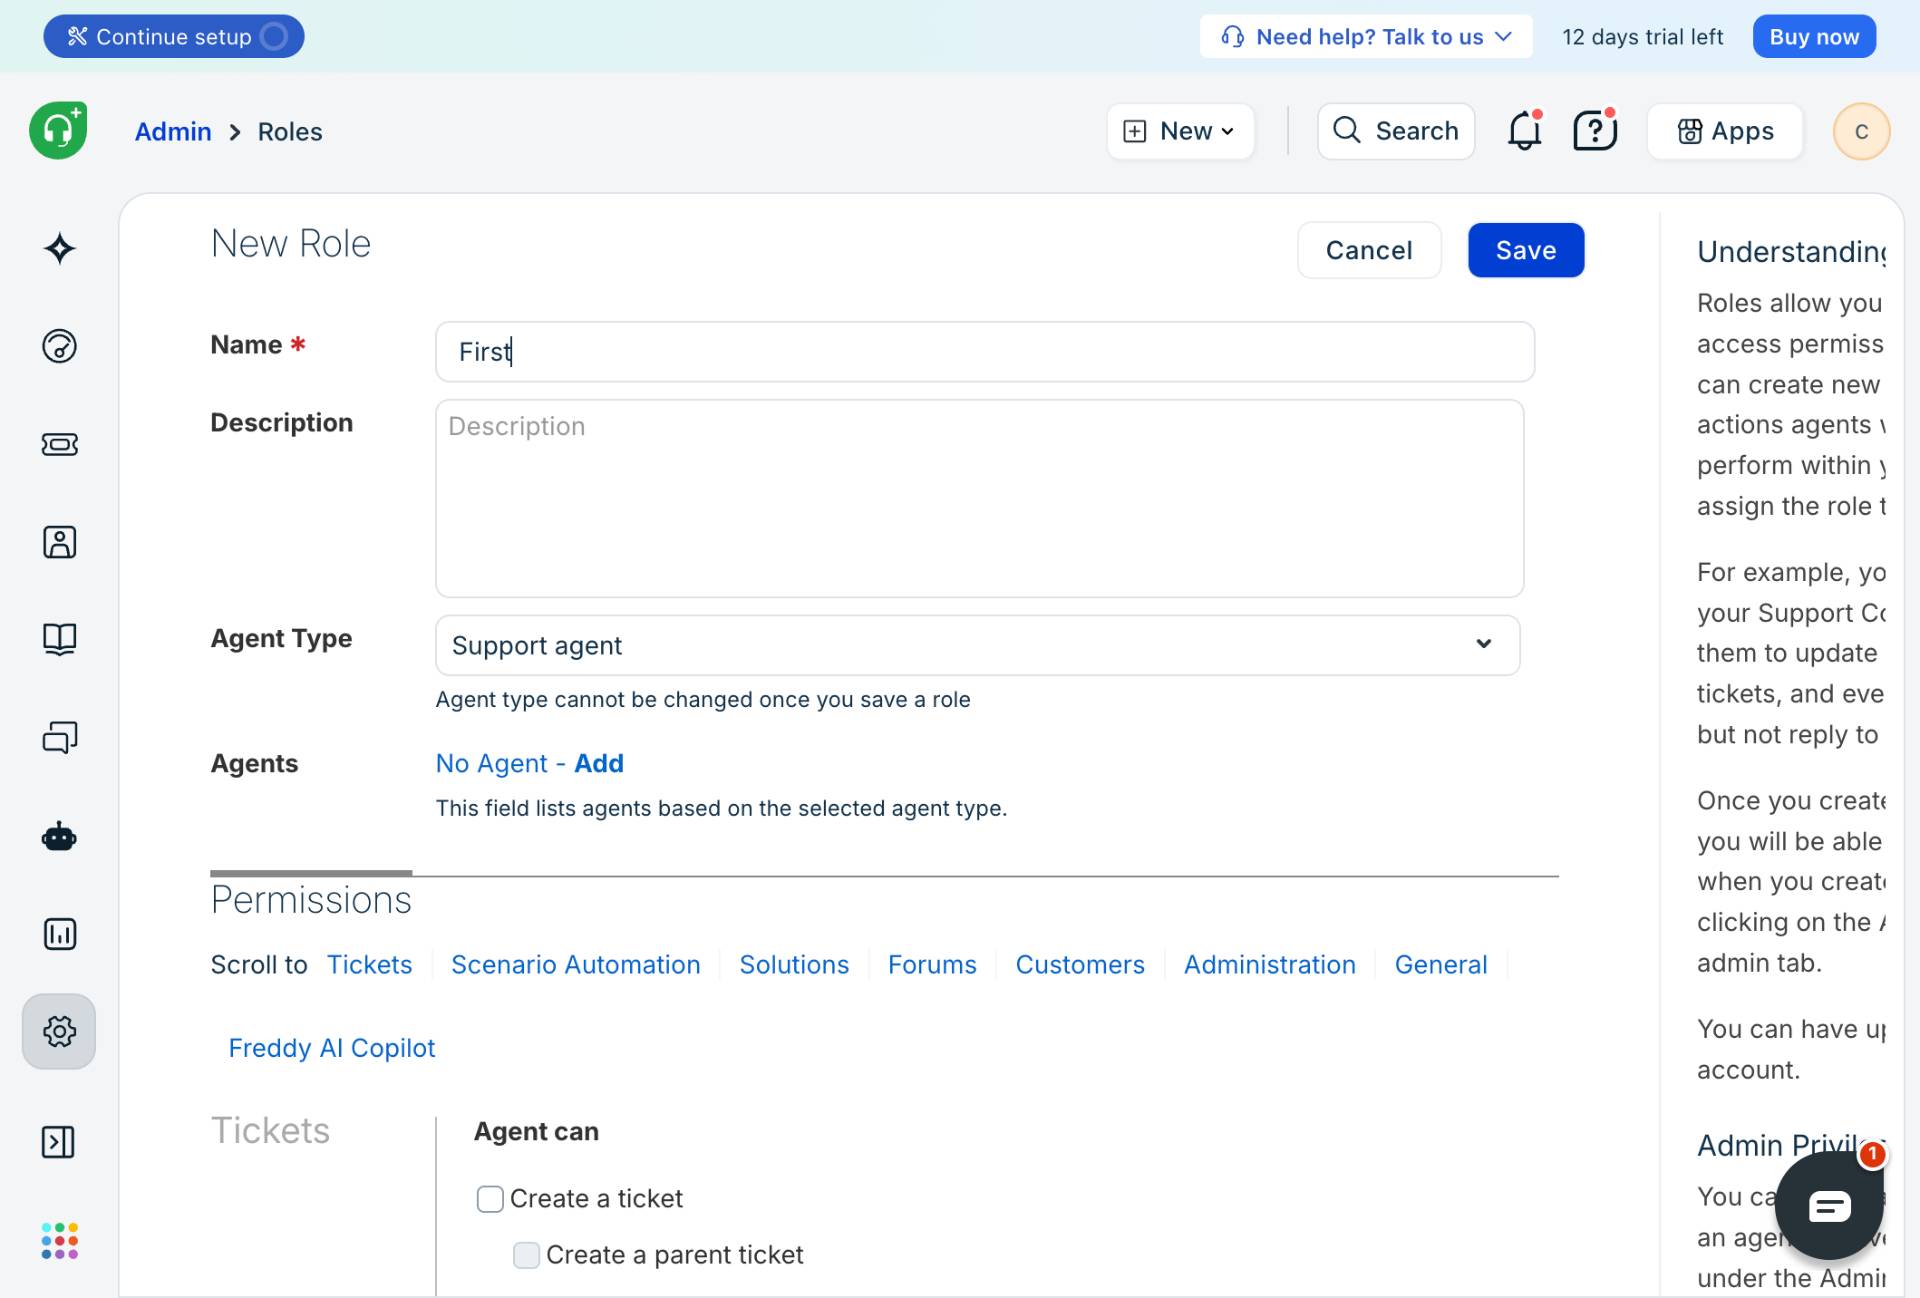
Create a New Role
Click the New Role button
Click the New Role button in the top-right corner to begin creating a new role.
- Step 4 of 6
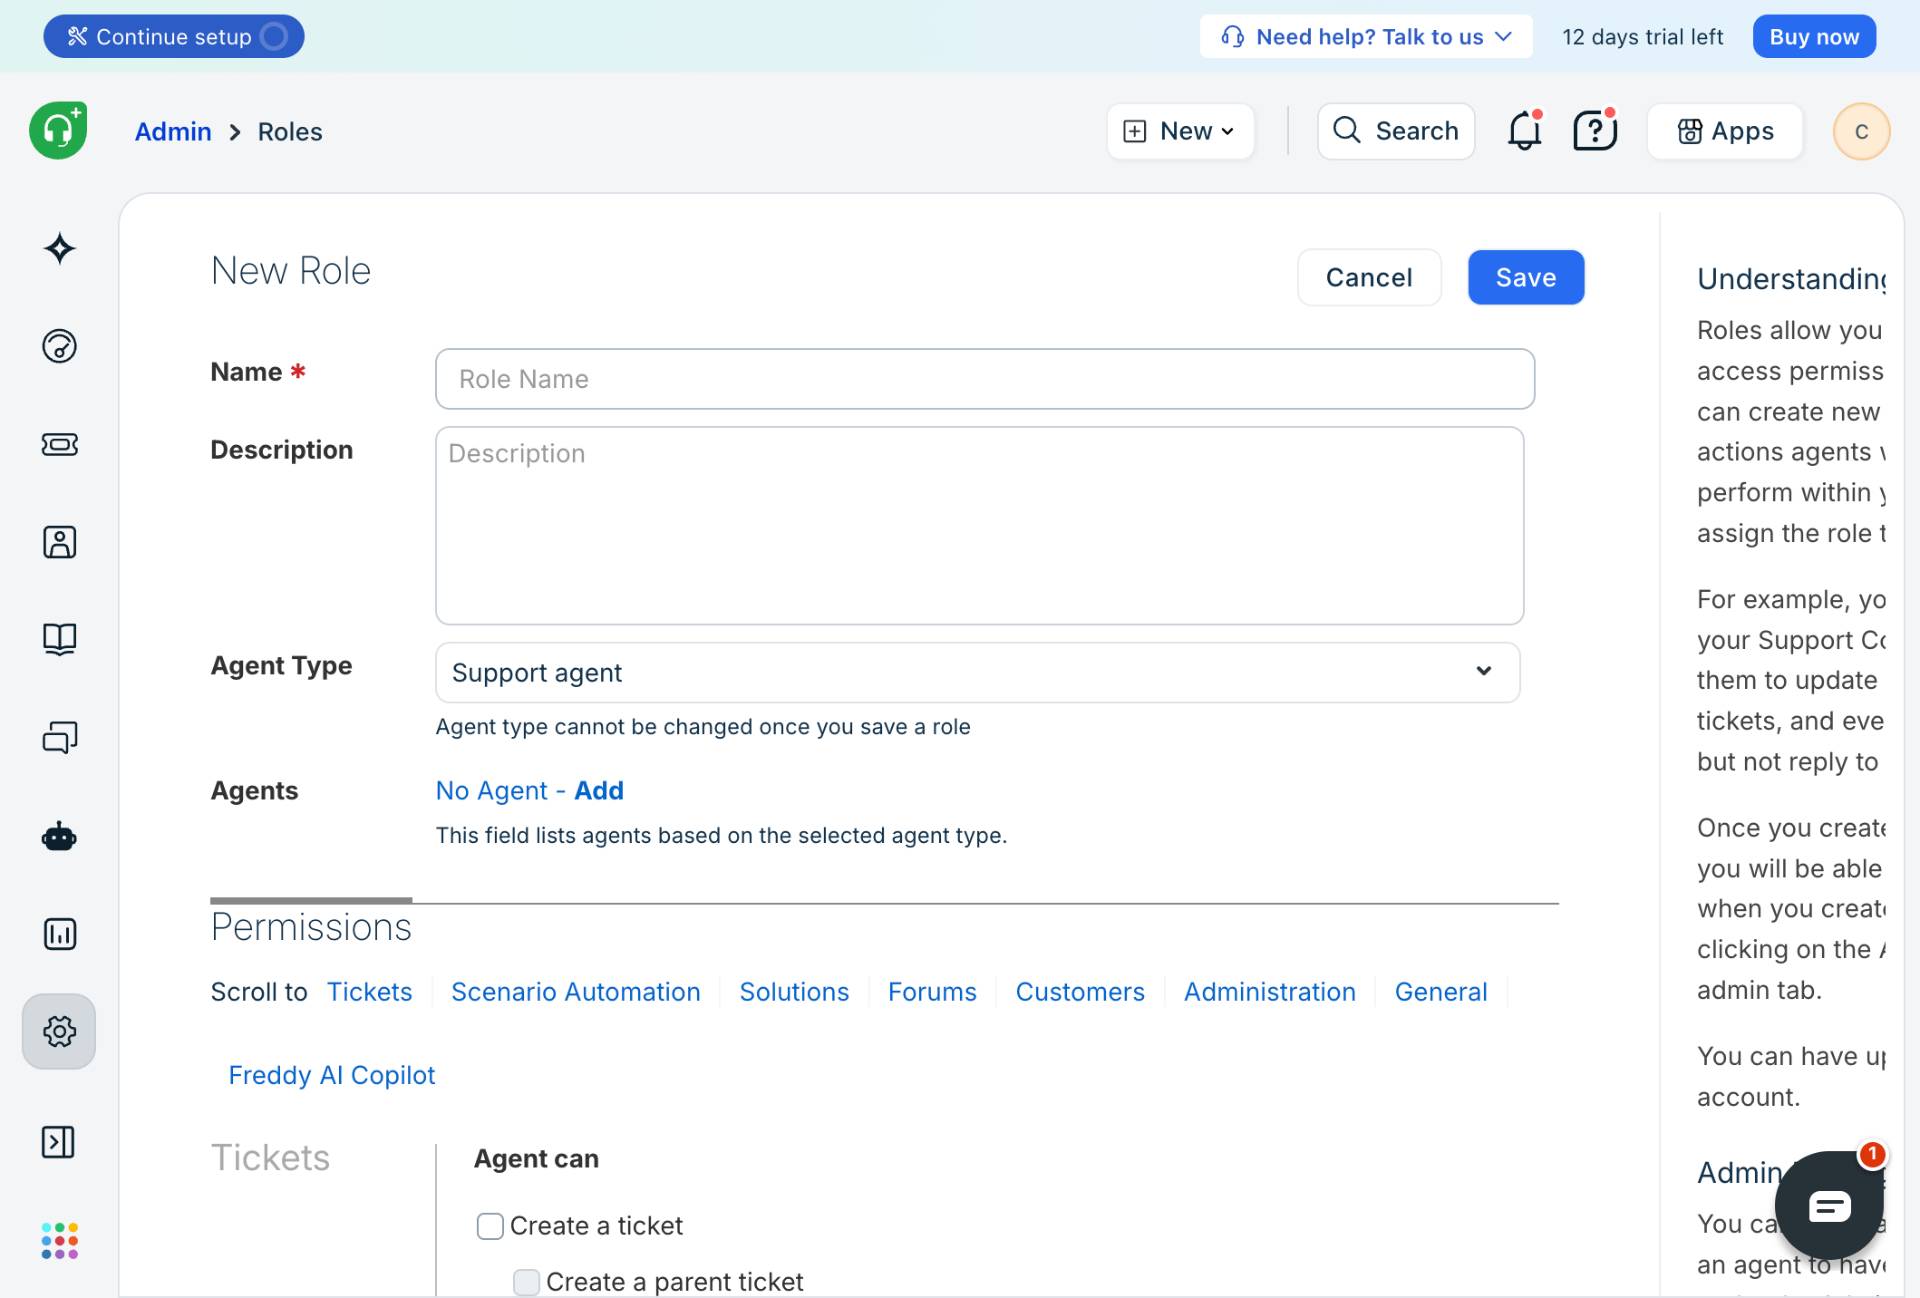
Configure Role Details
Enter role name and configure settings
Fill in the role configuration form:
- Step 5 of 6
Set Permissions
Configure role permissions
In the Permissions section, select the appropriate privileges for this role. Available permission categories include:
- Step 6 of 6
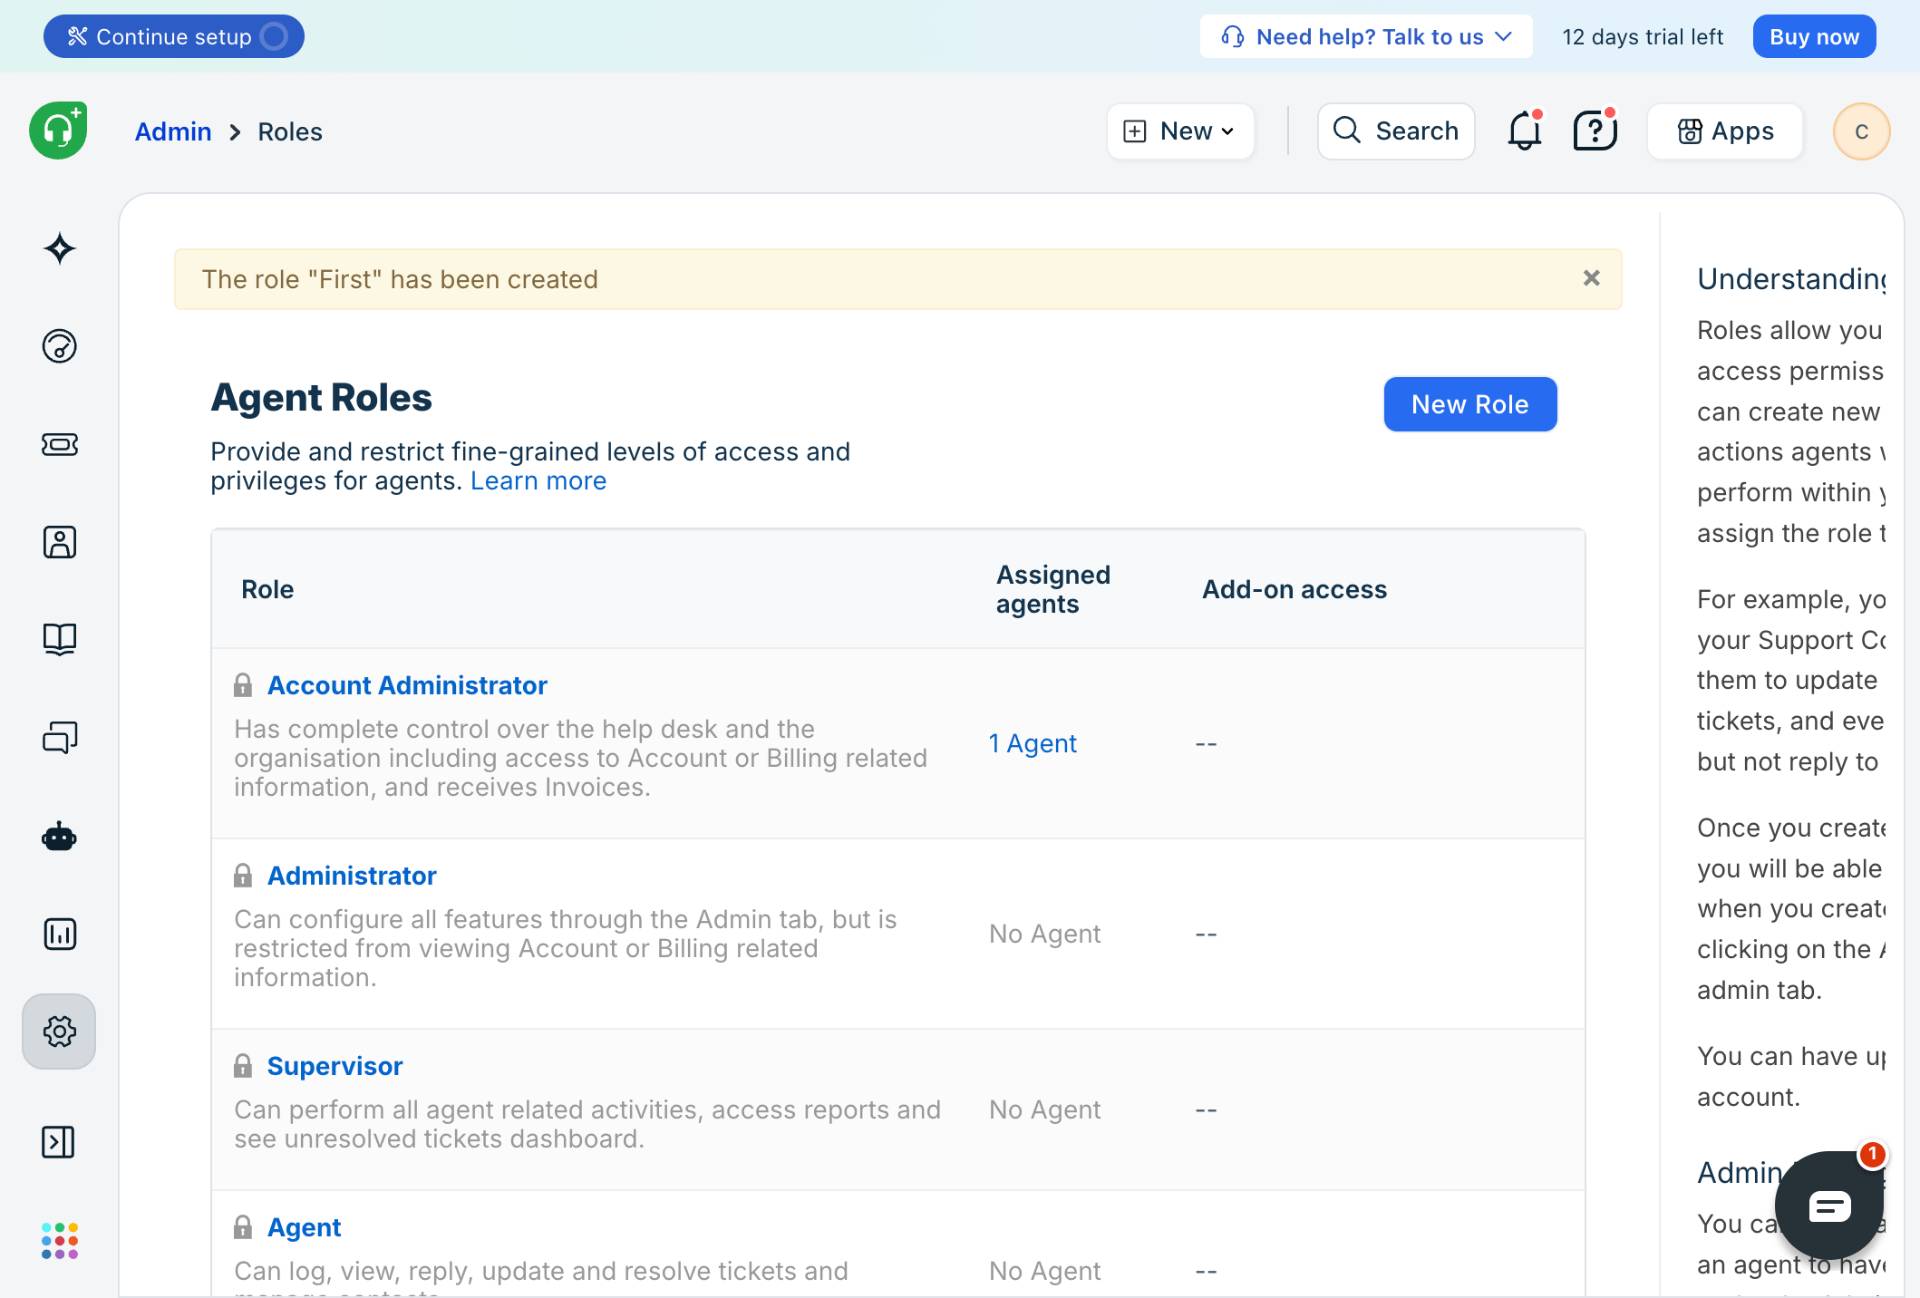
Save the Role
Click the Save button
Click the Save button to create the role. A confirmation message will appear indicating the role has been successfully created.
Verification
To verify the role was created successfully:
Look for the success message banner at the top of the page confirming The role has been created
Verify the new role appears in the Agent Roles list
Confirm the assigned permissions match your configuration
Conclusion
You have successfully created a new agent role with configured privileges. This role can now be assigned to agents to grant them the specific permissions defined for their responsibilities.