
Purpose
This SOP describes how to add comments to design elements in Figma and capture screenshots of the commented designs for documentation and collaboration purposes.
Scope
This procedure is intended for designers, product managers, developers, and stakeholders who need to provide feedback or track changes on Figma design files. Use this SOP when reviewing designs, requesting modifications, or documenting design decisions.
Prerequisites
Access to a Figma account with at least view permissions for the design file
The Figma design file is open in your browser
Procedure
- Step 1 of 7
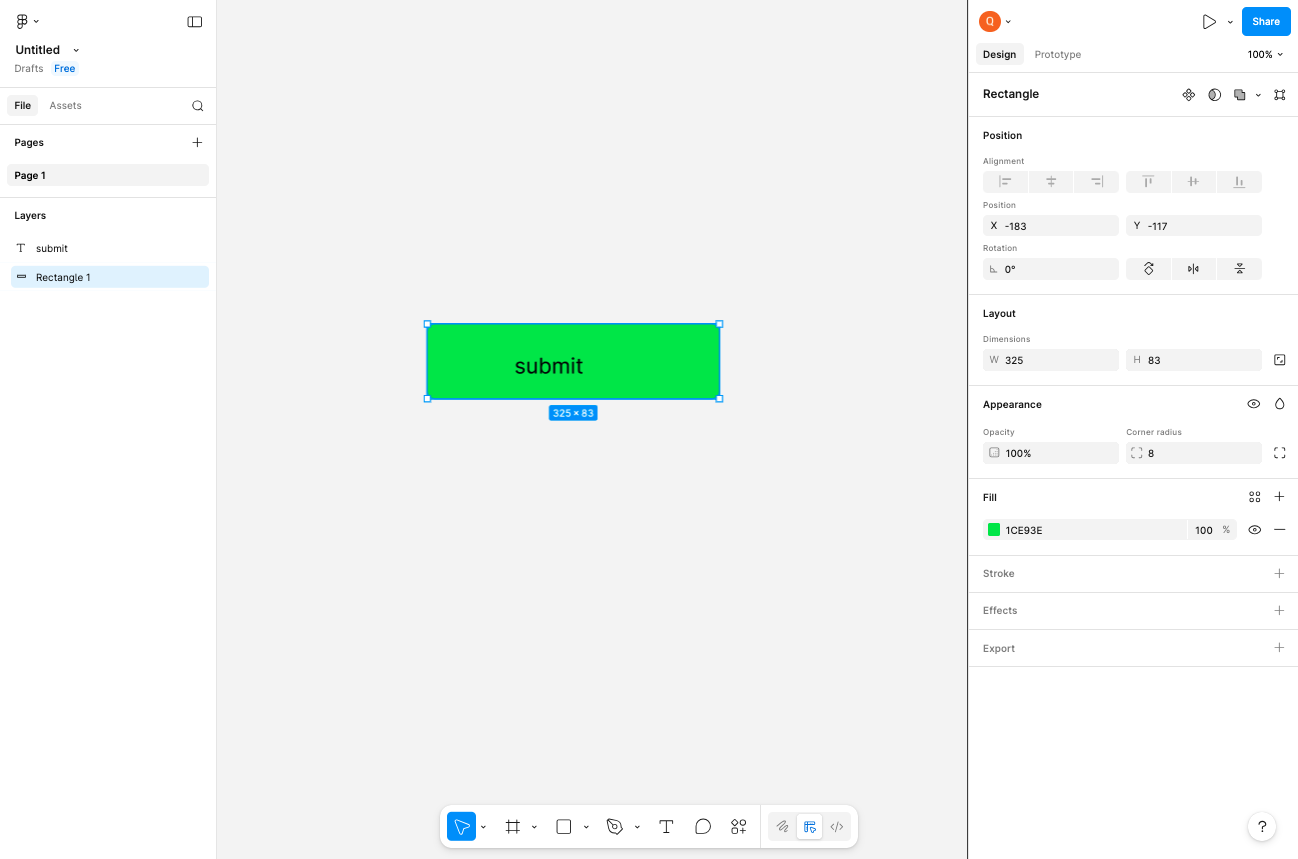
Navigate to Figma design file
Open the Figma design file
Navigate to your Figma design file. Ensure the file loads completely and you can see the design canvas with the elements you need to review.
- Step 2 of 7
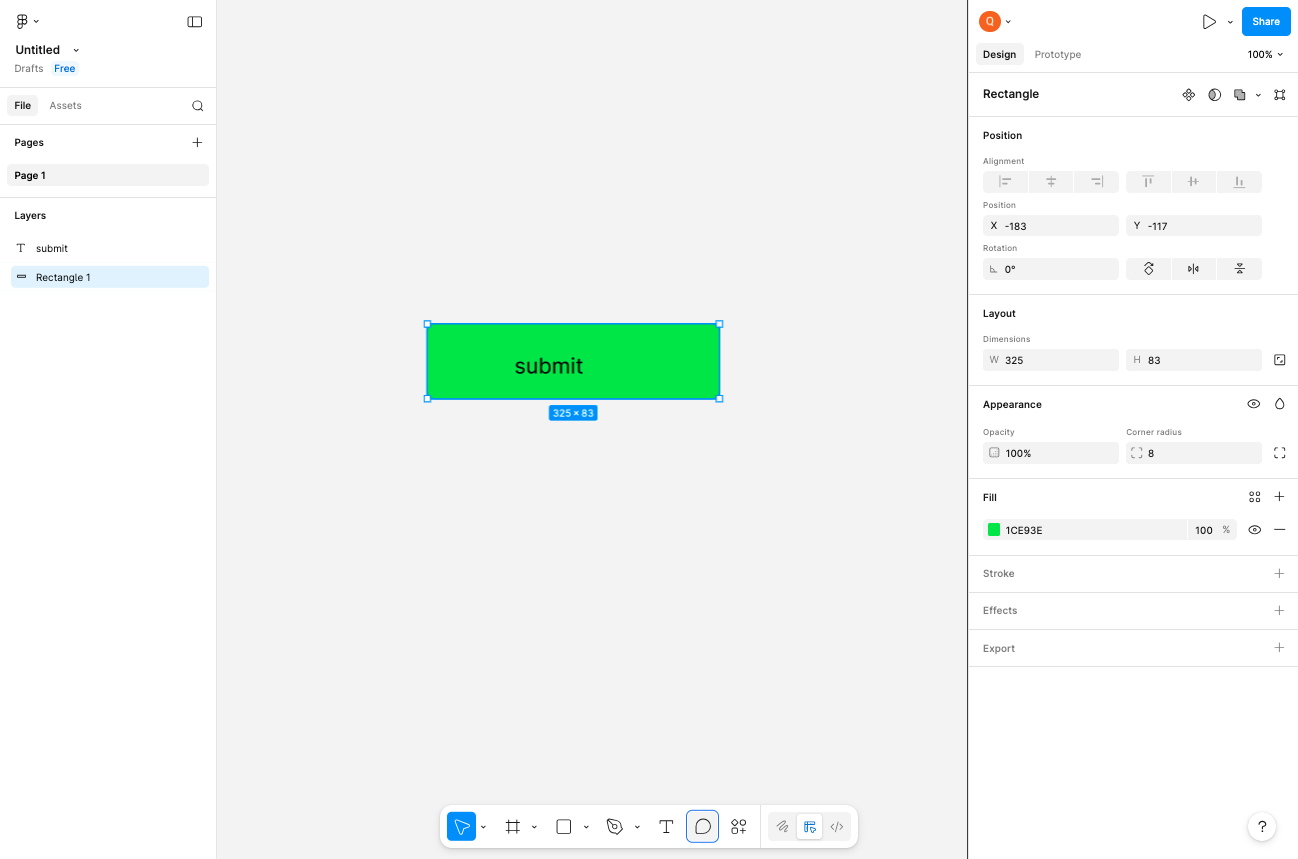
Activate the Comment tool
Click the Comment tool in the toolbar
Click the Comment icon in the bottom toolbar. The icon resembles a speech bubble or comment box. The cursor will change to indicate you are in comment mode.
- Step 3 of 7
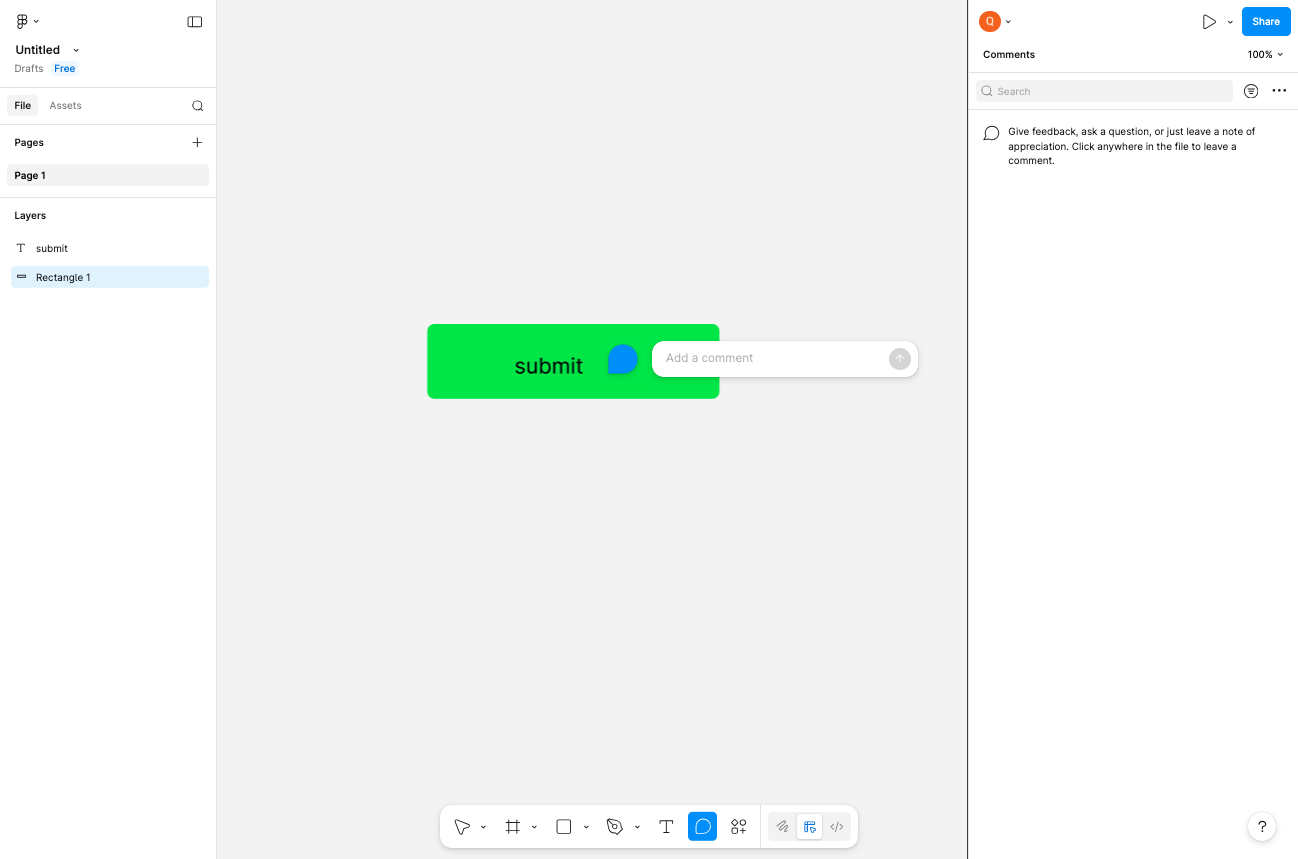
Place a comment on the design
Click on the design element where you want to add feedback
Click on the specific design element or area where you want to leave feedback. A comment input box will appear attached to that location. The right sidebar will switch to show the Comments panel.
- Step 4 of 7
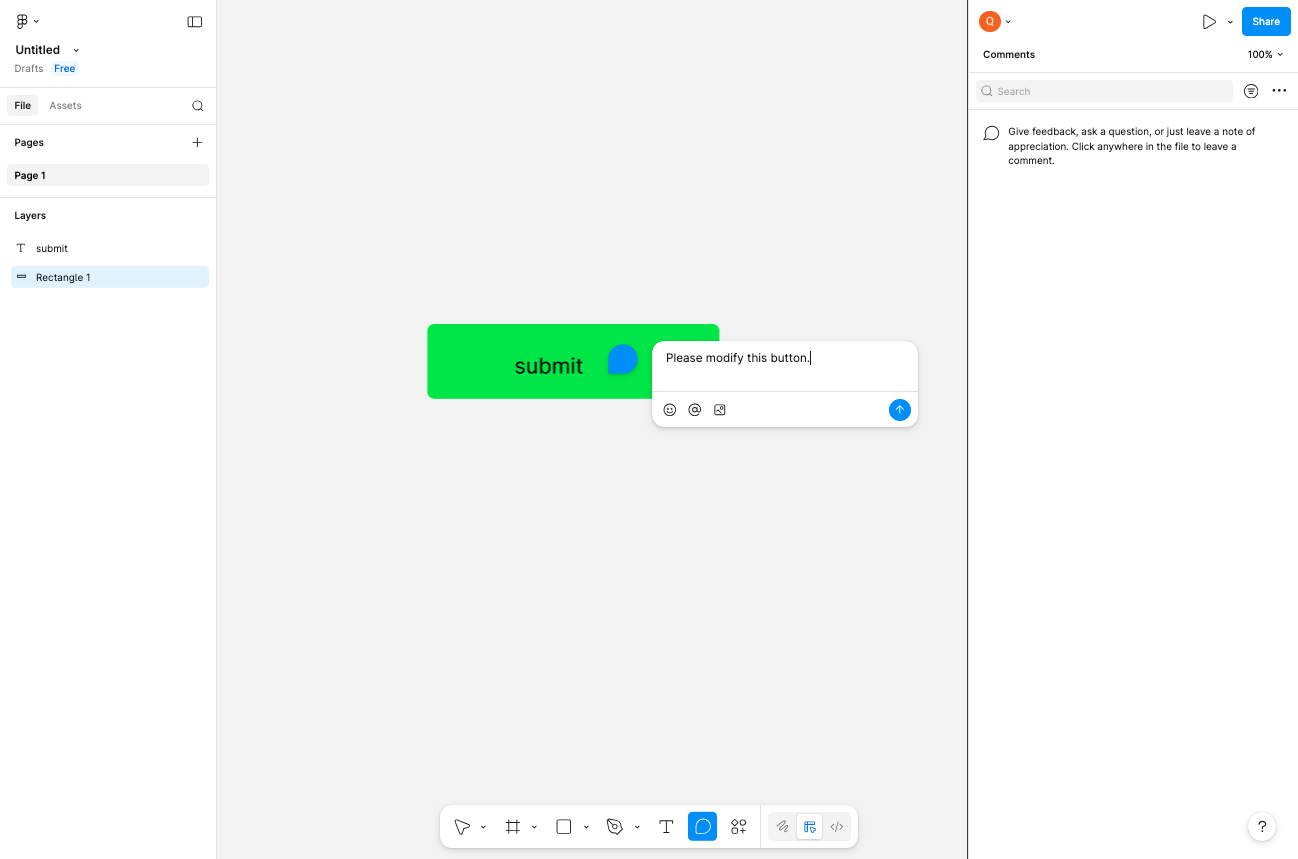
Enter your comment text
Type your feedback in the comment field
Type your feedback or request in the comment input box. Be specific and clear about what changes or review you are requesting. You can also use the formatting options below the text field to add emoji or attachments if needed.
- Step 5 of 7
Submit the comment
Post the comment to the design
Click the Post button (blue button with paper airplane icon) to submit your comment. The comment will be saved and visible as a comment marker on the design. The comment will also appear in the right sidebar Comments panel.
- Step 6 of 7
Access comment options
Right-click the comment for additional actions
Right-click on the comment marker (the circular icon on the design) to access additional options. This opens a context menu where you can resolve the comment, edit it, delete it, or copy a link to share the specific comment with team members.

- Step 7 of 7
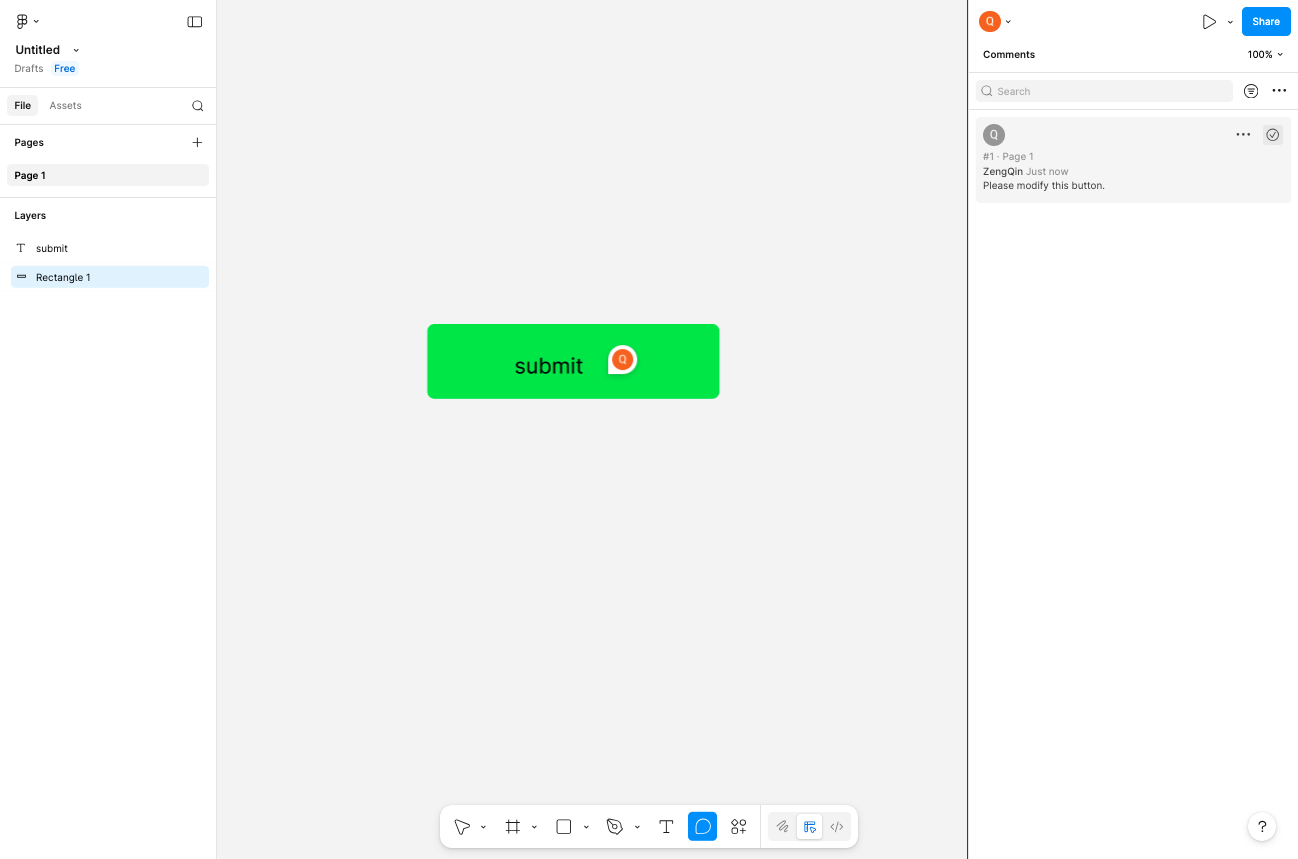
Capture screenshot
Take a screenshot of the commented design
Capture a screenshot of the design showing the comment marker for documentation, sharing via email, or including in reports. The screenshot will show the design element with the comment indicator visible.
Verification
To verify the comment was added successfully:
Confirm the comment marker (colored circle) appears on the design element where you placed it.
Check that the comment text is visible in the Comments panel on the right sidebar.
Click on the comment marker to ensure the comment details open and display correctly.
Troubleshooting
Comment tool not available
Ensure you have at least comment permissions for the file. If you only have view access, you may not be able to add comments. Contact the file owner to request comment or edit permissions.
Comment does not appear after posting
Refresh the page and check the Comments panel. If the comment is still missing, try adding the comment again. Ensure you clicked the Post button and not just pressed Enter.
Cannot find the comment marker
Look in the Comments panel on the right sidebar. Clicking on a comment in the panel will highlight its location on the canvas. If the comment is on a different page, navigate to that page first.
Conclusion
You have successfully added a comment to a design element in Figma and captured a screenshot of the commented design. Team members with access to the file will be able to see your feedback and respond accordingly.