
Purpose
This SOP describes how to navigate within Figma, rename pages, and use the Text tool to create and format text elements in your design file.
Scope
This procedure is intended for designers and team members working in Figma who need to organize their design files and add formatted text elements. Follow this SOP when creating text content or organizing pages in a Figma design file.
Prerequisites
Active Figma account with access to the design file
Edit permissions for the Figma file (can edit or owner role)
Procedure
- Step 1 of 7
Navigate to Figma design file
Open the Figma file
Navigate to the Figma file at www.figma.com and sign in with your Figma credentials if prompted.

- Step 2 of 7
Rename the page
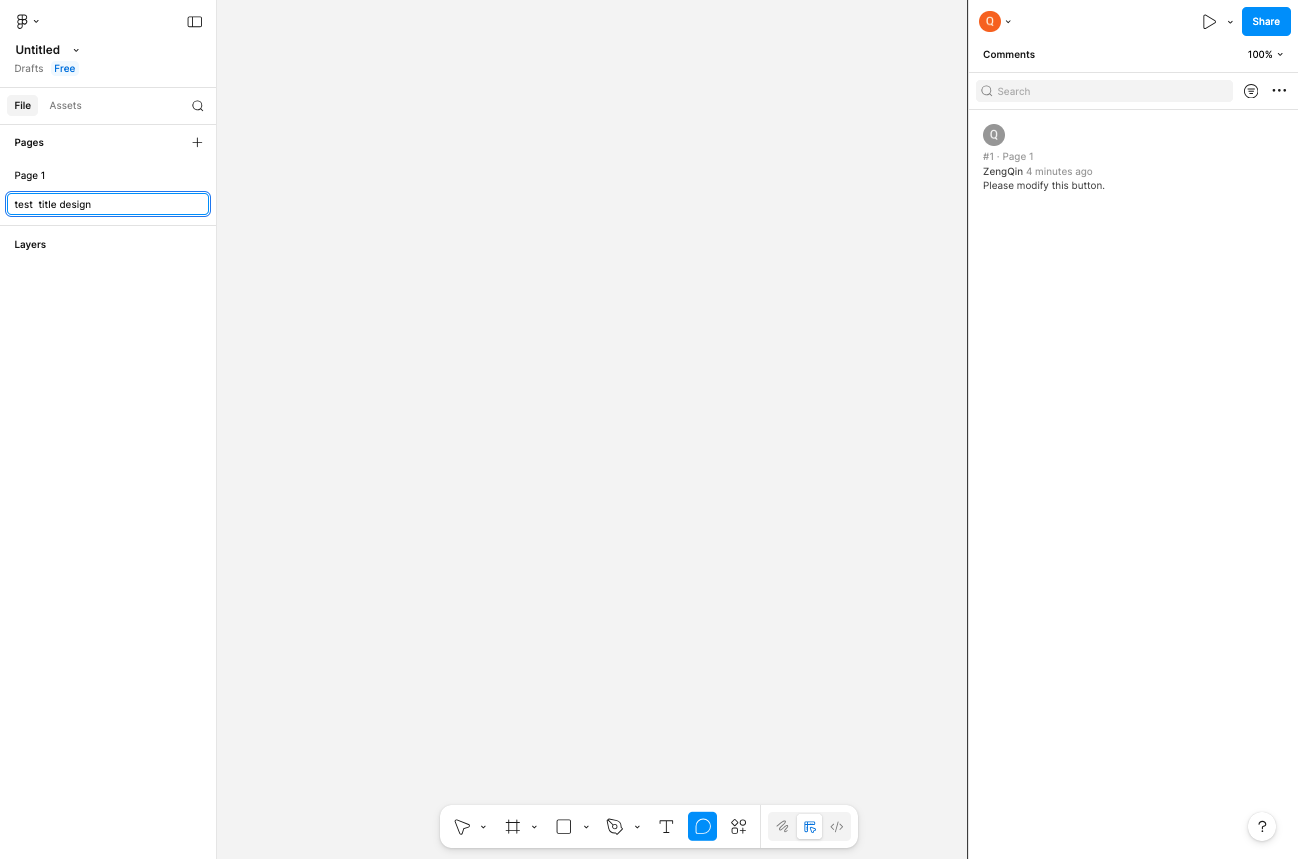
Type the new page name
In the left sidebar under Pages, locate the page you want to rename (e.g., Page 2). Click on the page name to select it, then type the new page name such as test title design.
- Step 3 of 7
Select the Text tool
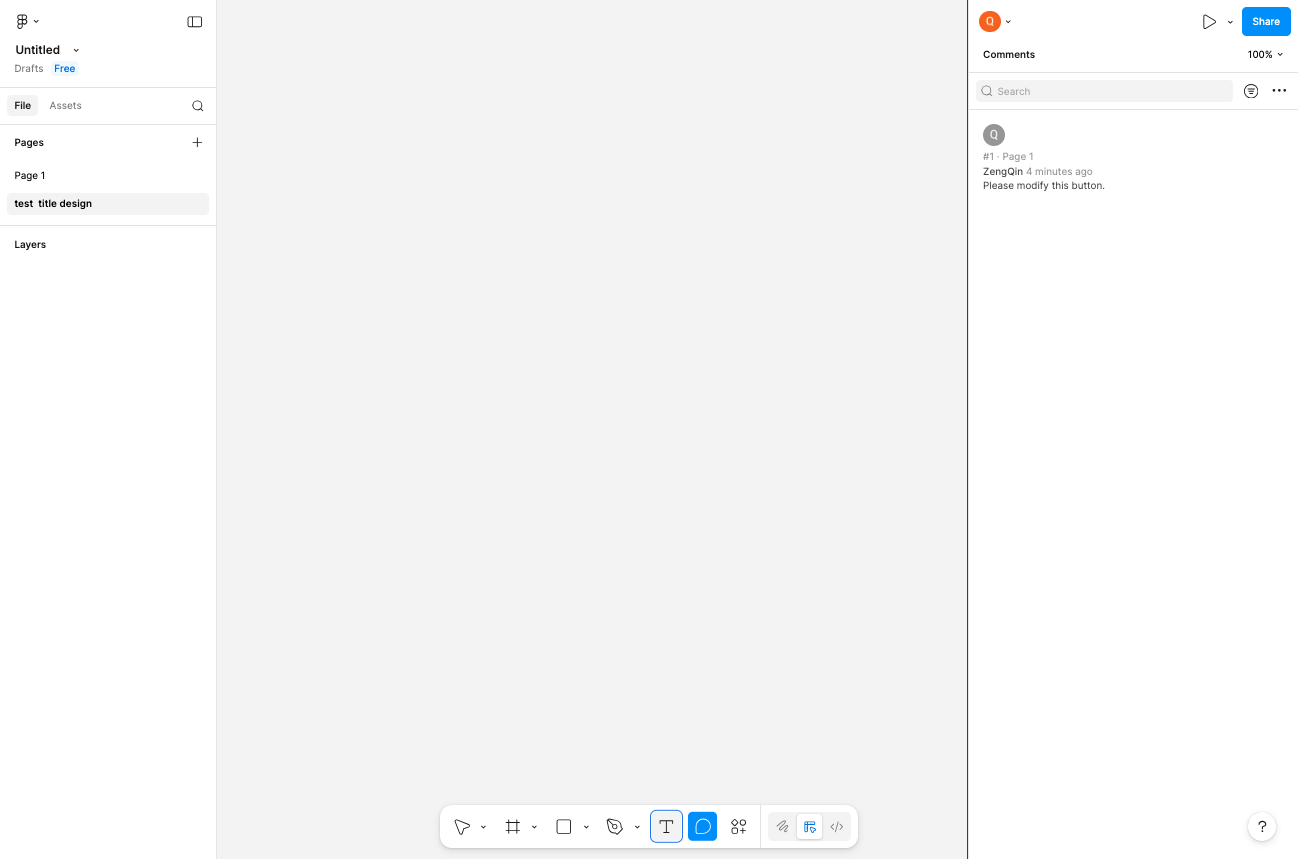
Click the Text tool icon
Click the Text tool button (marked with a T icon) in the toolbar at the bottom of the screen. The button will become highlighted when selected.
- Step 4 of 7
Place text on the canvas
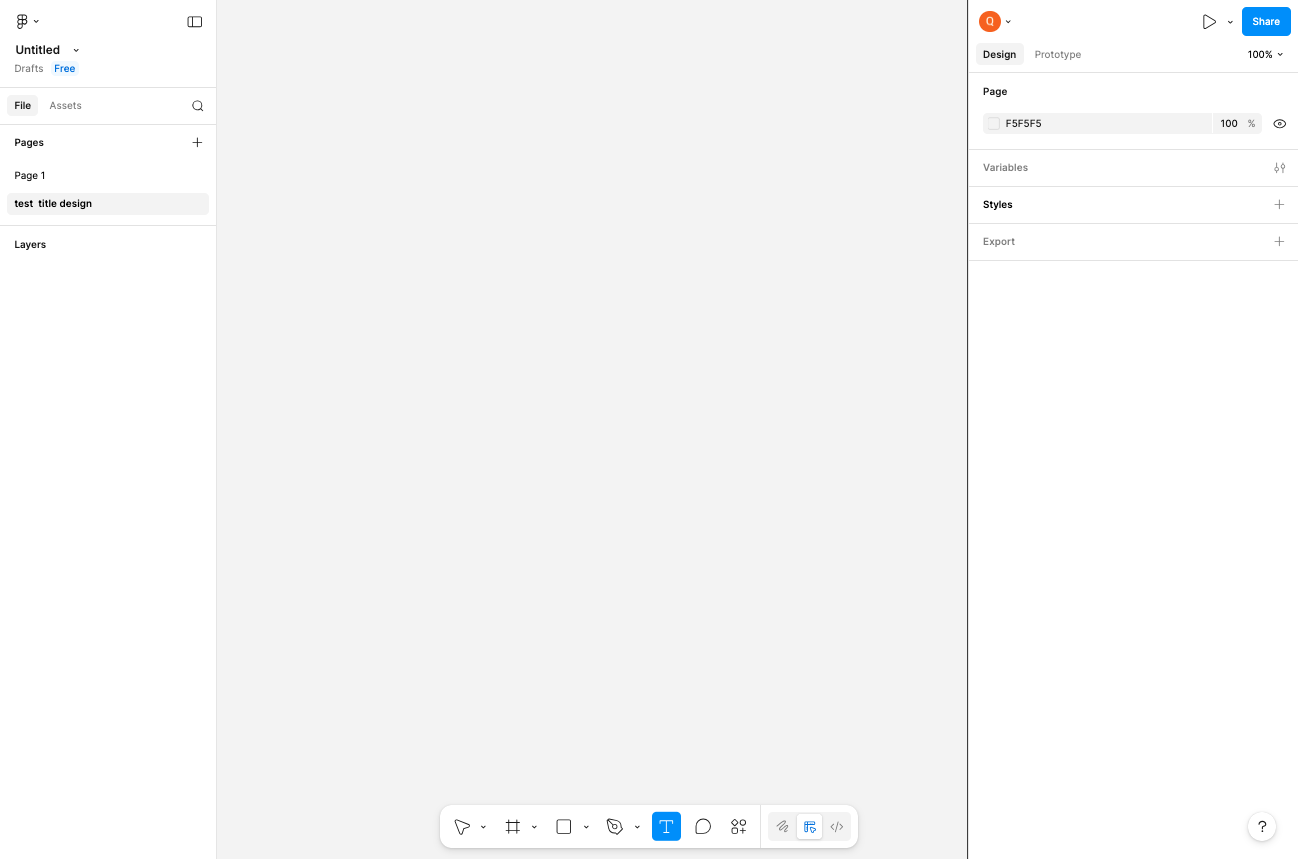
Click on the canvas to create a text box
Click anywhere on the empty canvas to place a new text element. A text cursor will appear indicating you can start typing.
- Step 5 of 7
Enter text content
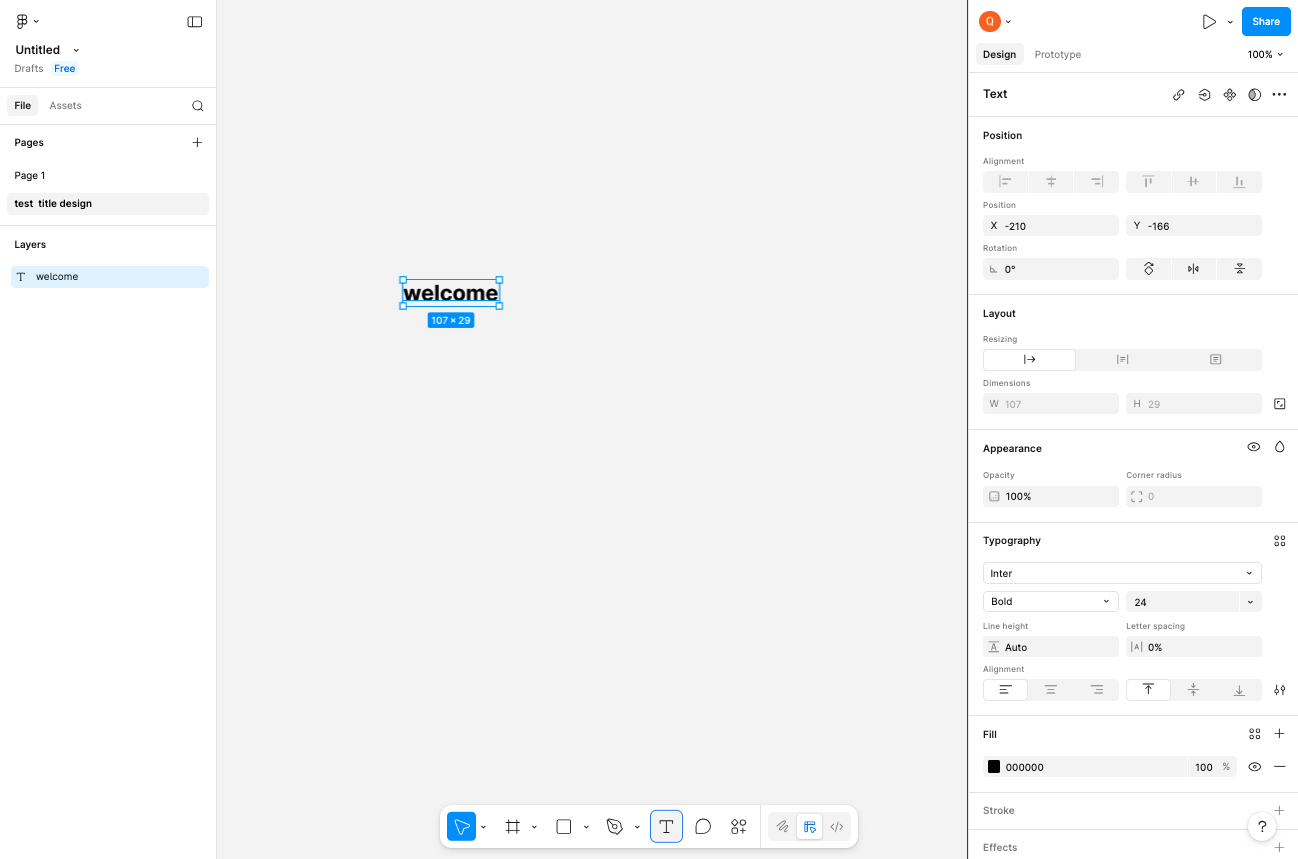
Type your desired text
Type your desired text content (e.g., welcome). The text will appear on the canvas and a new text layer will be created in the Layers panel on the left.

- Step 6 of 7
Change font weight to Bold
Select Bold from the font weight dropdown
In the right sidebar Typography section, click the font weight dropdown currently showing Regular. A dropdown menu will appear with weight options including Thin, Light, Regular, Medium, Semi Bold, and Bold. Select Bold to make the text thicker and more prominent.

- Step 7 of 7
Create additional text element
Add another text element to the canvas
Click the Text tool button again (or press T on your keyboard). Then click on a different area of the canvas to place another text element. Type your additional text content (e.g., Hello Word).
Verification
After completing the procedure, verify your work:
The page name in the left sidebar displays the new name you entered.
Text elements appear on the canvas with the content you typed.
The text layer names in the Layers panel match the text content.
The Typography panel shows Bold as the selected font weight for formatted text.
Conclusion
You have successfully organized your Figma file by renaming the page and created formatted text elements using the Text tool with Bold font weight styling.