
Purpose
This SOP describes how to create frames, add text elements, and set up prototype interactions in Figma to build interactive design mockups.
Scope
This procedure is intended for designers and UX professionals using Figma to create interactive prototypes. Follow this SOP when building multi-screen prototypes with navigation between frames.
Prerequisites
Active Figma account with access to the Figma web application or desktop app
An existing Figma file or the ability to create a new design file
Procedure
- Step 1 of 9
Navigate to Figma design file
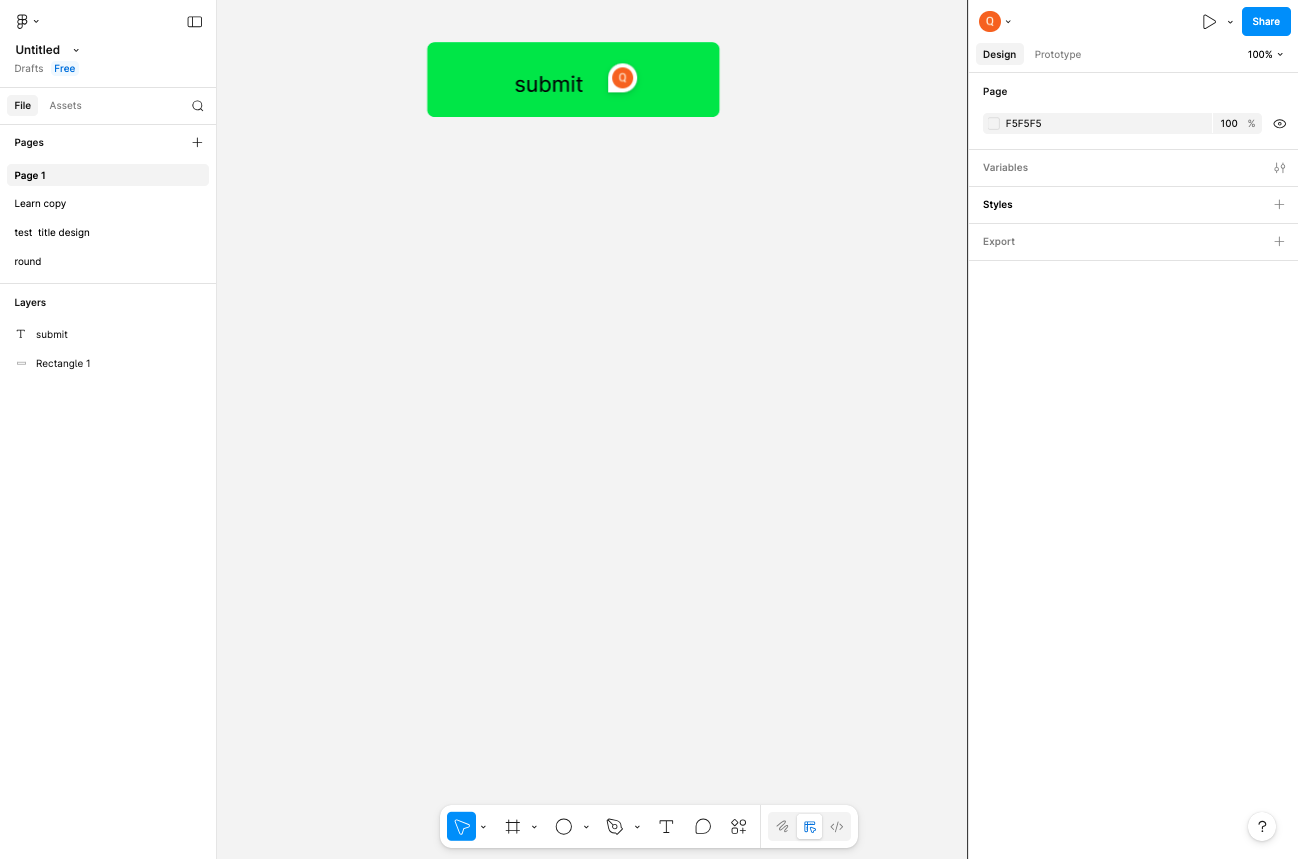
Open the Figma file
Navigate to figma.com and open your design file. Ensure you are signed in to your Figma account.
- Step 2 of 9
Select the Frame tool
Click the Frame tool icon
Click the Frame tool icon (rectangle with a plus symbol) in the toolbar at the bottom of the screen. This activates frame creation mode.

- Step 3 of 9
Create the first frame
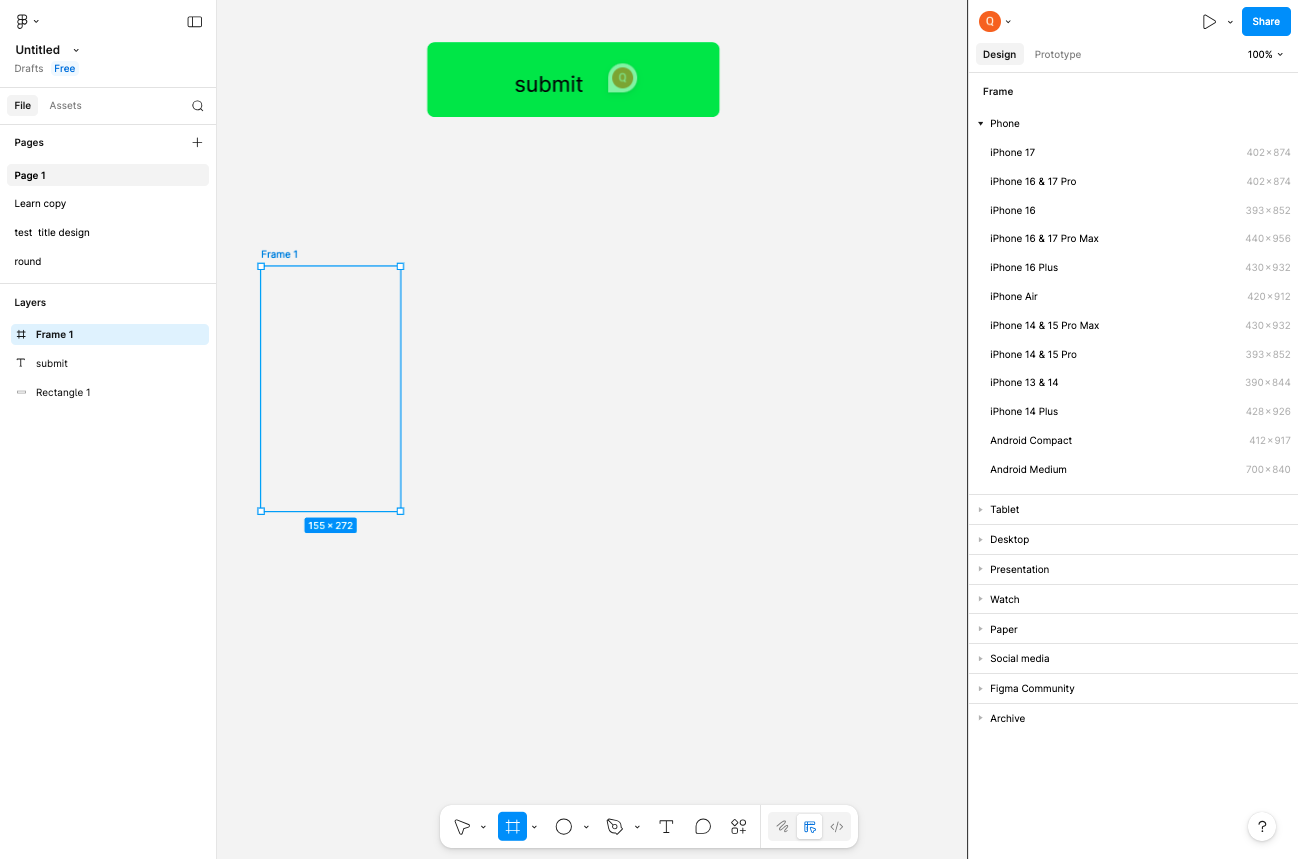
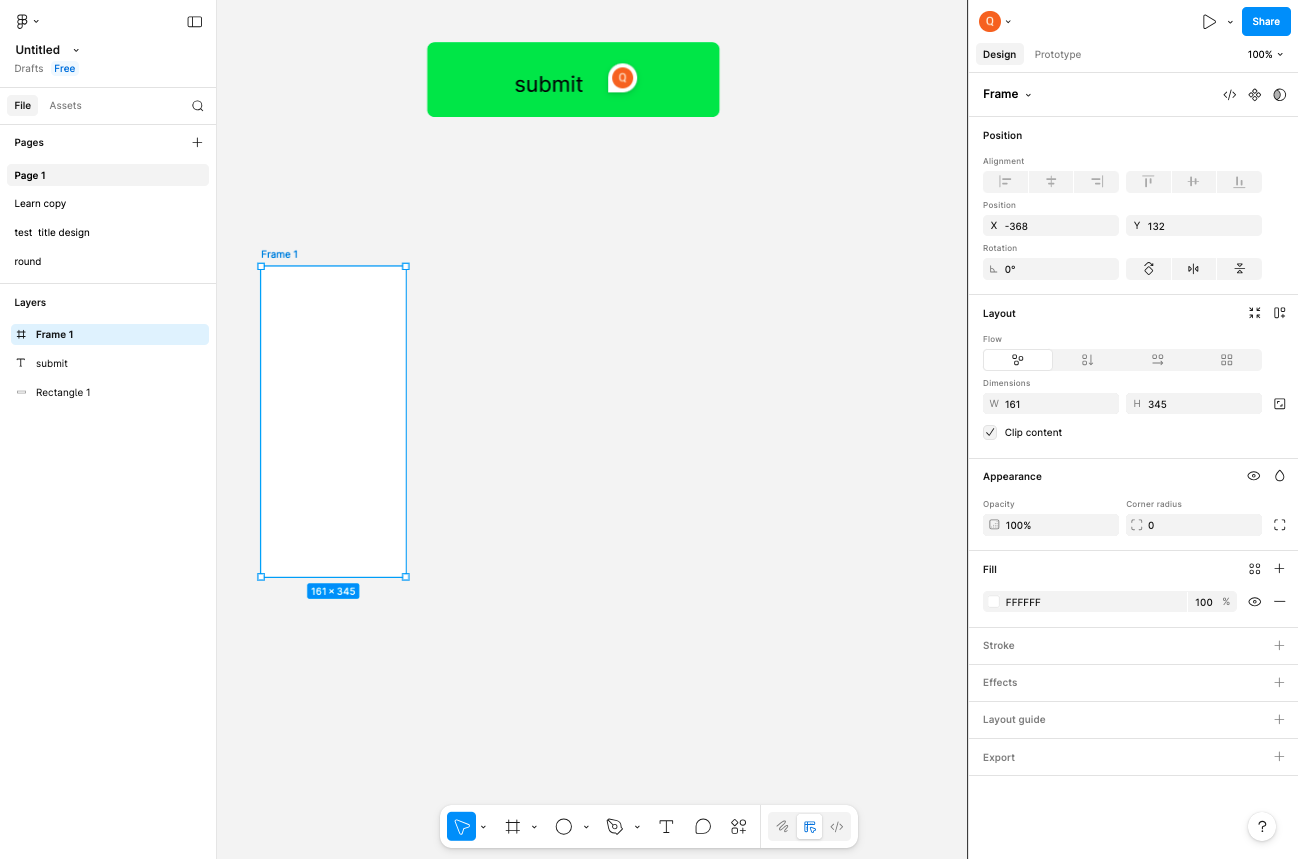
Click on the canvas to draw a frame
Click and drag on the canvas to create your first frame. Alternatively, click once to create a frame with default dimensions. The frame will appear as a white rectangle on the canvas and will be listed in the Layers panel on the left as Frame 1.
- Step 4 of 9
Create a second frame
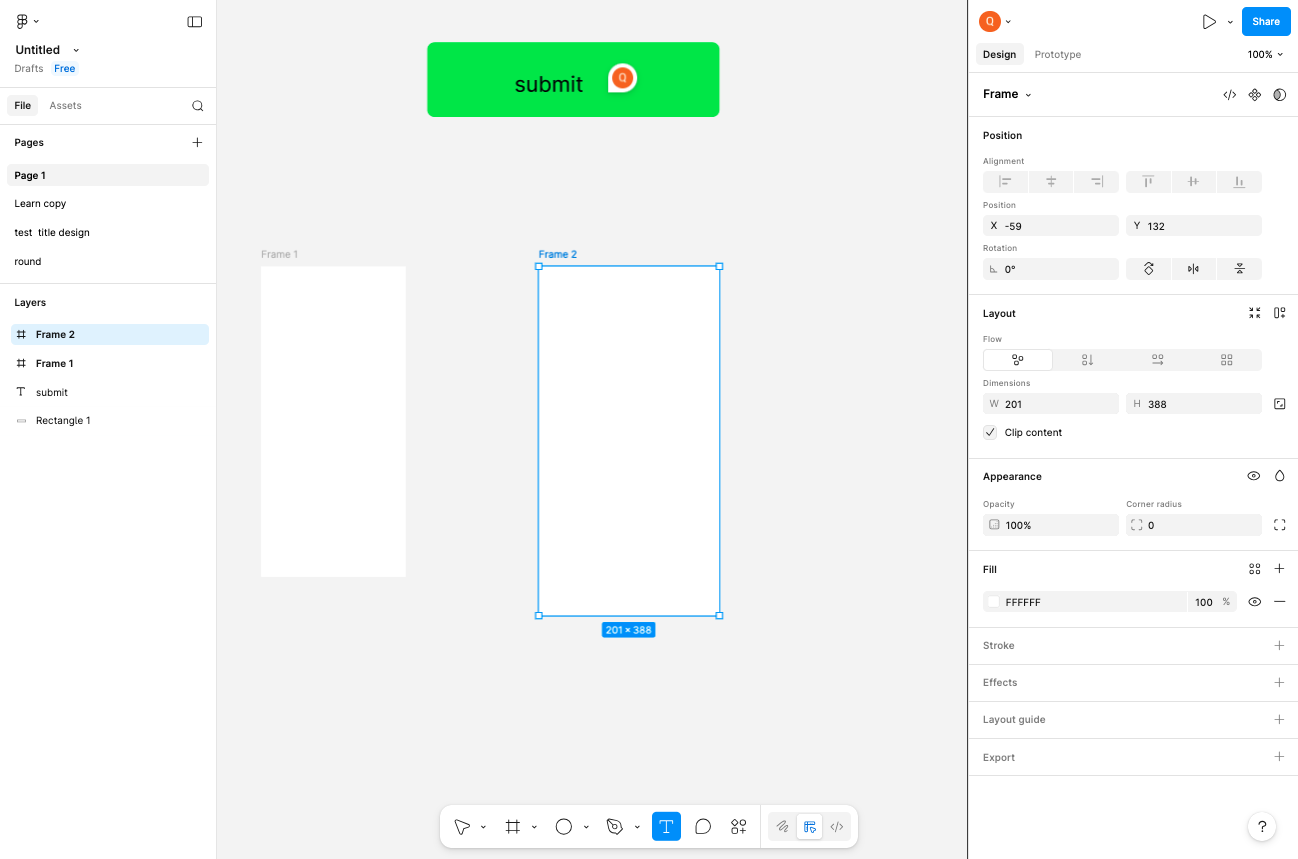
Click the Frame tool and create another frame
Click the Frame tool again to reactivate it, then click on an empty area of the canvas to create Frame 2. Position this frame with some space between it and the first frame for clarity.
- Step 5 of 9
Select the Text tool
Click the Text tool icon
Click the Text tool icon (letter 'T') in the toolbar to activate text creation mode.

- Step 6 of 9
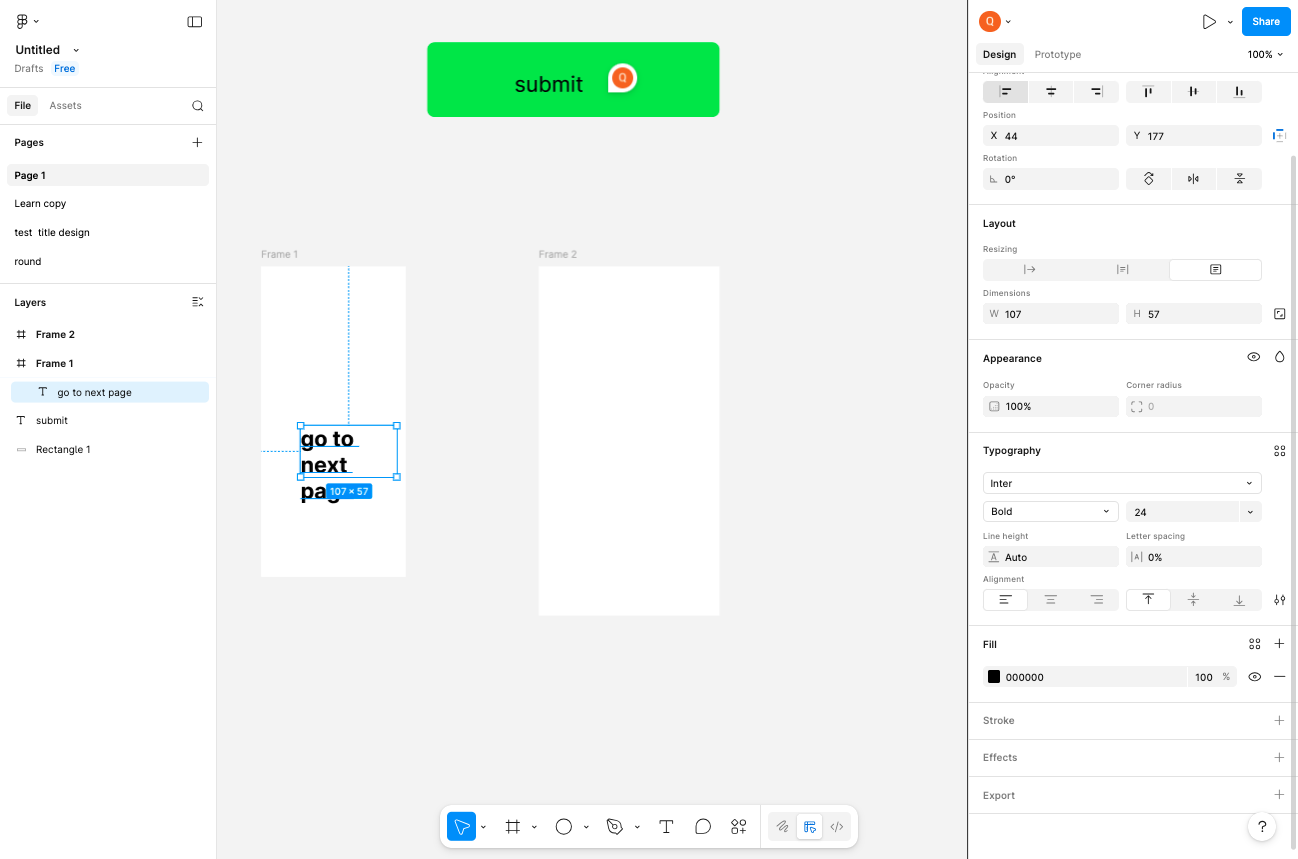
Add text to the frame
Click inside a frame and type text
Click inside the first frame to place a text element, then type your desired text content. For example, enter go to next page to create a navigation label.
- Step 7 of 9
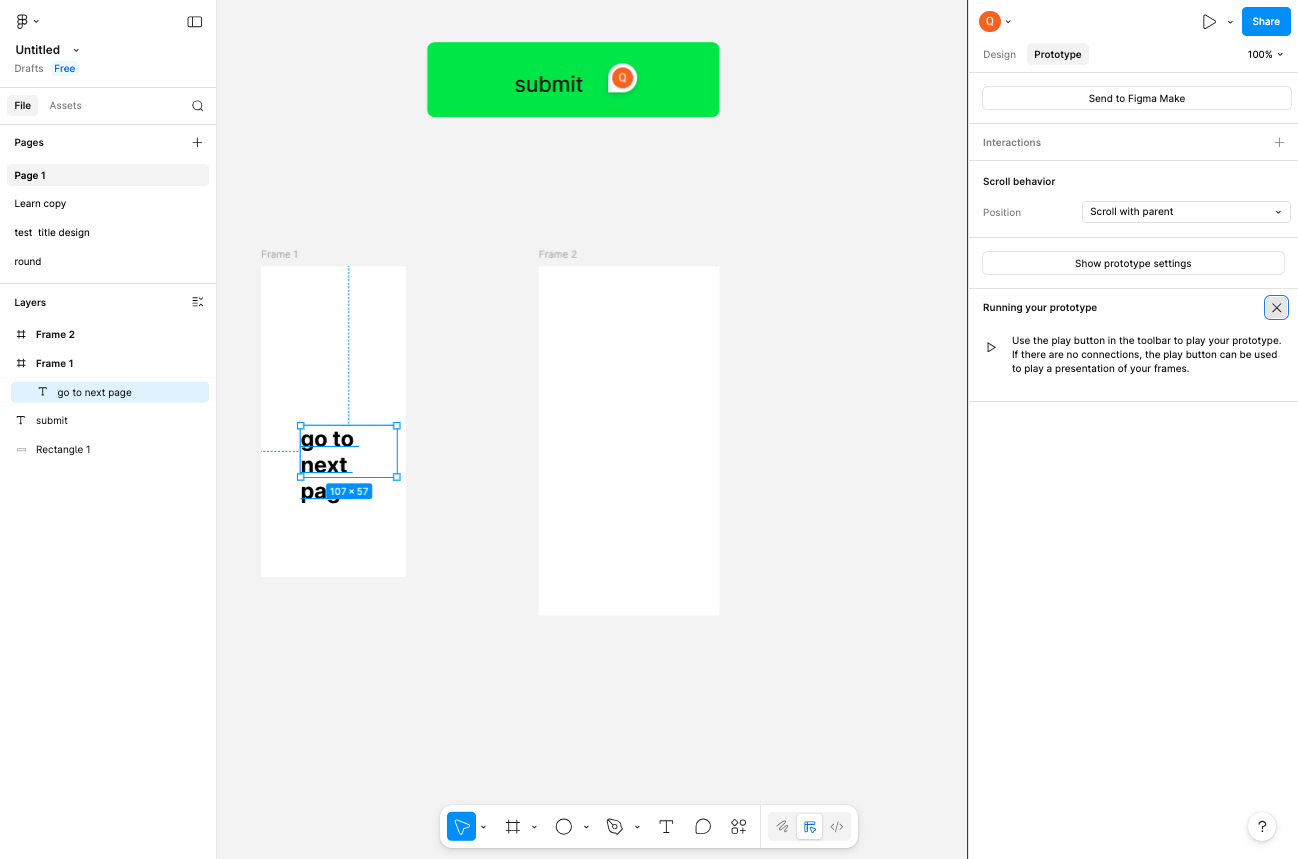
Switch to Prototype mode
Click the Prototype tab
Click the Prototype tab in the top-right area of the screen to switch from Design mode to Prototype mode. This enables you to create interactive connections between elements.
- Step 8 of 9
Create a prototype connection
Drag from the text element to the target frame
Click and drag from the text element in the first frame to the second frame to create an interactive connection. A blue arrow will appear showing the navigation flow from the source to the destination.

- Step 9 of 9
Present the prototype
Click the Present button
Click the Present button (play icon) in the top-right corner of the screen to launch the prototype preview. This opens your interactive prototype in a new view where you can test the navigation by clicking on the connected text element.
Verification
To verify your prototype is working correctly:
Confirm both frames are visible in the Layers panel on the left.
Verify the blue connection arrow appears between the text element and the second frame in Prototype mode.
In Present mode, test the interaction by clicking the text element to confirm it navigates to the second frame.
Conclusion
You have successfully created frames, added text elements, established prototype connections, and launched an interactive preview in Figma. Your prototype is now ready for testing and sharing with stakeholders.