
Purpose
This SOP describes how to use the Text tool in Figma to create and edit text elements on the canvas, including placing text objects and configuring prototype scroll behavior settings.
Scope
This procedure is intended for designers, content creators, and team members who need to add or edit text content in Figma design files. Use this SOP when creating headings, labels, or any text-based UI elements in your designs.
Prerequisites
Active Figma account with access to the design file
Edit permissions for the Figma file
Figma design file opened in the browser or desktop application
Procedure
- Step 1 of 7
Navigate to figma.com
Open the Figma design file
Navigate to your Figma design file at figma.com and ensure you are signed in with your account.
- Step 2 of 7
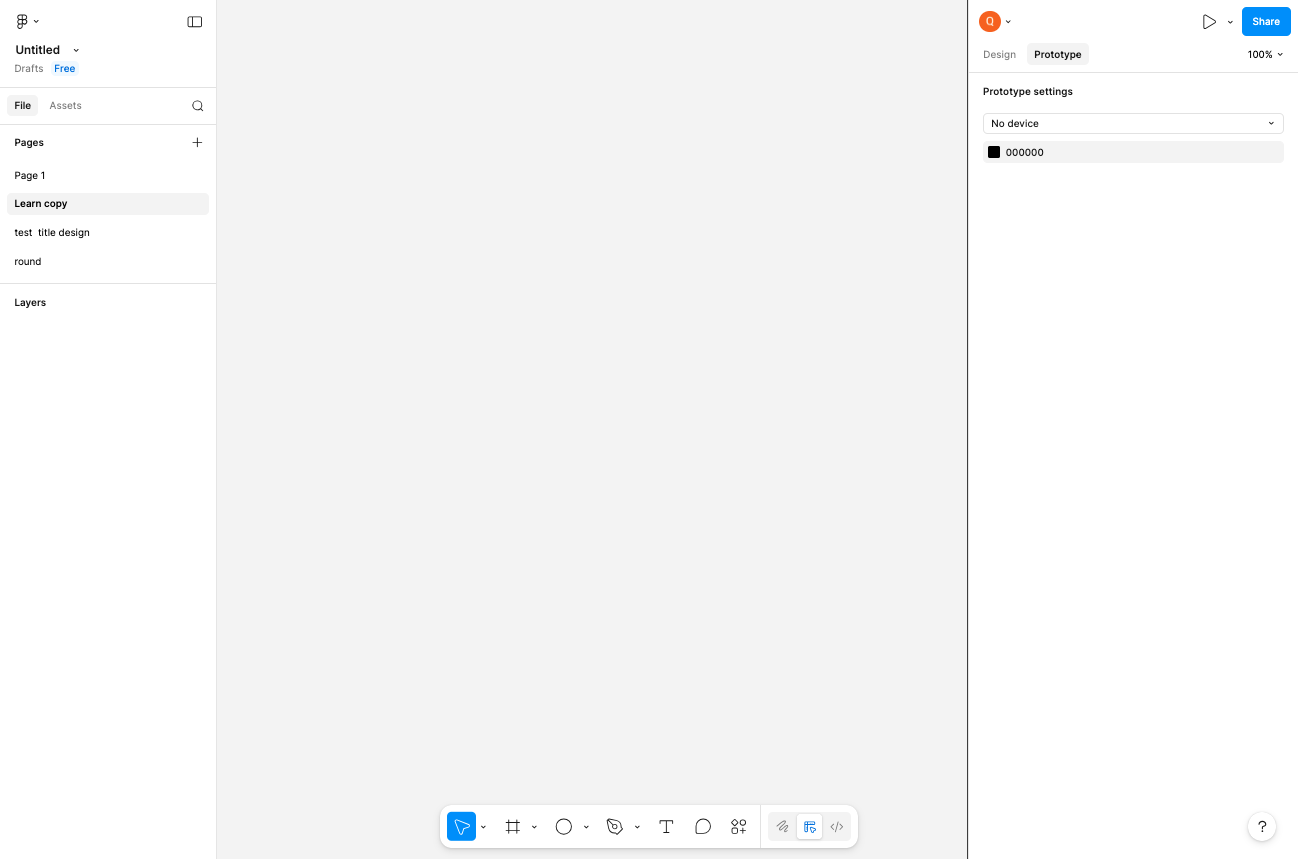
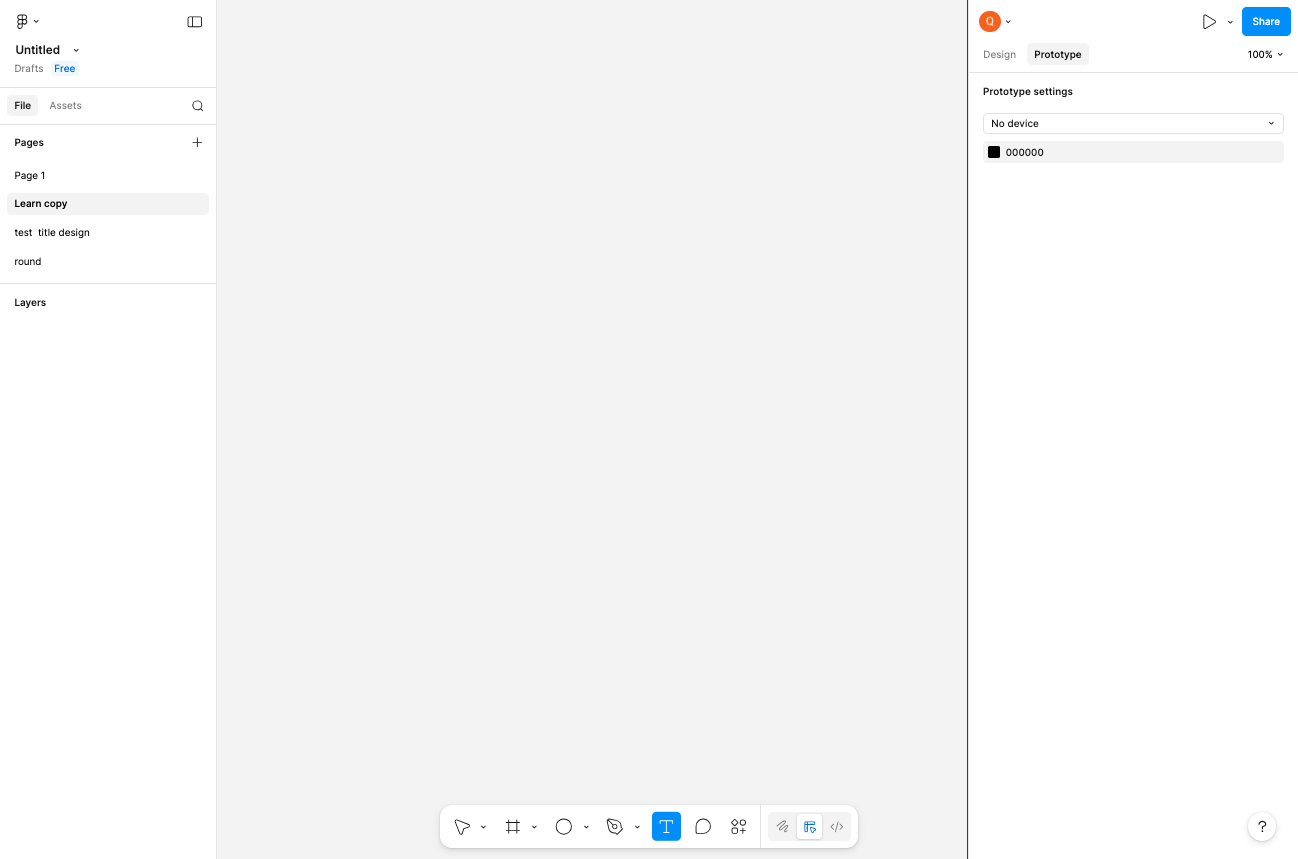
Select the Text tool
Click the Text tool icon
Click the Text tool icon (T) in the bottom toolbar. The Text tool allows you to create and edit text elements on the canvas.

- Step 3 of 7
Click on the canvas to place text
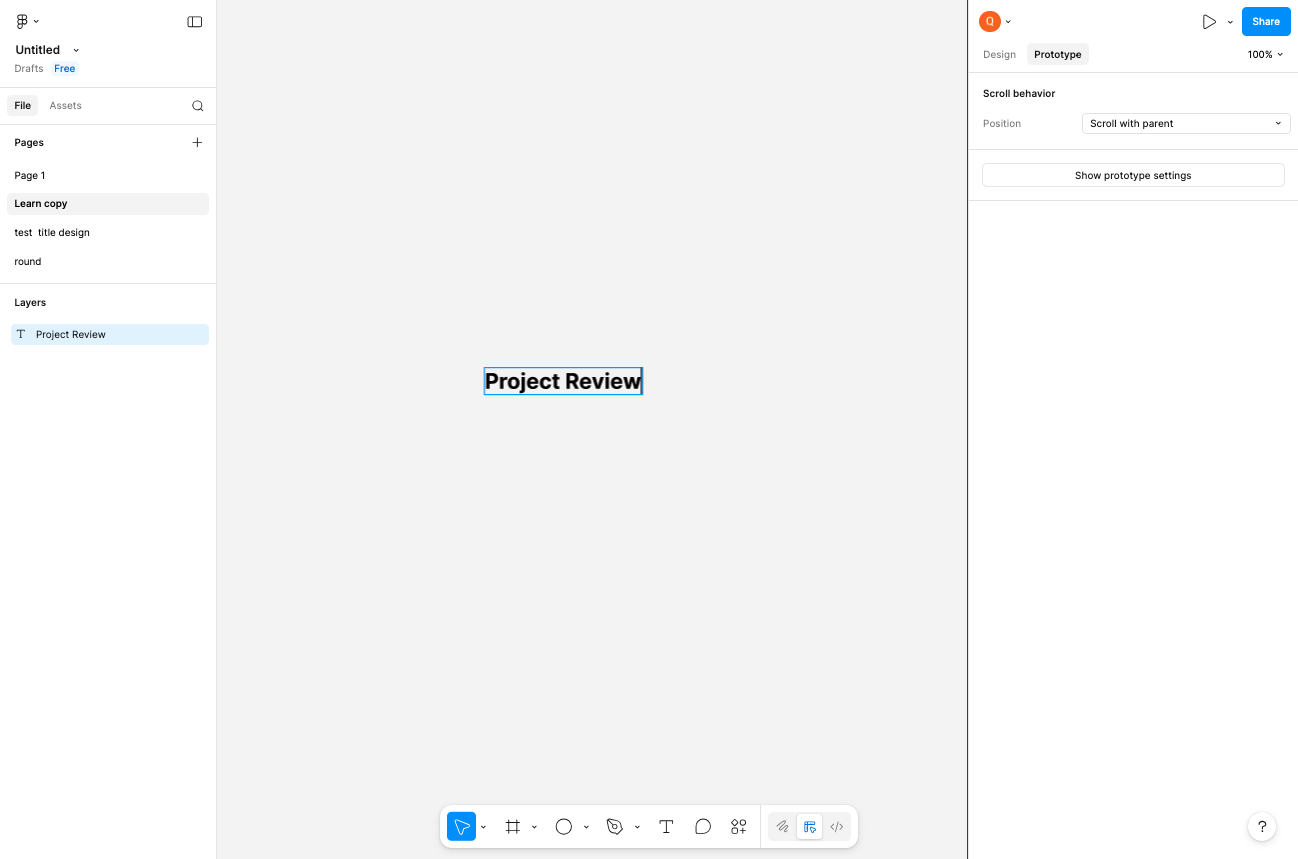
Click on the canvas where you want to add text
Click anywhere on the canvas to create a new text element. The cursor will change to indicate text input mode, and a text box will appear at the clicked location ready for input.
- Step 4 of 7
Type your text content
Enter the text content
Type the desired text content into the text box. The text will appear both on the canvas and as a new layer in the Layers panel on the left side. You can edit the text at any time by double-clicking it.
- Step 5 of 7
Configure scroll behavior settings (optional)
Click the Position dropdown in the Prototype panel
With the text element selected, view the Prototype settings panel on the right. Under Scroll behavior, you can configure the Position setting. The default is Scroll with parent, which makes the text element scroll along with its parent frame. Other options may include Fixed position for keeping elements stationary during scroll.

- Step 6 of 7
Add additional text elements
Create another text element below the first
Click on the canvas below your first text element to create another text box. Type your next text entry. Repeat this process to build your text hierarchy or content list.

- Step 7 of 7
Complete the text entry workflow
Review your text elements on the canvas
Continue adding text elements as needed for your design. Click on empty areas of the canvas or press
Escapeto deselect the text tool and view your completed text layout.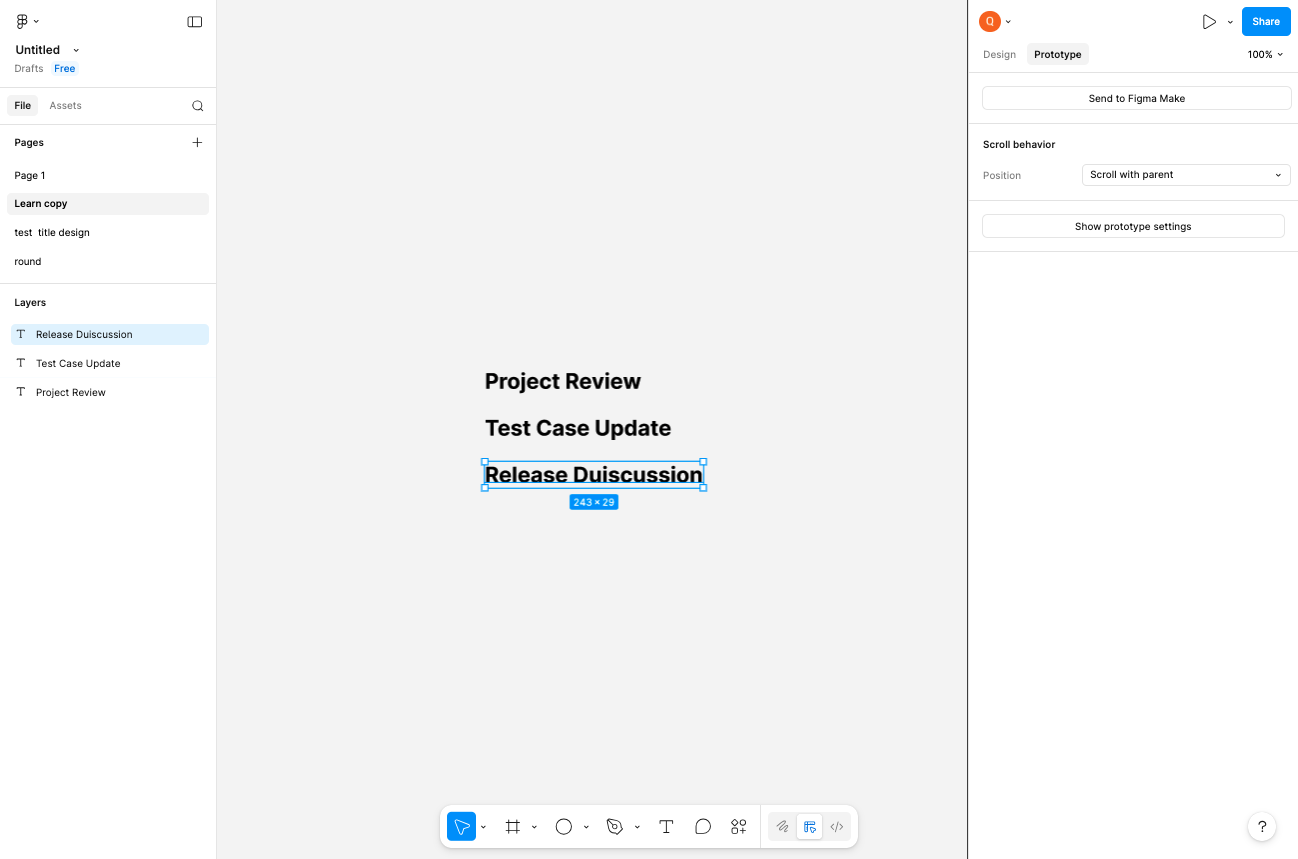
Verification
Confirm successful completion of the text workflow:
All text elements appear clearly on the canvas in their designated positions.
Each text element is listed as a separate layer in the Layers panel on the left.
Text content is readable and properly positioned relative to other design elements.
Conclusion
You have successfully used Figma's Text tool to create and position text elements on your design canvas. These text elements can now be styled, grouped with other components, or used as part of interactive prototypes.