
Purpose
This SOP describes how to create a new branch in the GLYDE GitHub repository, enabling team members to work on features or changes in an isolated development environment.
Scope
This procedure is intended for all team members with access to the GLYDE GitHub repository. Use this SOP when you need to create a new branch for feature development, bug fixes, or experimentation.
Prerequisites
A GitHub account with repository access
Write permissions to the GLYDE repository
Logged in to GitHub with your credentials
Procedure
- Step 1 of 4
Navigate to github.com
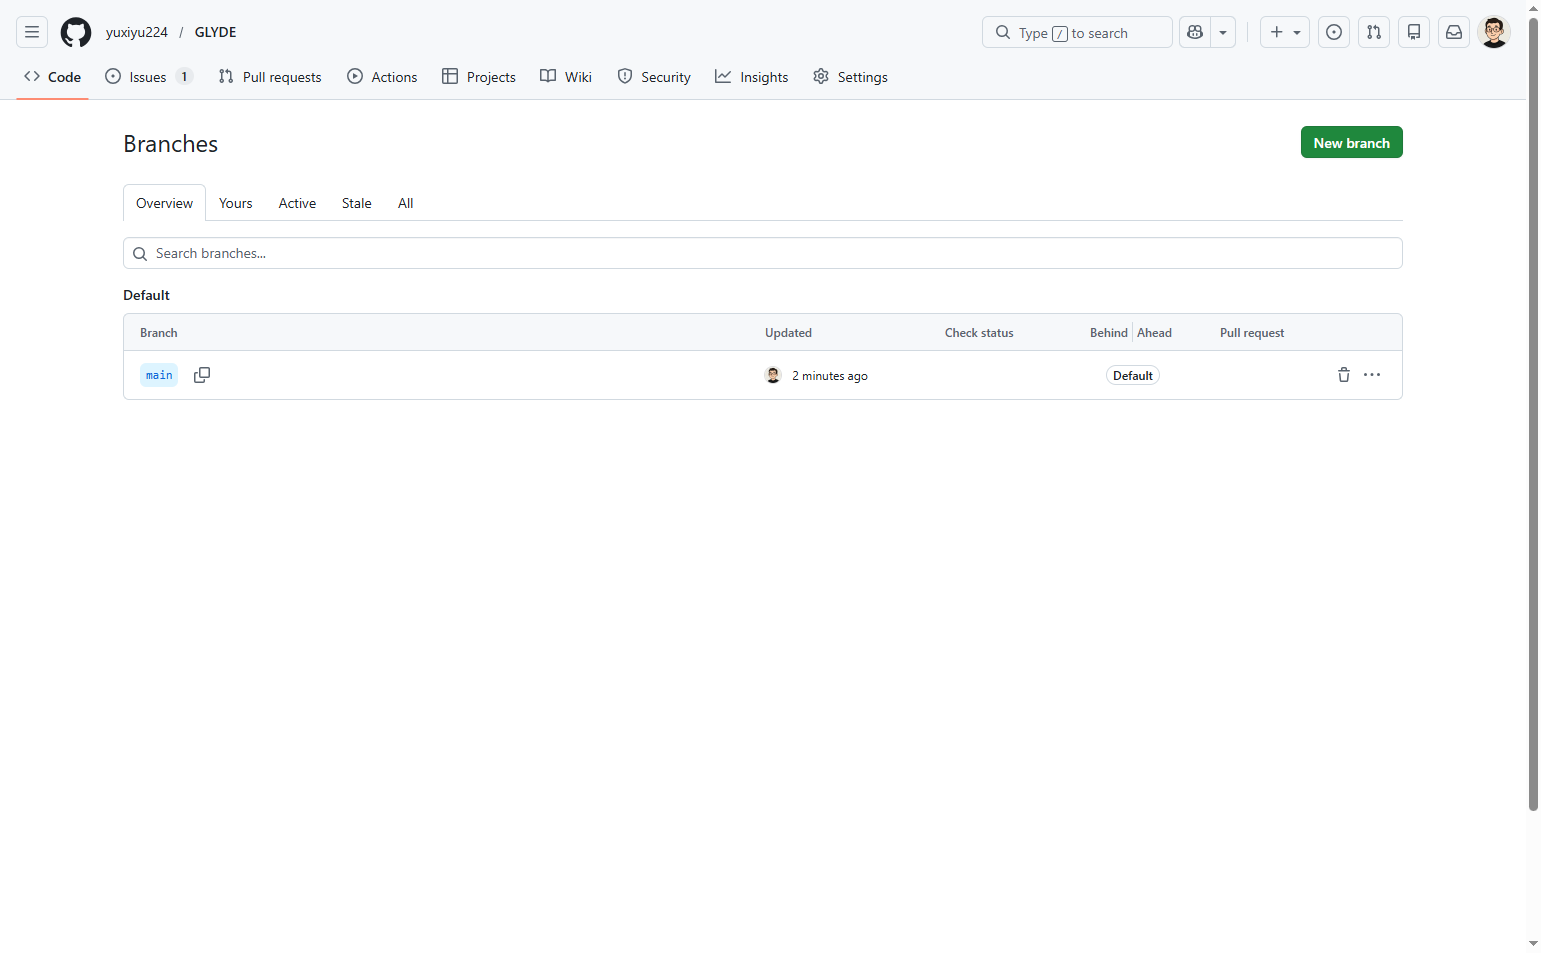
Open the GLYDE repository branches page
Navigate to github.com to access the branches page of the GLYDE repository. This page displays all existing branches and provides options to create new ones.

- Step 2 of 4
Click New branch
Click the New branch button
Click the New branch button located in the top-right corner of the page. This action opens a dialog box where you can specify the details for your new branch.
- Step 3 of 4
Enter branch name
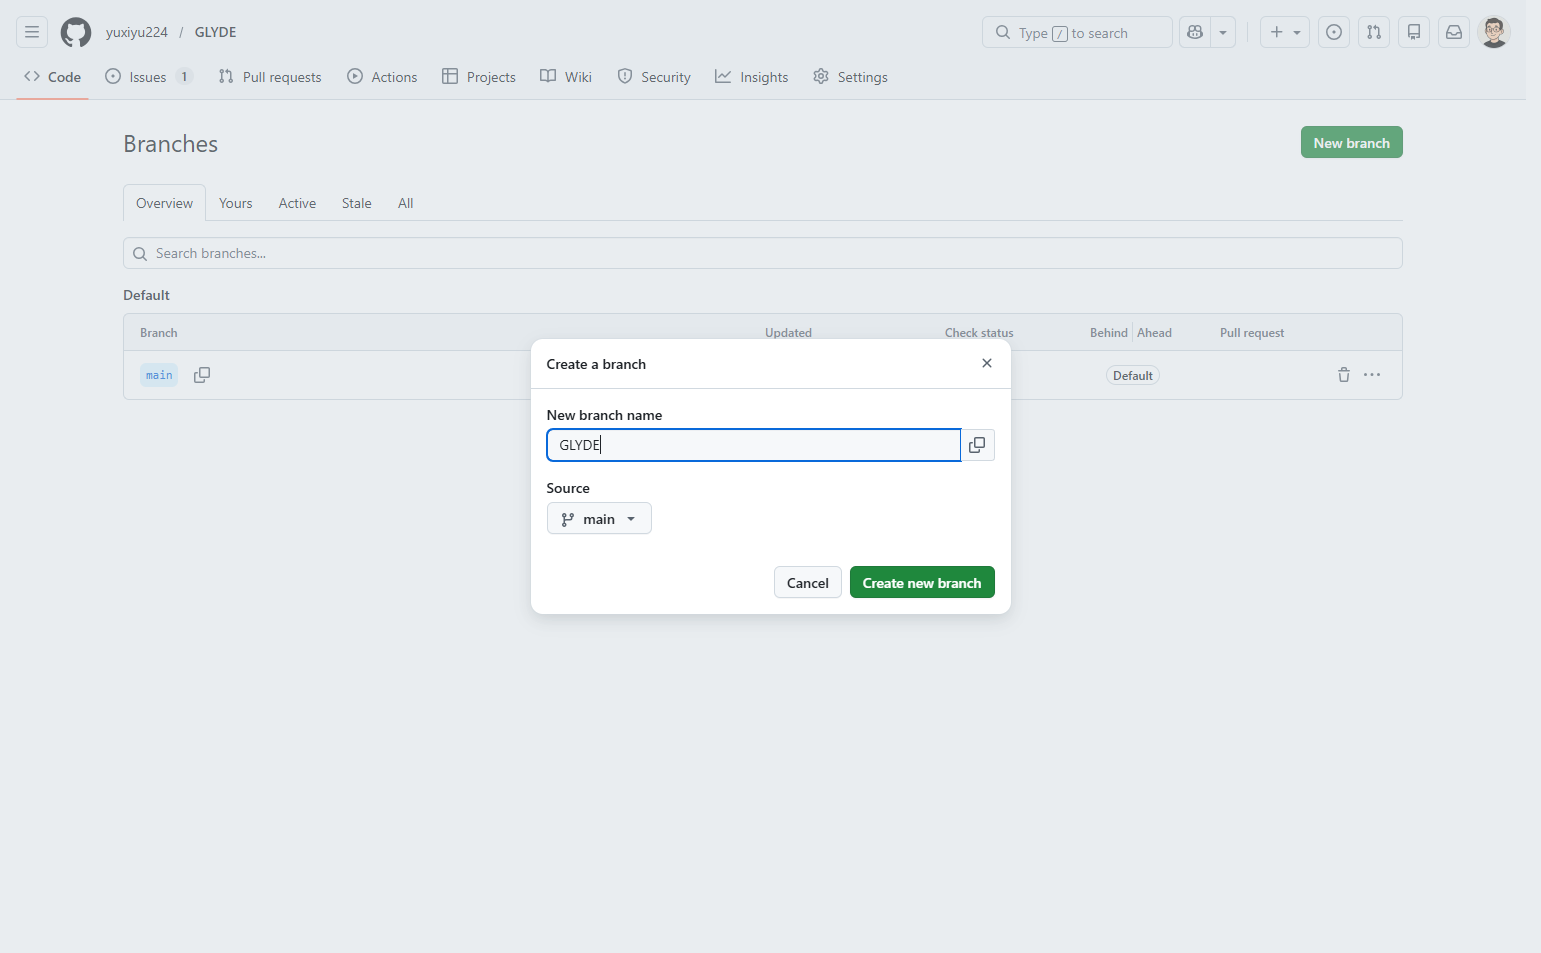
Type your branch name
In the New branch name field, enter a descriptive name for your branch. Use a name that clearly indicates the purpose of the branch, such as the feature you are working on or the issue you are addressing. For example, you might name it GLYDE or a more descriptive name like feature-user-authentication.

- Step 4 of 4
Create the branch
Click Create new branch button
Click the Create new branch button to finalize the creation. The dialog will close and your new branch will be created in the repository.
Verification
After creating the branch, verify it was created successfully:
Check that the branches list now includes your newly created branch name
Confirm the source branch shown matches what you selected during creation
You can now switch to your new branch to begin making changes
Conclusion
You have successfully created a new branch in the GLYDE repository. You can now use this branch to develop features, make changes, or experiment without affecting the main codebase.