
Purpose
This SOP describes how to upload files to the GLYDE GitHub repository and commit them directly to the main branch.
Scope
This procedure is intended for users with write access to the GLYDE repository who need to upload files via the GitHub web interface. Use this SOP when adding documents, images, or other files to the repository.
Prerequisites
GitHub account with write access to the GLYDE repository
File(s) ready to upload from your local computer
Procedure
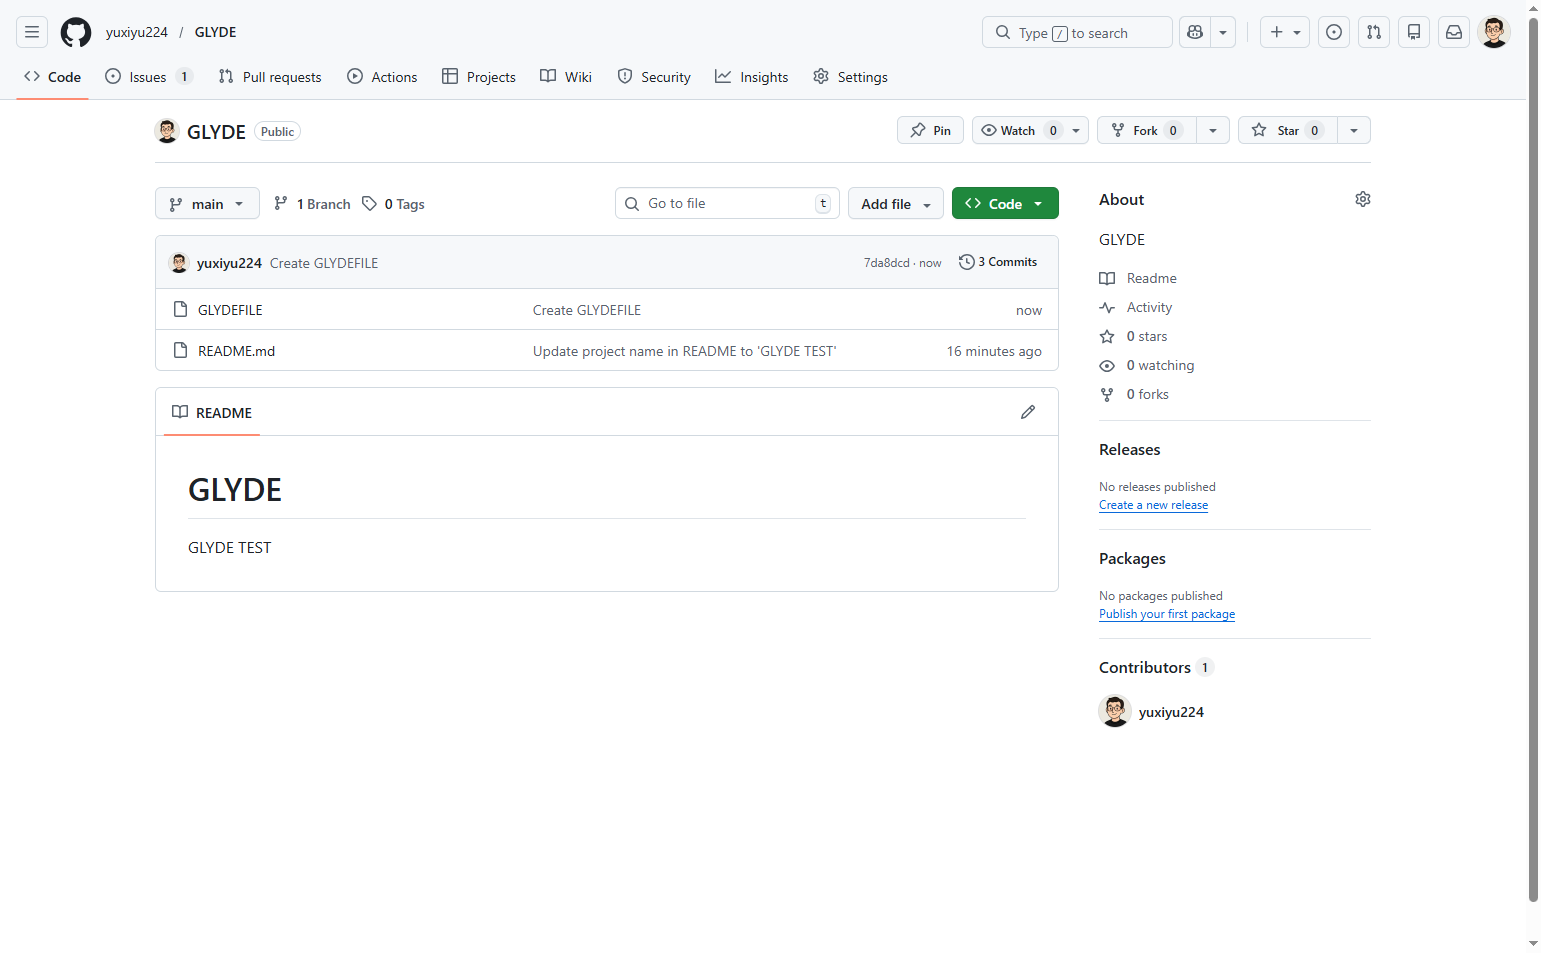
- Step 1 of 8
Navigate to github.com
Open the GLYDE repository
Navigate to the GLYDE repository at github.com and sign in with your GitHub account if not already logged in.
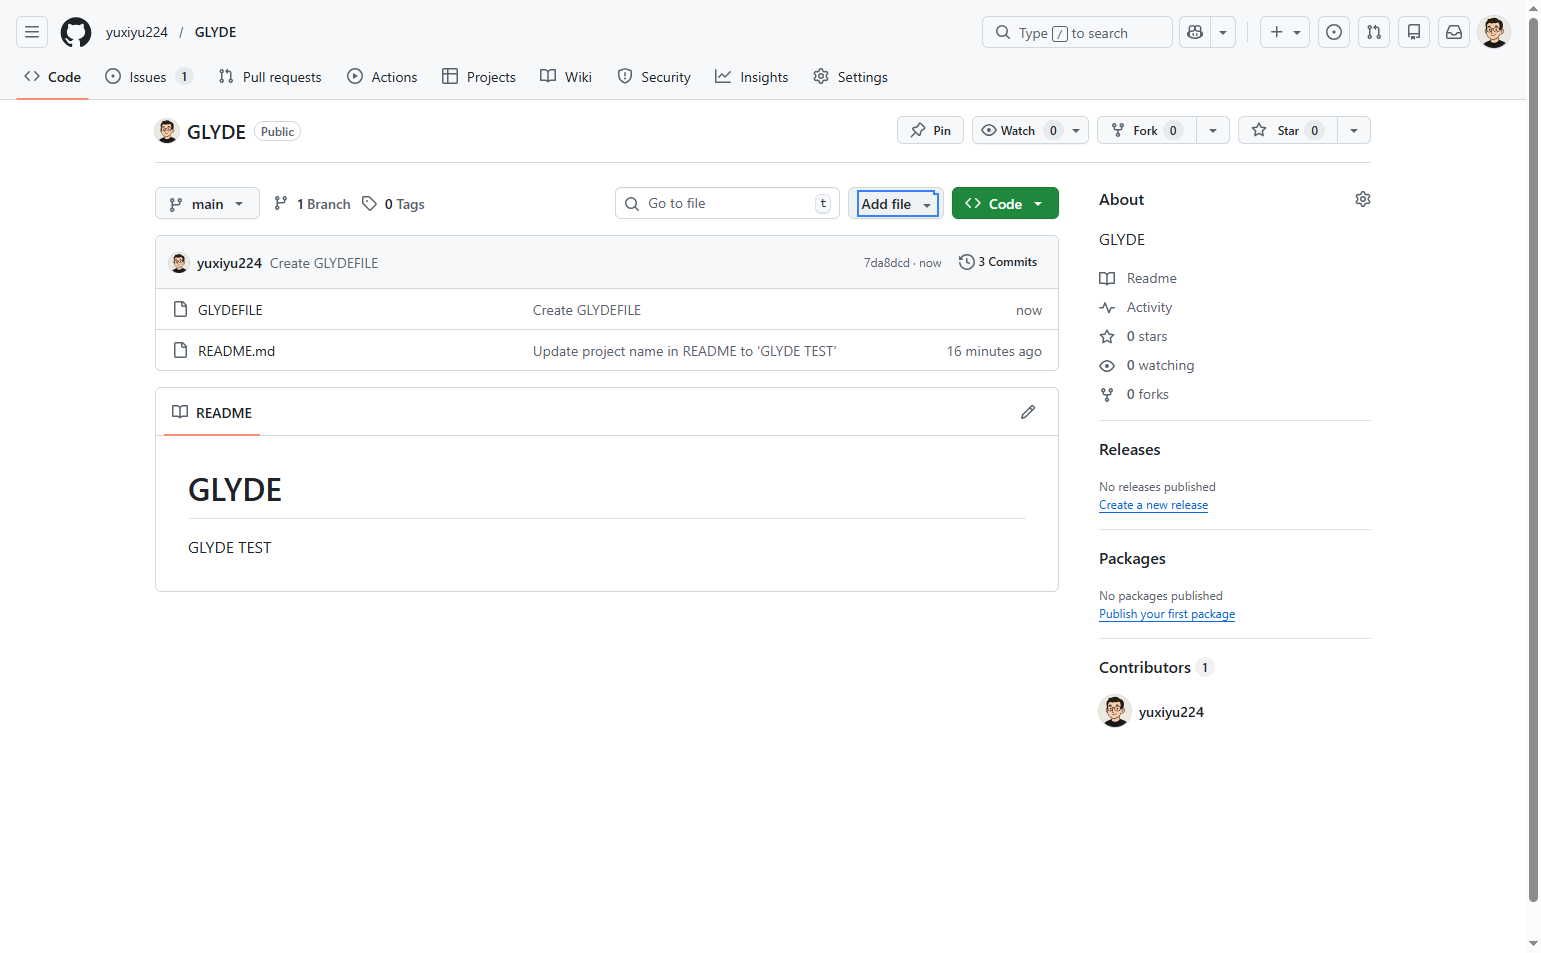
- Step 2 of 8
Open the Add file menu
Click the Add file button
Click the Add file button located in the repository file list area, near the top of the page. This will open a dropdown menu with file creation options.
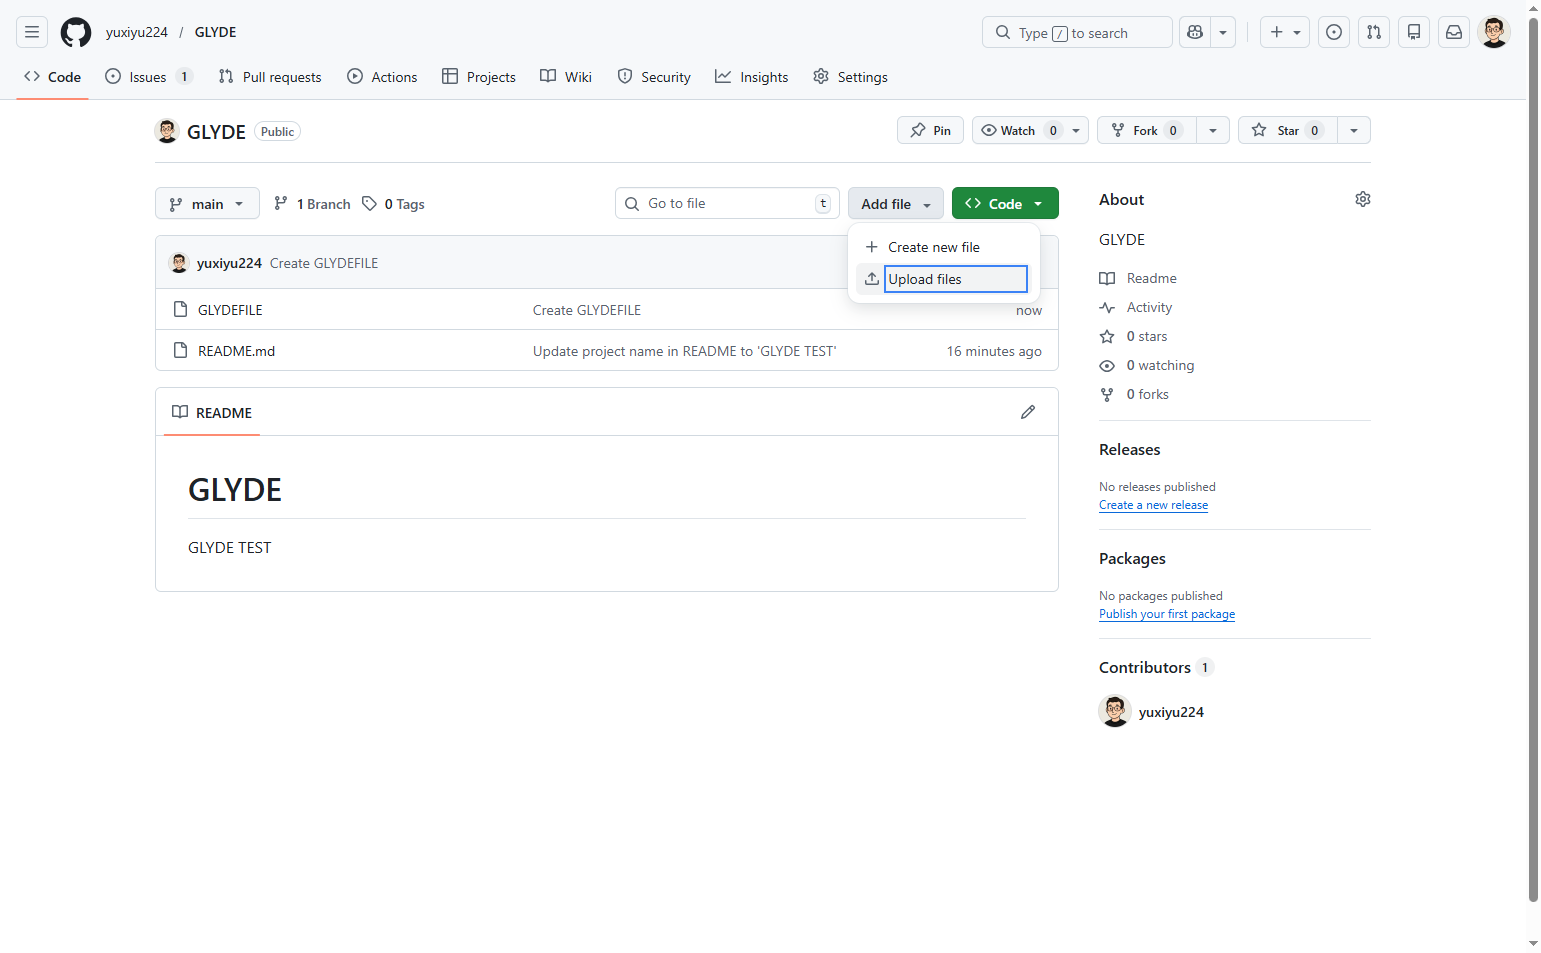
- Step 3 of 8
Select Upload files option
Click Upload files from the dropdown
From the dropdown menu that appears, click Upload files. This will navigate you to the file upload interface where you can select files from your computer.
- Step 4 of 8
Choose files to upload
Click to select files from your computer
On the upload page, click the choose your files link to open the file browser dialog. Alternatively, you can drag and drop files directly onto the upload area.

- Step 5 of 8
Confirm file selection
Select your file(s) in the file browser
In the file browser dialog, navigate to and select the file(s) you want to upload. After selecting, the file(s) will appear listed below the upload area on the GitHub page. Each file will show a preview icon and filename.
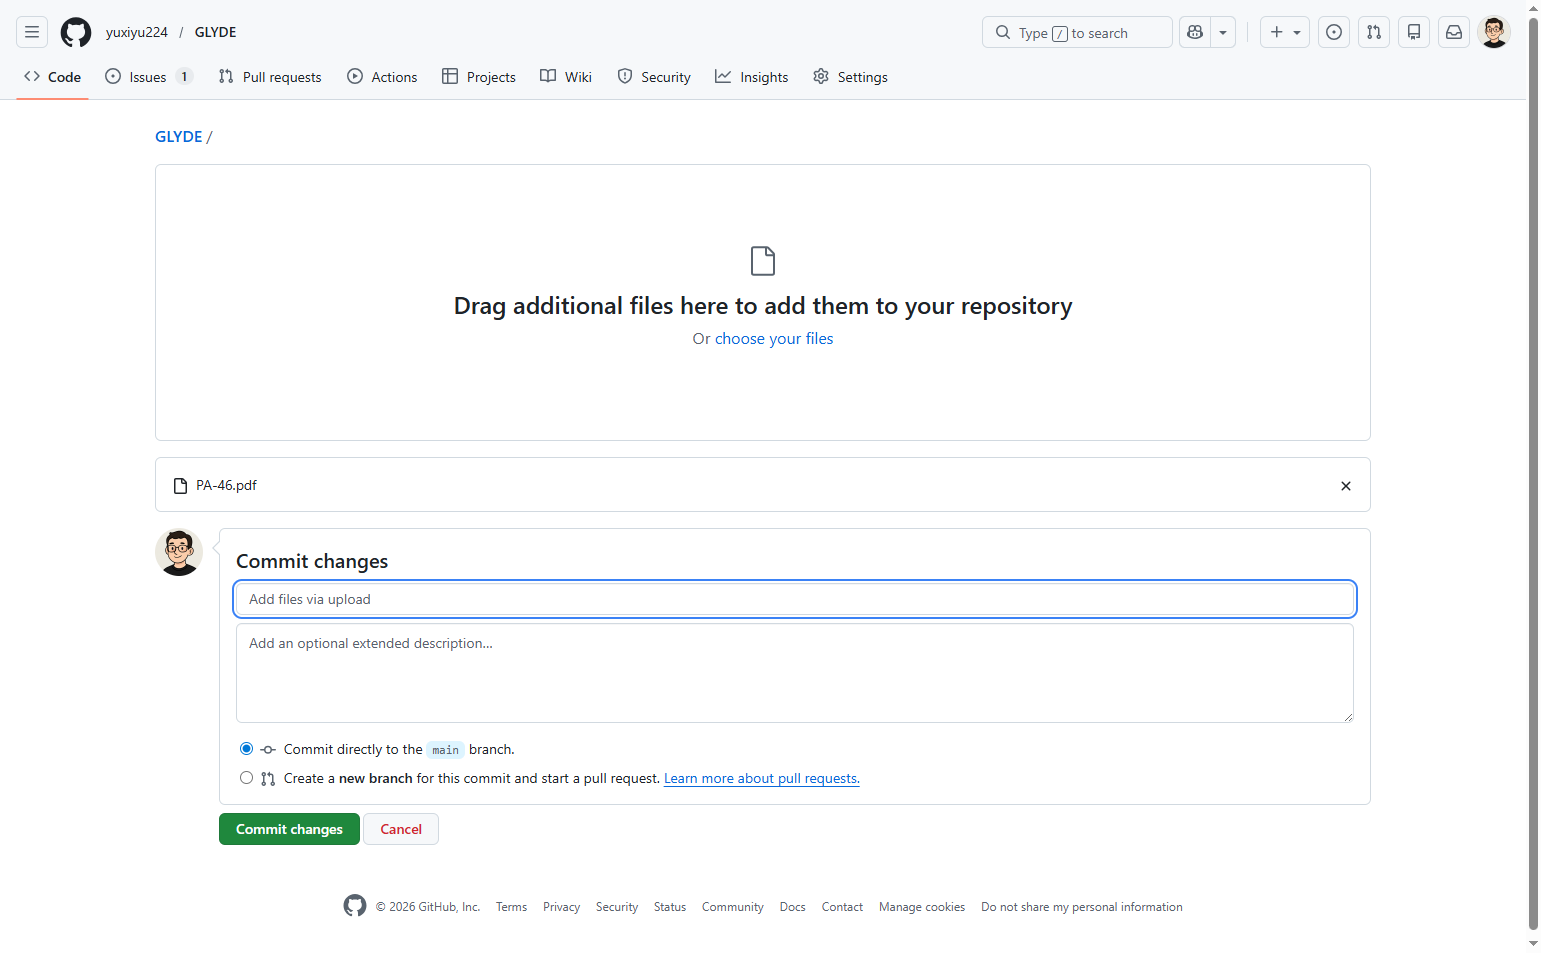
- Step 6 of 8
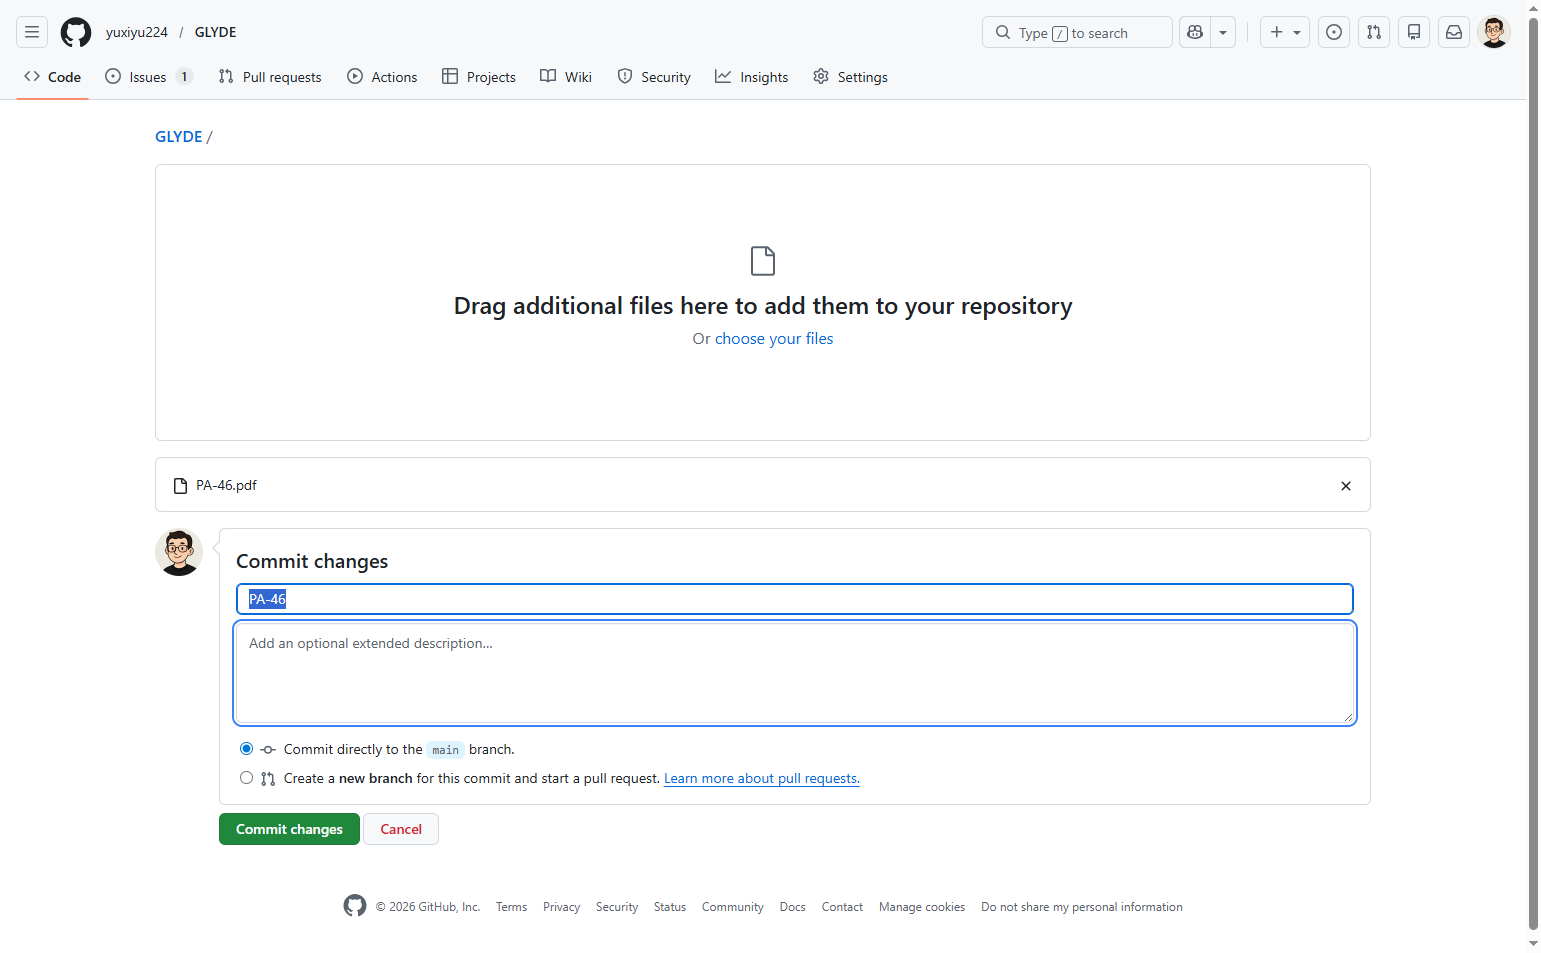
Enter commit summary
Type a commit message in the summary field
In the Commit changes section, locate the Add files via upload field. Replace the default text with a descriptive commit summary that explains what is being added. For example, enter the filename or a brief description of the file's purpose.

- Step 7 of 8
Add extended description (optional)
Enter an optional detailed description
Click the Add an optional extended description... text area and enter any additional details about the file being uploaded. This helps other collaborators understand the context and purpose of the file.
- Step 8 of 8
Commit the changes
Click the Commit changes button
Review the commit options. By default, Commit directly to the main branch is selected. To complete the upload, click the green Commit changes button. The page will redirect to the repository main page showing your newly uploaded file in the file list.
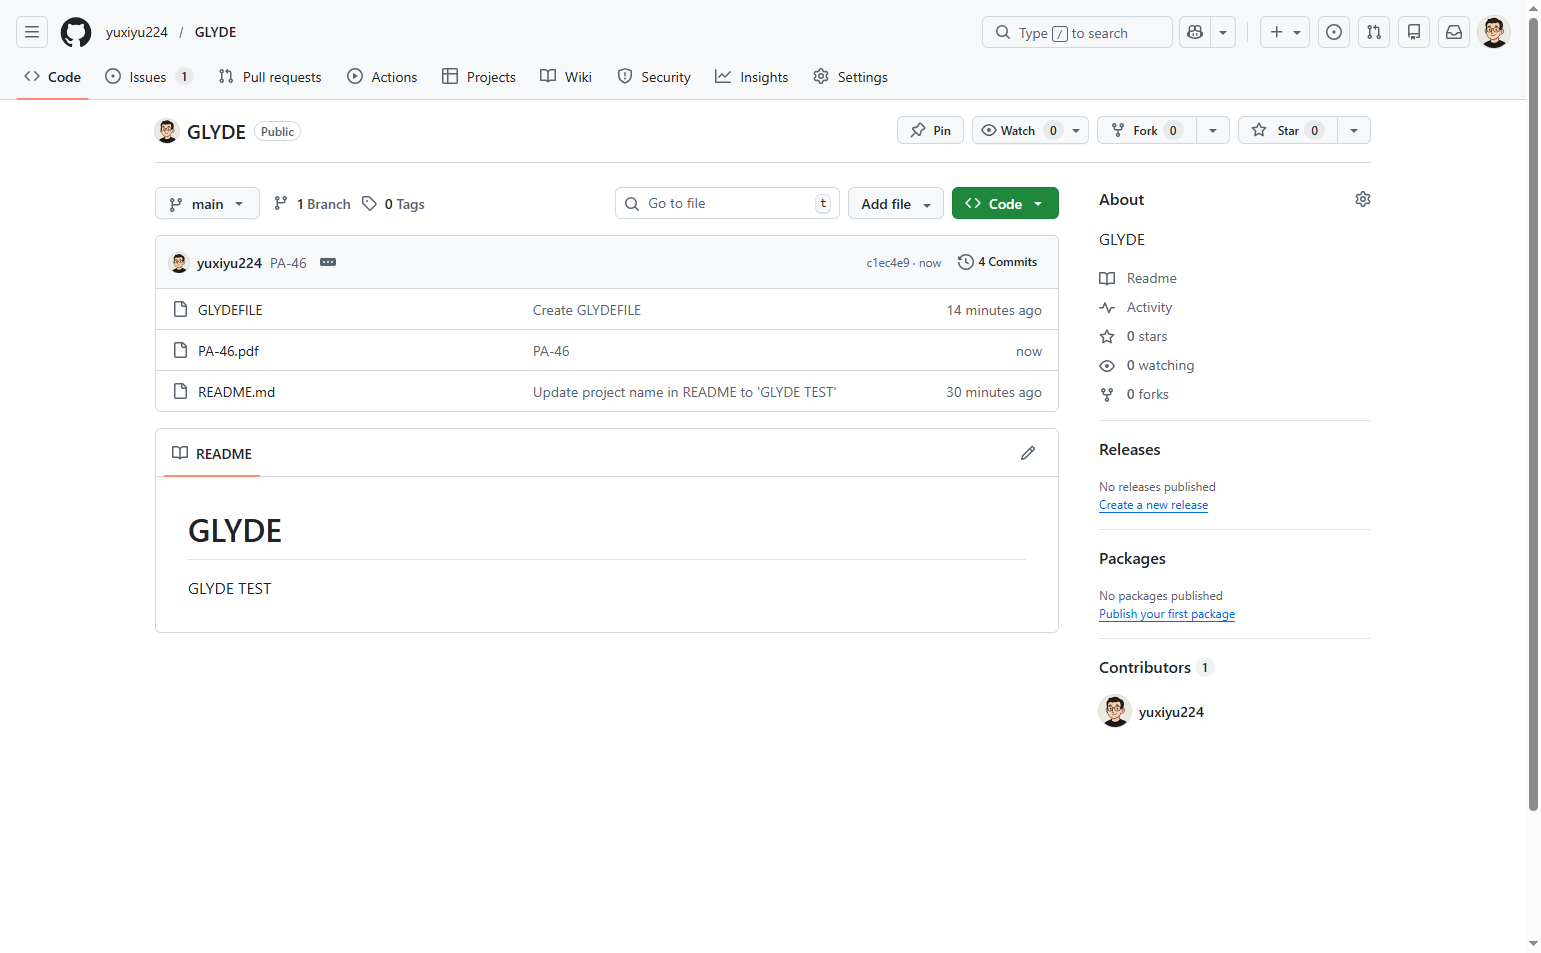
Verification
After committing, verify the upload was successful:
Confirm you are redirected back to the repository main page
Verify the uploaded file appears in the file list with the correct filename
Check that the commit message is displayed next to the filename in the file list
Conclusion
You have successfully uploaded a file to the GLYDE repository and committed it to the main branch. The file is now available in the repository and can be accessed by all collaborators with repository access.