
Purpose
This SOP describes how to create a helpdesk email ticket in Freshdesk, allowing support agents to send emails to customers while automatically creating an associated ticket for tracking.
Scope
This procedure is intended for helpdesk agents and support staff who need to initiate customer communications through the Freshdesk platform. Use this SOP when creating new support tickets via email outreach.
Prerequisites
Active Freshdesk account with agent permissions
Logged in to the Freshdesk helpdesk portal
Customer contact information available (email address)
Procedure
- Step 1 of 7
Navigate to Freshdesk helpdesk
Navigate to kuban-help.freshdesk.com
Open your browser and navigate to kuban-help.freshdesk.com. Sign in with your agent credentials if not already logged in.
- Step 2 of 7
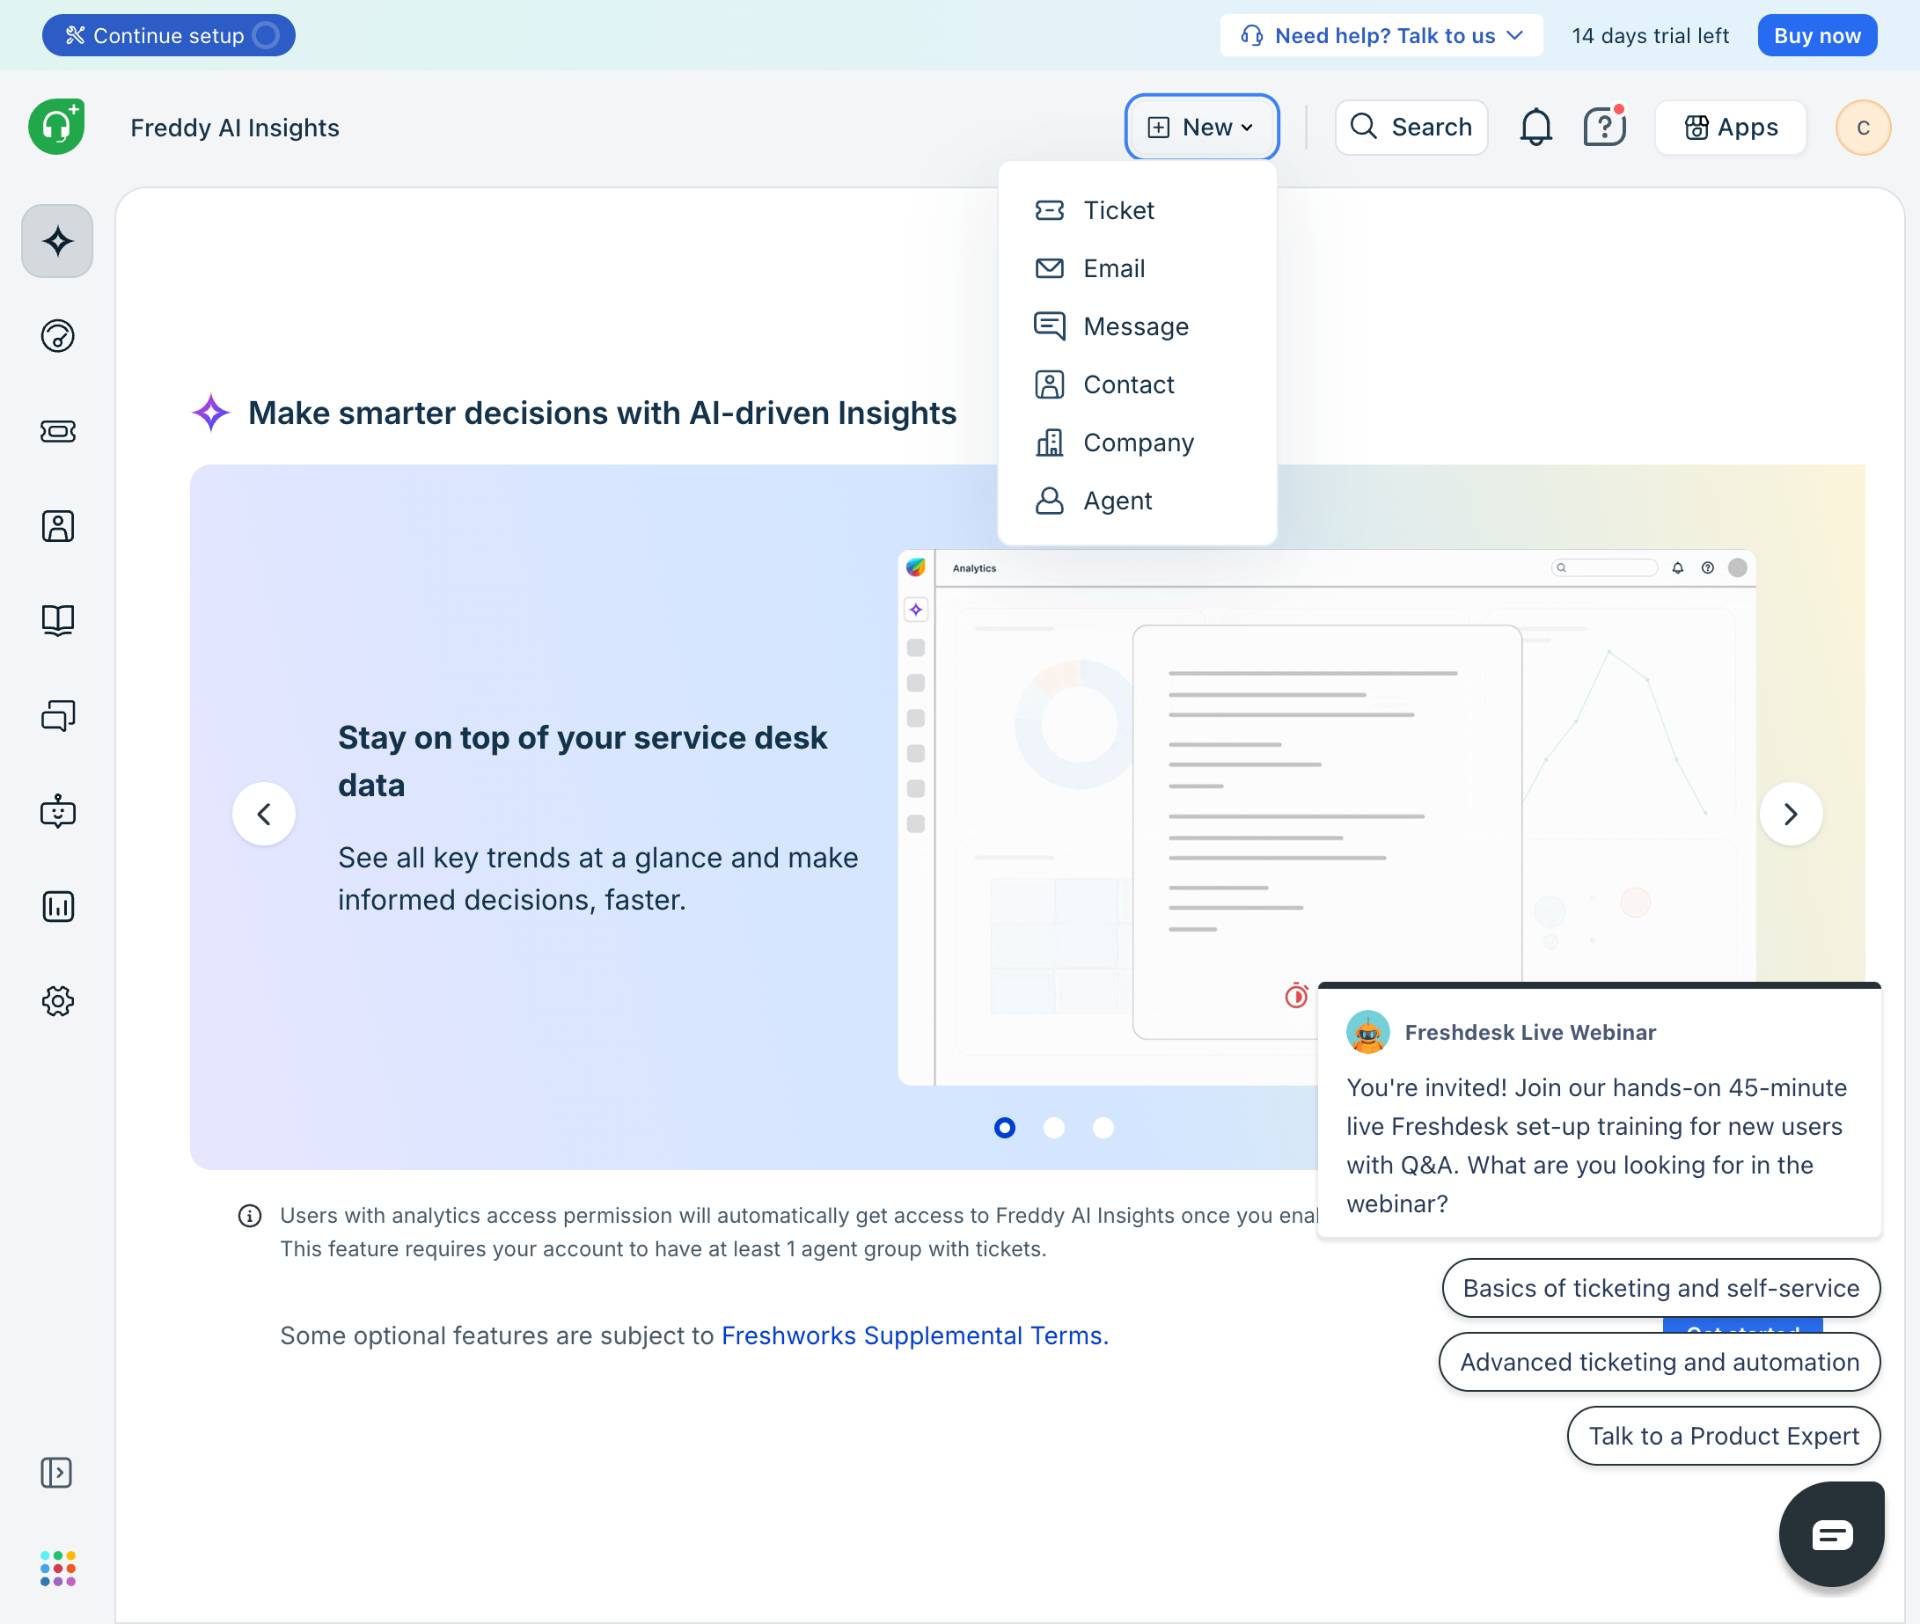
Open the New menu
Click the New button
Click the New button located in the top navigation bar. A dropdown menu will appear with options including Ticket, Email, Message, Contact, Company, and Agent.
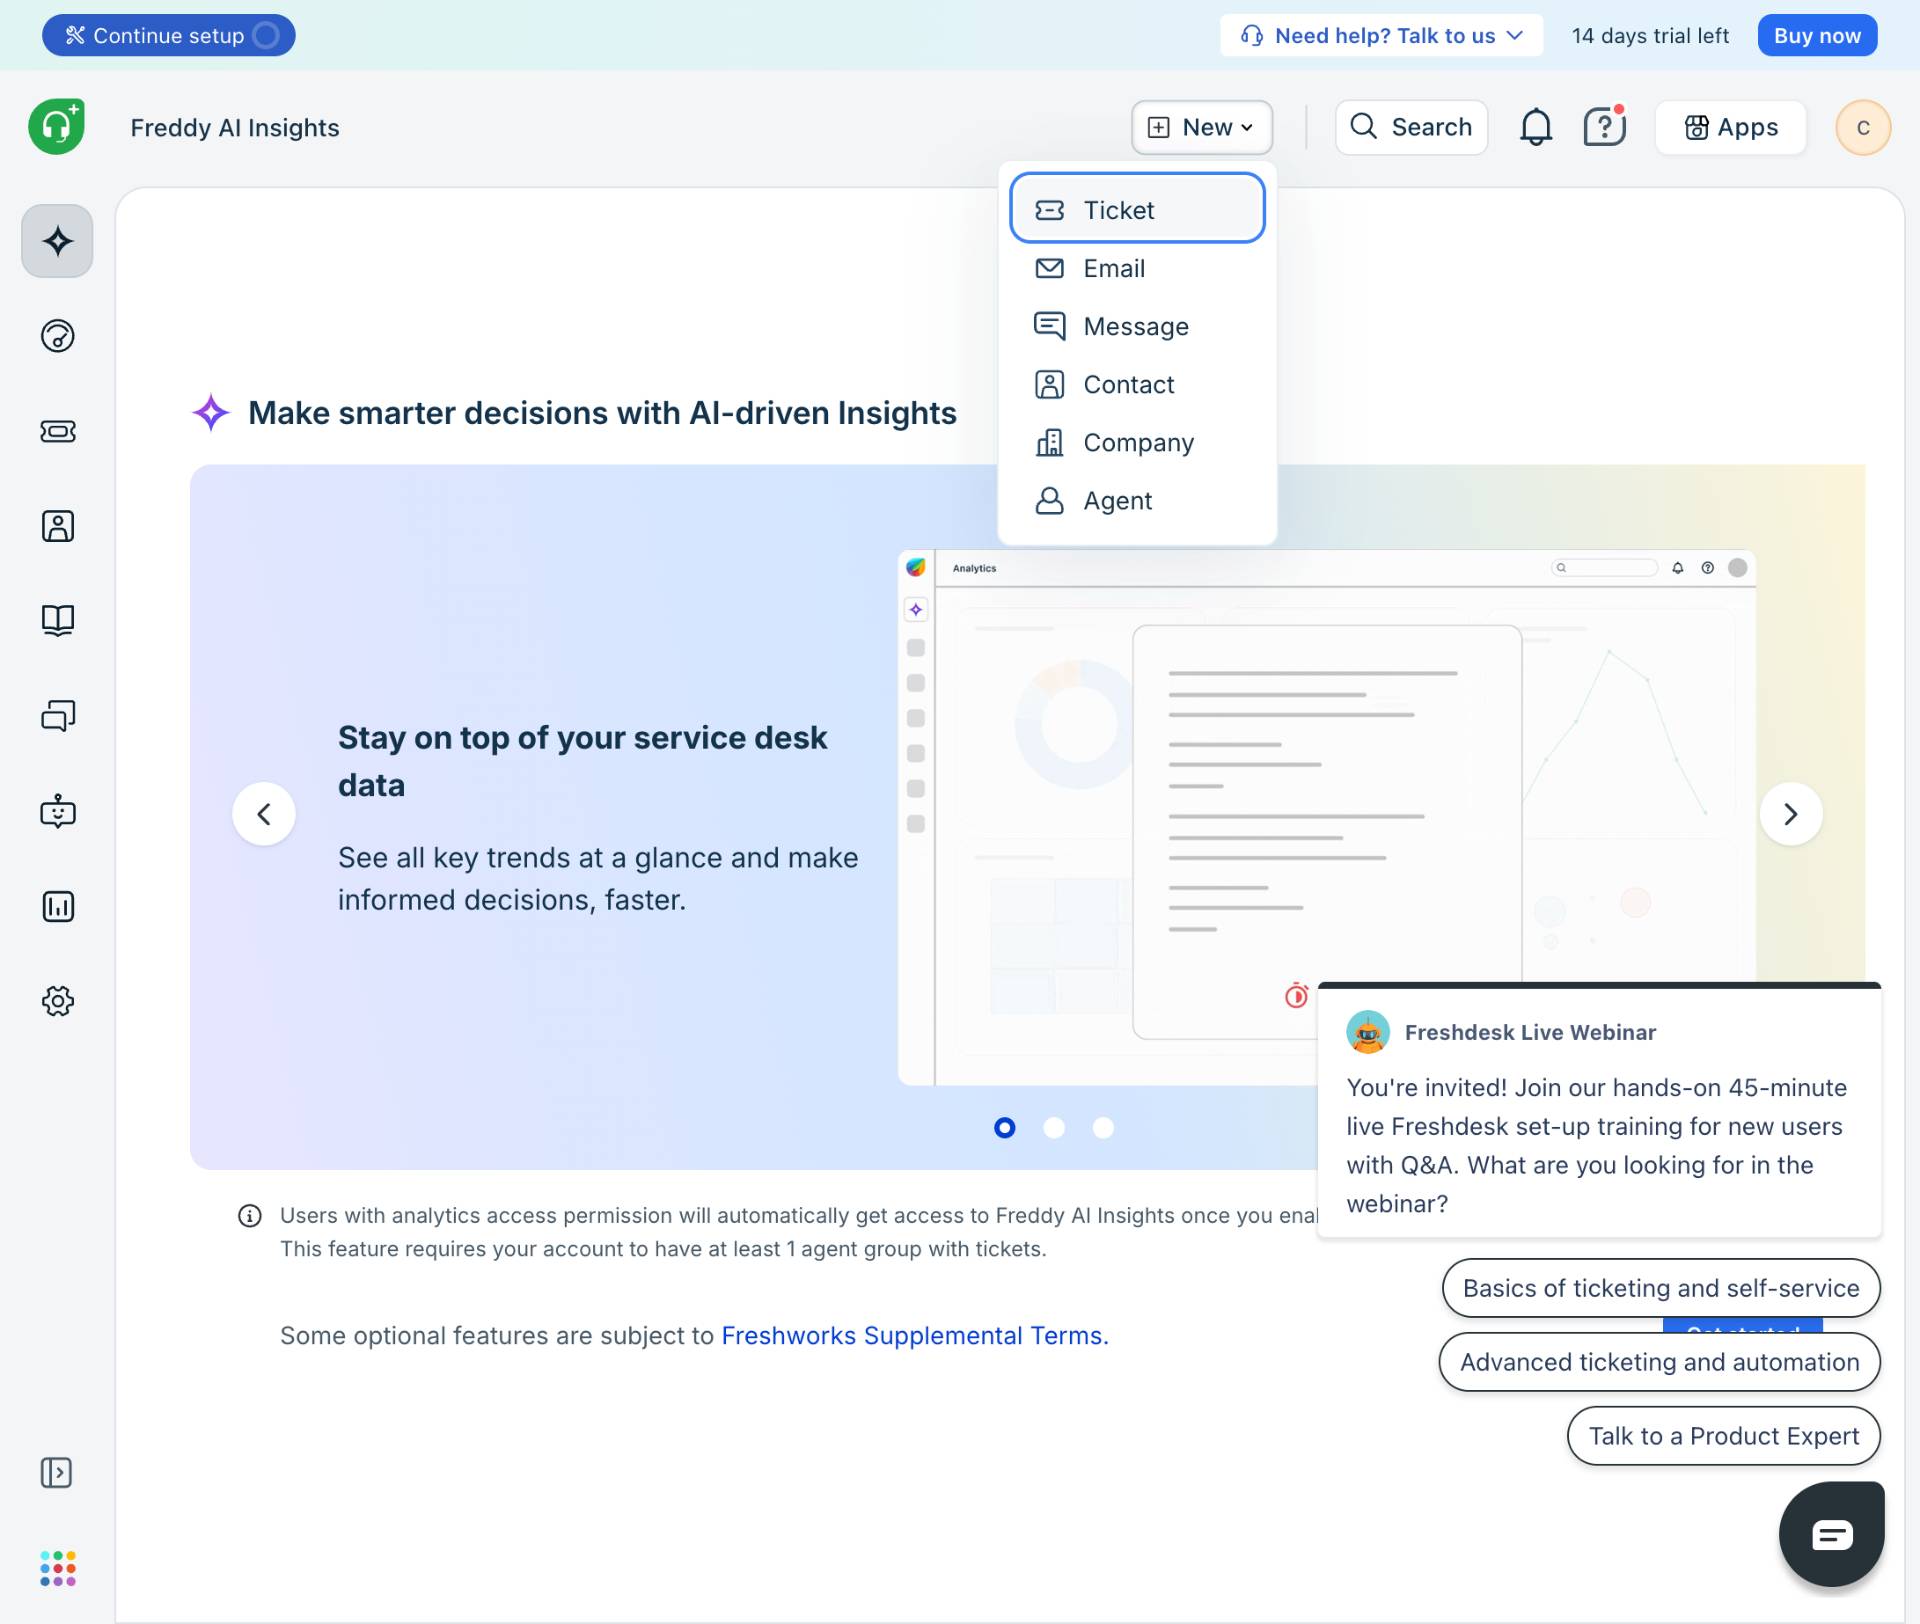
- Step 3 of 7
Select Email option
Click the Email option
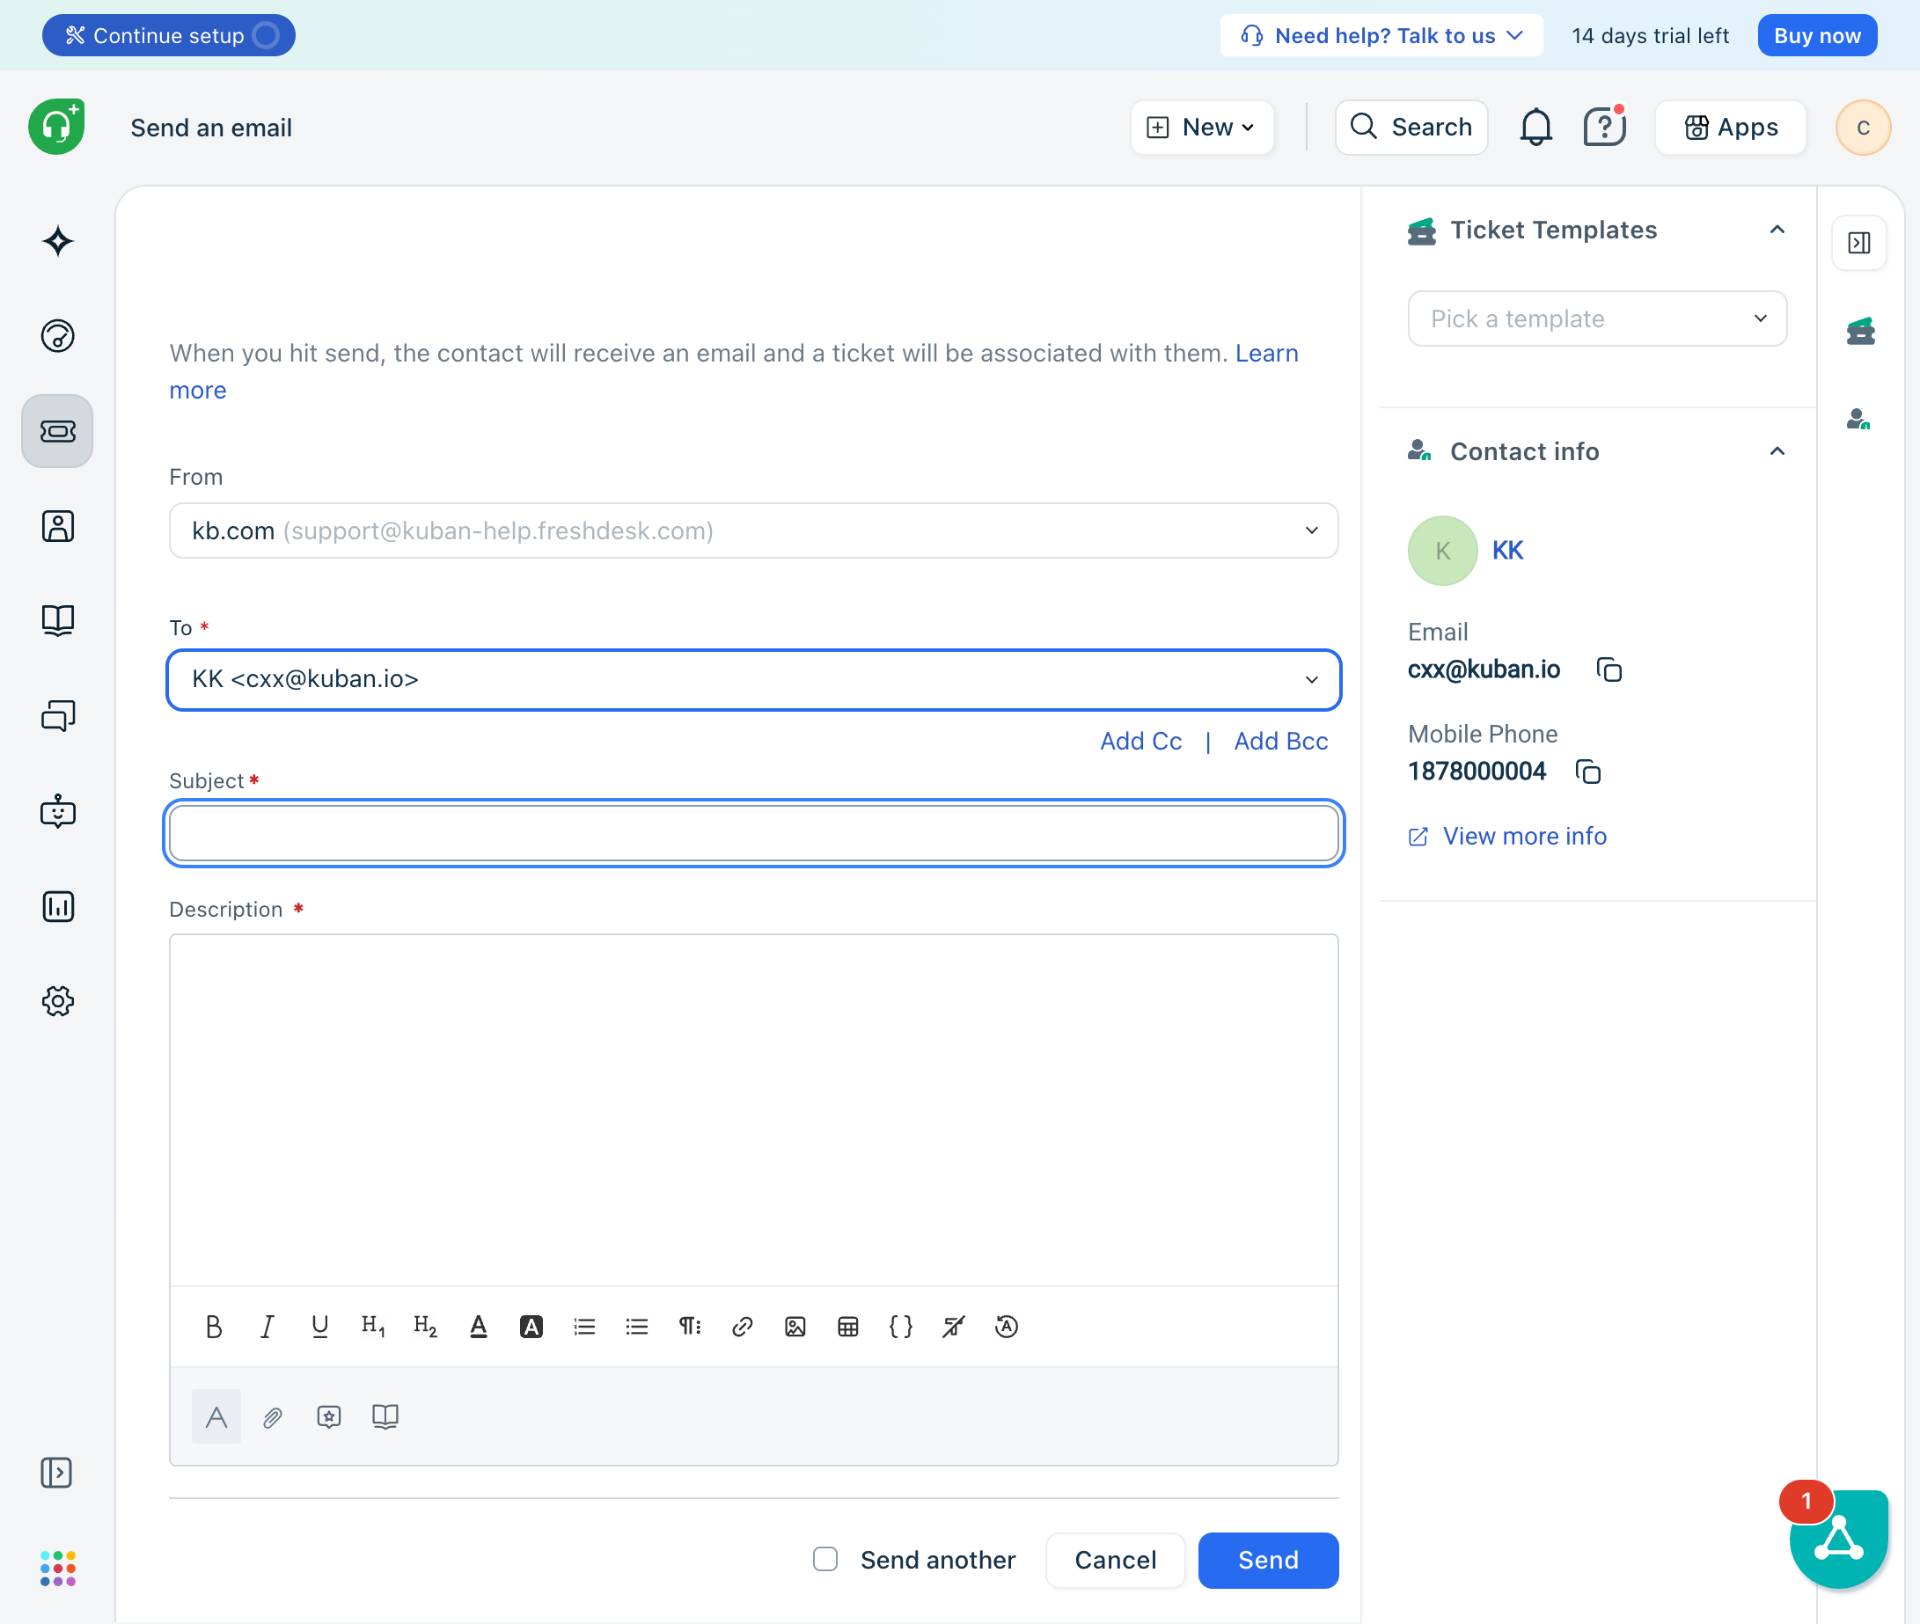
Click on Email from the dropdown menu. The Send an email form will open, displaying fields for From, To, Subject, and Description.
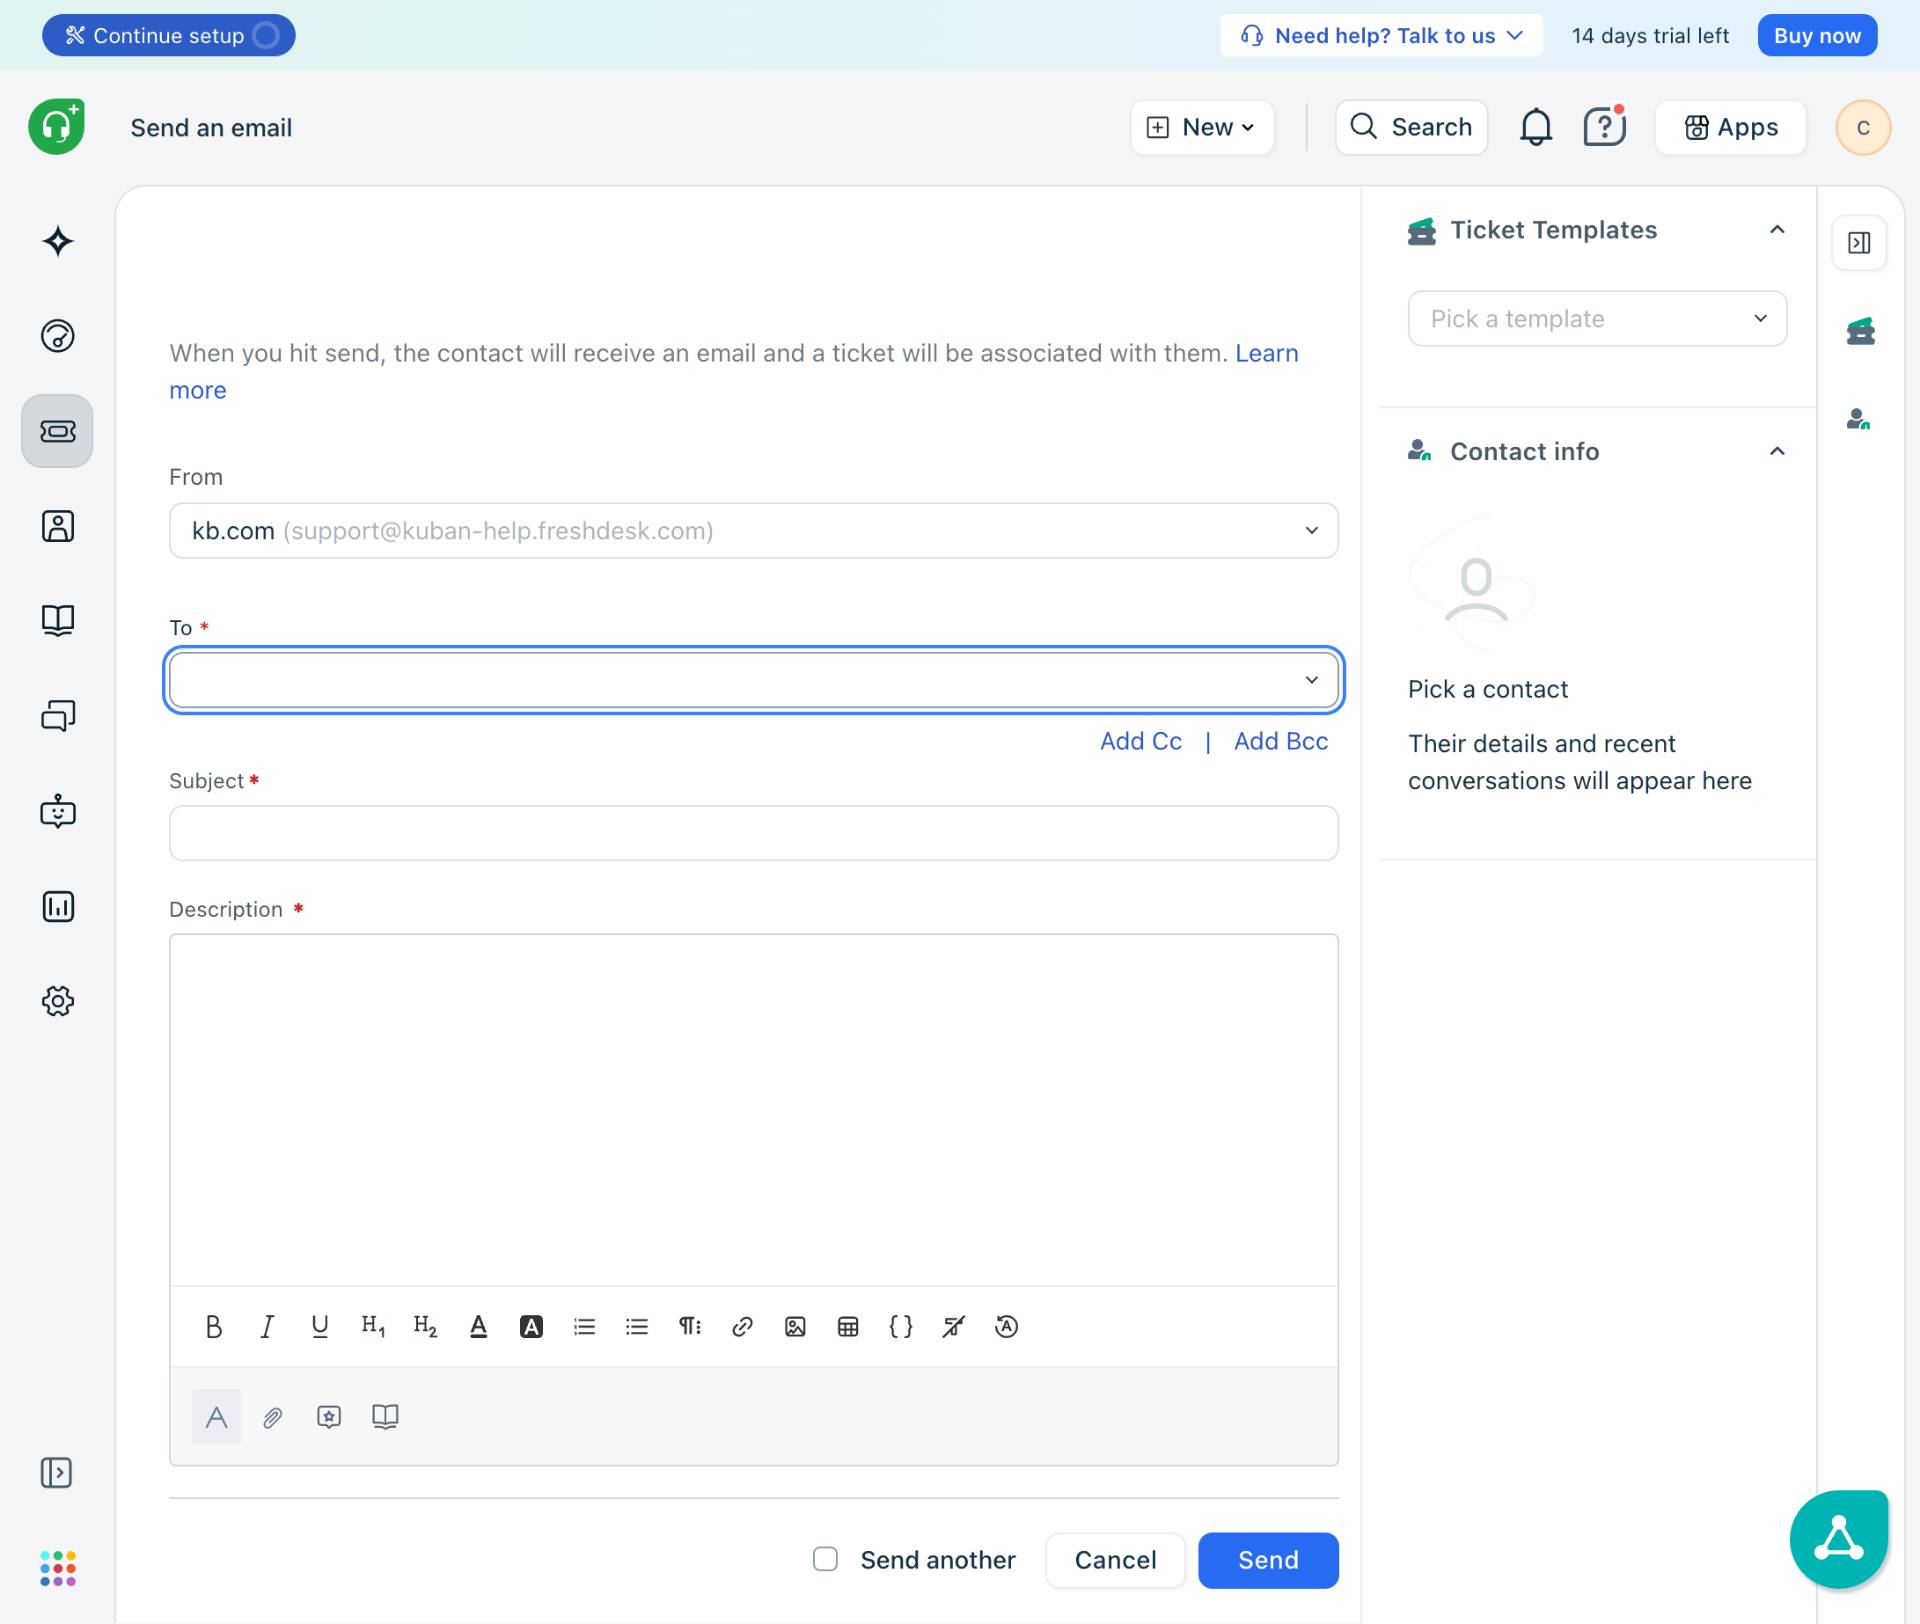
- Step 4 of 7
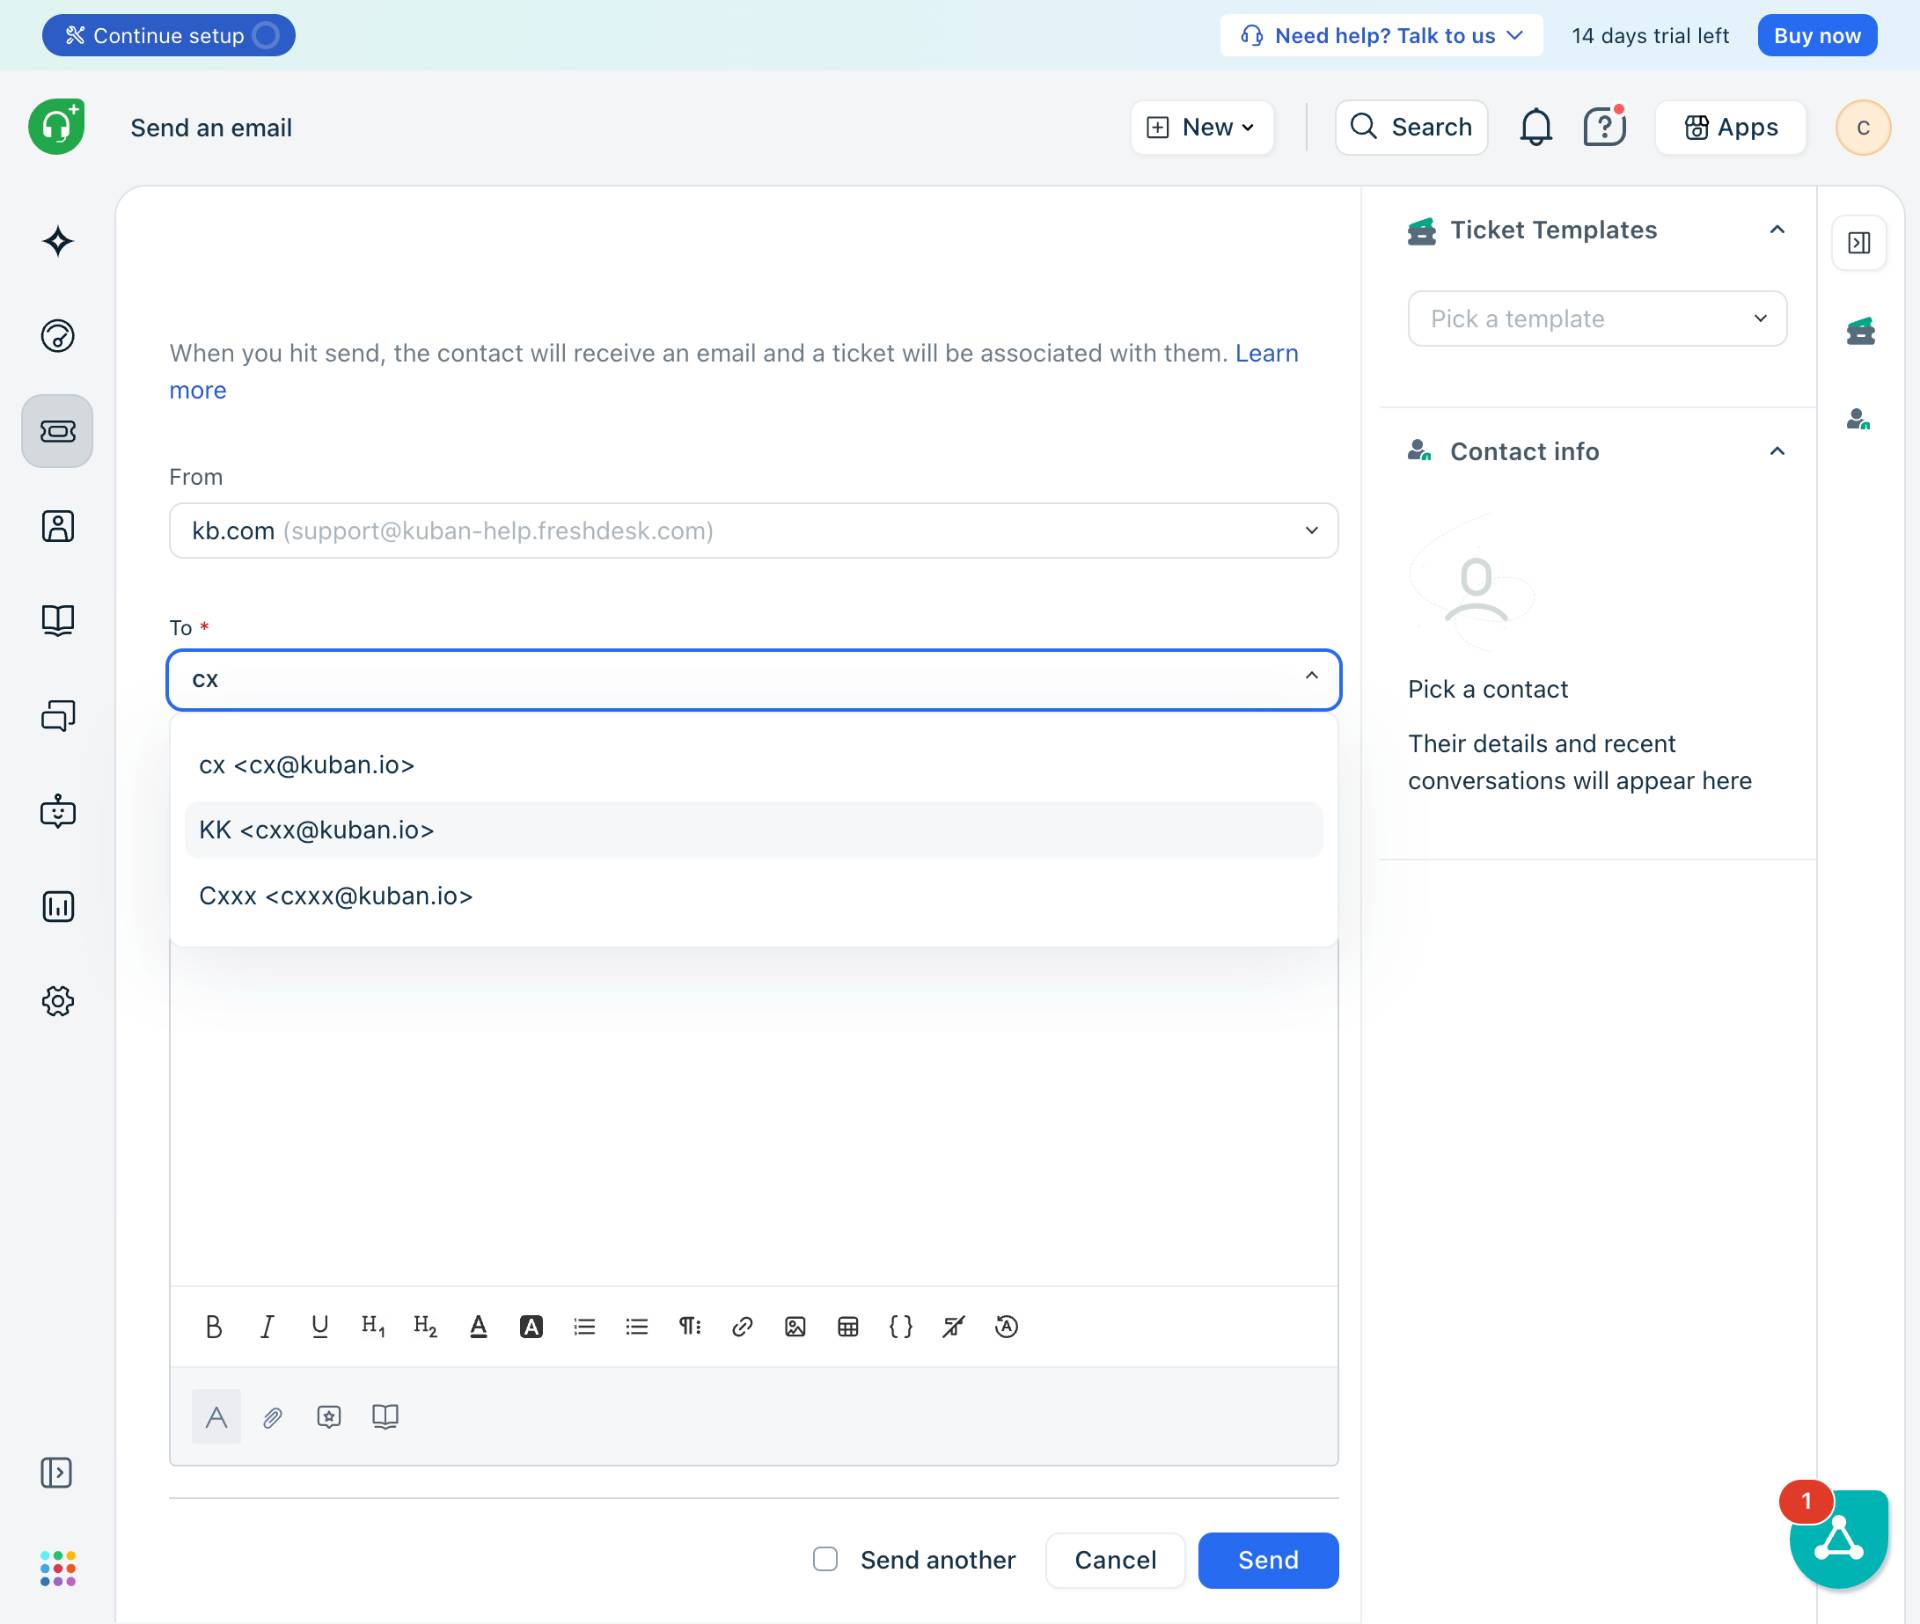
Select the recipient
Select a contact from the To field
Click in the To field and start typing the contact's name or email address. A dropdown list will display matching contacts from your system.
- Step 5 of 7
Enter the subject
Type the email subject
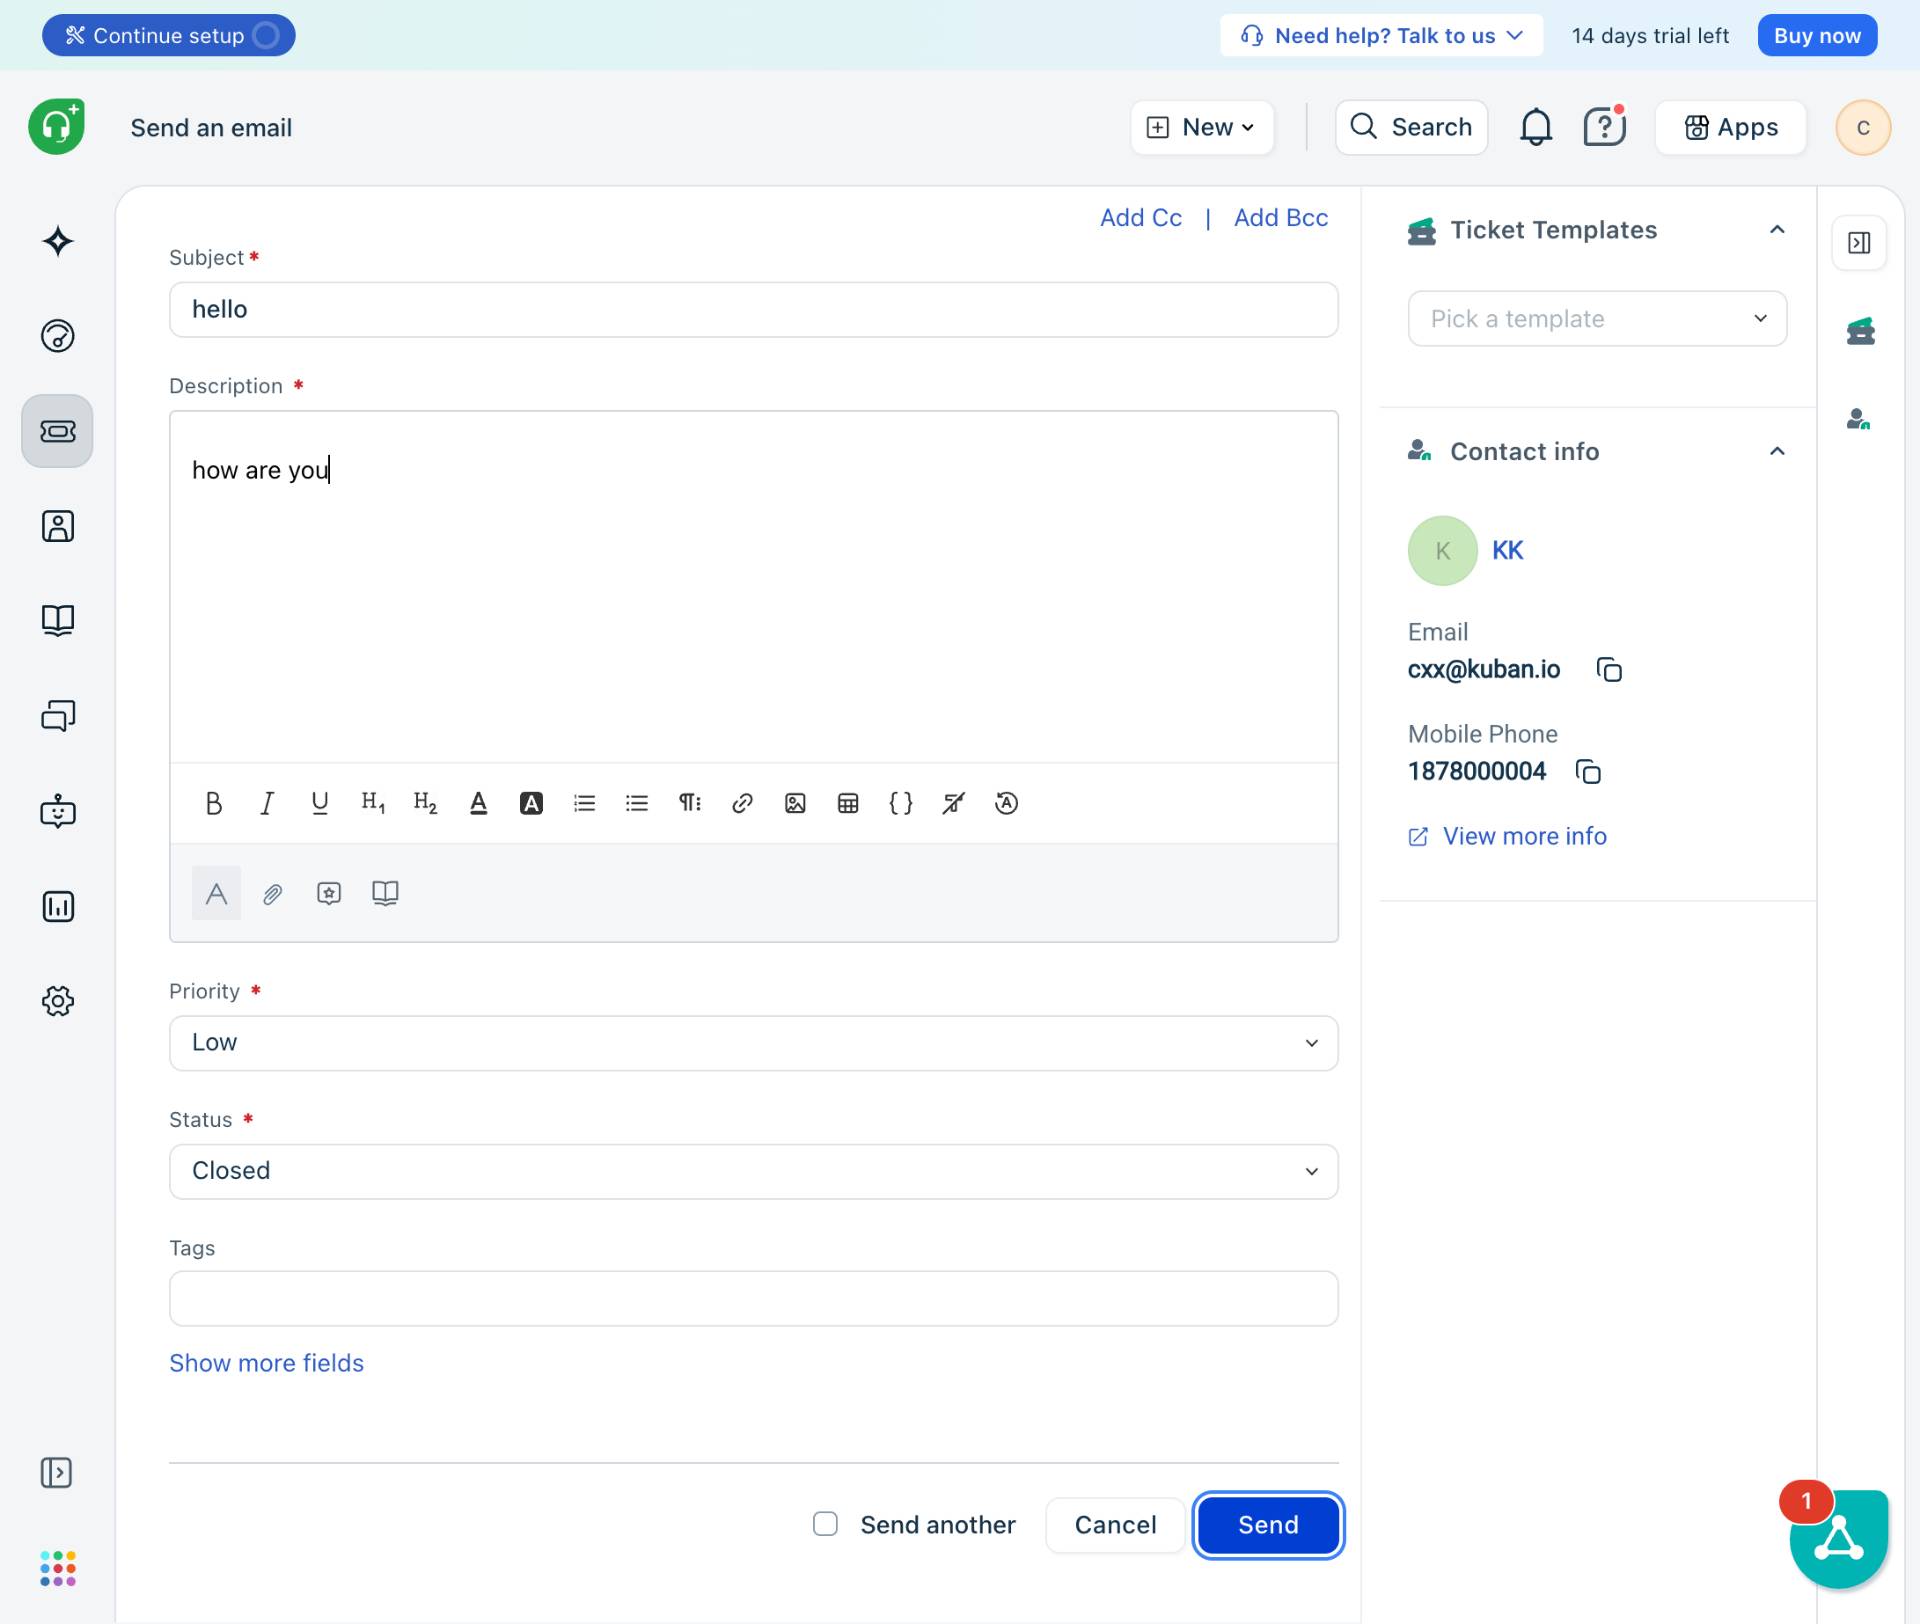
Click in the Subject field (marked with a red asterisk as required) and enter a brief, descriptive subject line that summarizes the purpose of your email.
- Step 6 of 7
Enter the description
Type the email body content
Click in the Description text area (marked with a red asterisk as required) and type the full content of your message.
- Step 7 of 7
Send the email
Click the Send button
Review your email content to ensure accuracy. Then click the blue Send button at the bottom right of the form.

Verification
To confirm the email ticket was created successfully:
Navigate to the Tickets section from the left sidebar.
Search for the newly created ticket using the recipient's email address or subject line.
Verify the ticket shows the correct status and is associated with the intended contact.
Conclusion
You have successfully created a helpdesk email ticket in Freshdesk. The email has been sent to the customer and an associated ticket has been created for tracking, ensuring proper follow-up and case management.