
Purpose
This SOP describes how to create a new helpdesk ticket in Freshdesk and add a new contact as the requester, including handling duplicate contact scenarios and configuring CC recipients.
Scope
This procedure is intended for helpdesk agents and support staff who need to manually create tickets on behalf of customers. Follow this SOP when receiving support requests through phone calls, direct messages, or other non-ticket channels.
Prerequisites
Logged in to Freshdesk with agent or administrator privileges
Customer contact information (email address and phone number)
Details about the support request (subject, description, issue type)
Procedure
- Step 1 of 15
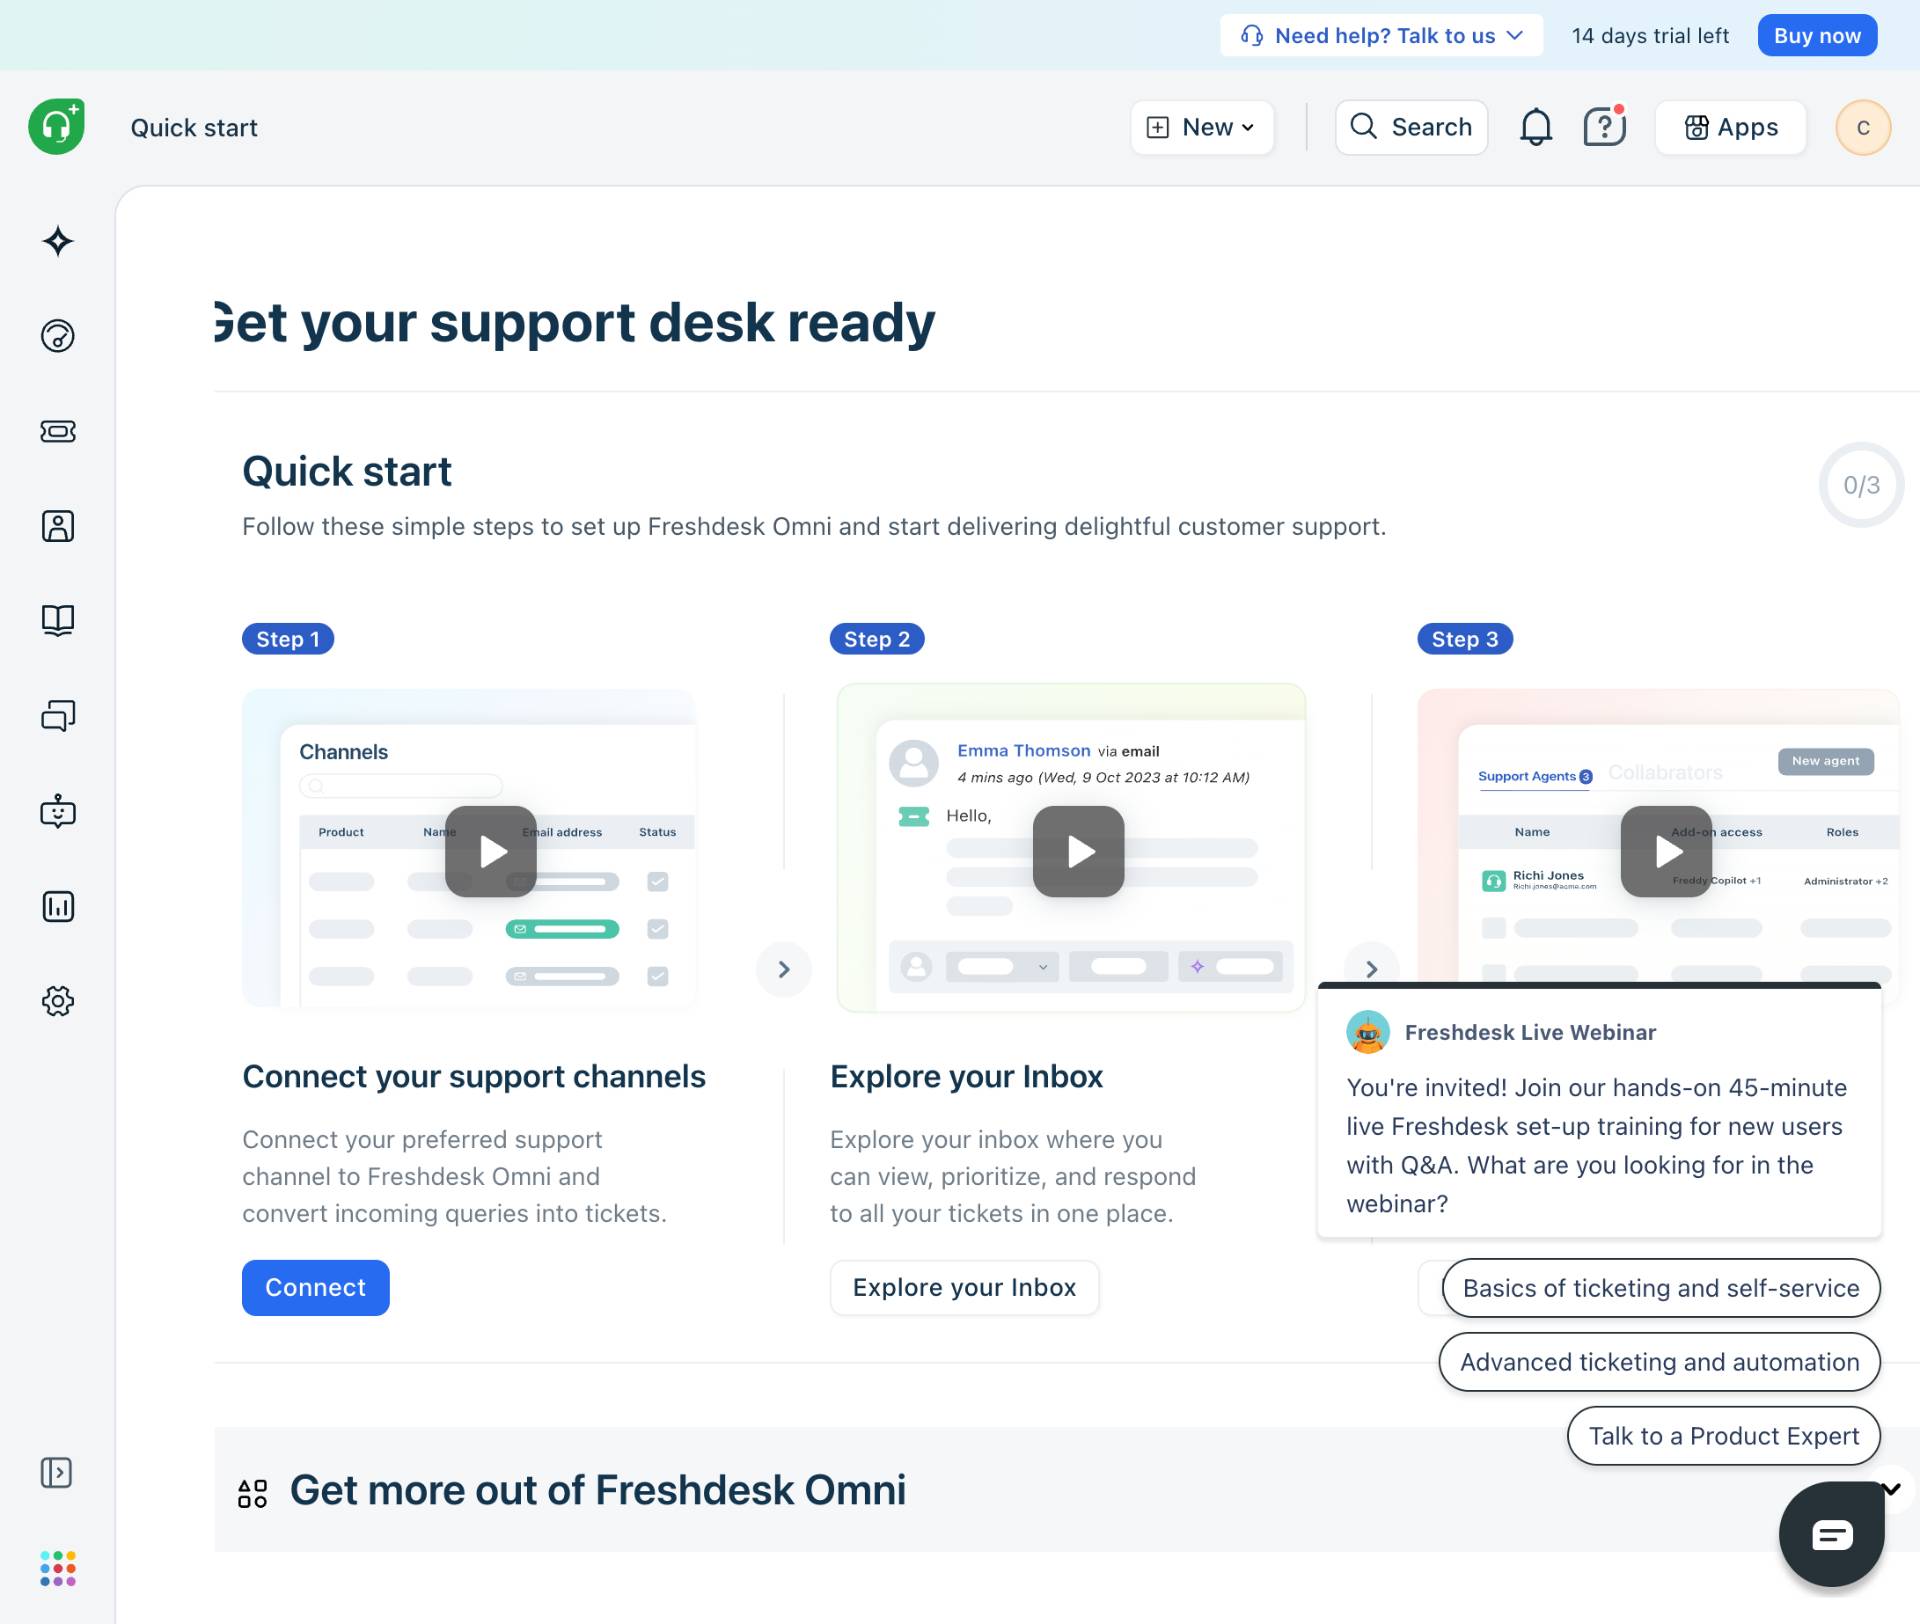
Navigate to Freshdesk
Open the Freshdesk portal
Navigate to kuban-help.freshdesk.com and sign in with your agent credentials.
- Step 2 of 15
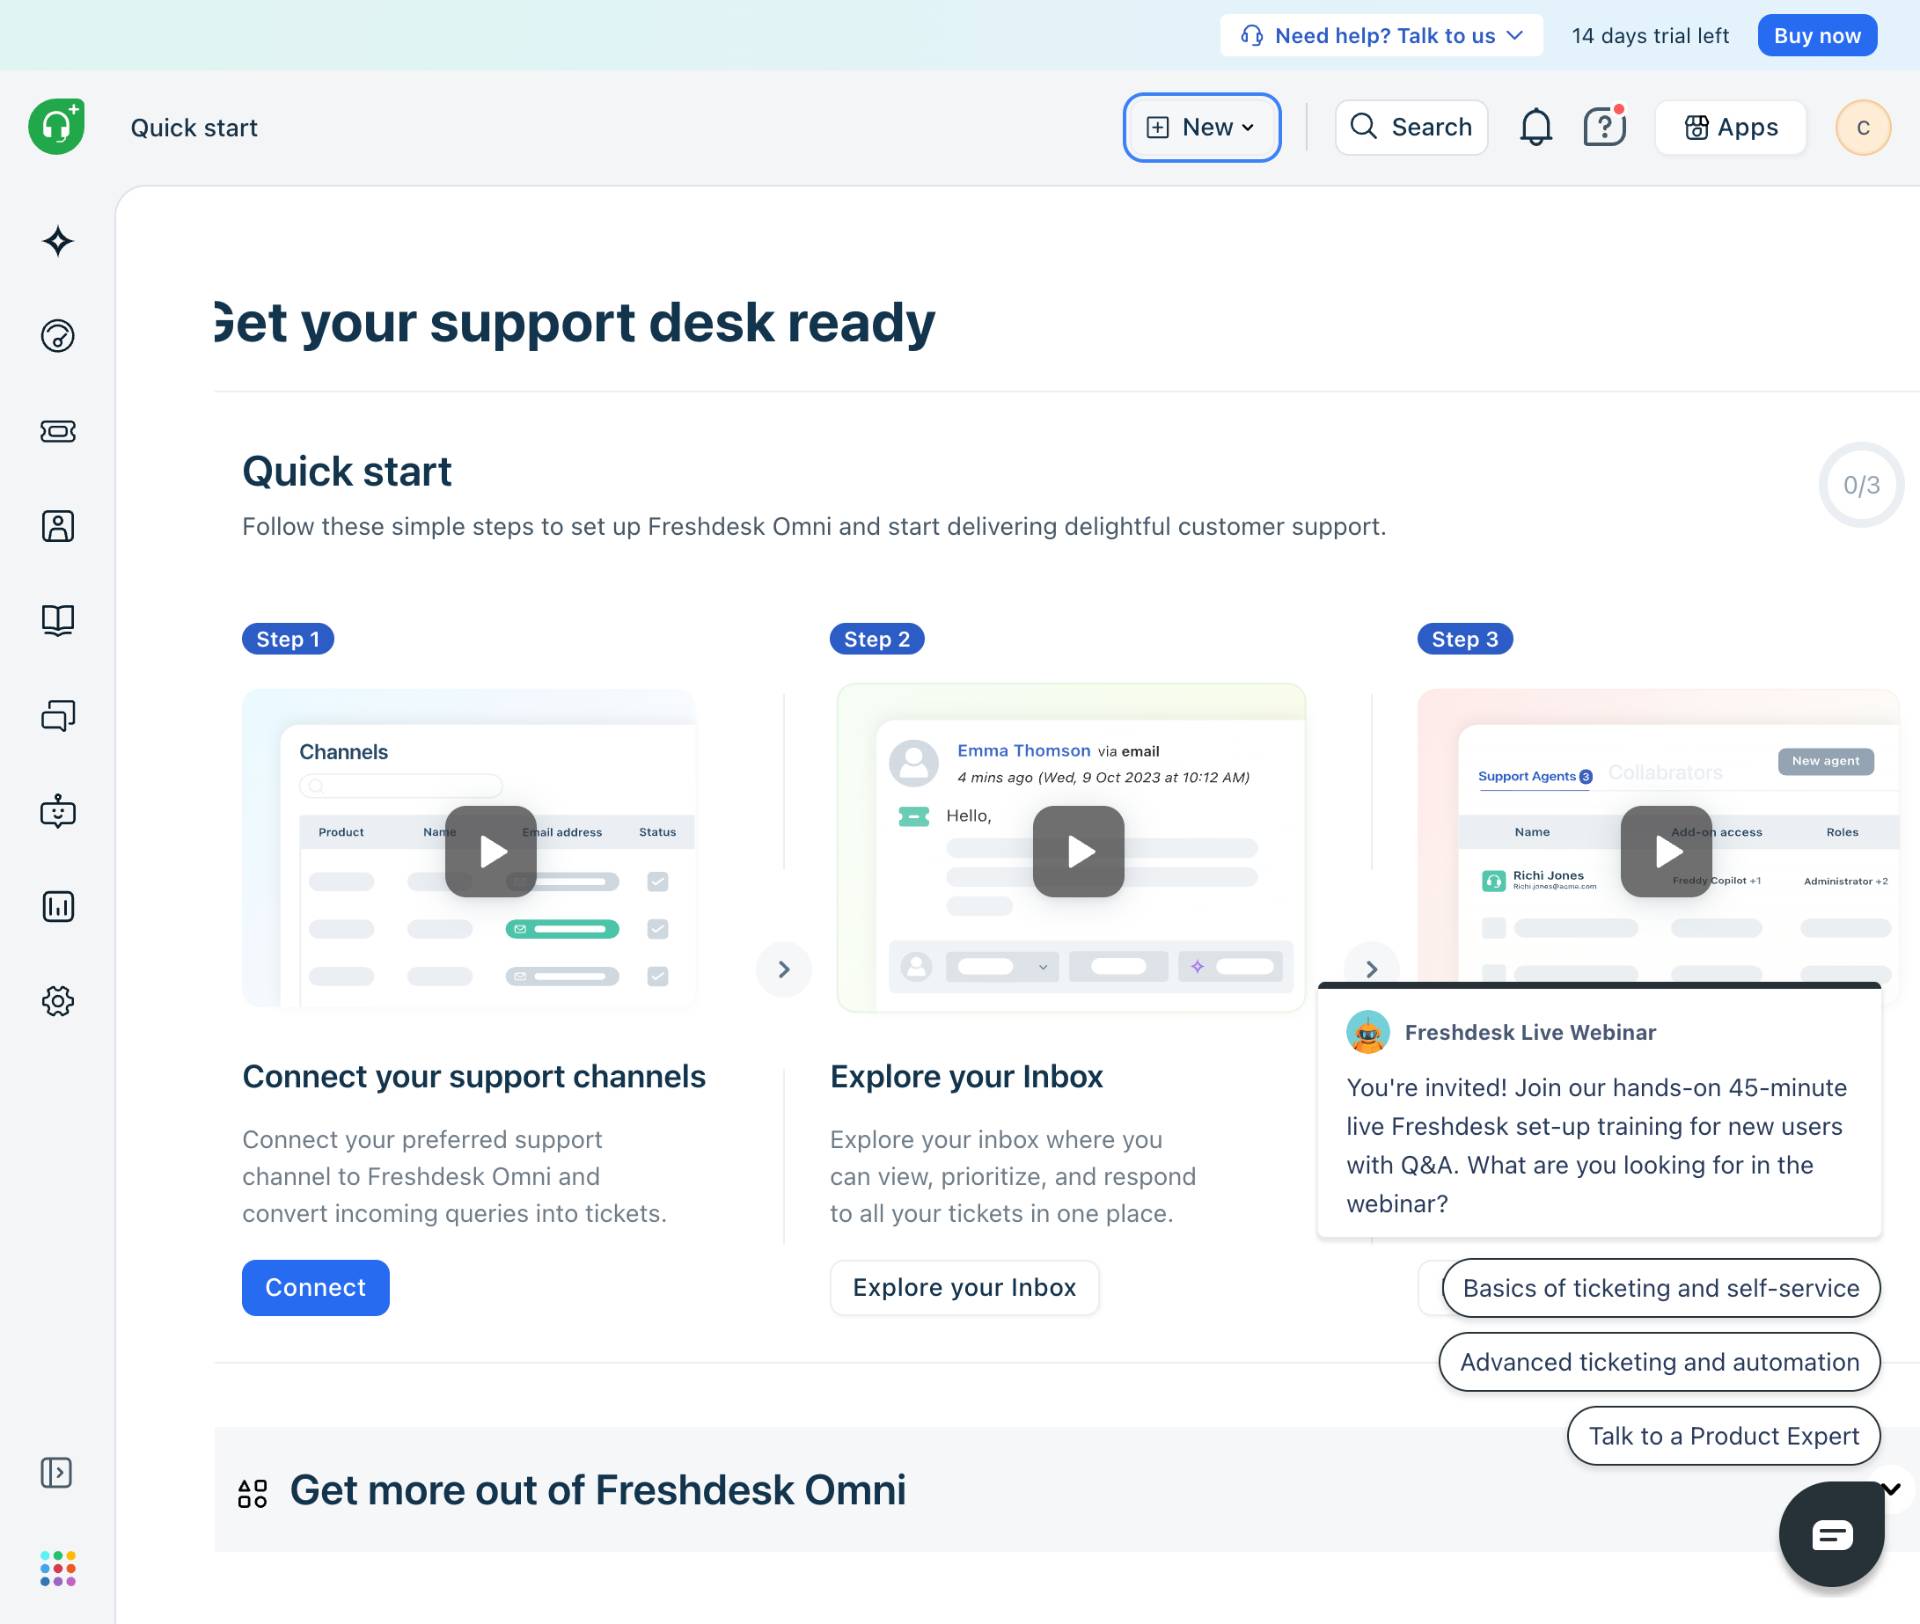
Open the New Menu
Click the New button
Click the New button located in the top navigation bar to open the creation menu.
- Step 3 of 15
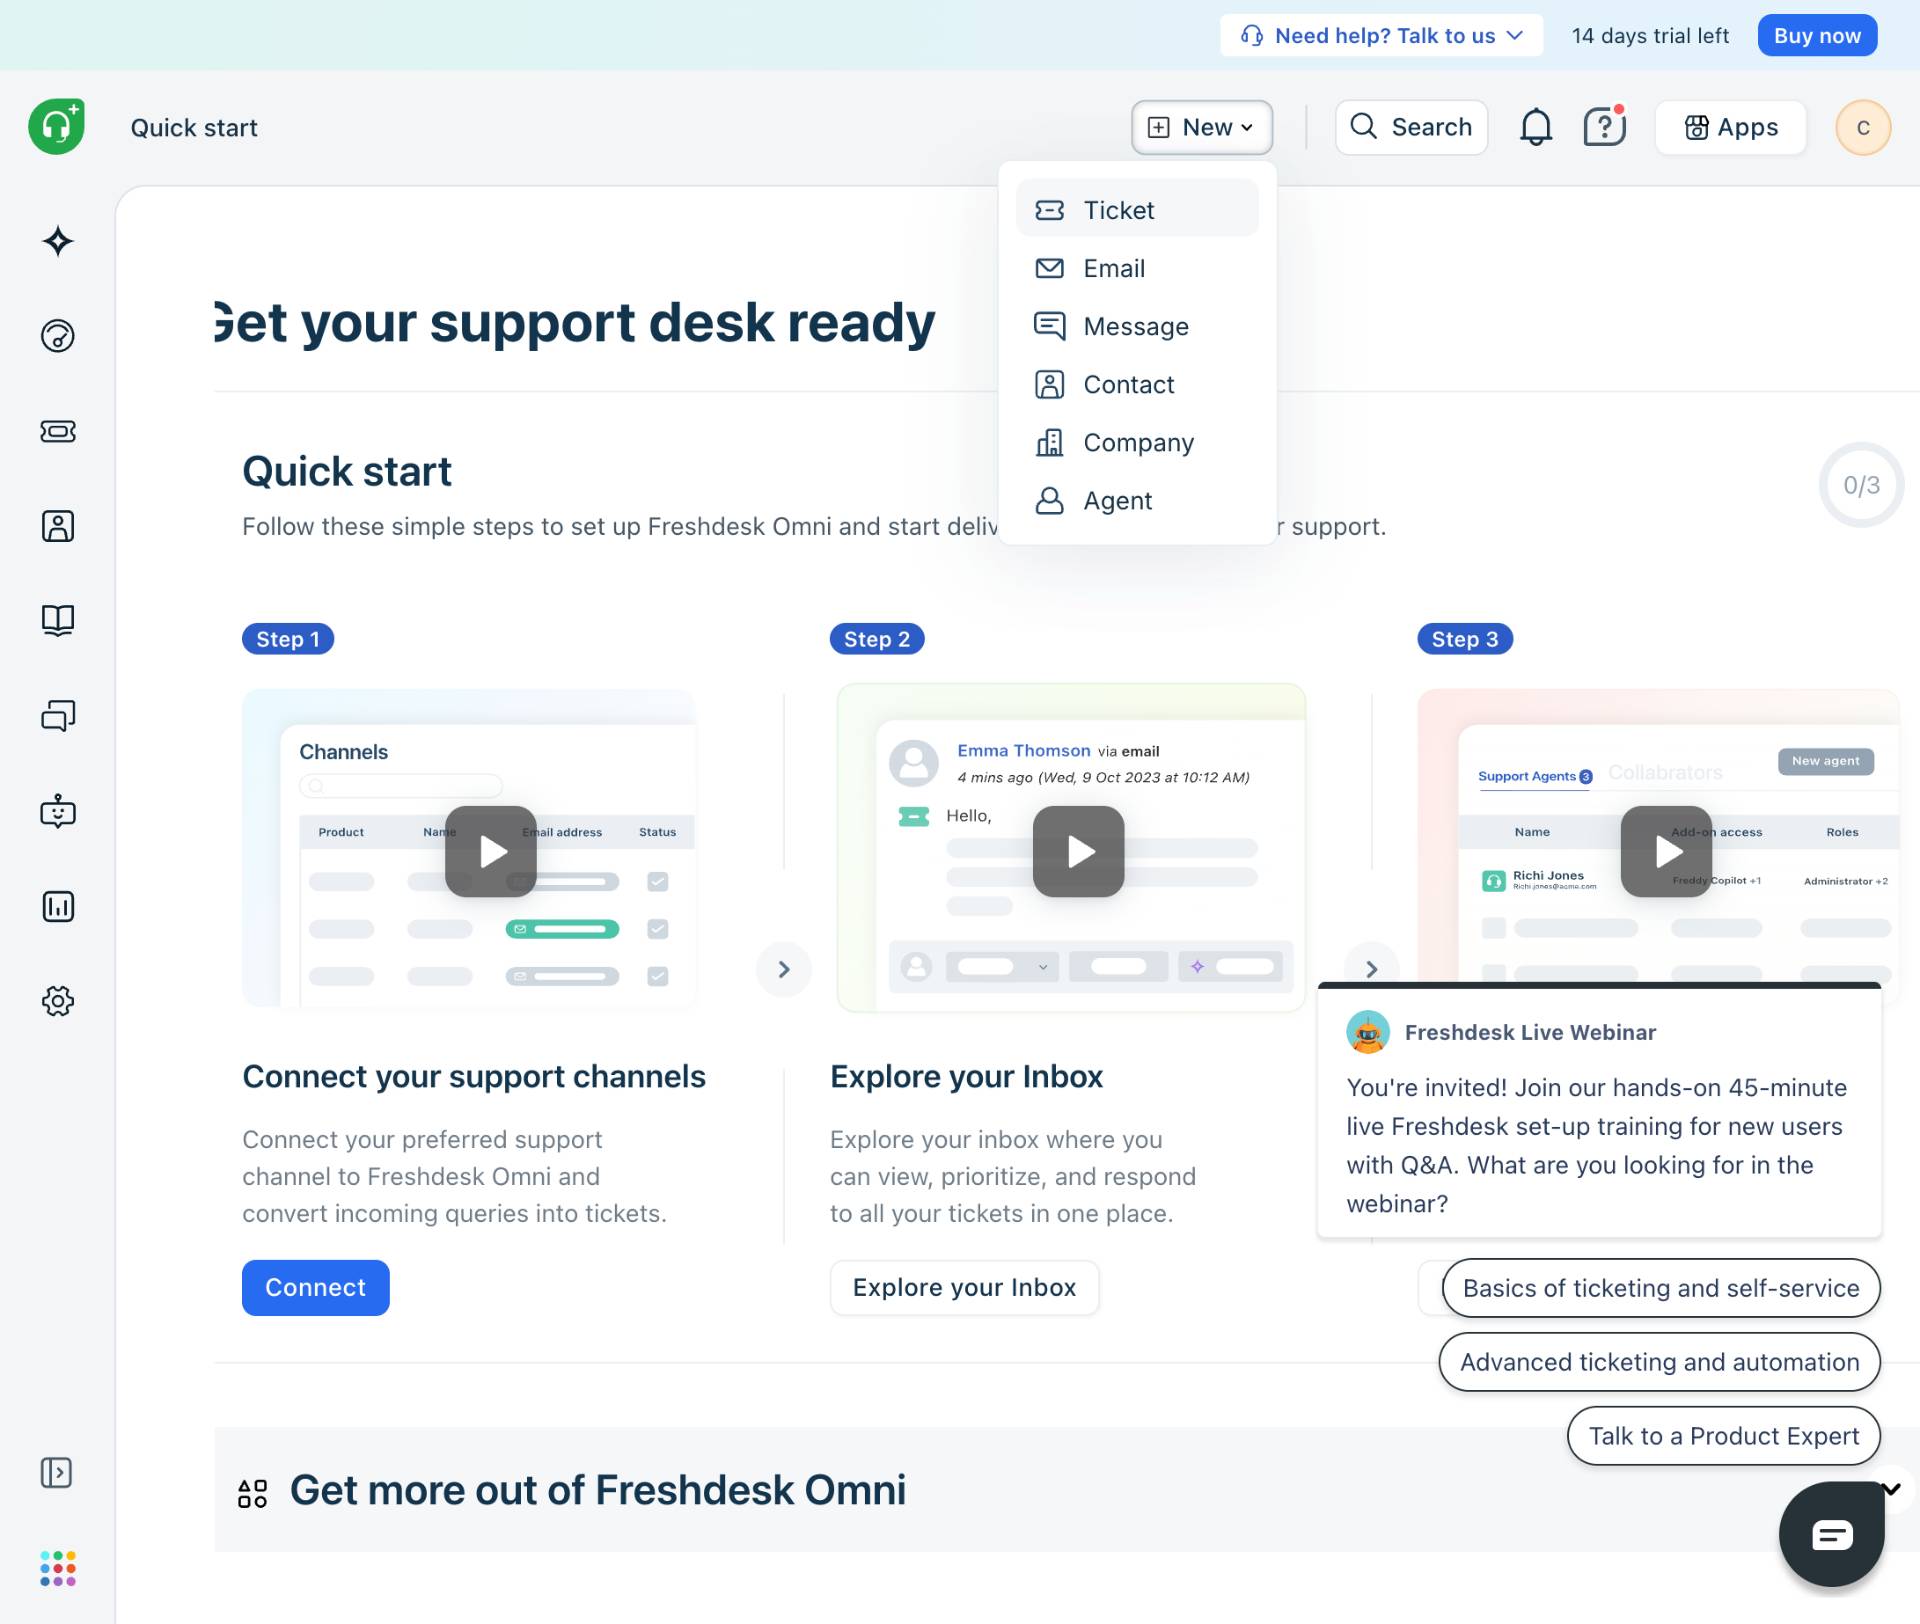
Select New Ticket
Click New ticket option
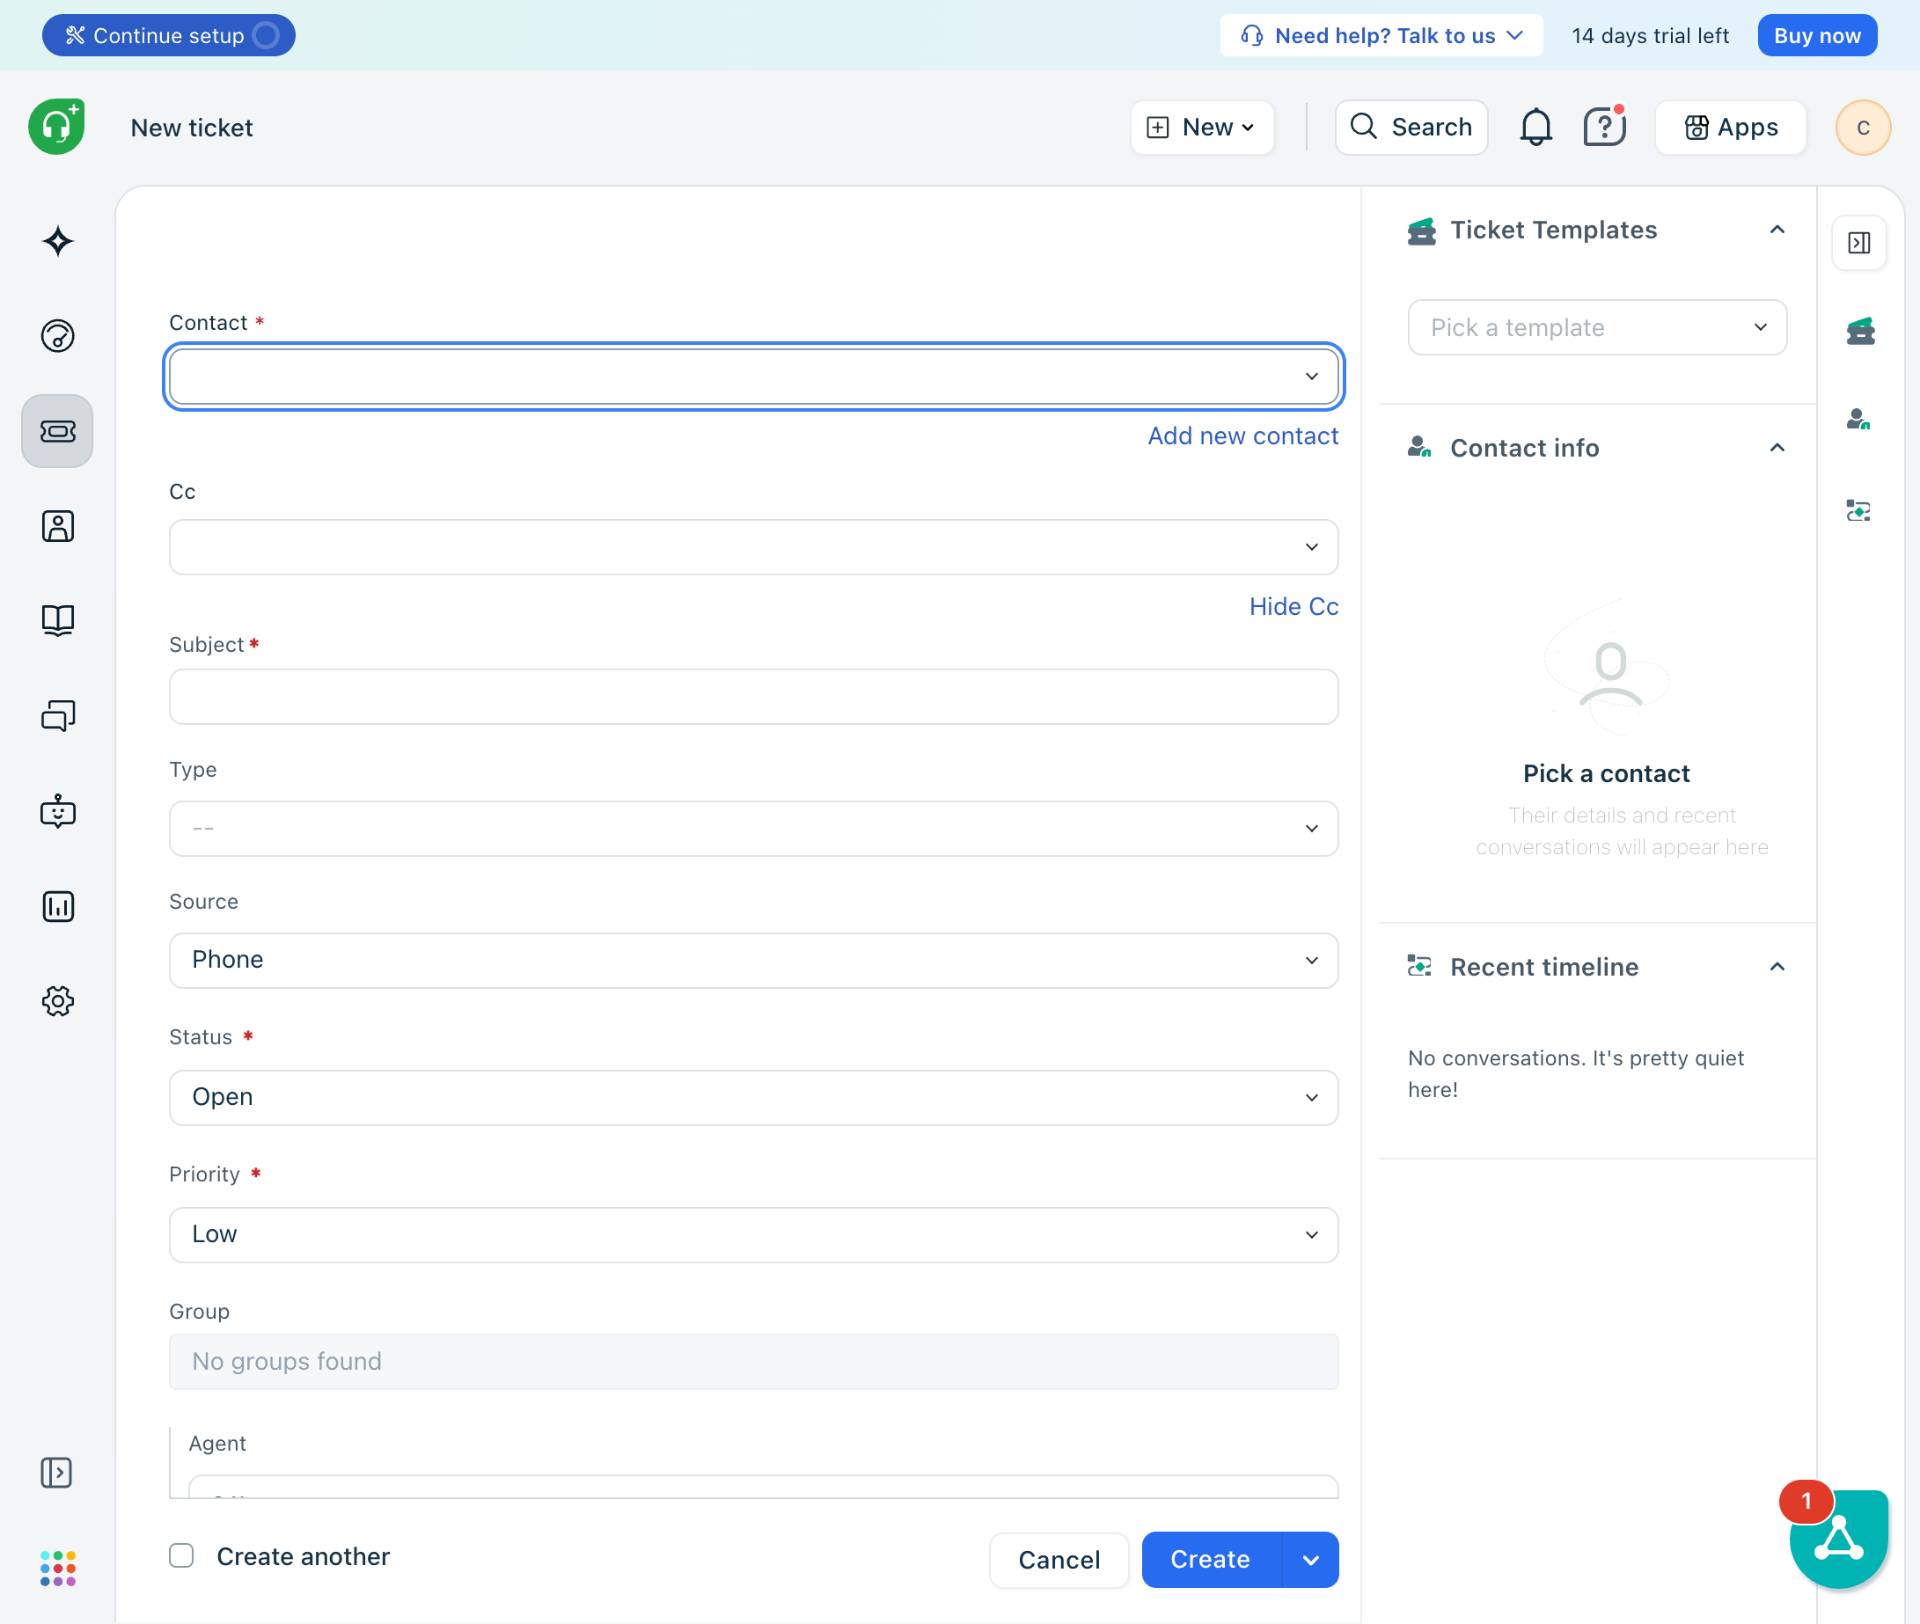
From the dropdown menu, click New ticket to open the ticket creation form.
- Step 4 of 15
Show CC Field (Optional)
Click Add Cc link
If you need to add CC recipients to the ticket, click the Add Cc link to display the CC field.
- Step 5 of 15
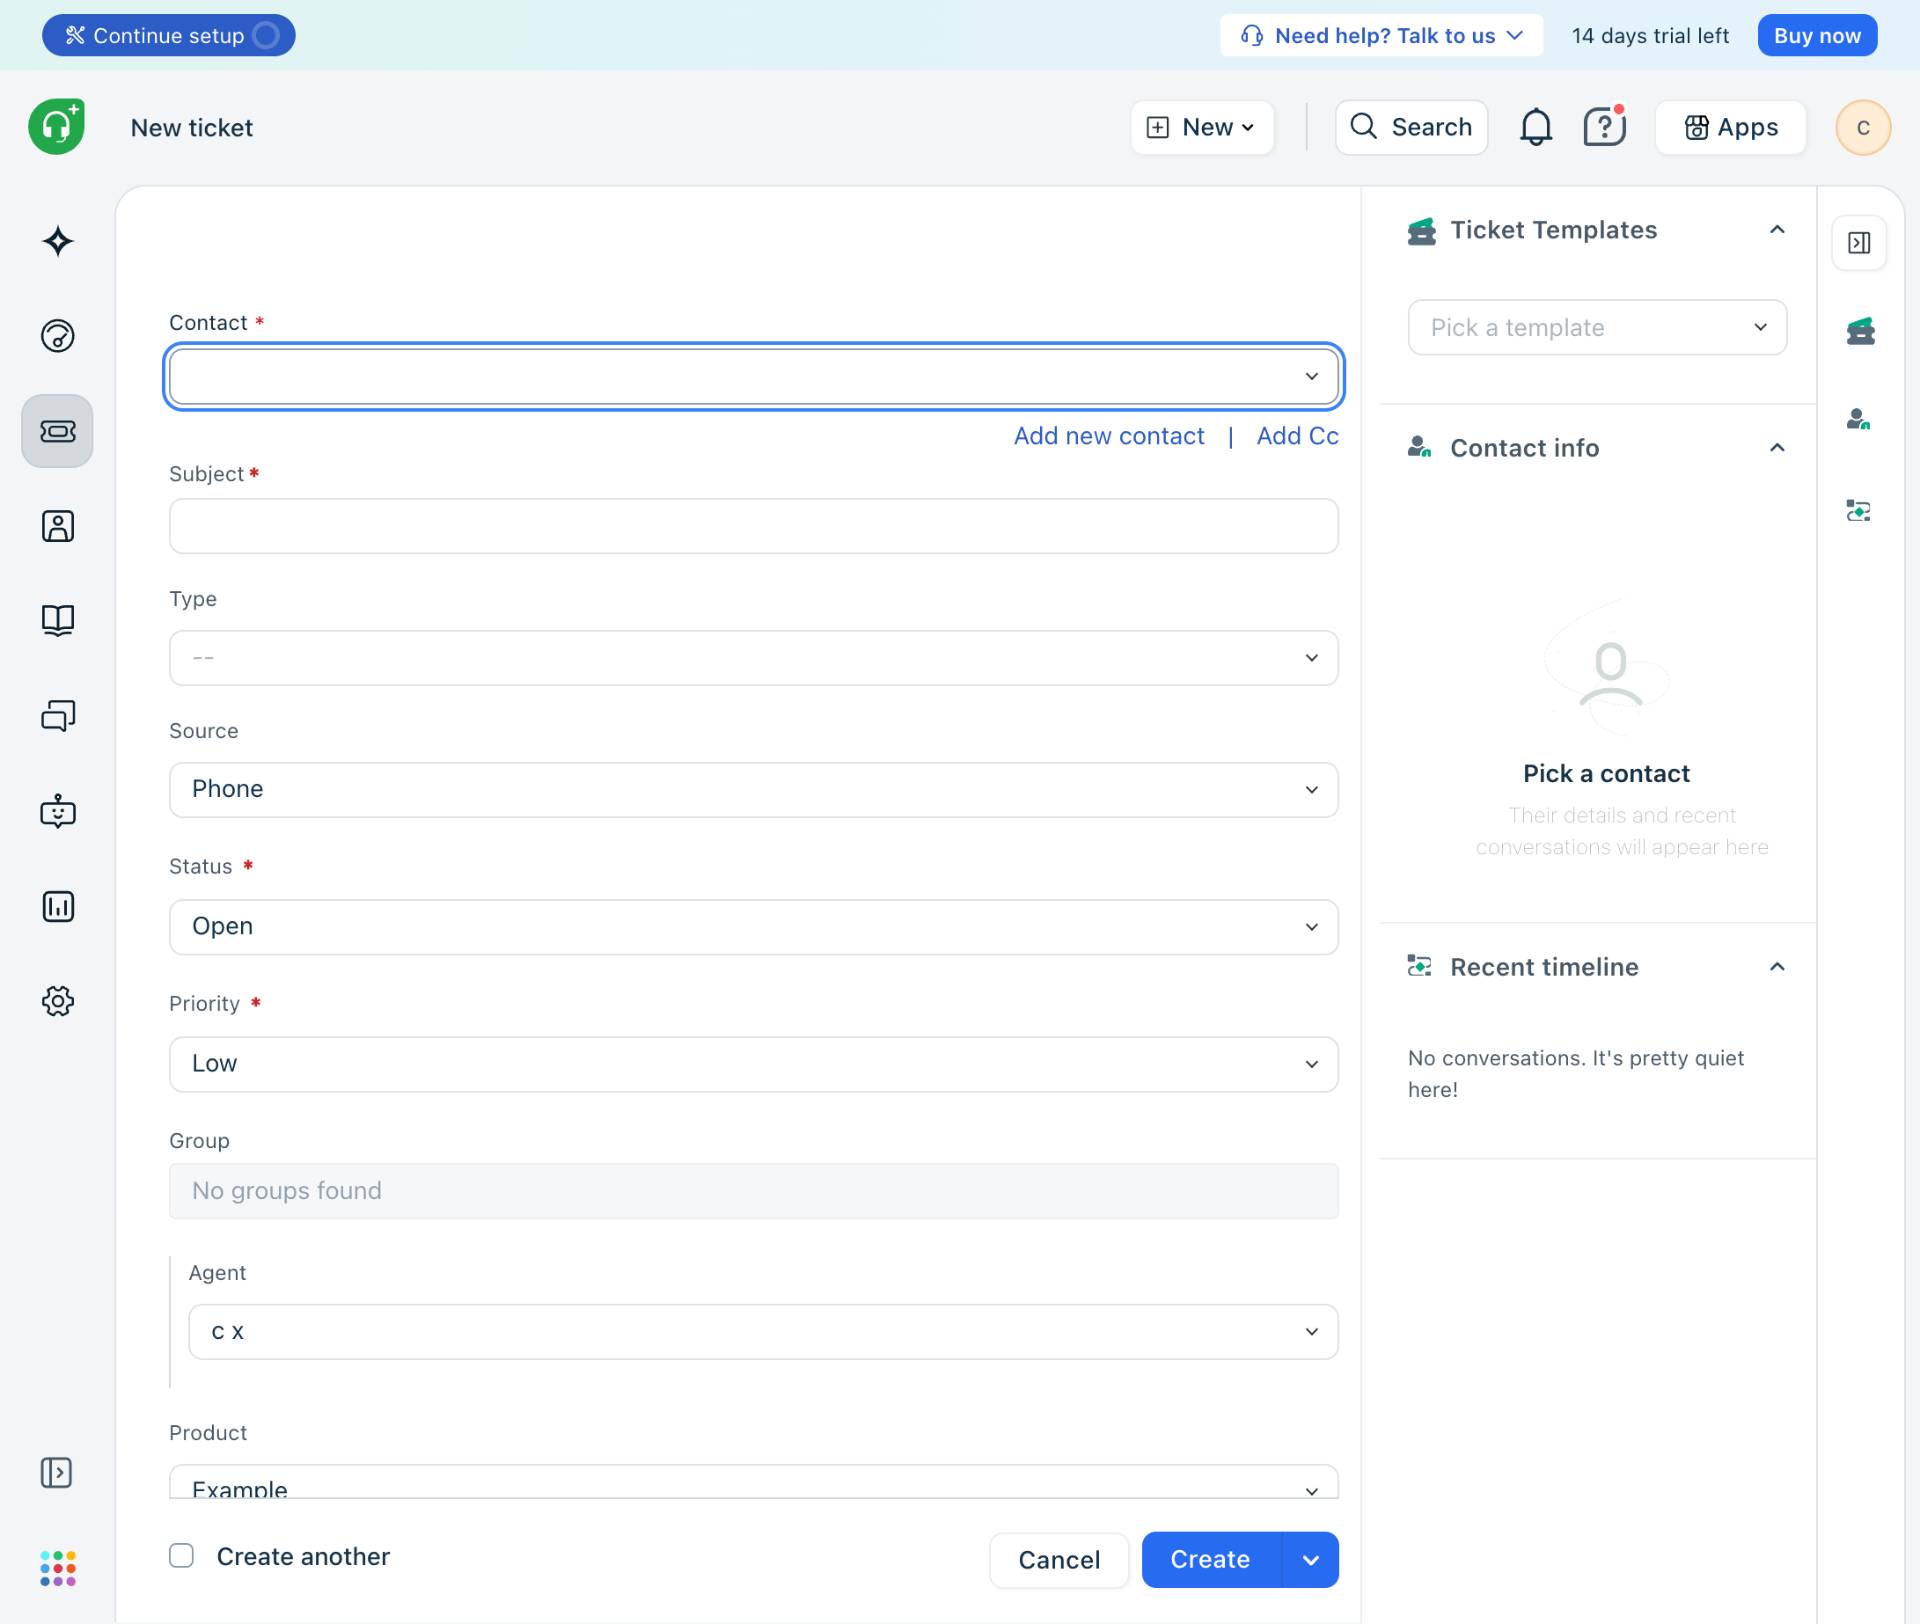
Open Contact Selection
Click the Contact field
Click on the Contact field (marked with a red asterisk) to either search for an existing contact or add a new one.
- Step 6 of 15
Add New Contact
Click Add new contact
Click the Add new contact link to create a new contact record for the requester.

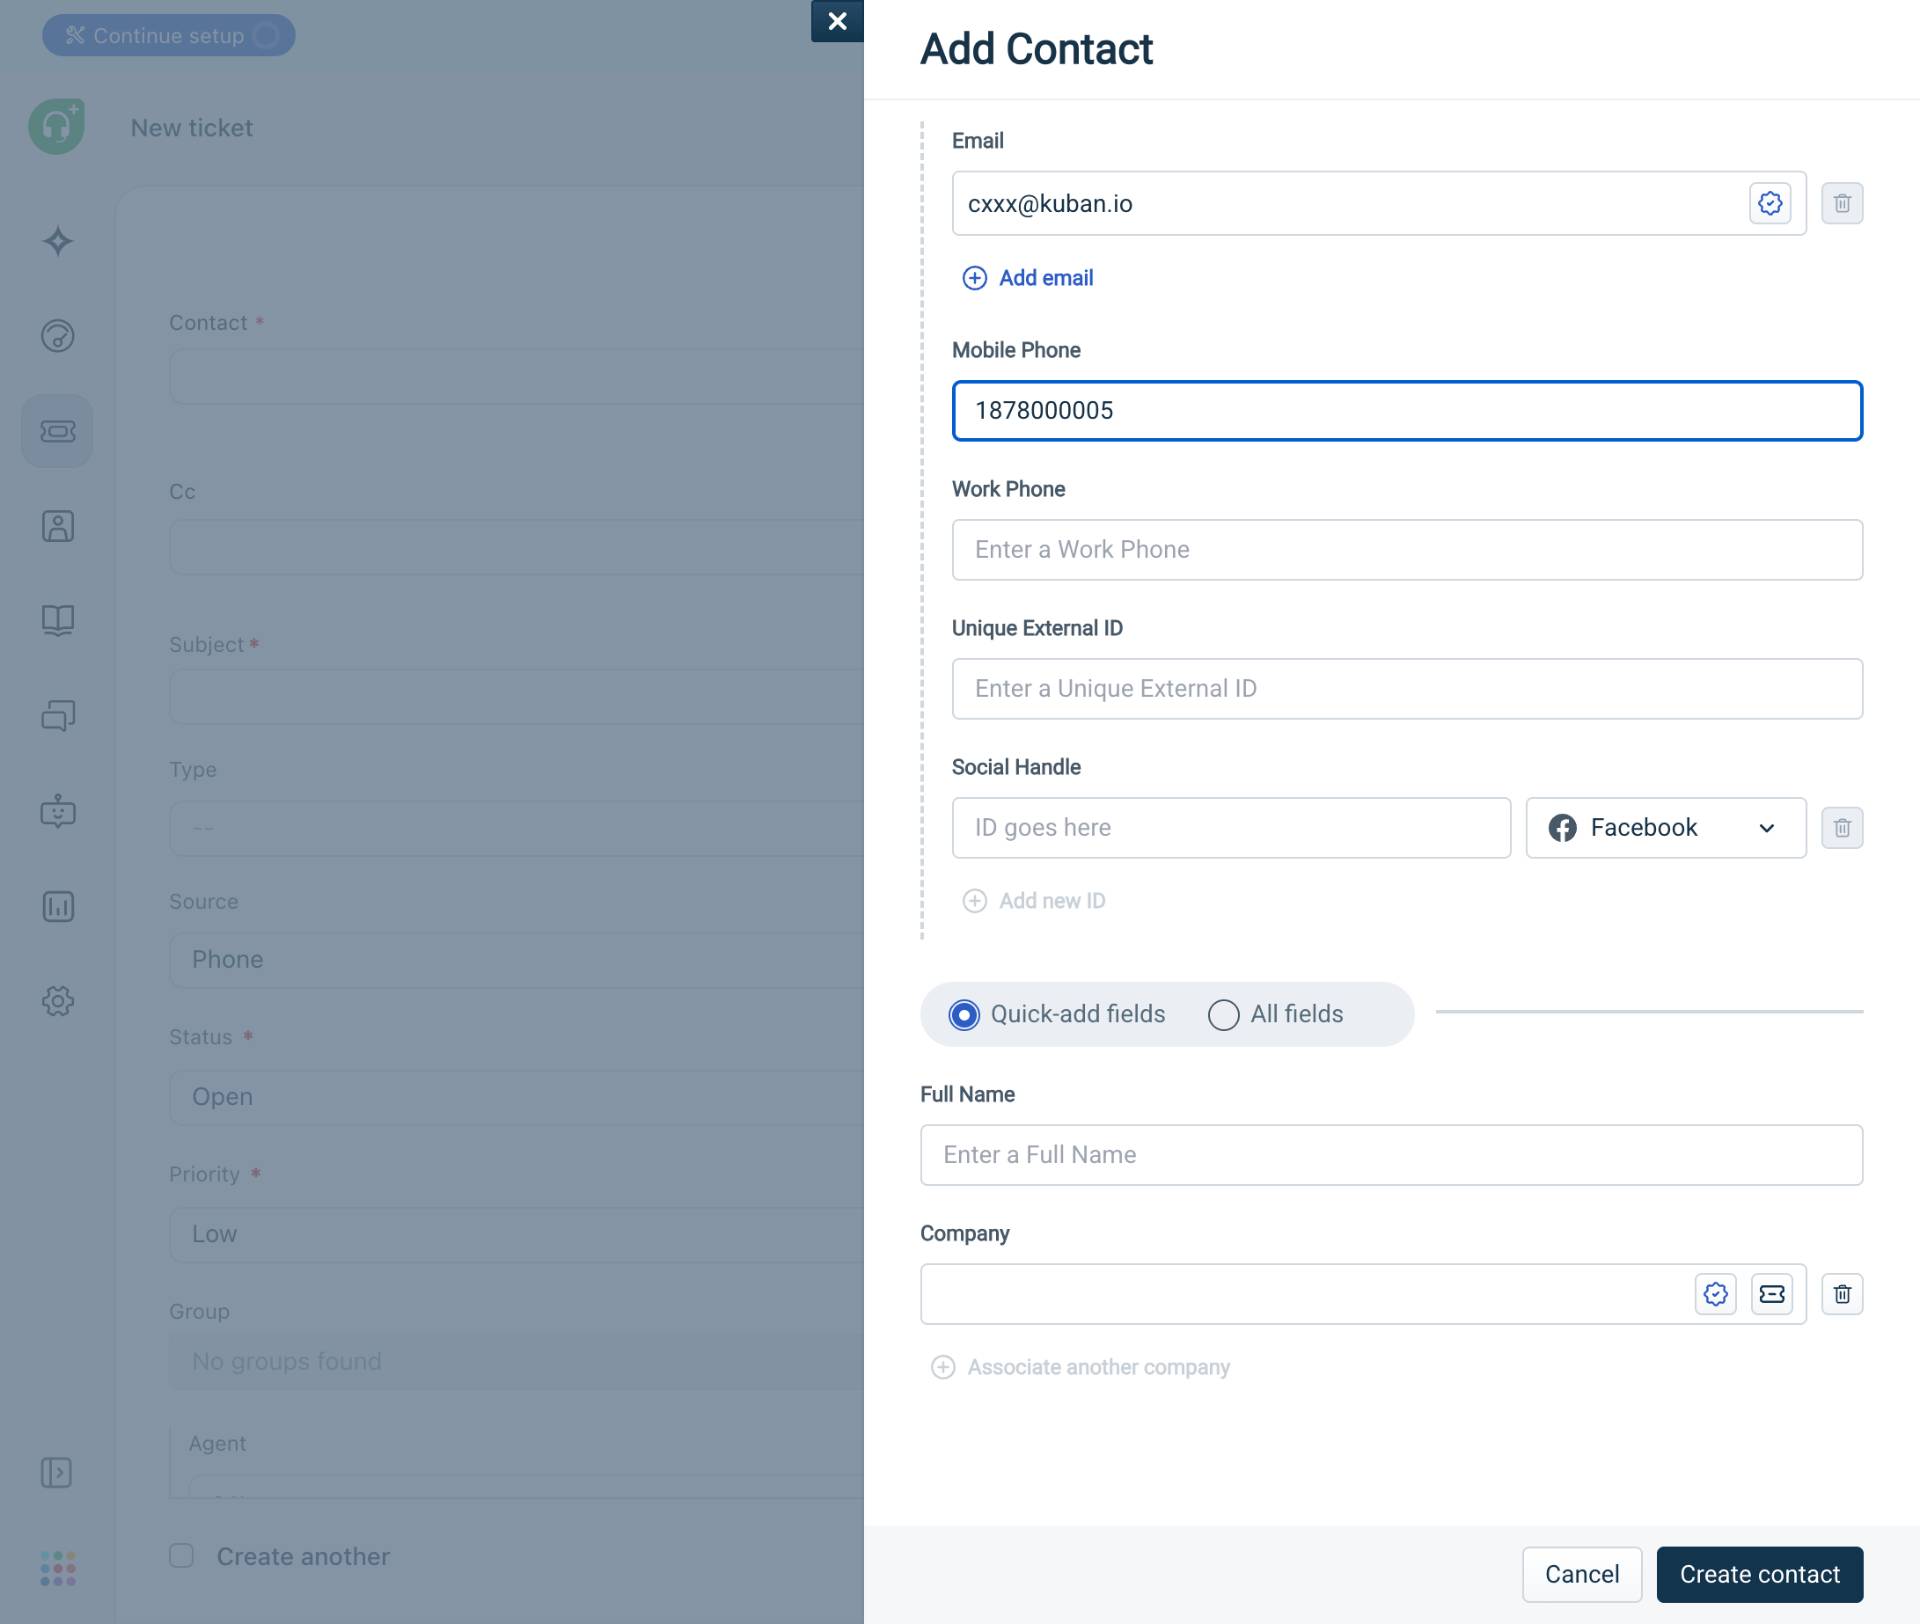
- Step 7 of 15
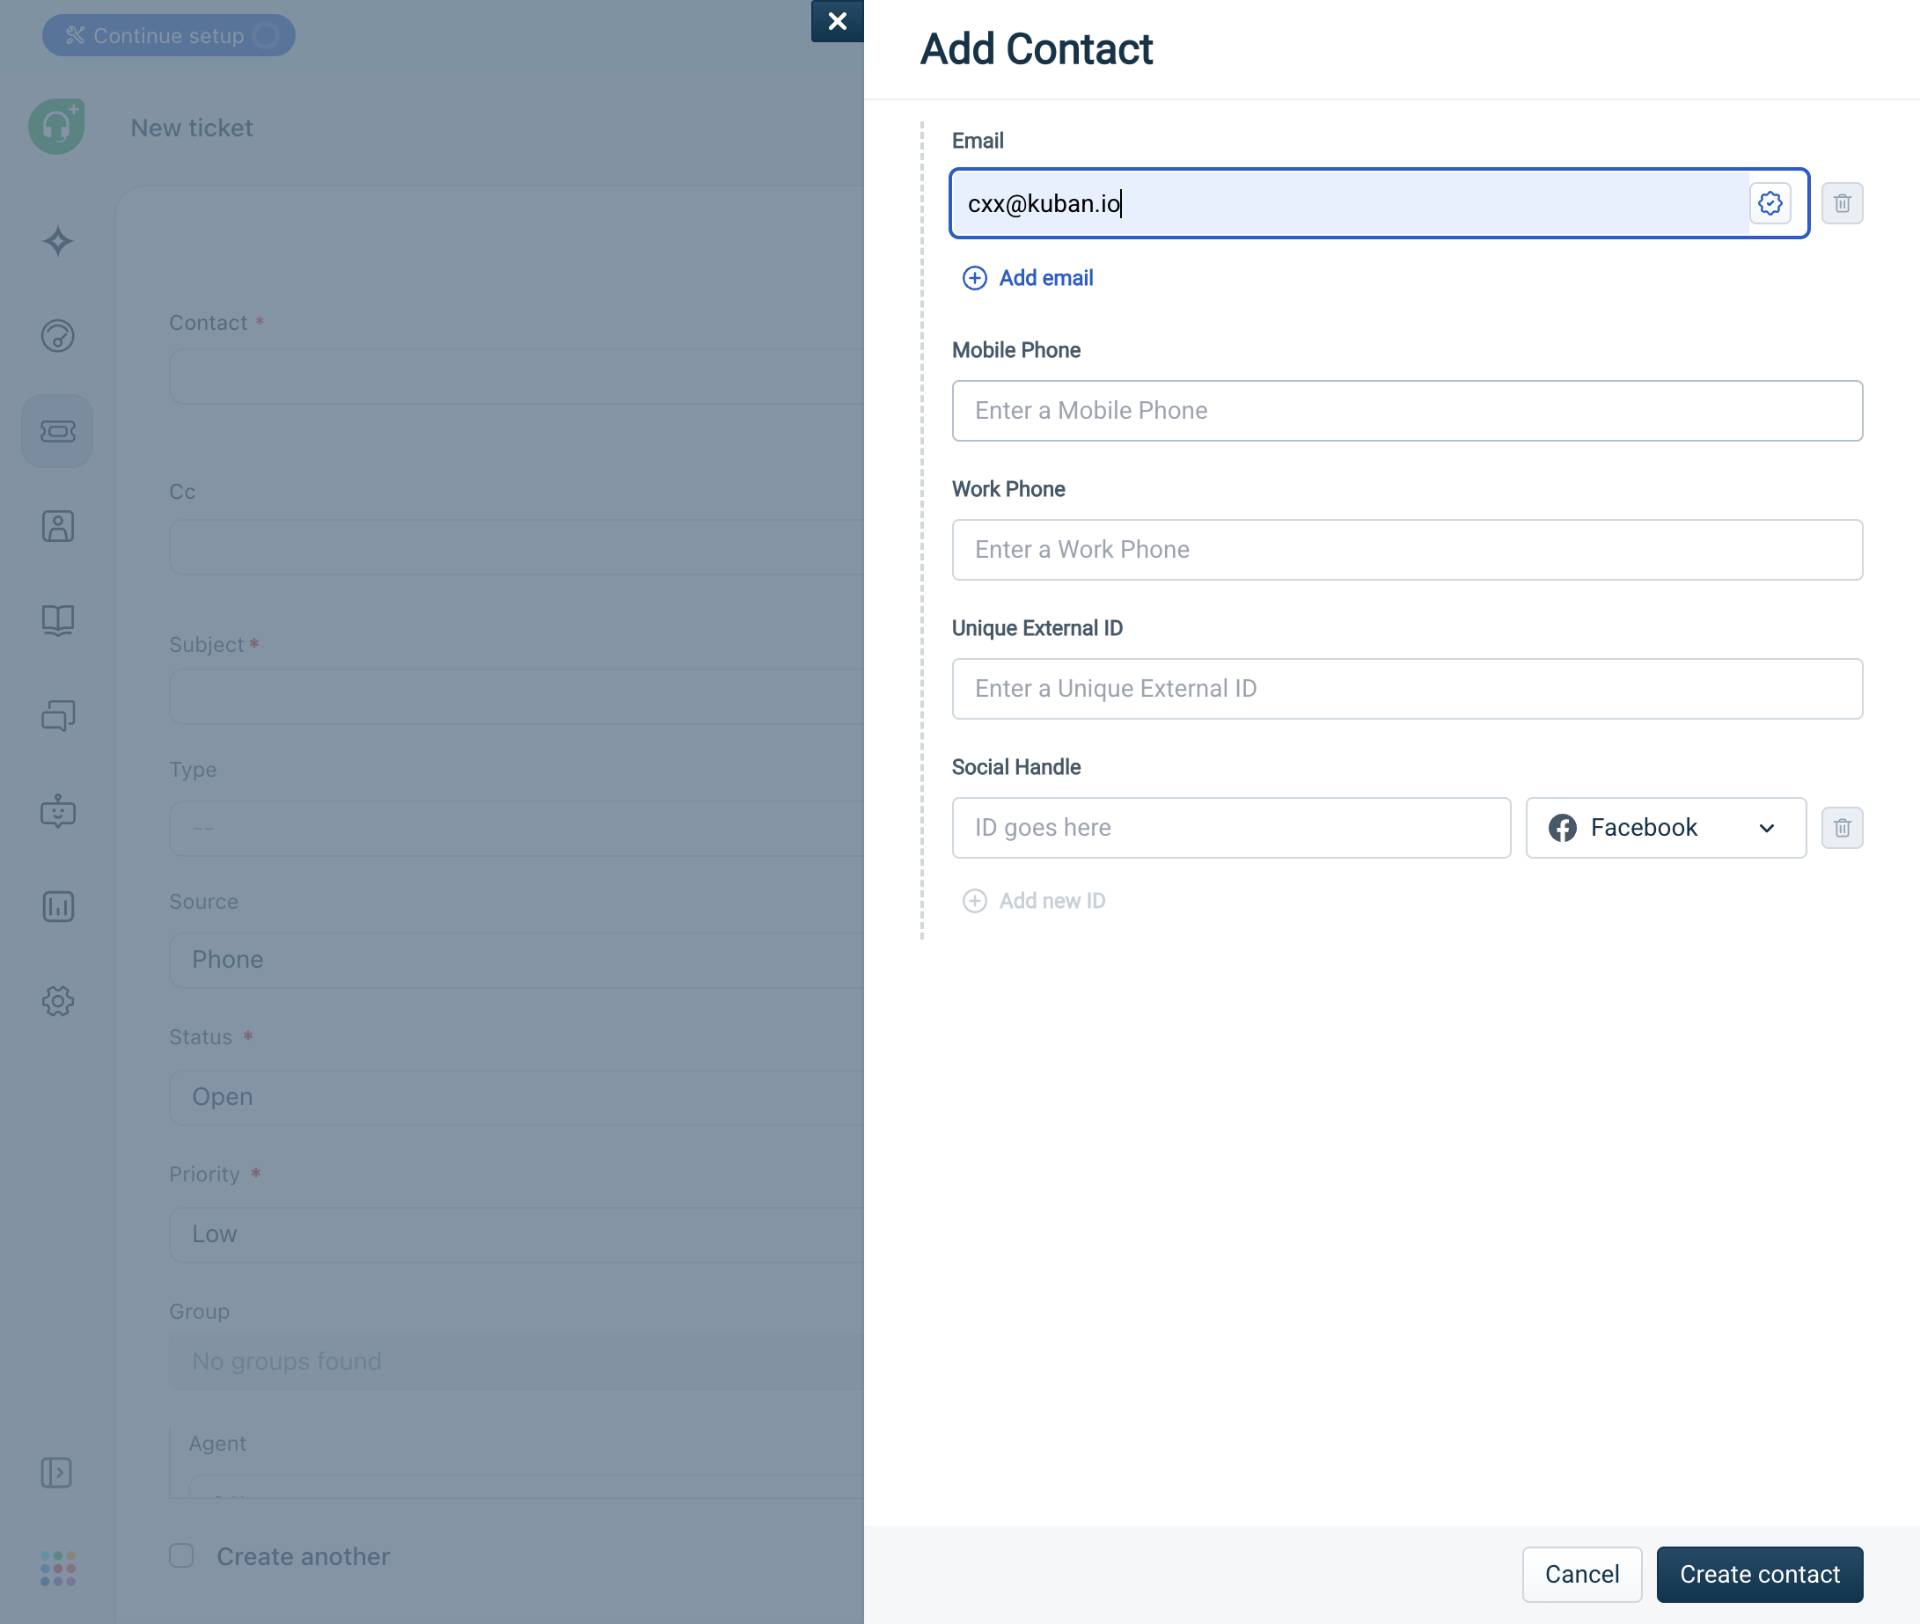
Enter Contact Email
Enter the email address
In the Add Contact dialog, enter the customer's email address in the Email field. This is a required field.
- Step 8 of 15
Enter Mobile Phone
Enter the mobile phone number
Enter the customer's mobile phone number in the Mobile Phone field.
- Step 9 of 15
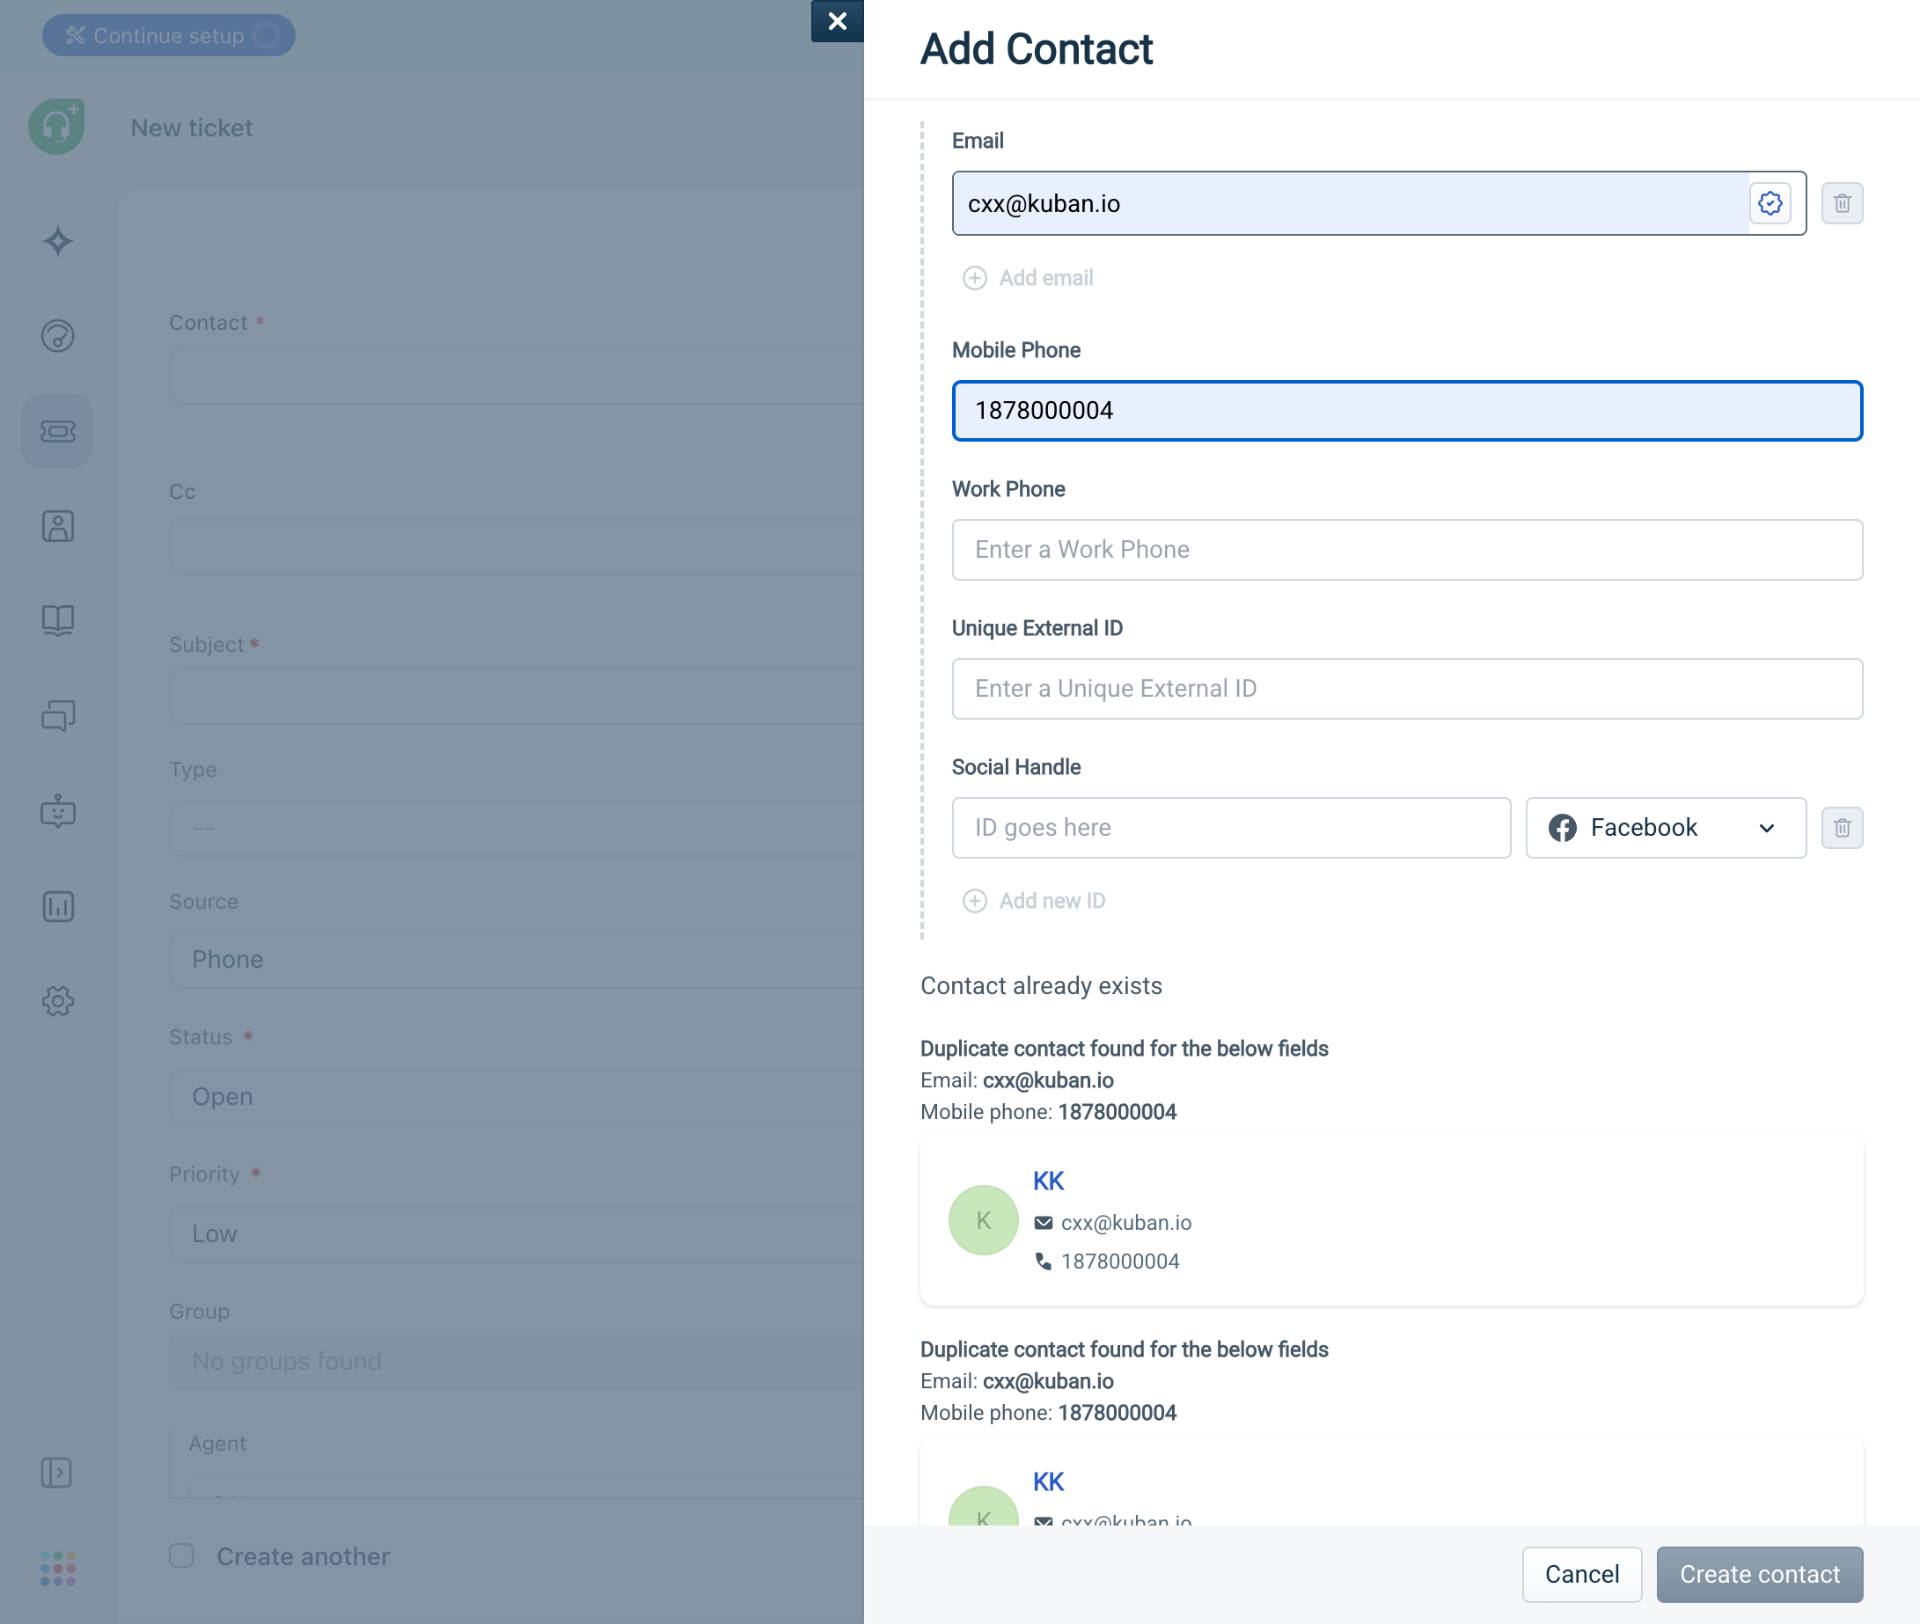
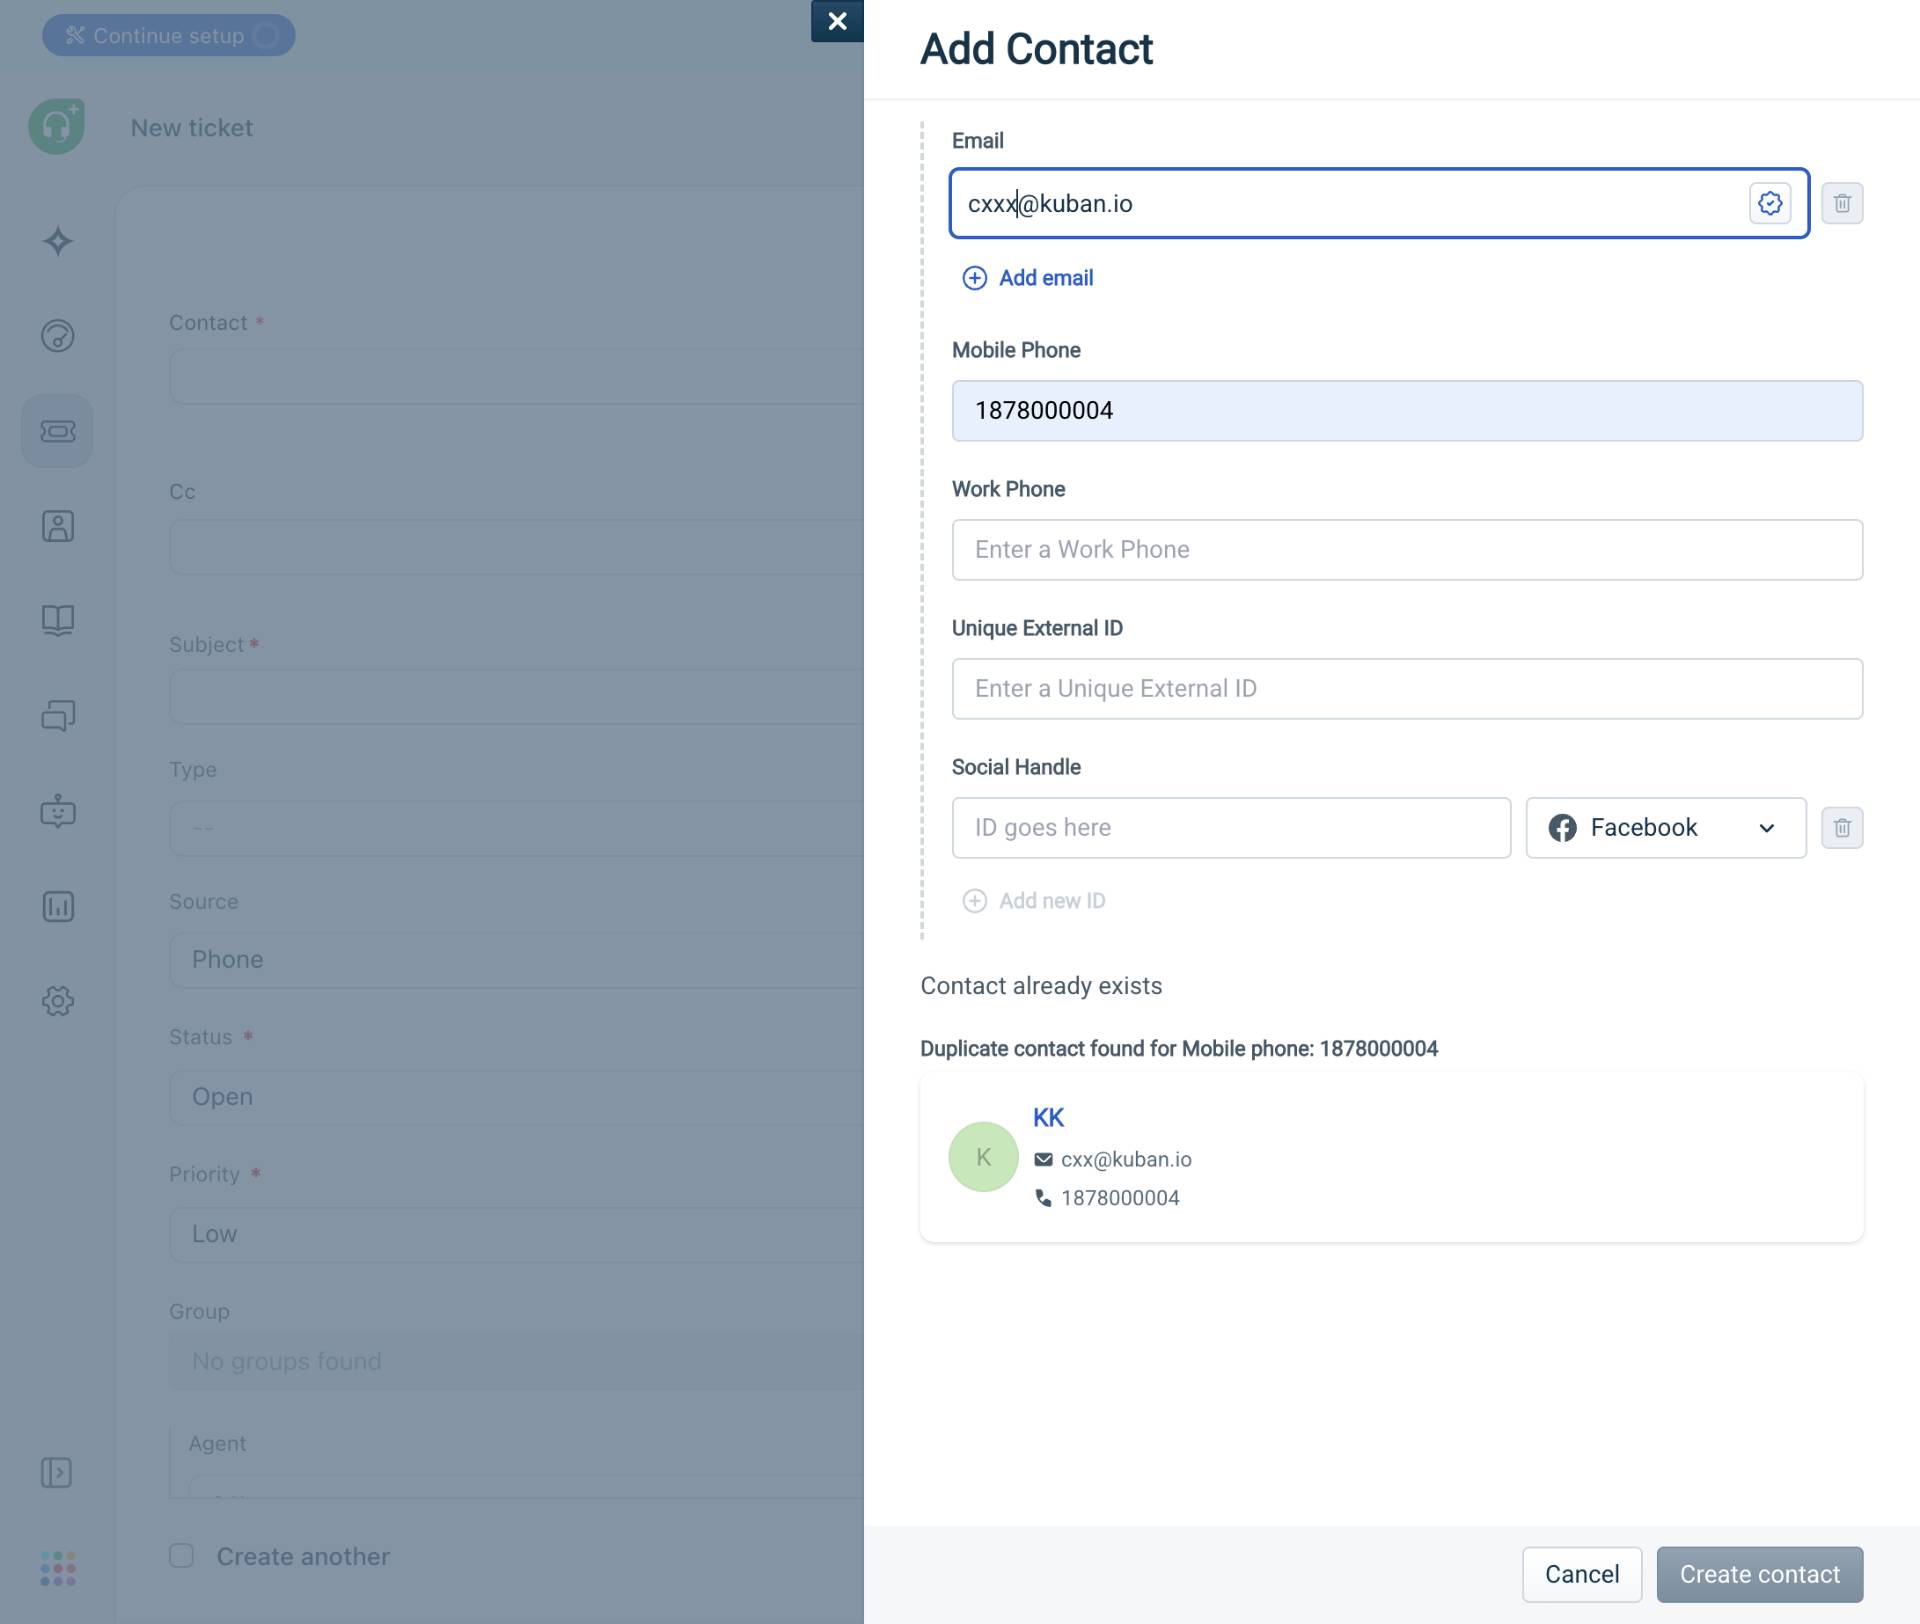
Resolve Duplicate Contact (If Needed)
Update email or phone to make unique
If you see a Contact already exists message, update either the email address or mobile phone number to make it unique. For example, modify the email or use a different phone number.
- Step 10 of 15
Create the Contact
Click Create contact button
Click the Create contact button to save the new contact. The dialog will close and you'll return to the ticket form with the new contact automatically selected.
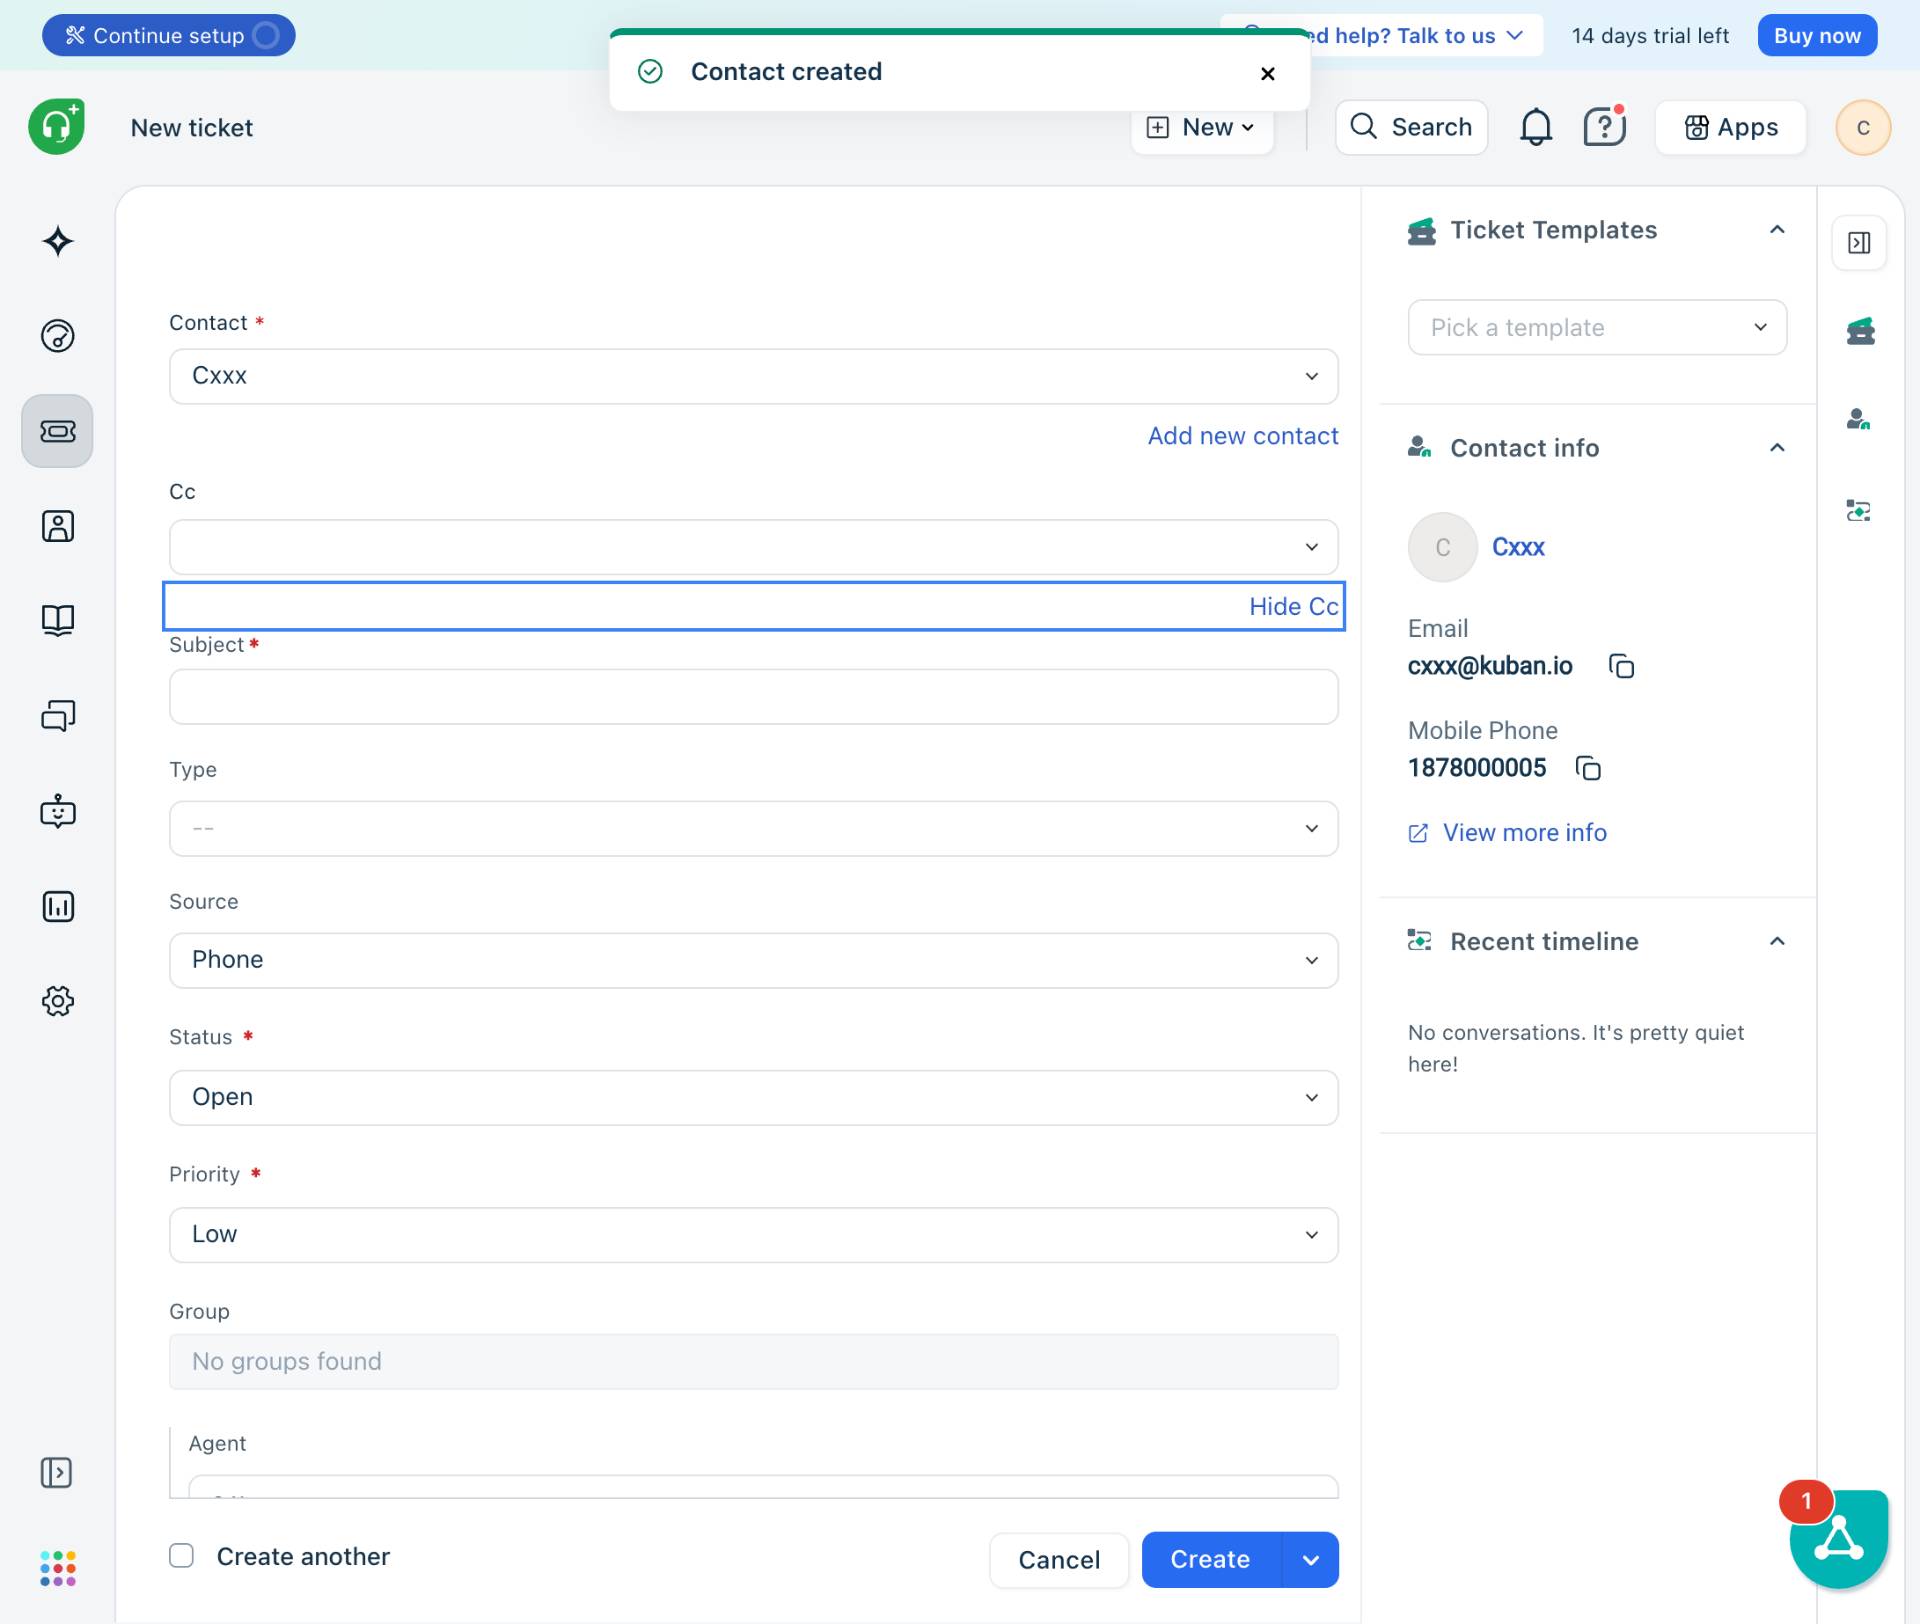
- Step 11 of 15
Hide CC Field (Optional)
Click Hide Cc if not needed
If you opened the CC field but don't need it, click Hide Cc to collapse it.
- Step 12 of 15
Enter Ticket Subject
Enter the subject line
Click the Subject field and enter a brief description of the issue. This is a required field that will appear in ticket listings.
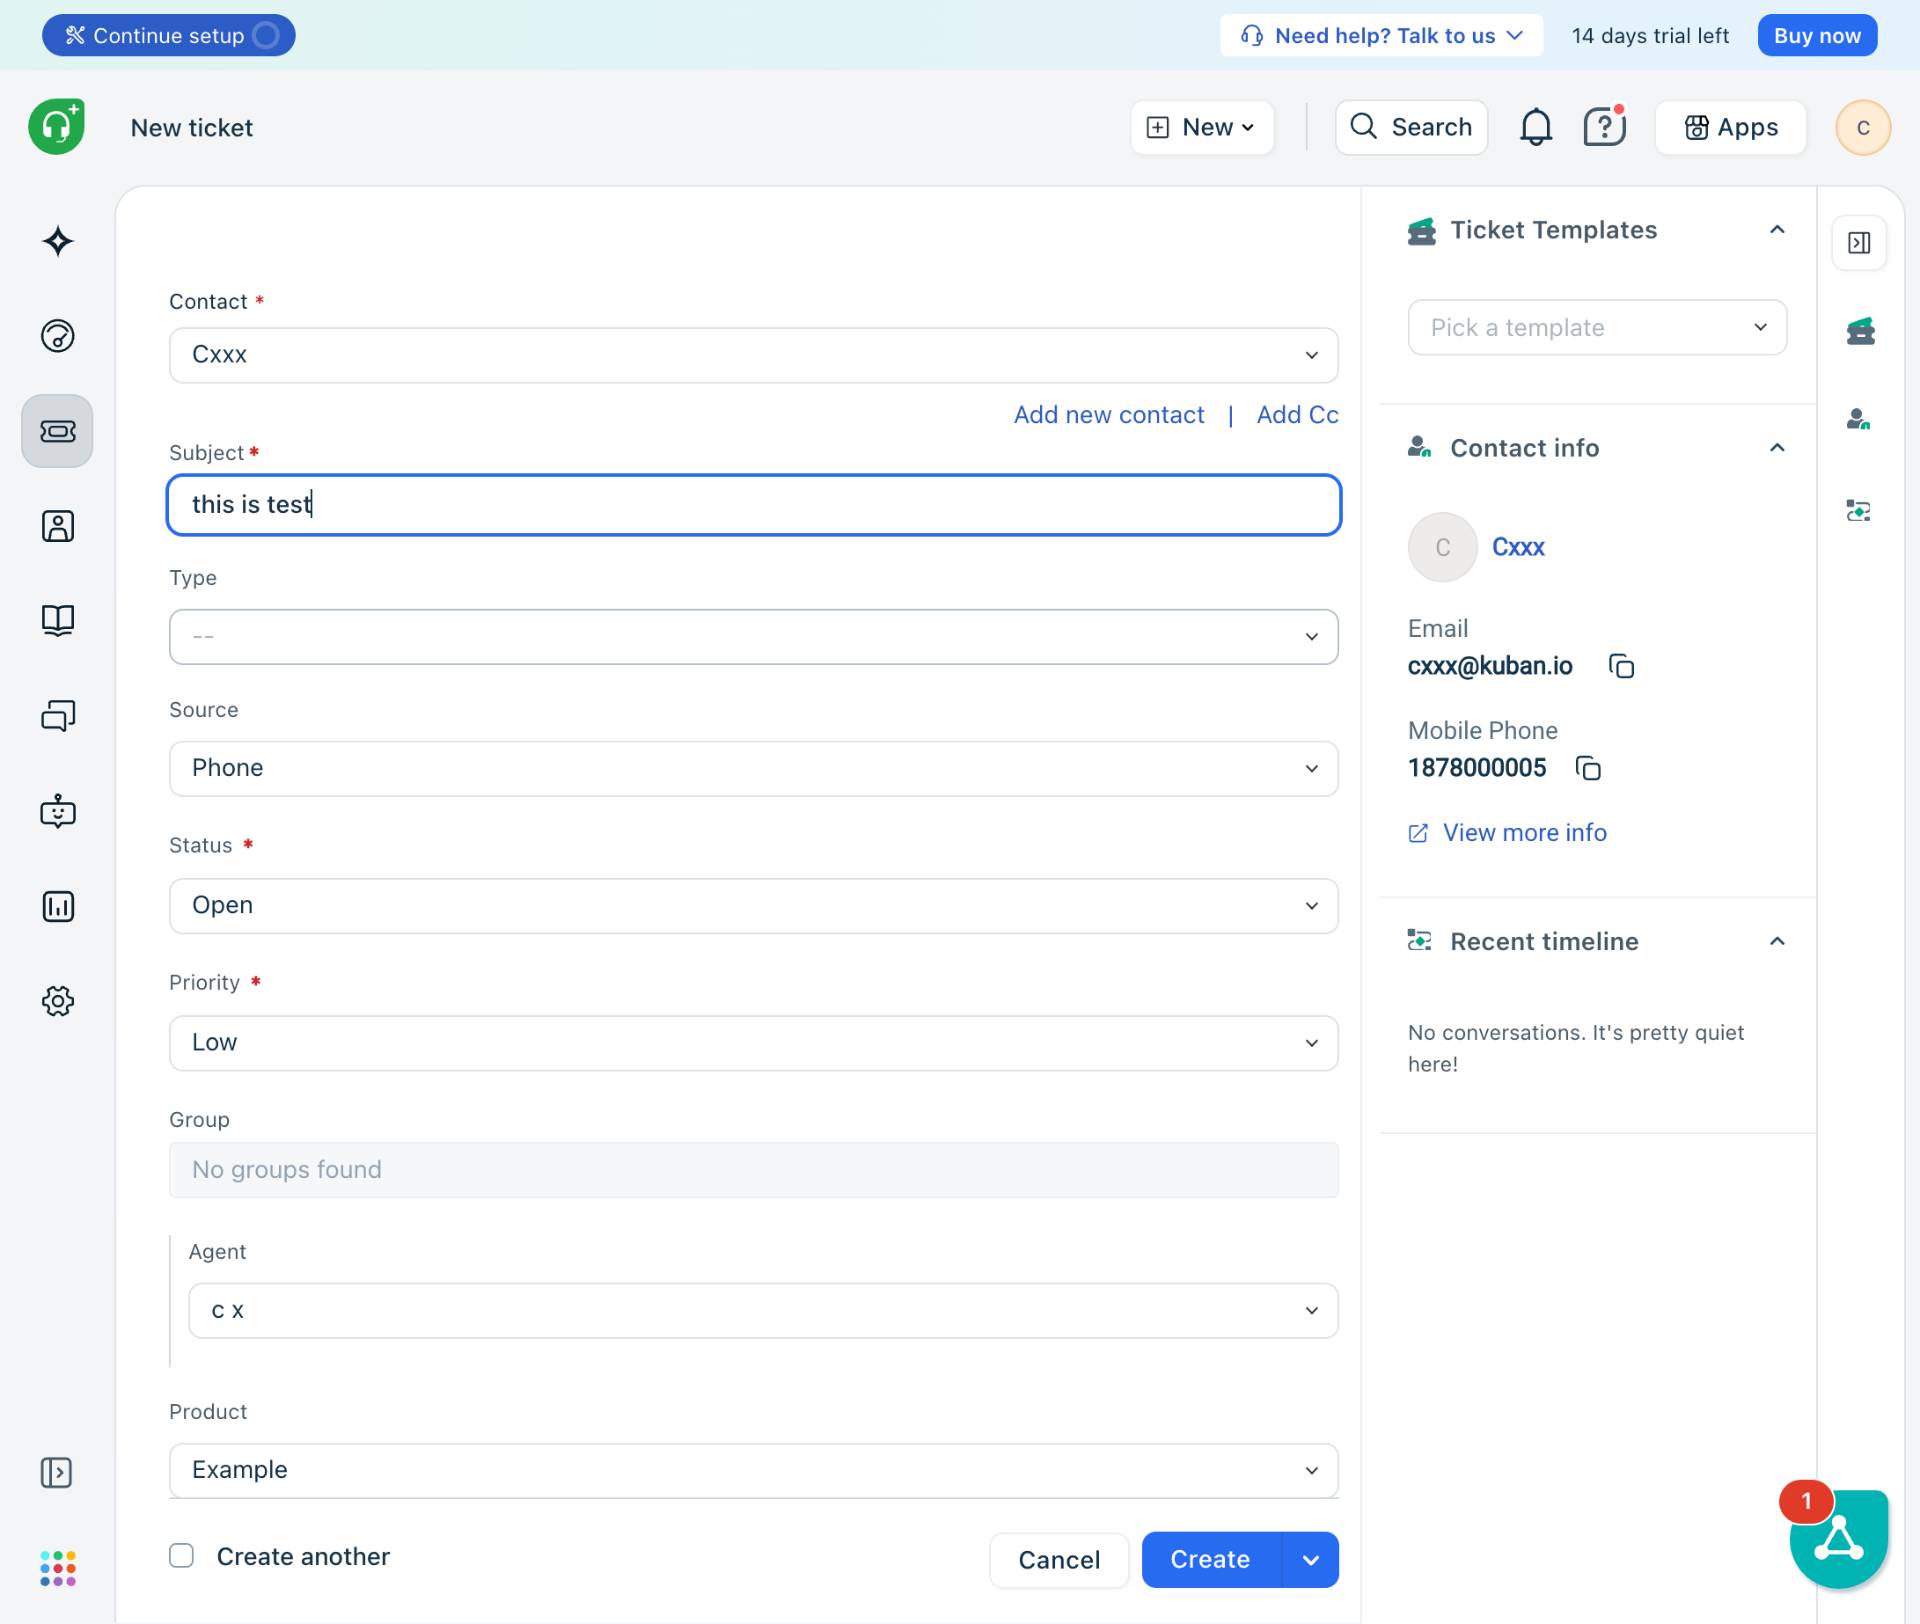
- Step 13 of 15
Select Ticket Type
Choose the ticket type
Click the Type dropdown and select the appropriate ticket type. Available options include:

- Step 14 of 15
Enter Description
Enter the detailed description
Scroll down to the Description field and enter detailed information about the issue, including steps taken, error messages, and any other relevant context. Use the formatting toolbar if needed for rich text formatting.
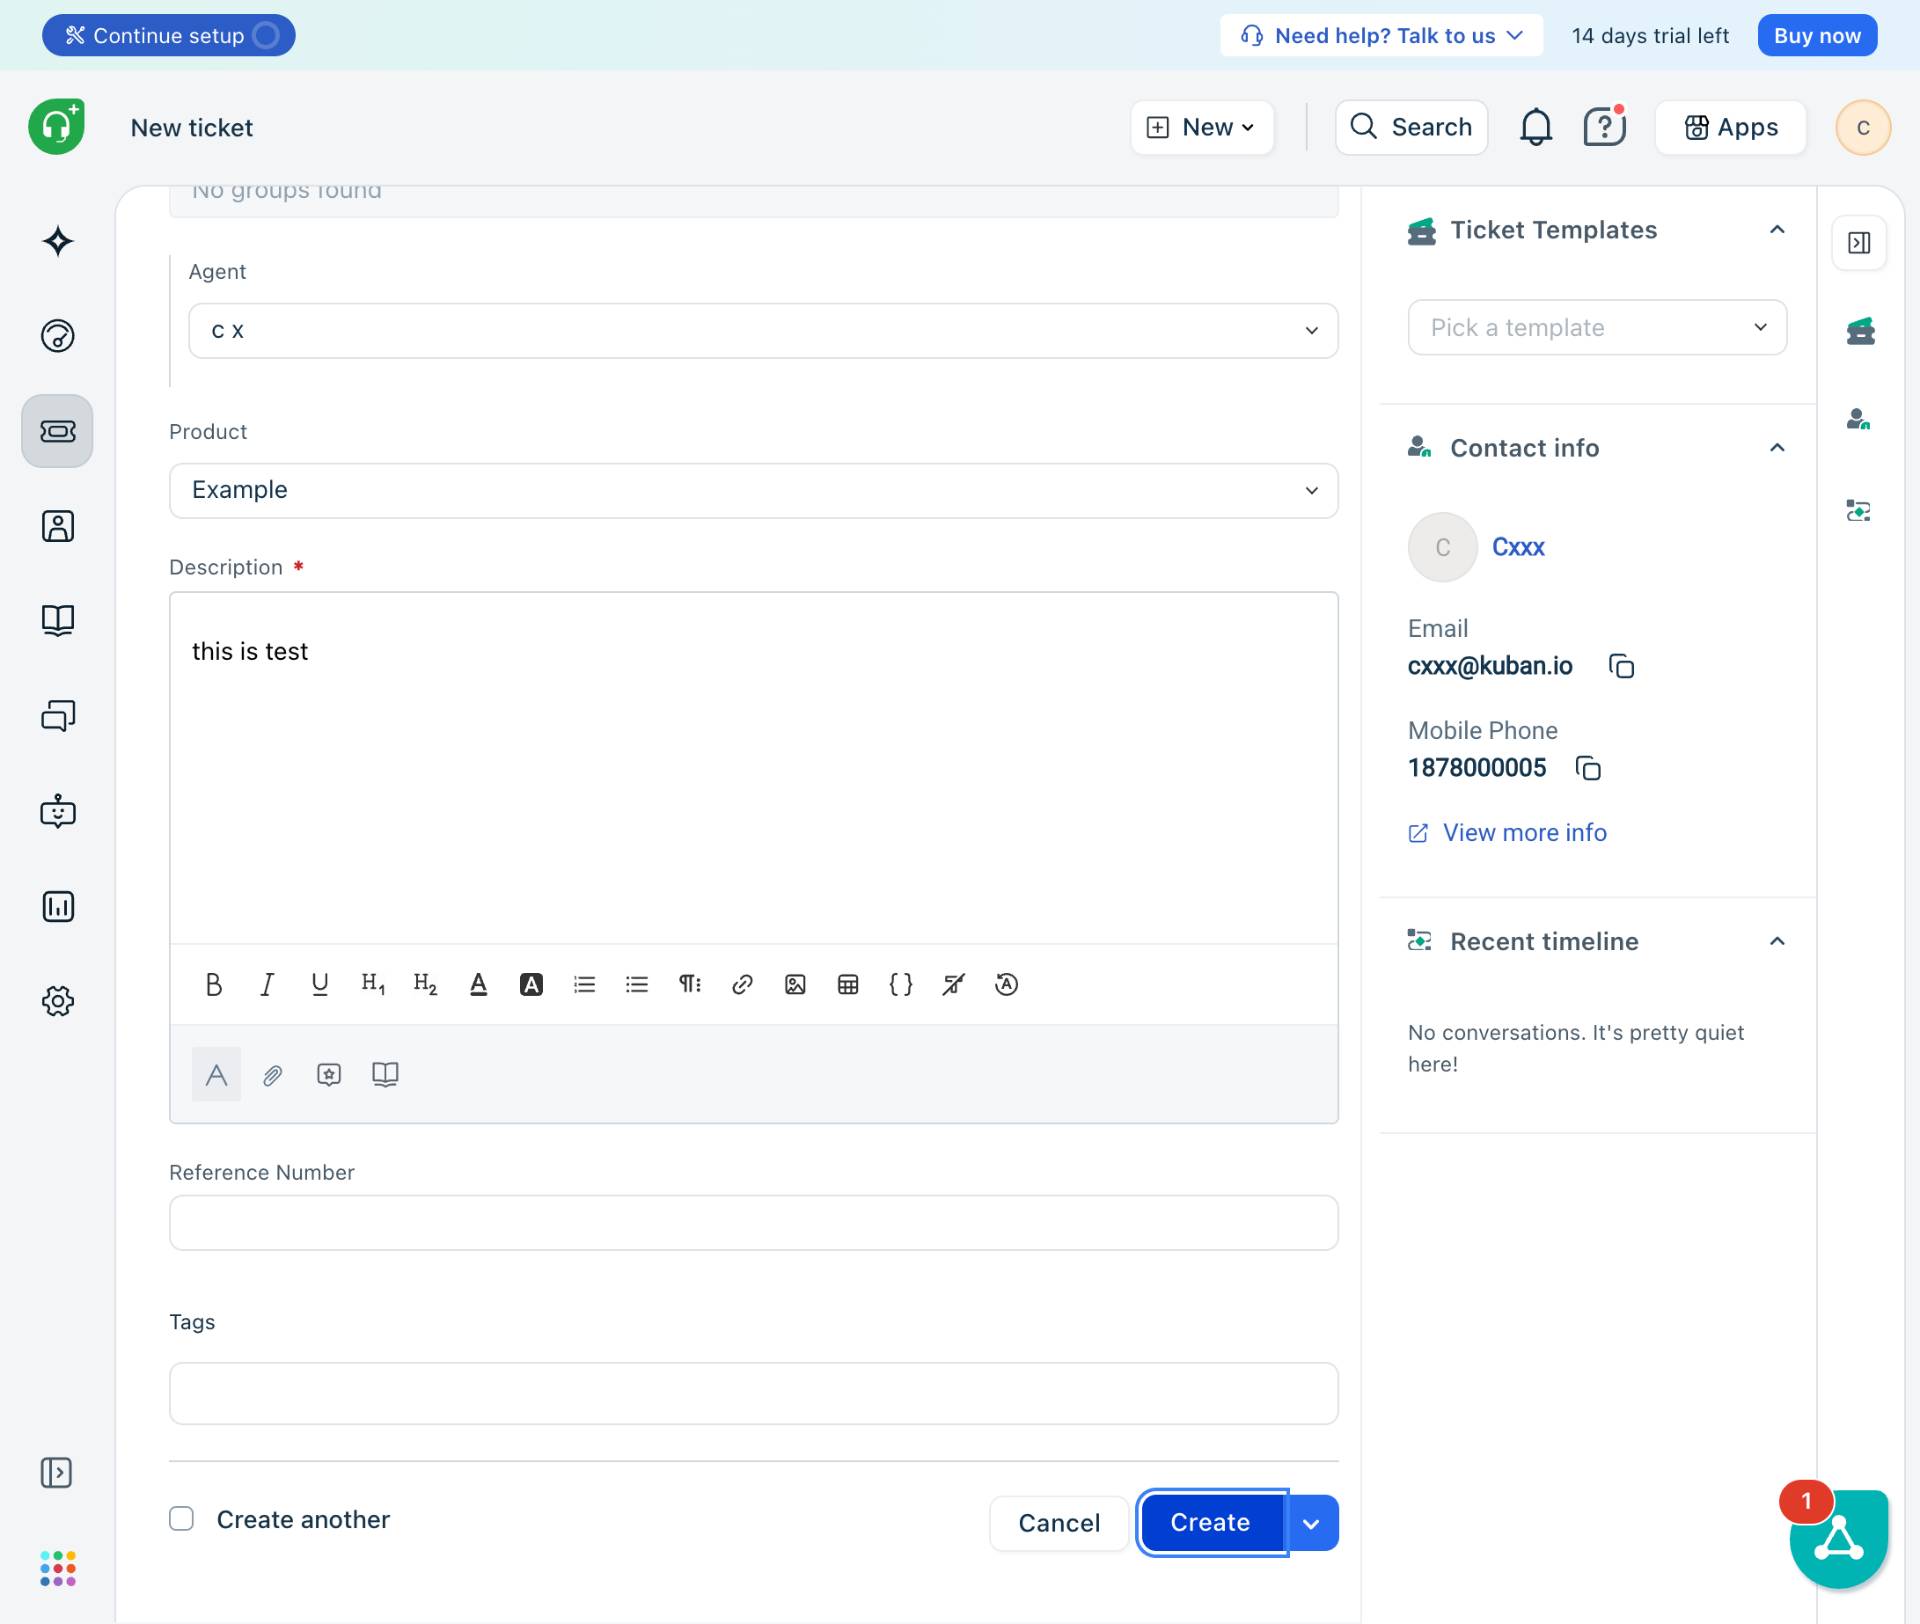
- Step 15 of 15
Create the Ticket
Click the Create button
Click the Create button to submit the ticket. The system will create the ticket and display it in the ticket view.

Verification
After creating the ticket, verify the following:
The ticket opens in the ticket detail view showing the ticket number
The contact information is correctly linked (visible in the Contact info panel on the right)
The subject and description match what you entered
The status is set to Open (or your configured default)
Troubleshooting
Duplicate contact error when creating a new contact
If you see "Contact already exists" with a duplicate warning:
Check if the customer already has a contact record by searching in the Contact field
If creating a new contact is necessary, modify the email address or phone number to make it unique
Alternatively, cancel and select the existing contact from the dropdown instead
Cannot see the Create button
If the Create button is not visible or disabled:
Ensure all required fields (marked with red asterisks) are filled: Contact, Subject, and Description
Scroll down to the bottom of the form to locate the Create button
Check that you have the necessary permissions to create tickets
Conclusion
You have successfully created a new helpdesk ticket with a new contact in Freshdesk. The ticket is now in the system and can be tracked, assigned, and resolved through your standard support workflow.