
Purpose
This SOP describes how to create a new contact in the Freshdesk CRM system, allowing you to add customer information for ticket management and support operations.
Scope
This procedure is intended for support agents and administrators who need to add new contacts to the system. Follow this SOP when creating a new customer record for ticketing or communication purposes.
Prerequisites
Logged in to Freshdesk with agent or administrator credentials
Access to the Contacts section in Freshdesk
Procedure
- Step 1 of 7
Navigate to kuban-help.freshdesk.com
Open the Contacts page
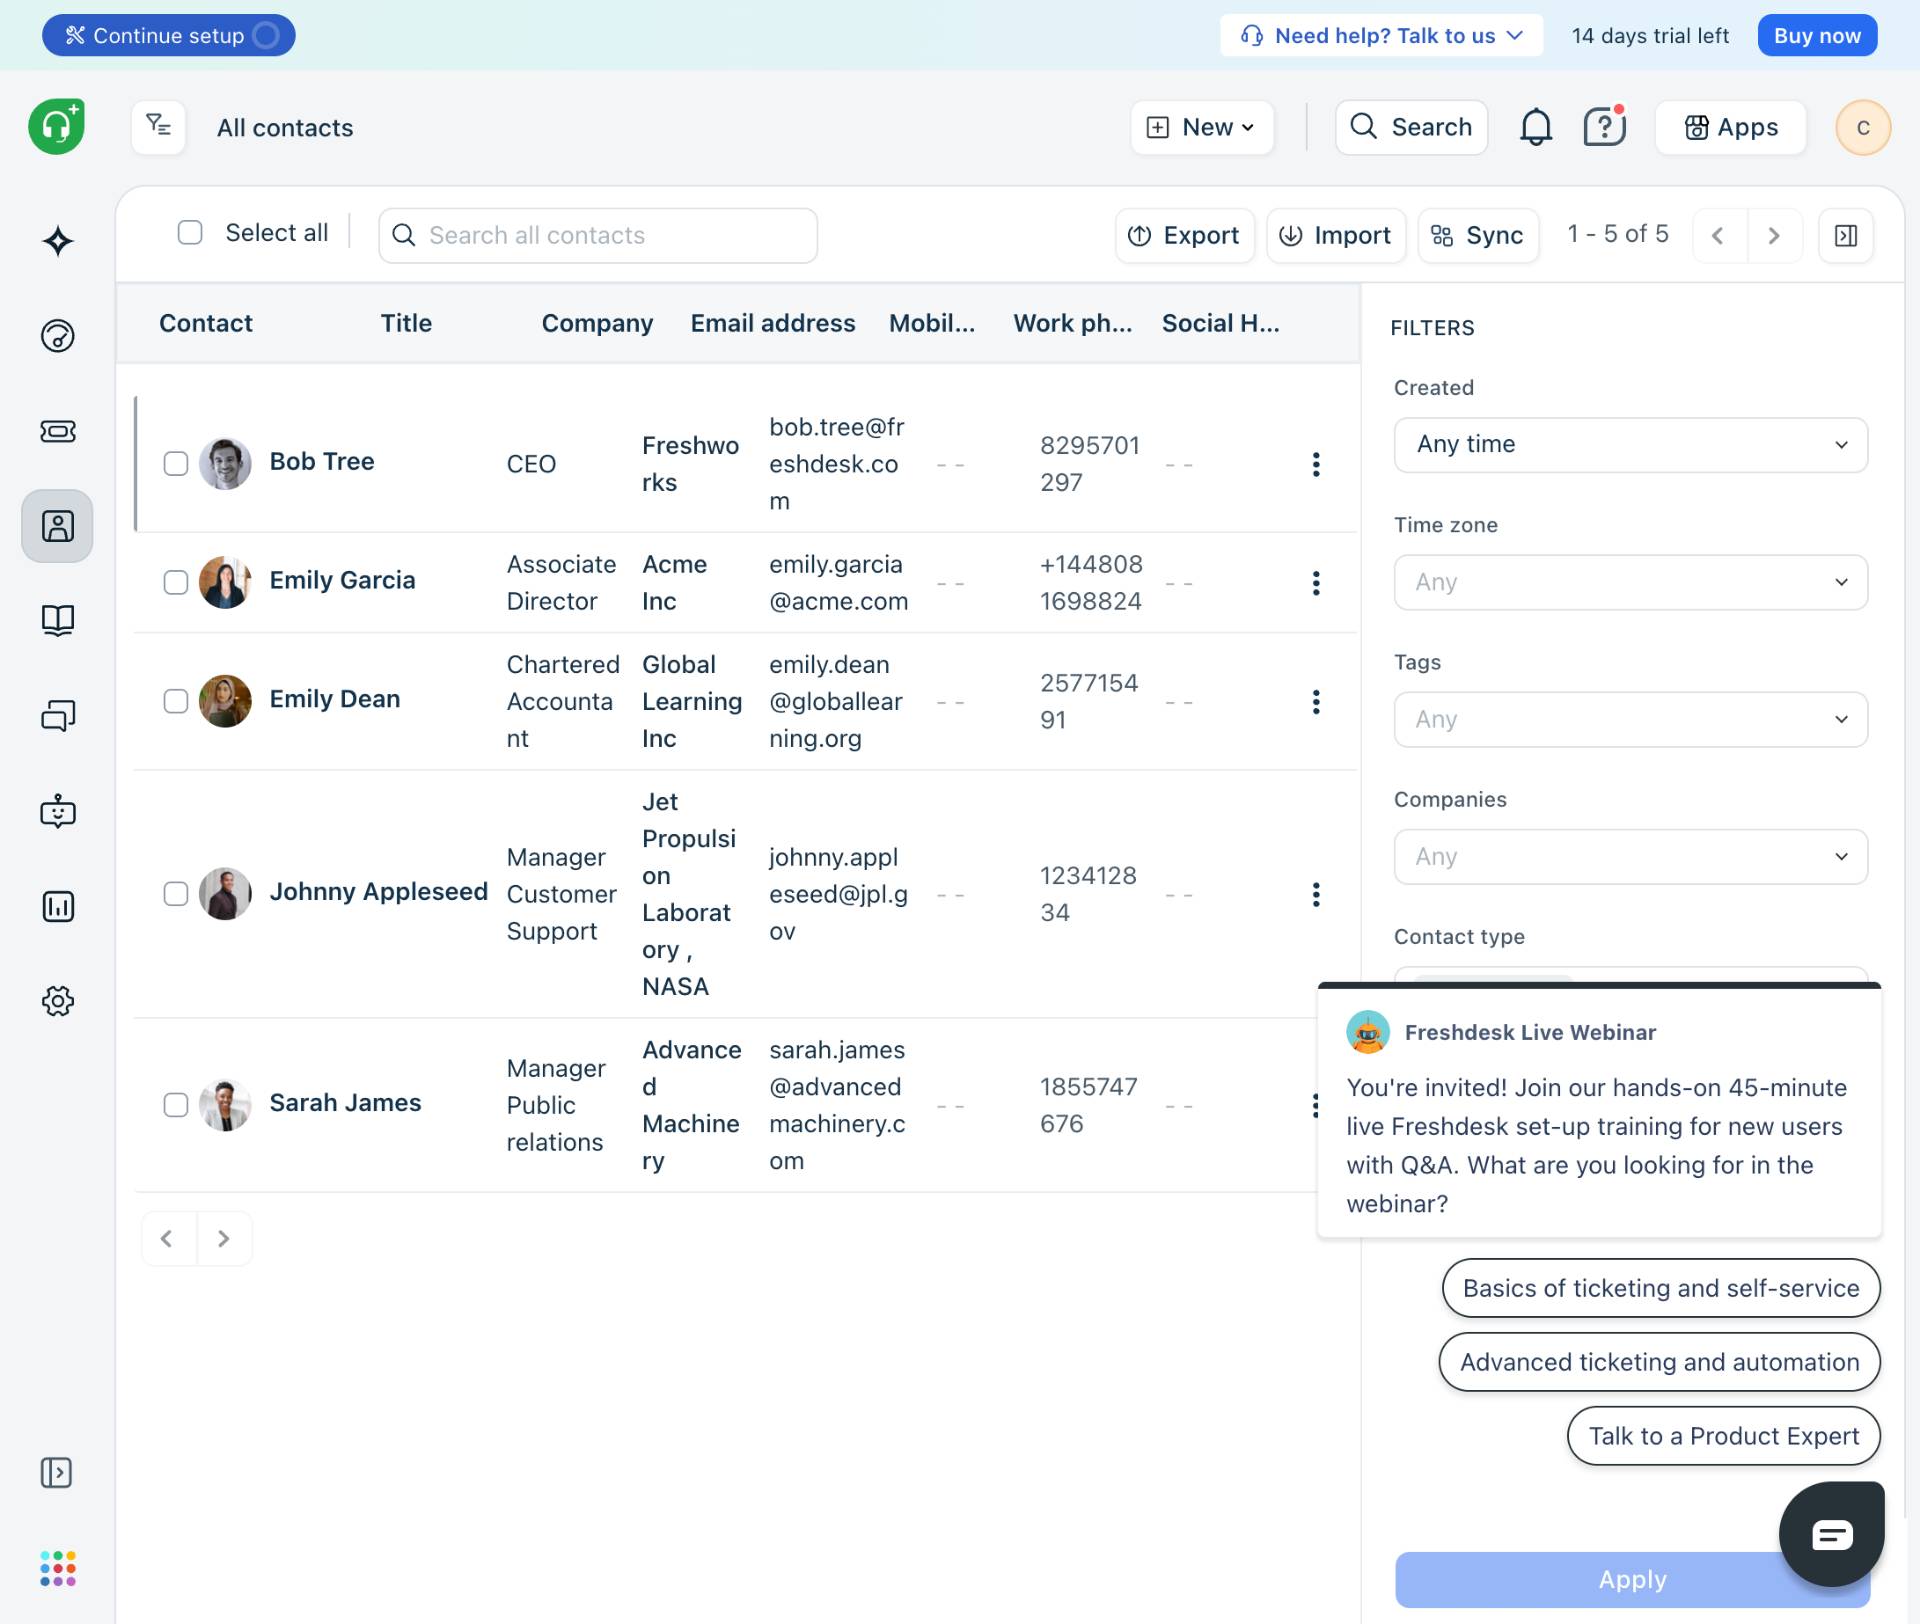
Navigate to kuban-help.freshdesk.com and sign in with your credentials. The Contacts page displays a list of all existing contacts with columns for Contact name, Title, Company, Email address, Mobile phone, and Work phone.
- Step 2 of 7
Open the New menu
Click the New button
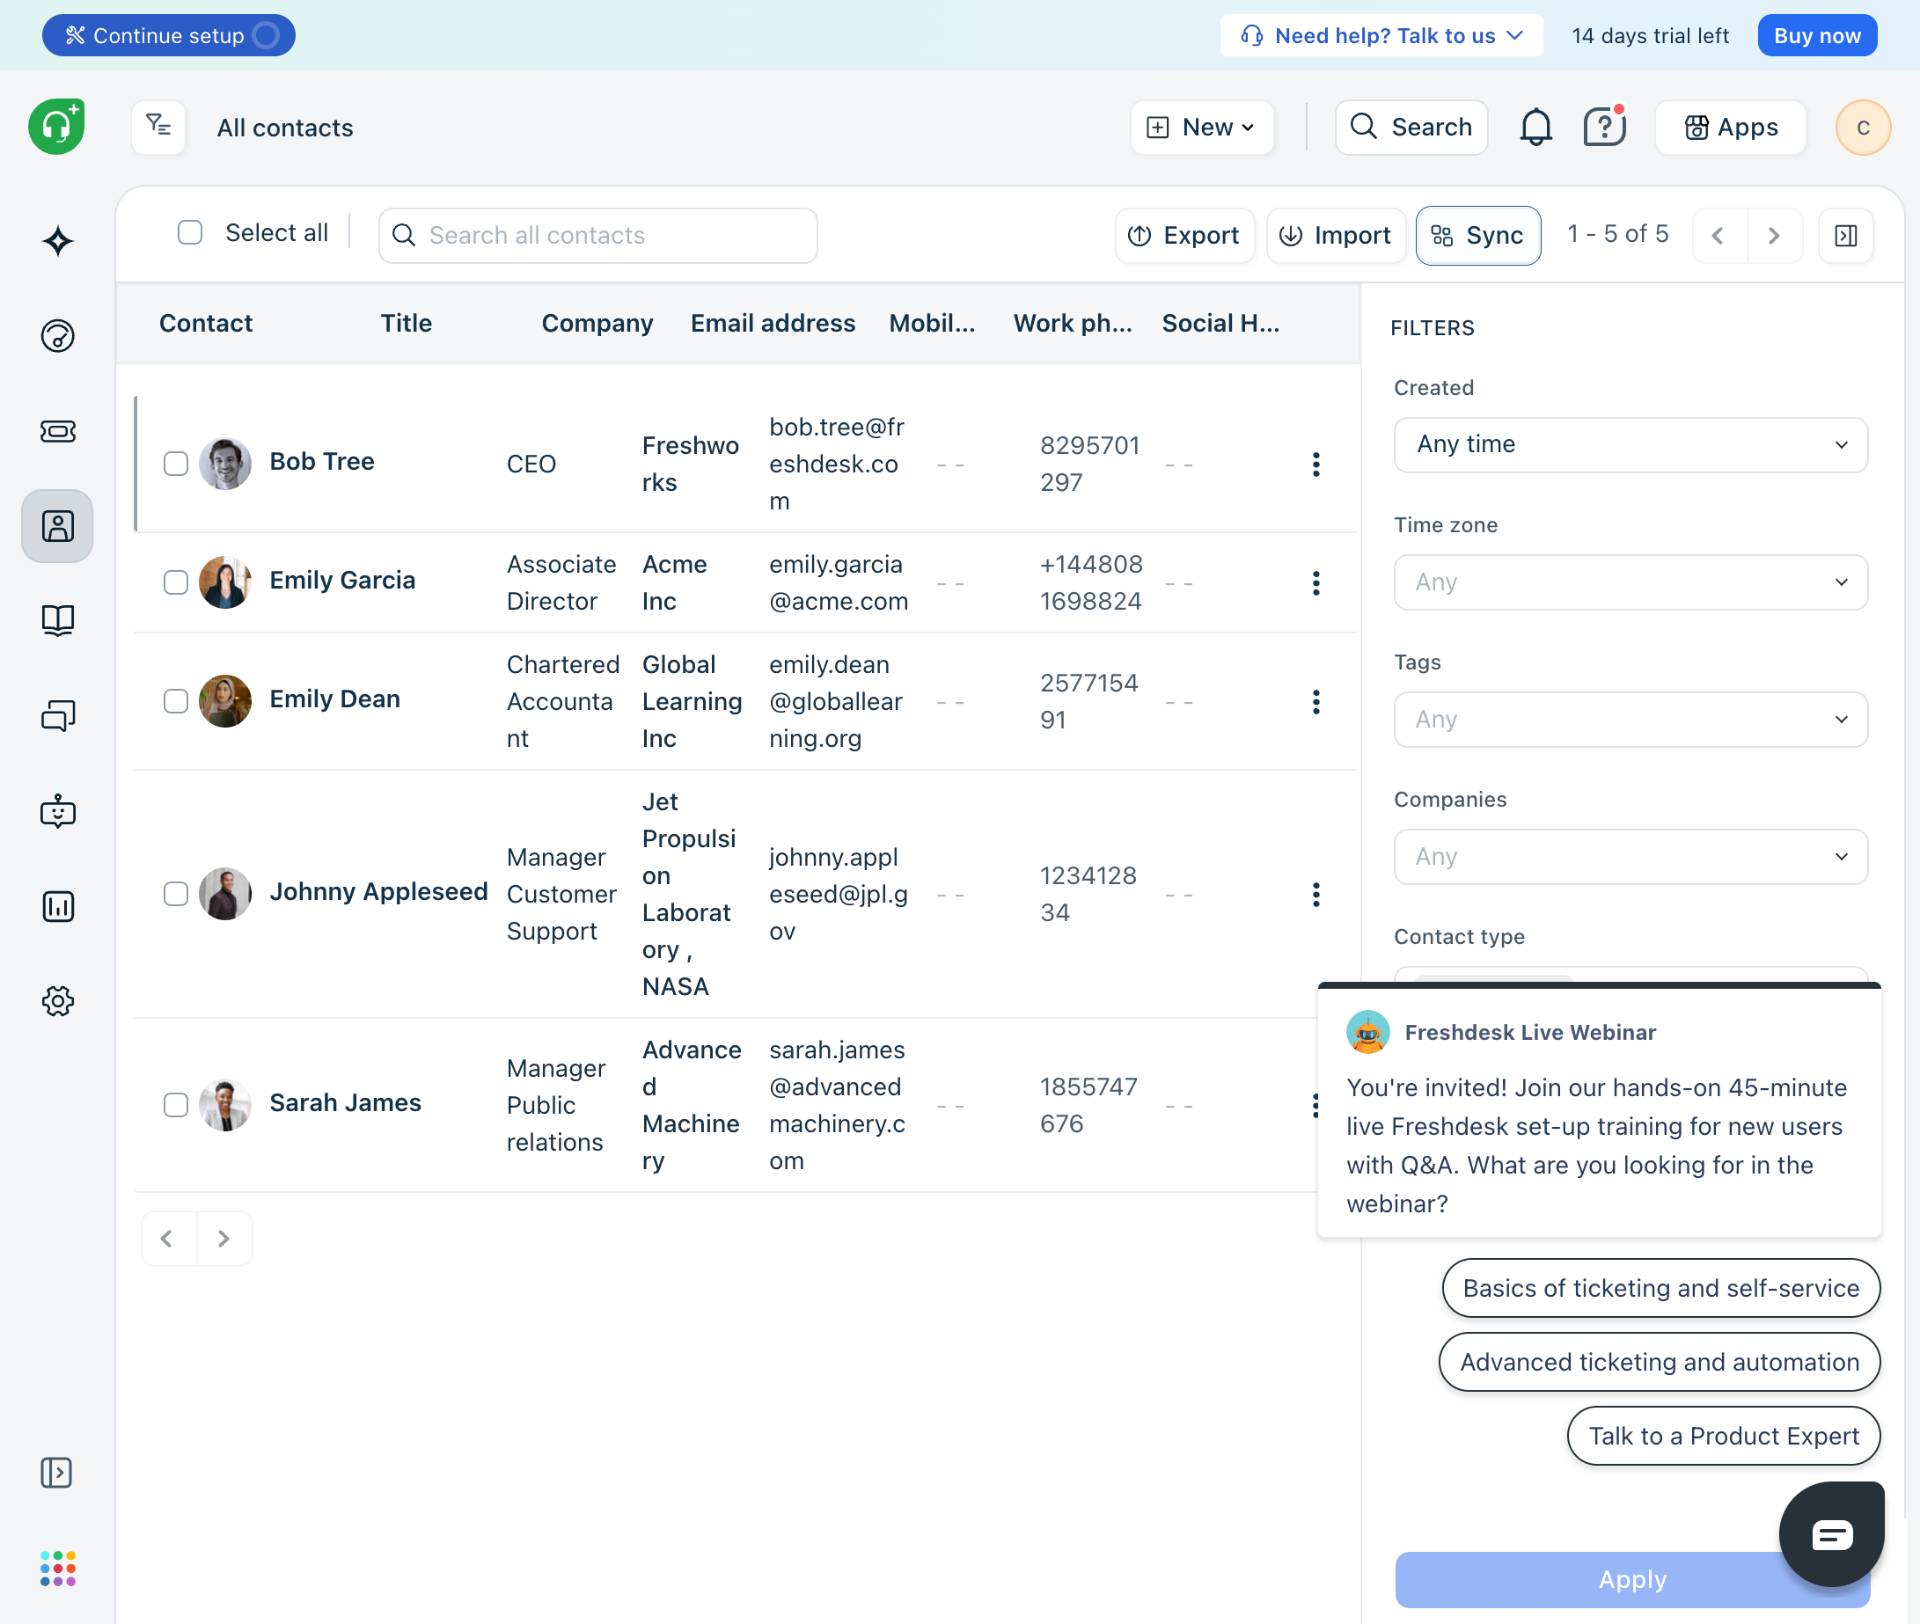
Click the New button located in the top toolbar. This button has a dropdown arrow and opens a menu with options for creating different types of records.
- Step 3 of 7
Select New contact
Click New contact option
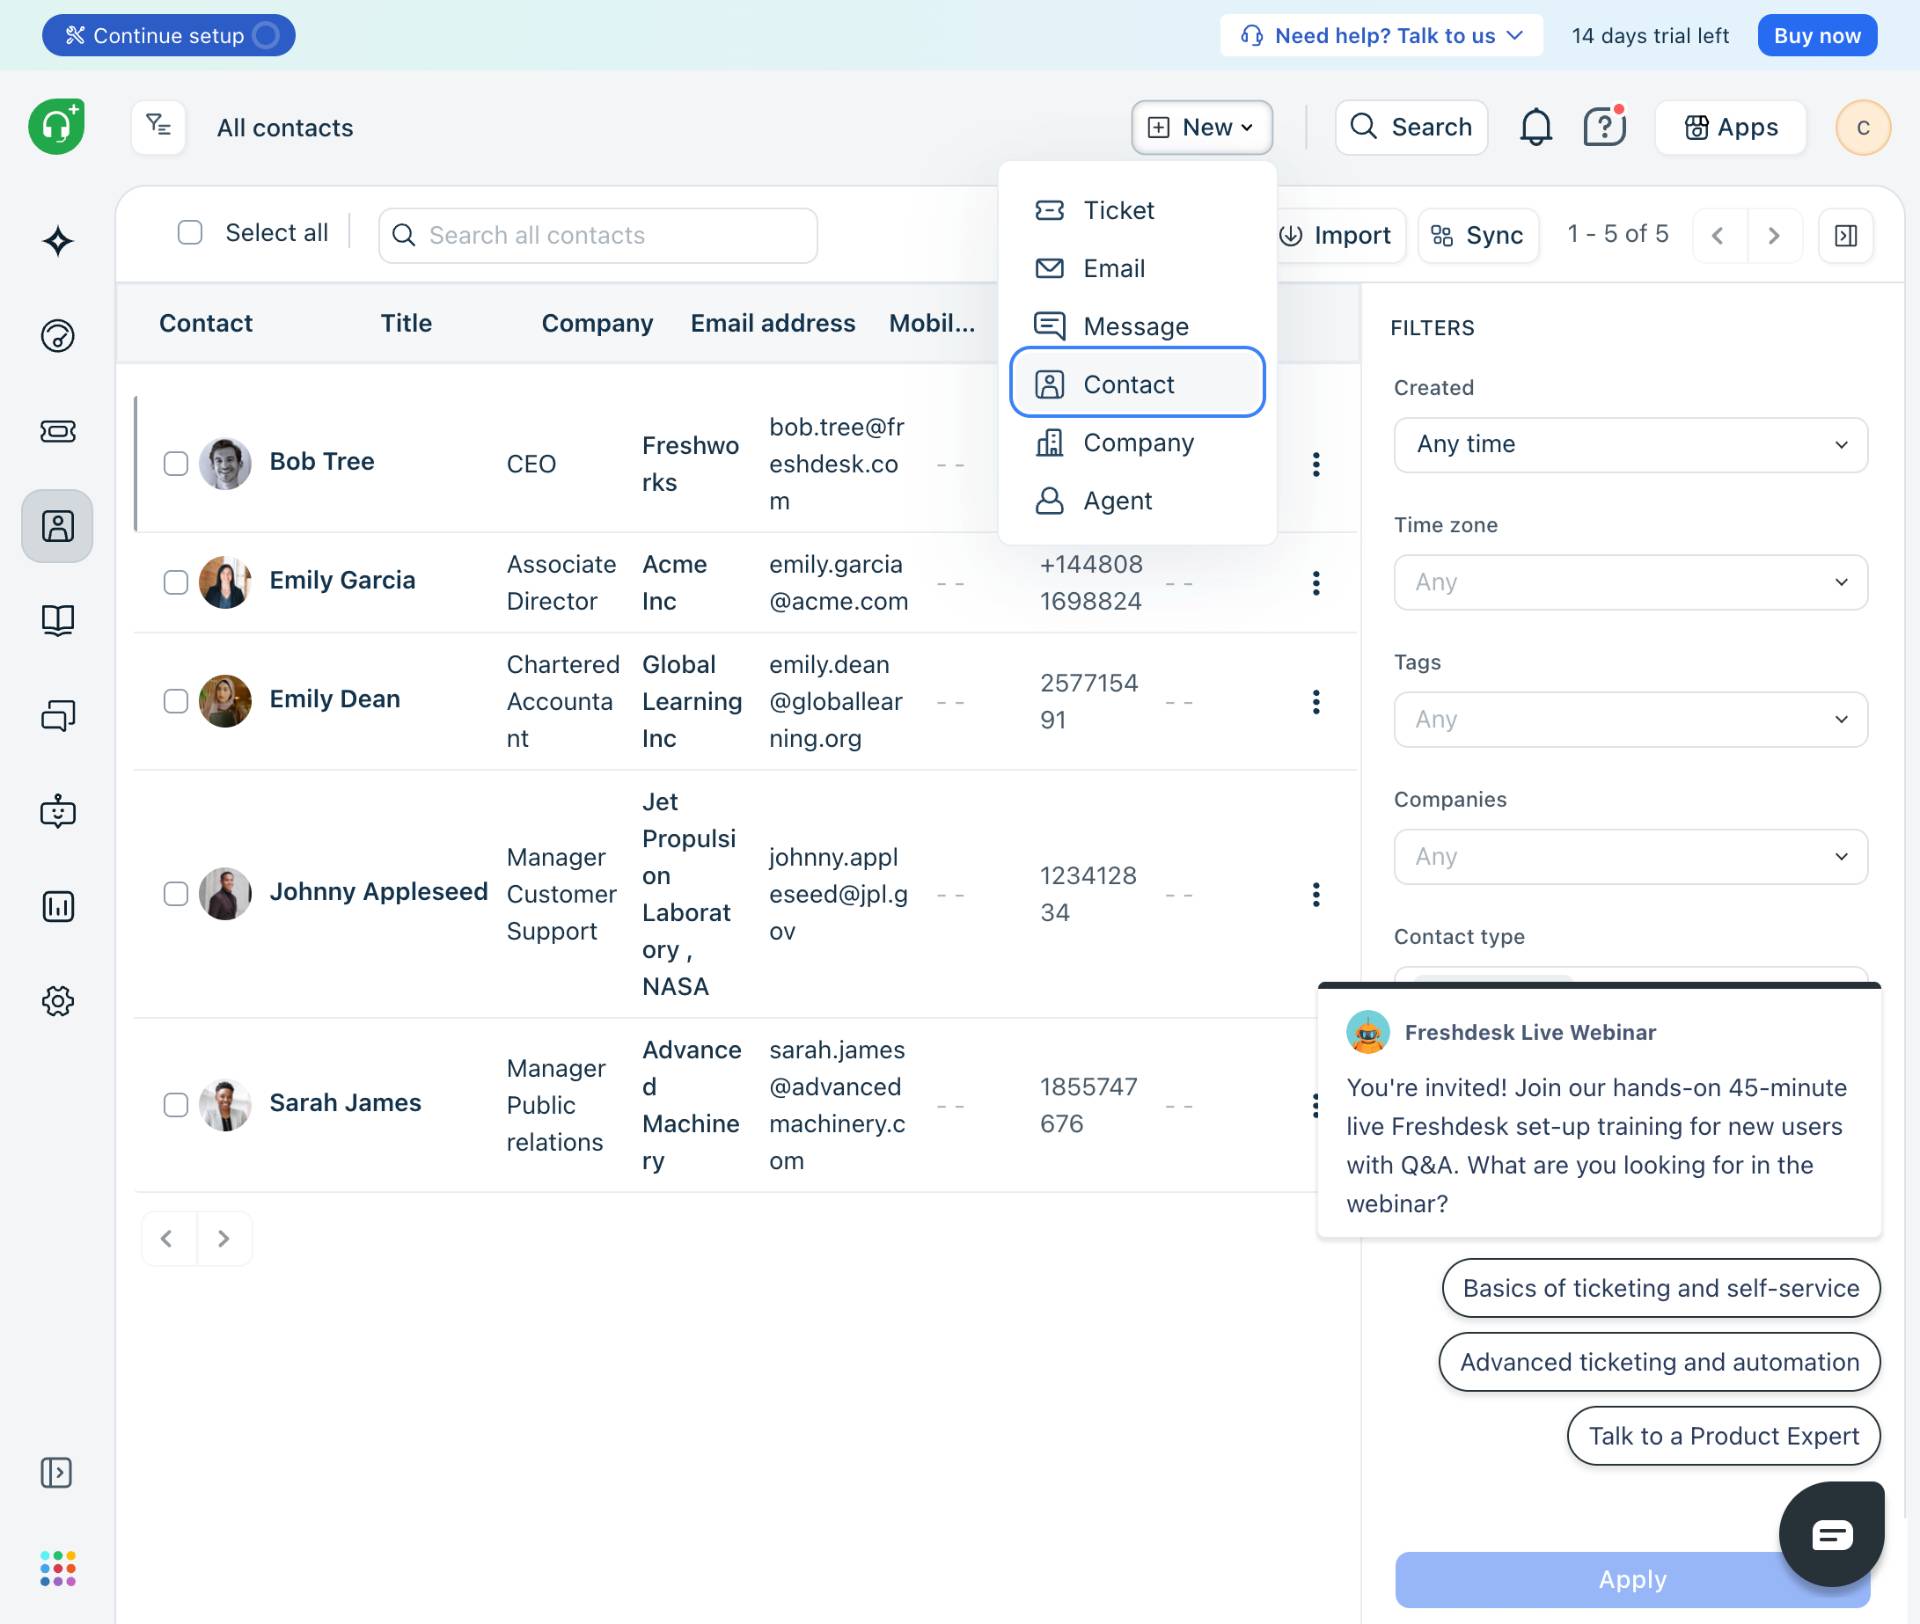
From the dropdown menu, select Contact. The dropdown menu contains multiple options including: Ticket (create a support ticket), Email (send an email), Message (send a message), Contact (add a new contact), Company (add a company), and Agent (add a support agent).
- Step 4 of 7
Enter email address
Fill in the Email field
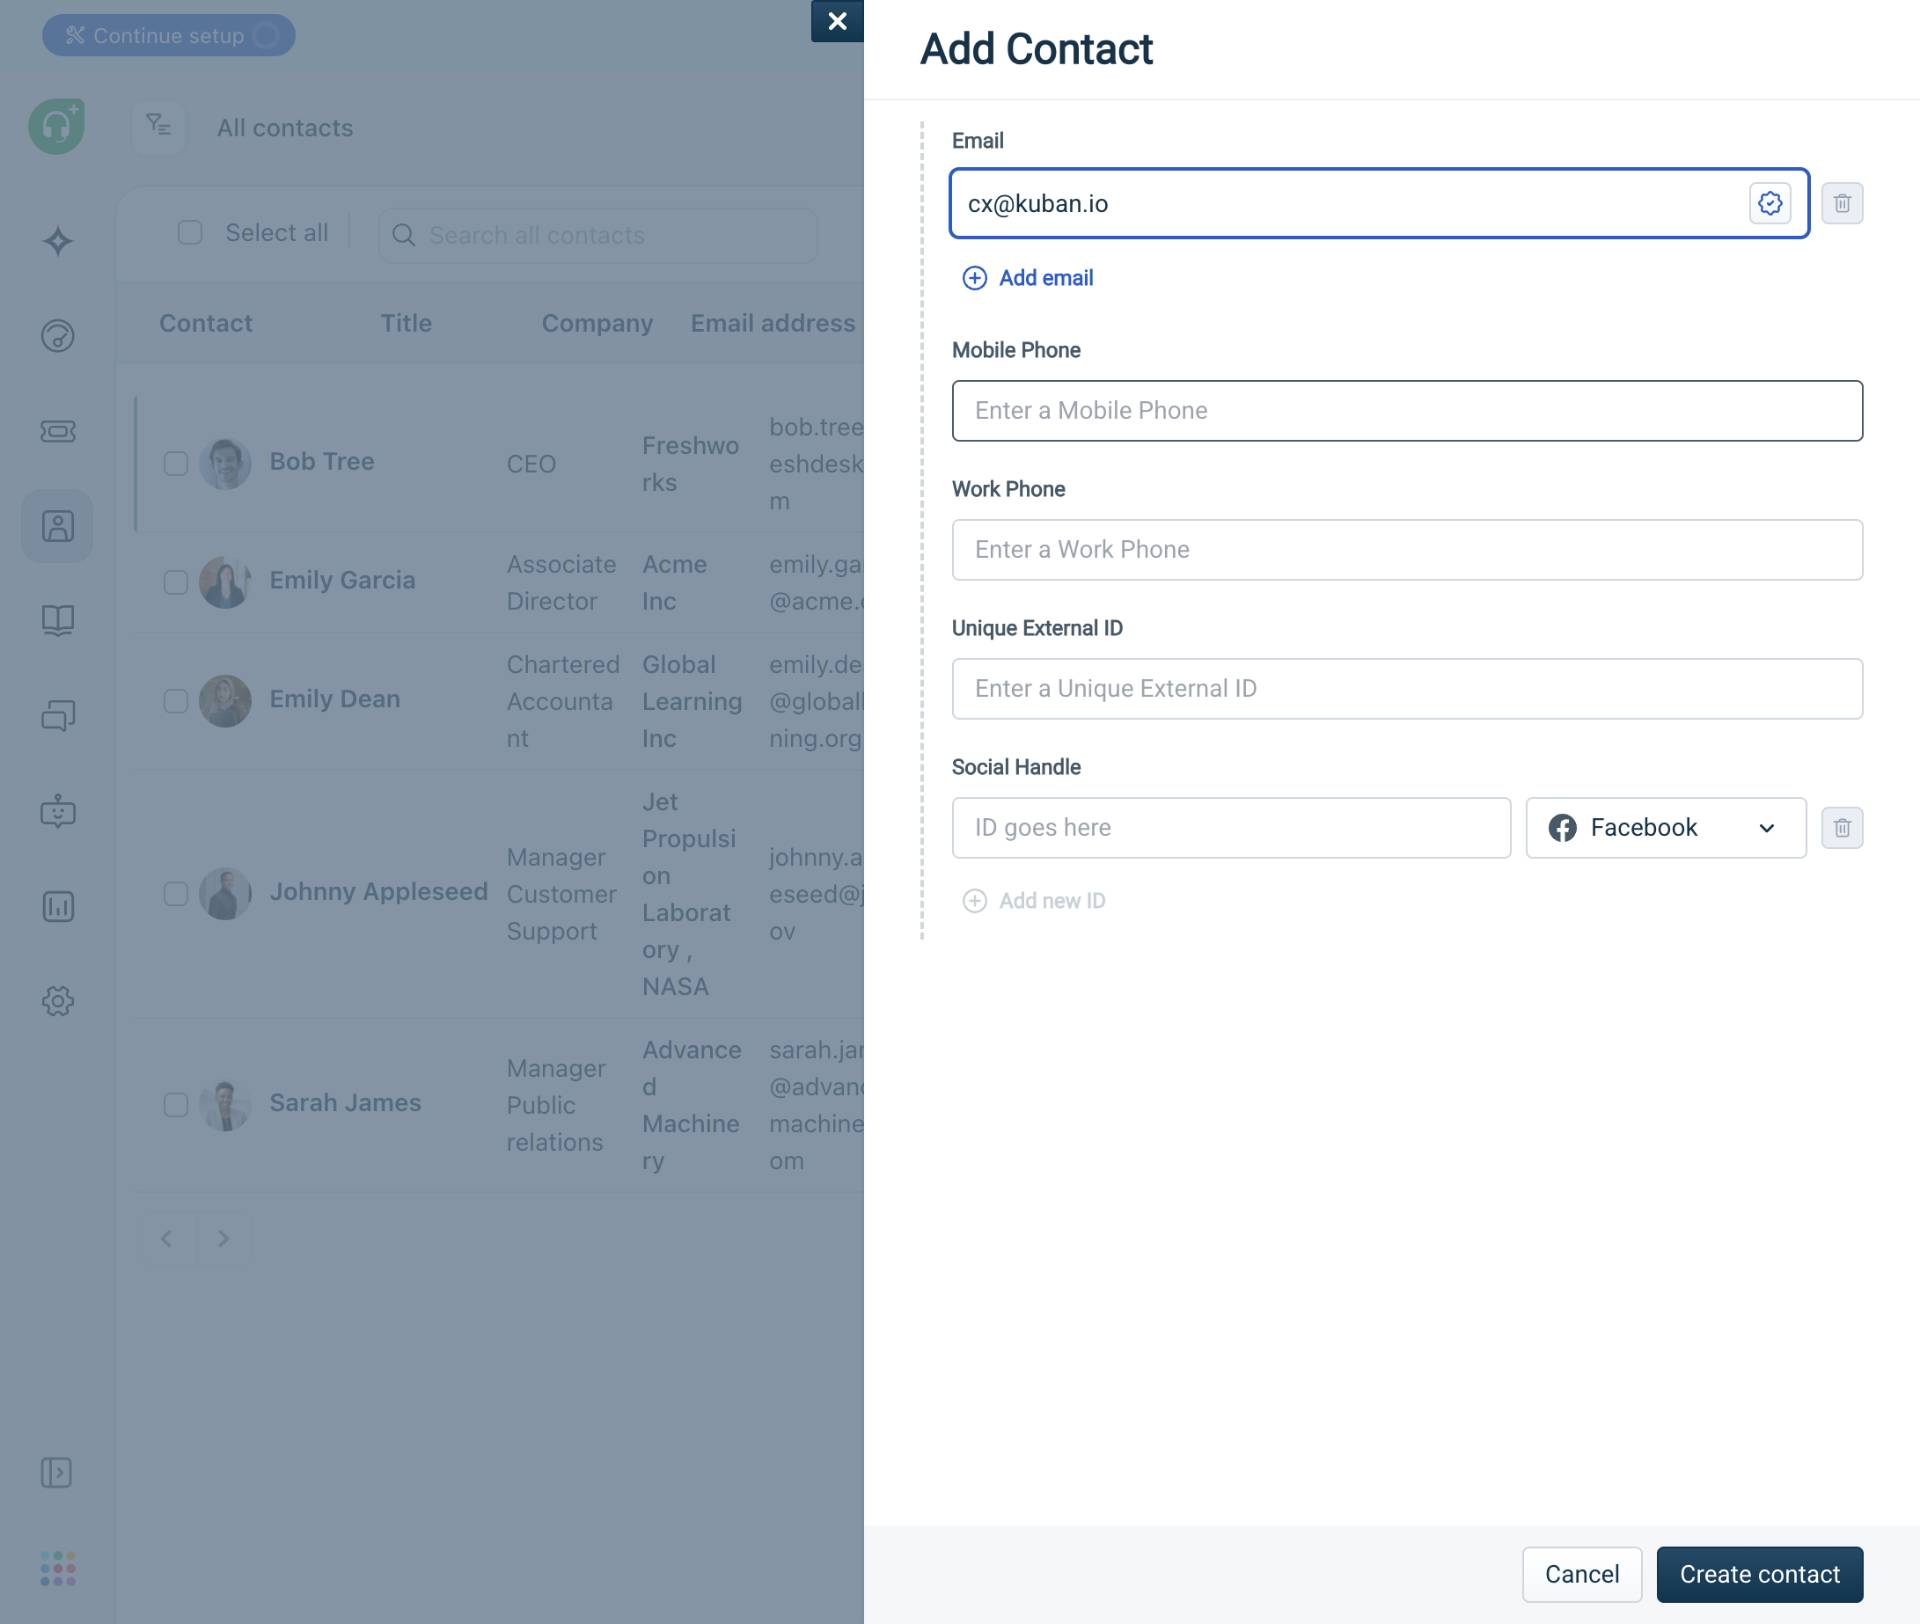
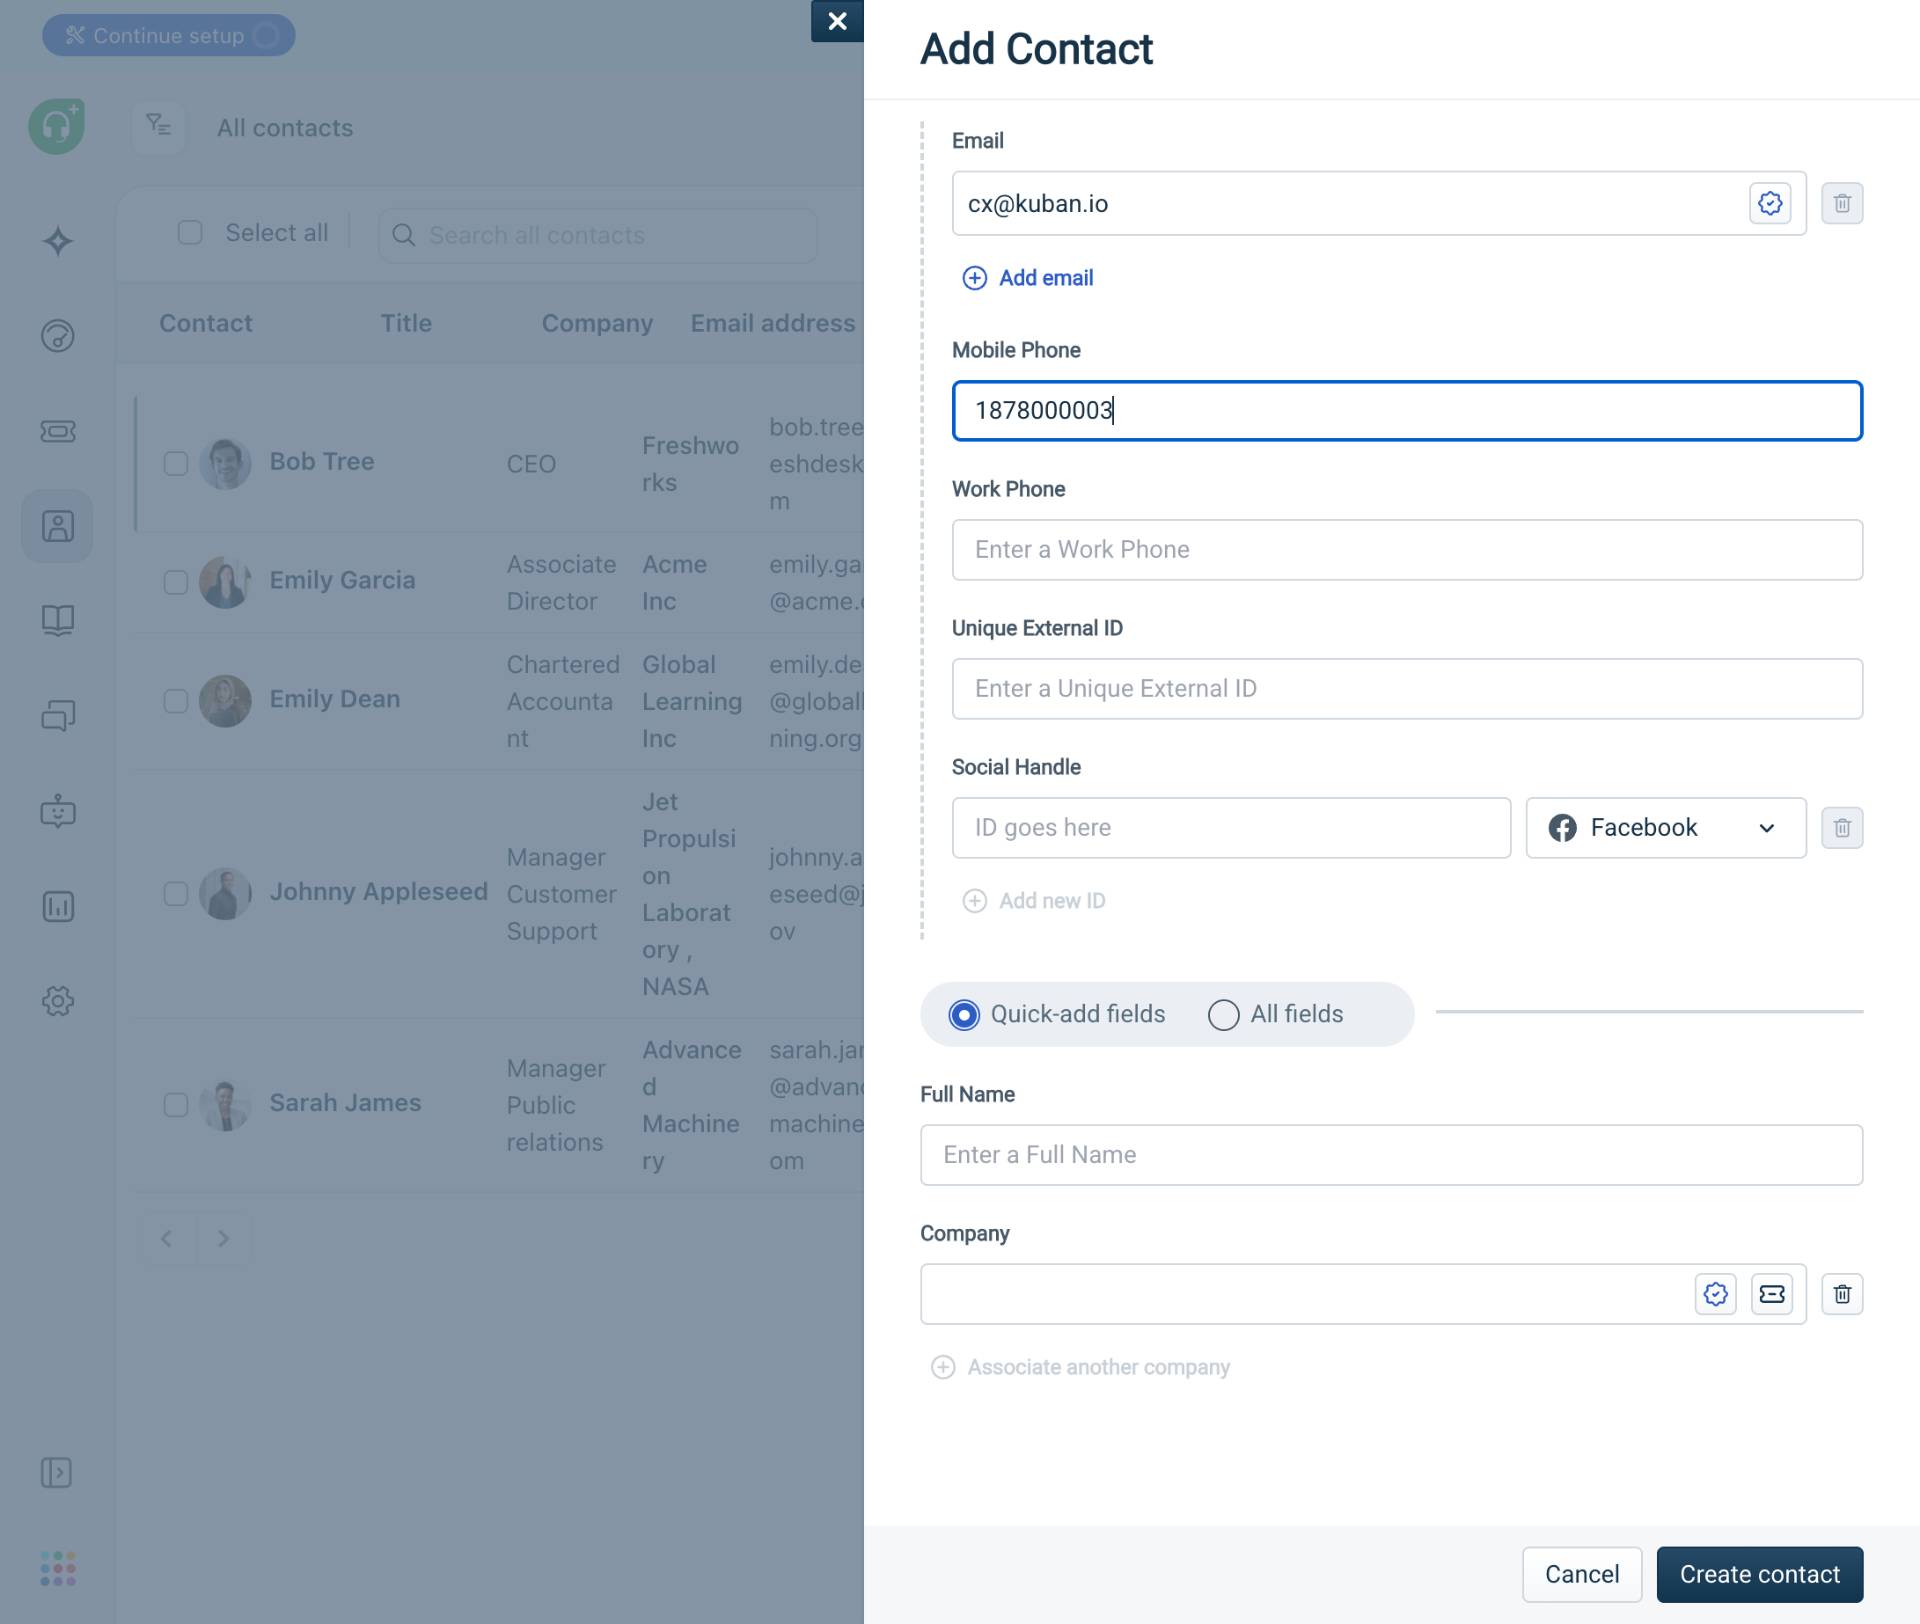
In the Add Contact modal, enter the contact's email address in the Email field at the top of the form. This is the primary identifier for the contact.
- Step 5 of 7
Enter mobile phone number
Fill in the Mobile Phone field
Enter the contact's mobile phone number in the Mobile Phone field. The system accepts numeric values and may format the number automatically.
- Step 6 of 7
Enter full name
Fill in the Full Name field
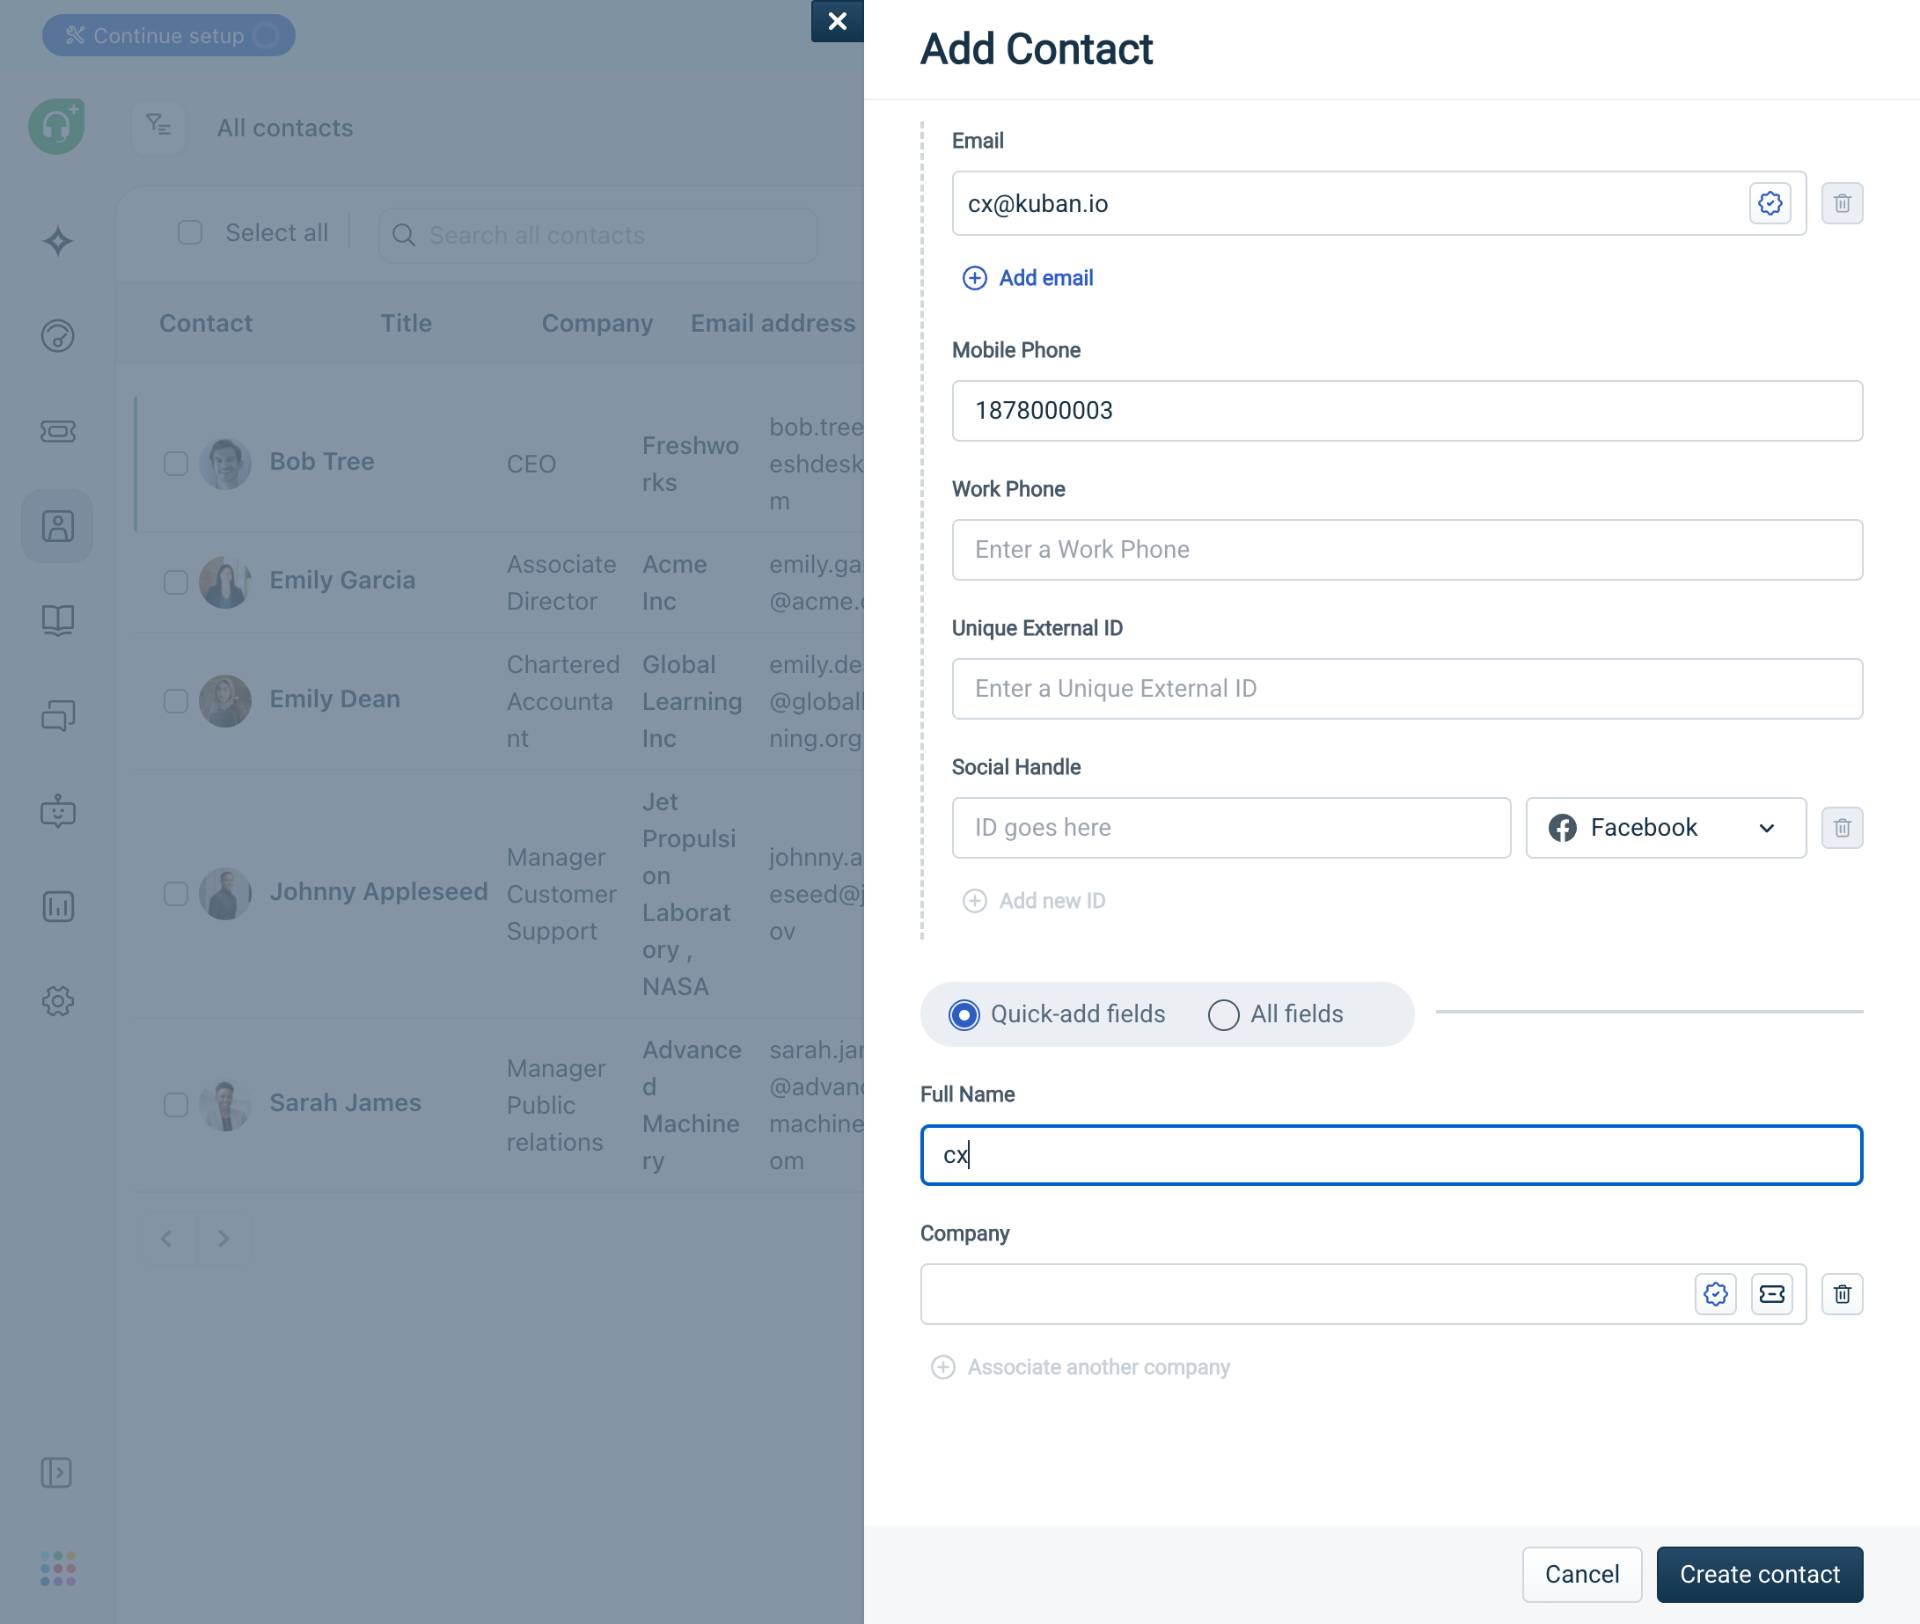
Enter the contact's full name in the Full Name field. This name will be displayed in ticket conversations and contact lists.
- Step 7 of 7
Create the contact
Click Create contact button
Click the Create contact button at the bottom right of the modal to save the contact. The system validates the required fields and creates the contact record.
Verification
To verify the contact was created successfully:
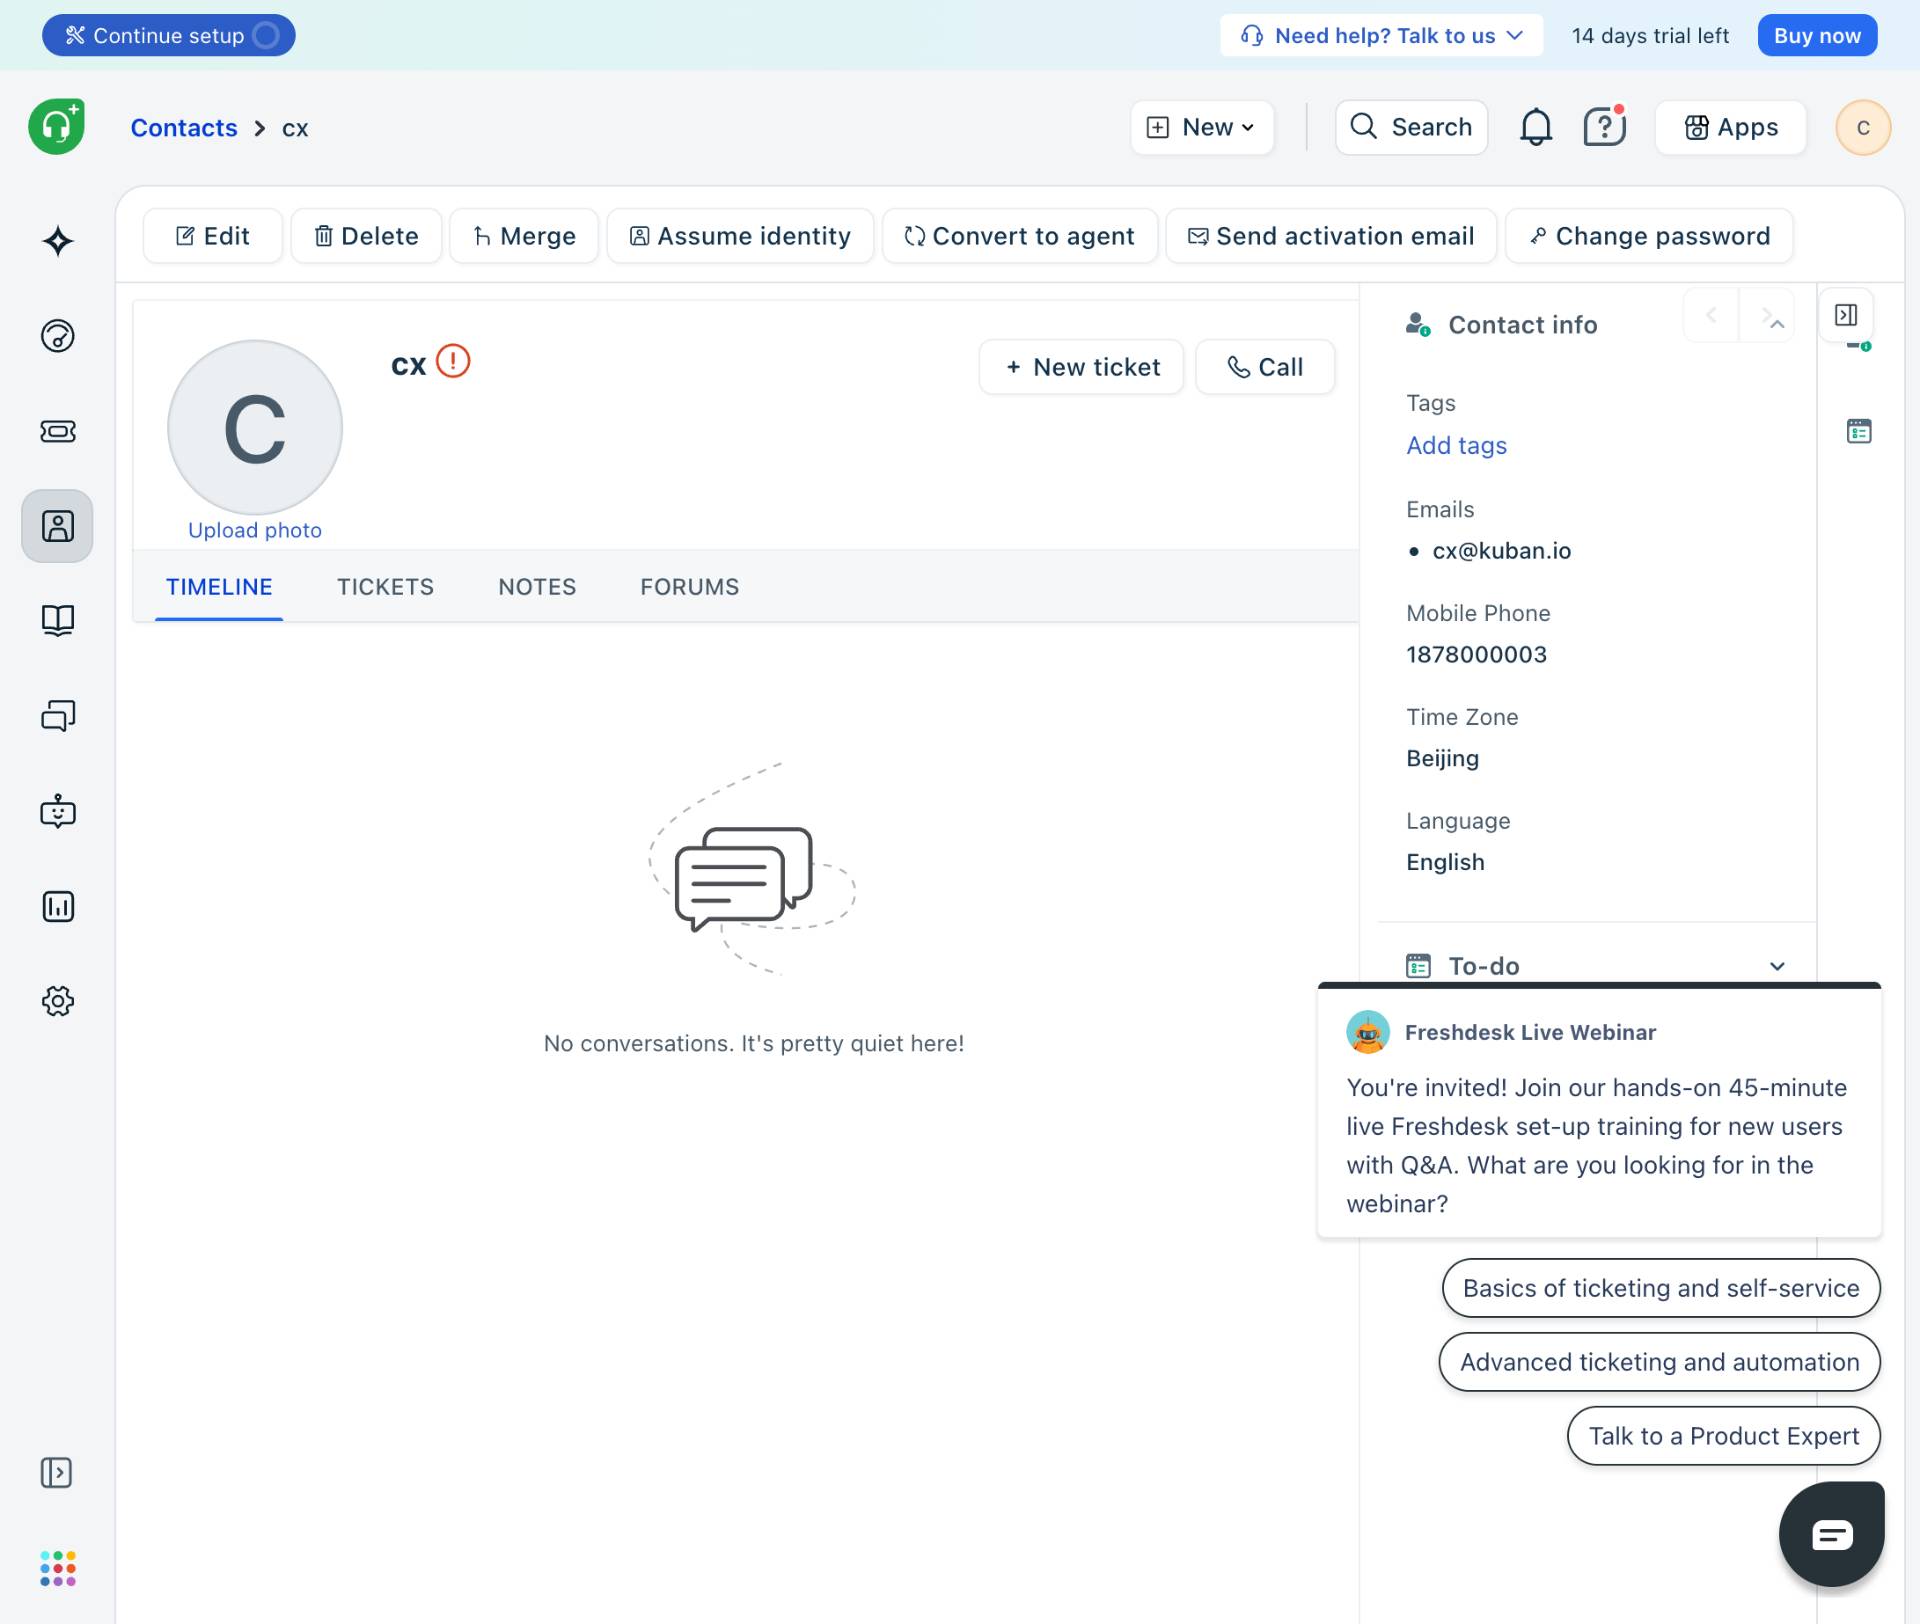
Confirm the page redirects to the contact profile page showing the contact's name and avatar.
Verify the Contact info panel on the right displays the email address and mobile phone number you entered.
Navigate back to the Contacts list and confirm the new contact appears in the table with the correct details.
Conclusion
You have successfully created a new contact in the Freshdesk CRM. The contact is now available for ticket creation, email communication, and support operations.