
Purpose
This SOP describes how to use the primary interaction controls during a Zoom meeting, including reactions, chat, audio/video controls, and AI features.
Scope
This procedure is intended for all Zoom meeting participants. Follow this SOP when you need to communicate through reactions, chat, or audio/video during an active meeting session.
Prerequisites
Joined an active Zoom meeting
Working microphone and camera (for audio/video features)
Procedure
- Step 1 of 12
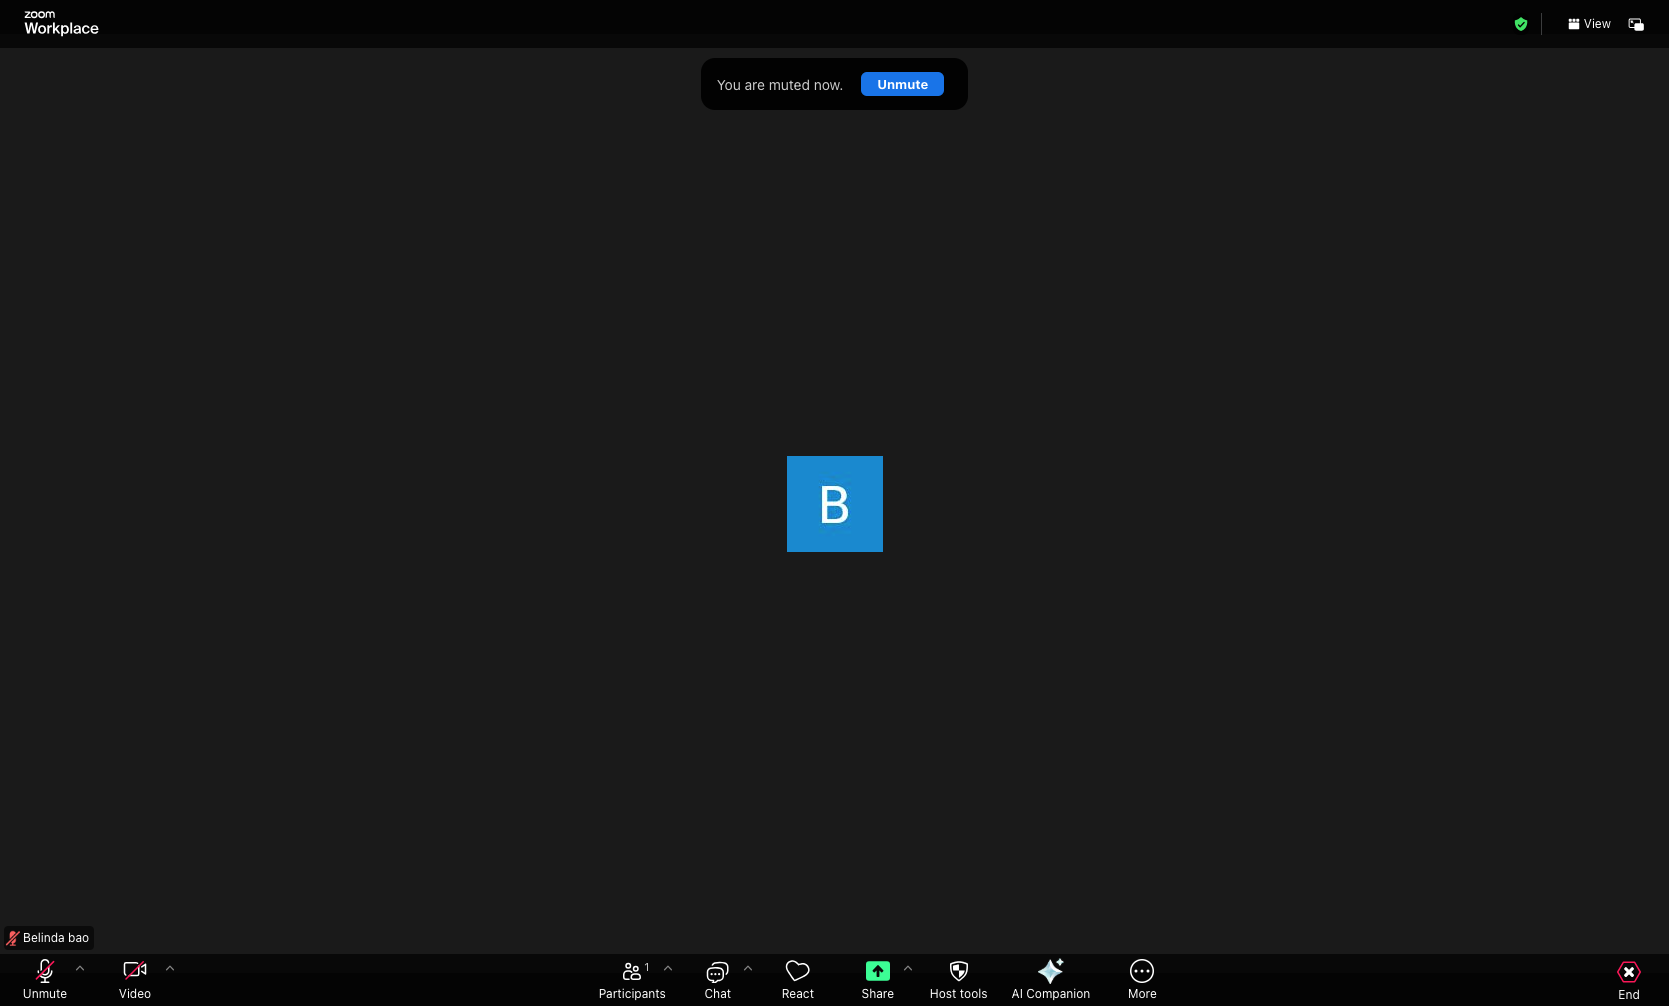
Navigate to the Zoom meeting
Join the Zoom meeting
Navigate to the Zoom meeting URL and join the session. You will see the meeting interface with your avatar displayed in the center and the control bar at the bottom.
- Step 2 of 12
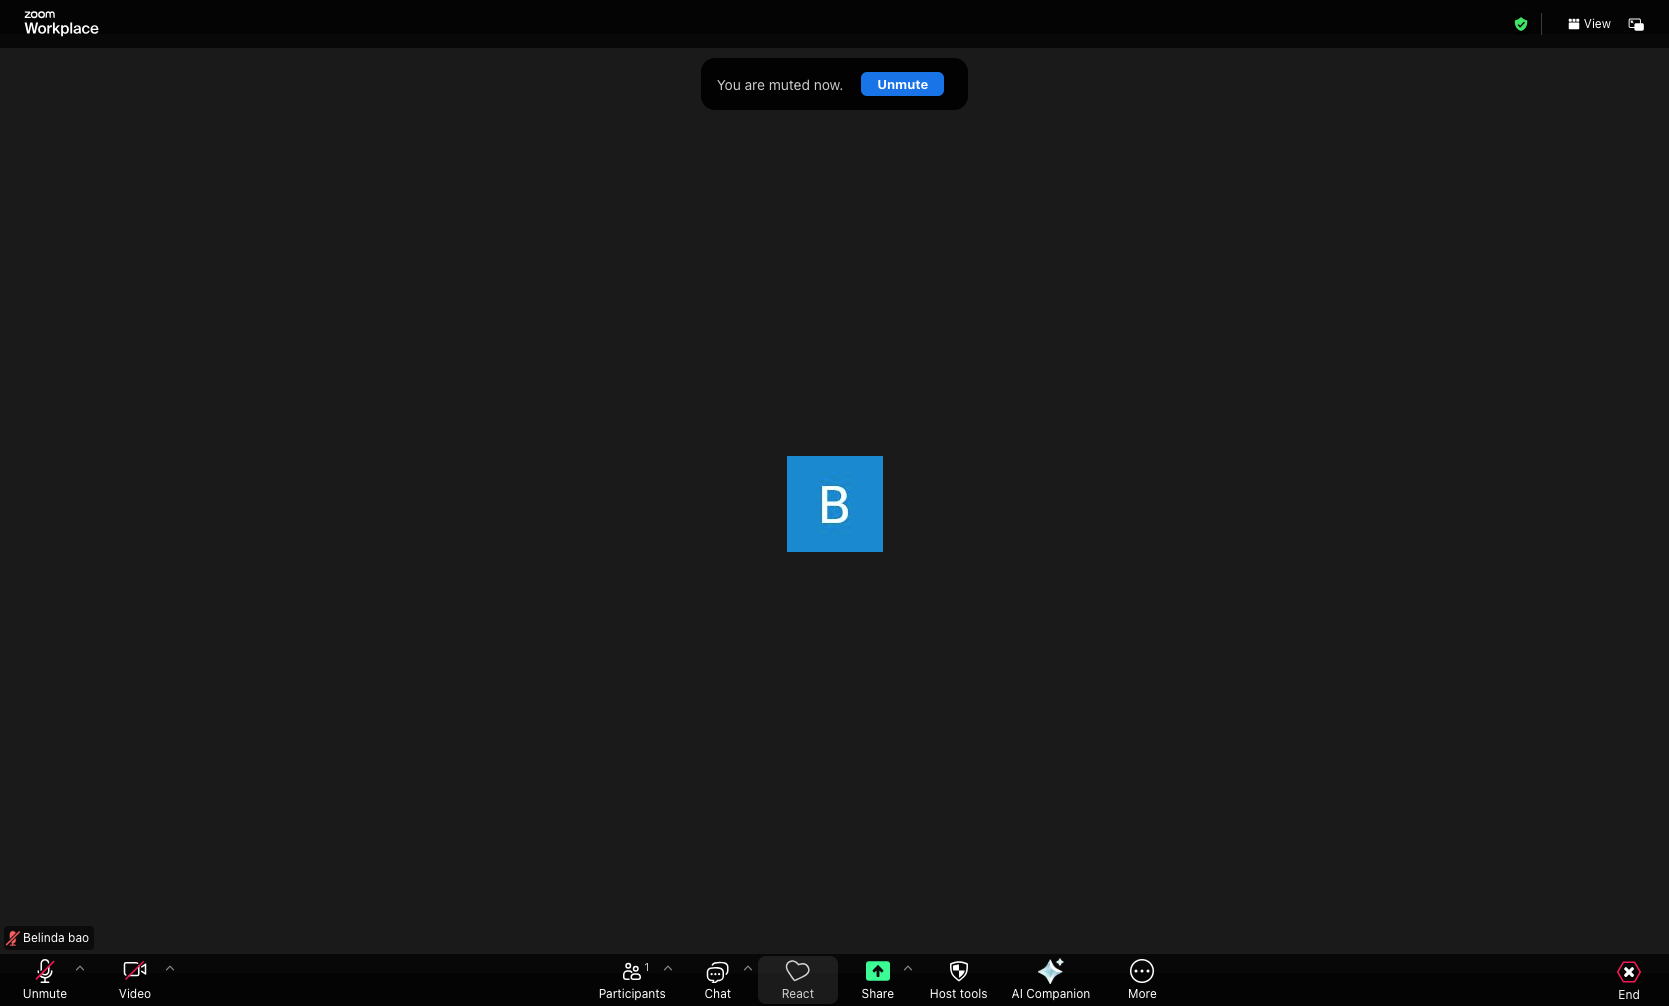
Open the Reactions menu
Click the React button
Click the React button in the bottom control bar to open the reactions menu.
- Step 3 of 12
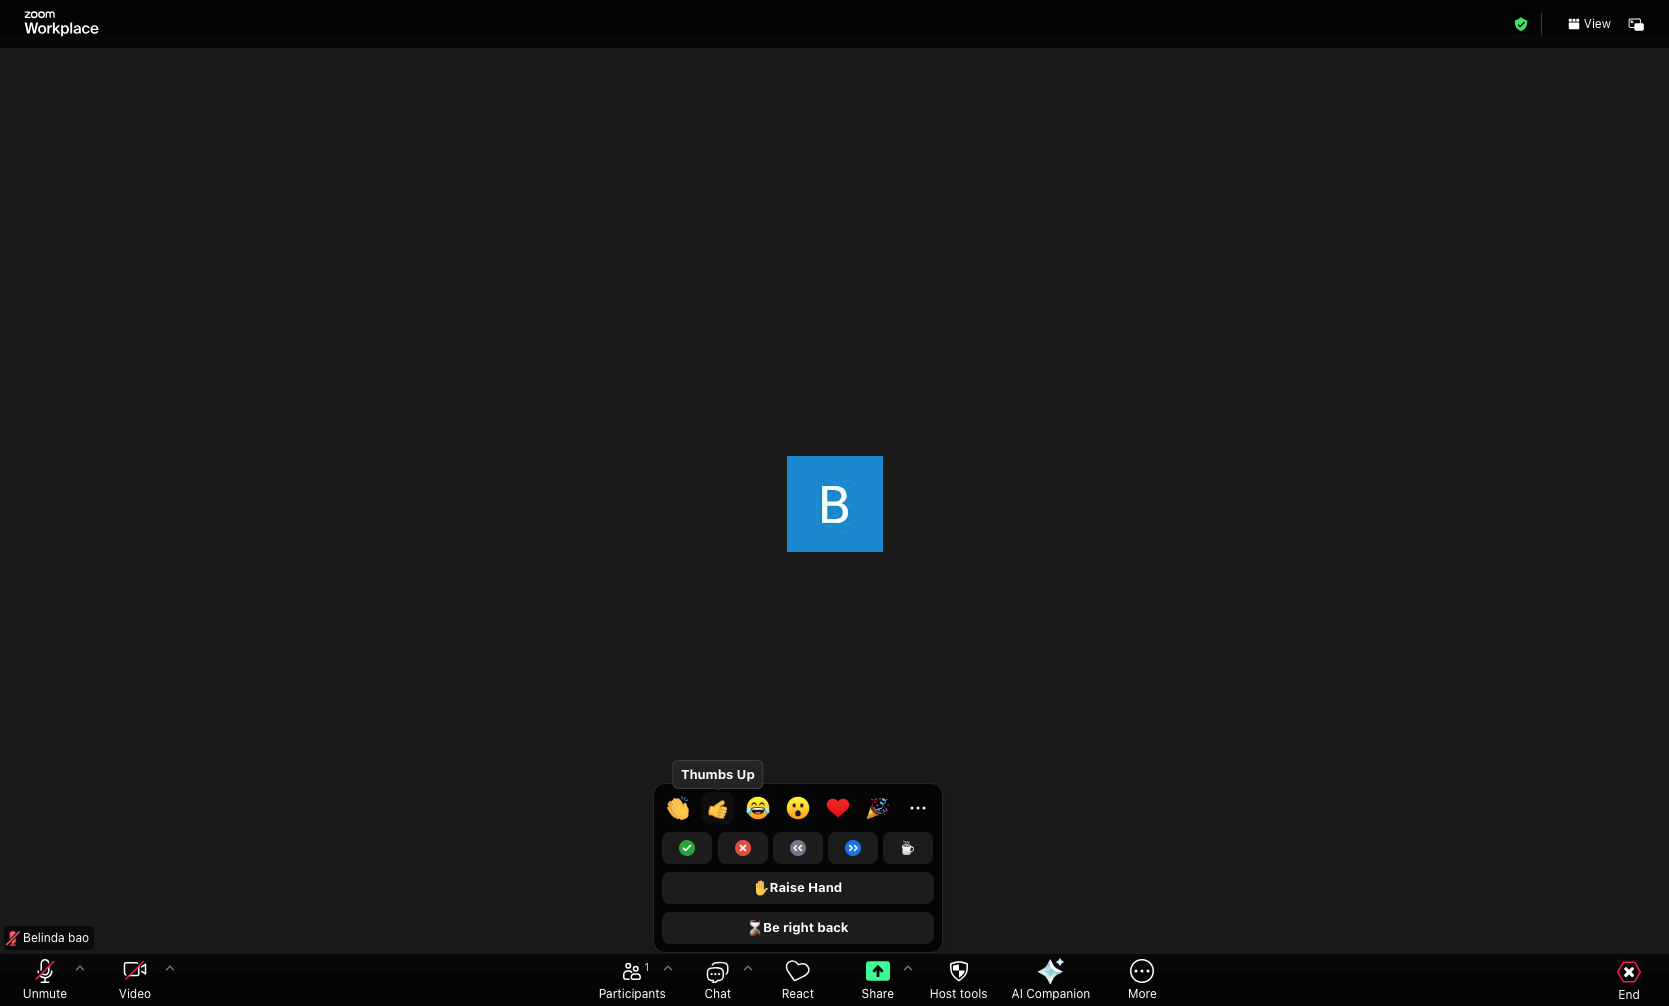
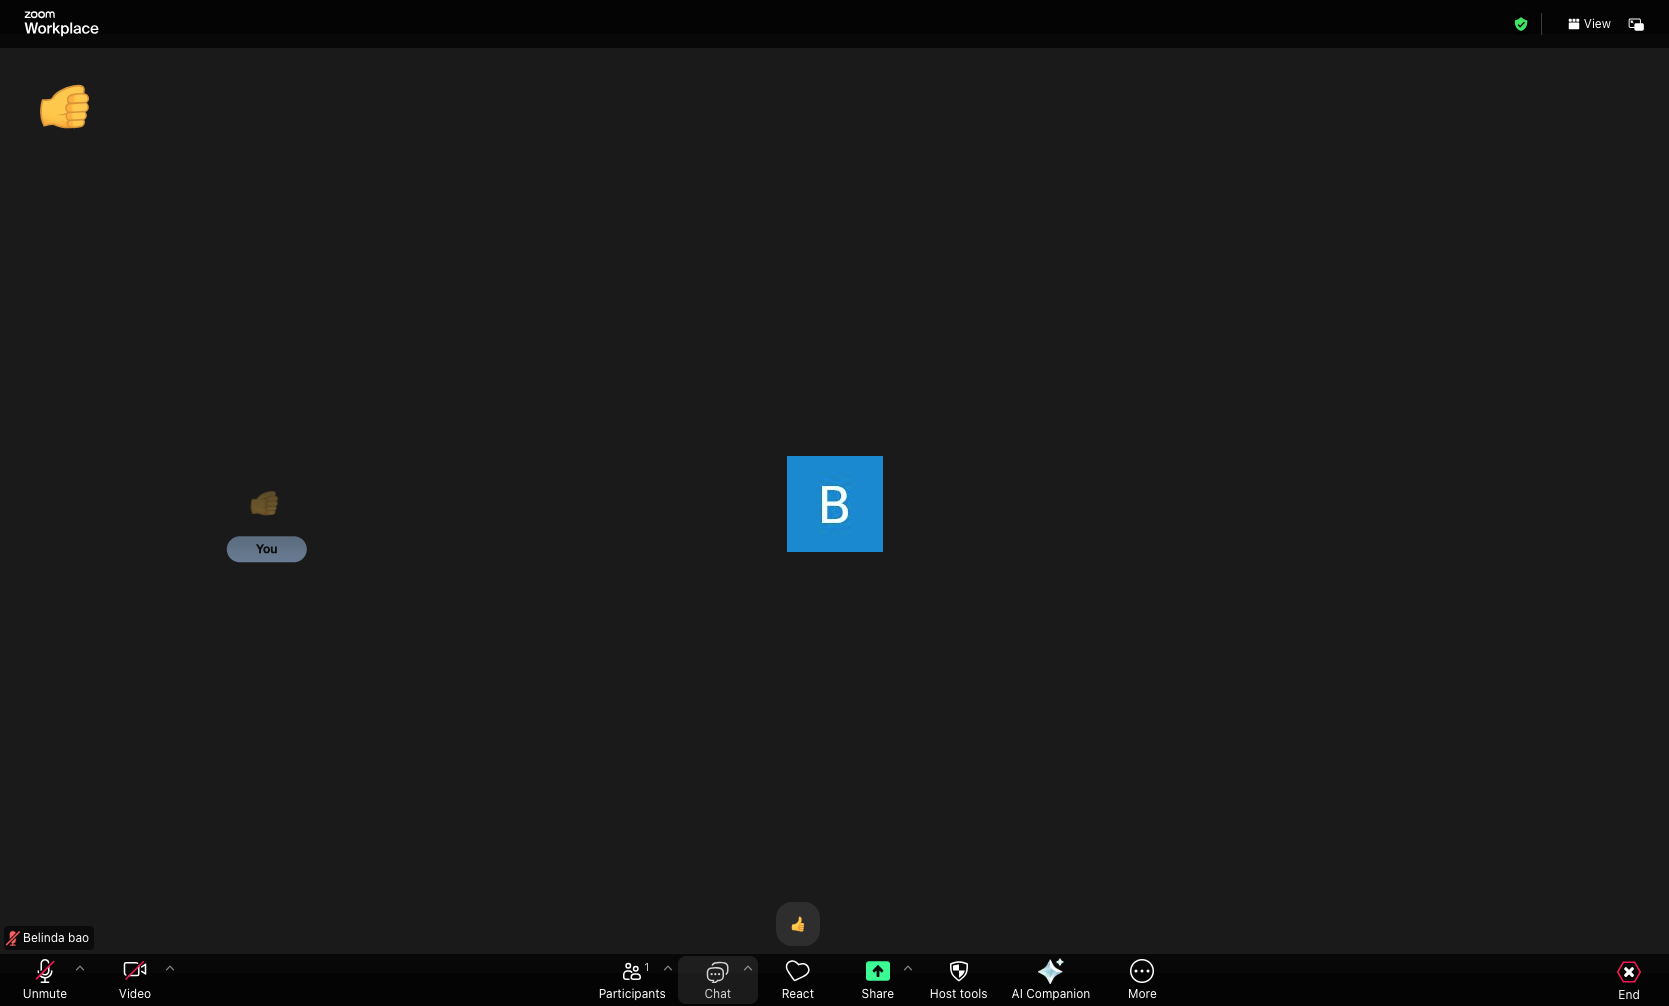
Send a reaction
Select an emoji reaction
Select a reaction emoji from the menu. Available options include thumbs up, heart, laugh, surprised, applause, and raise hand. The selected reaction will display on your video feed for all participants to see.
- Step 4 of 12
Open the Chat panel
Click the Chat button
Click the Chat button in the bottom control bar to open the chat panel on the right side of the screen.
- Step 5 of 12
Send a chat message
Type and send your message
Type your message in the text input field at the bottom of the chat panel. Use the dropdown menu to select who can see your message: Everyone or a specific participant. Click the Send button or press Enter to send your message.

- Step 6 of 12
Unmute your microphone
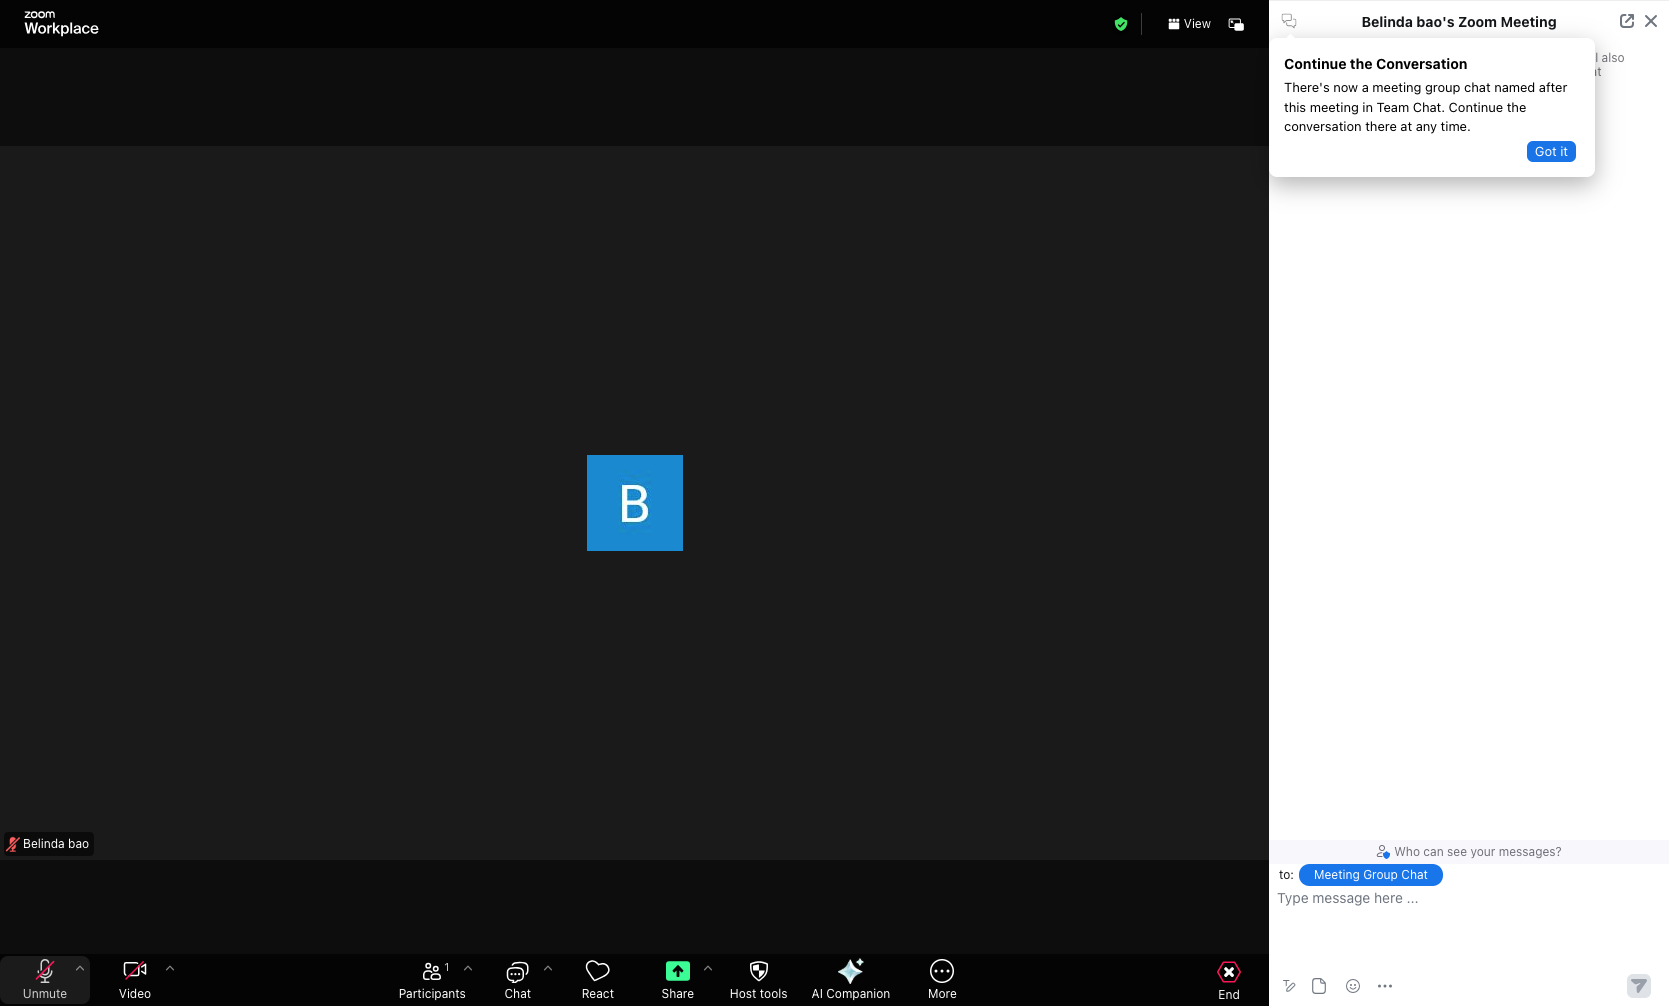
Click the Unmute button
Click the Unmute button in the bottom-left corner of the control bar to enable your microphone. The icon will change to indicate your microphone is active.
- Step 7 of 12
Mute your microphone
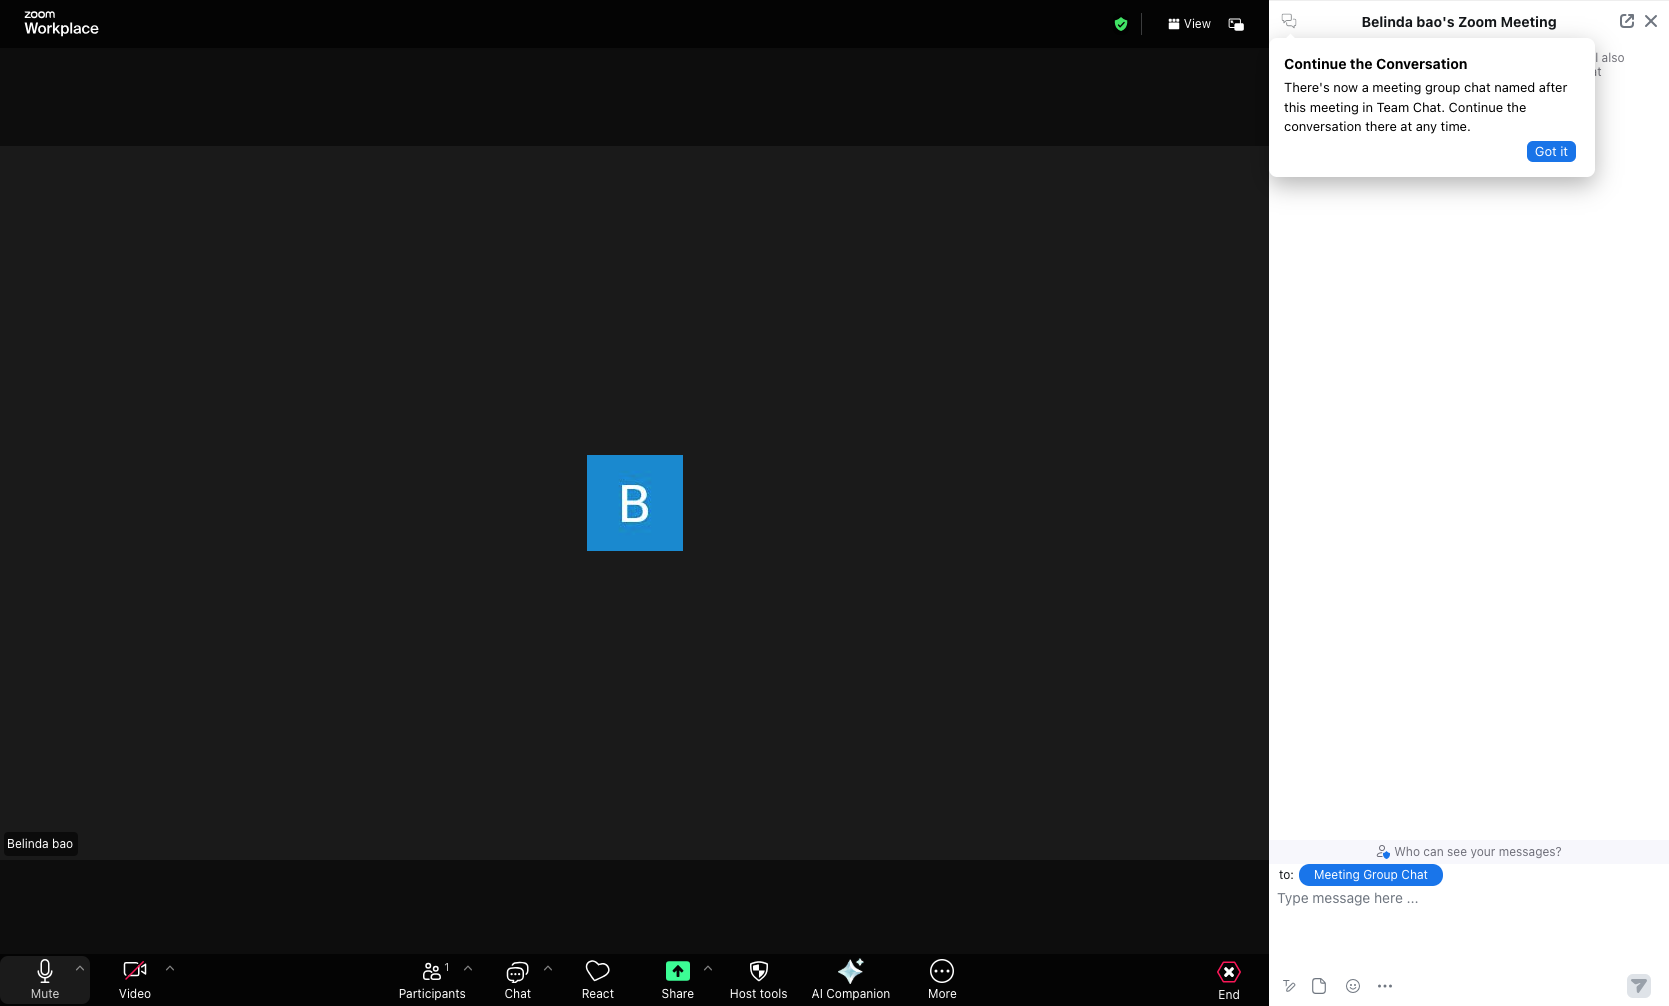
Click the Mute button
Click the Mute button to disable your microphone. Use this when you are not speaking to reduce background noise.
- Step 8 of 12
Start your video
Click the Video button
Click the Start Video button in the bottom control bar to enable your camera. Your video feed will appear in the meeting window.

- Step 9 of 12
Stop your video
Click the Video button to stop
Click the Stop Video button to disable your camera. Your video feed will be replaced with your profile picture or avatar.

- Step 10 of 12
Open AI Companion panel
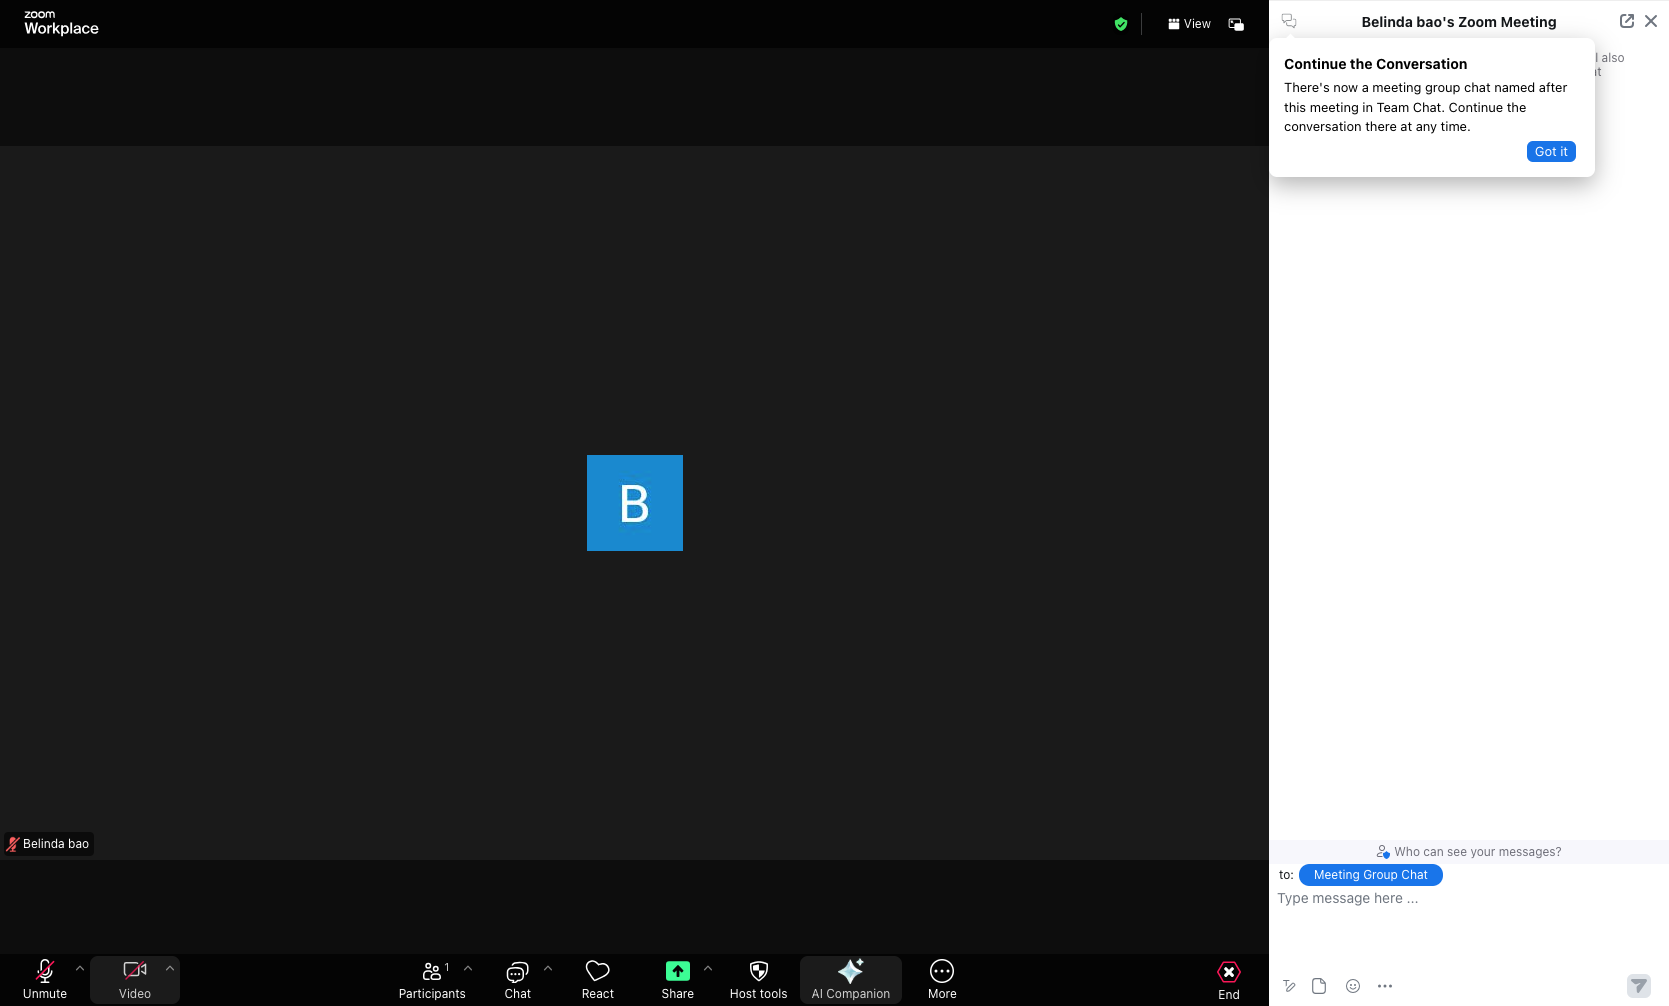
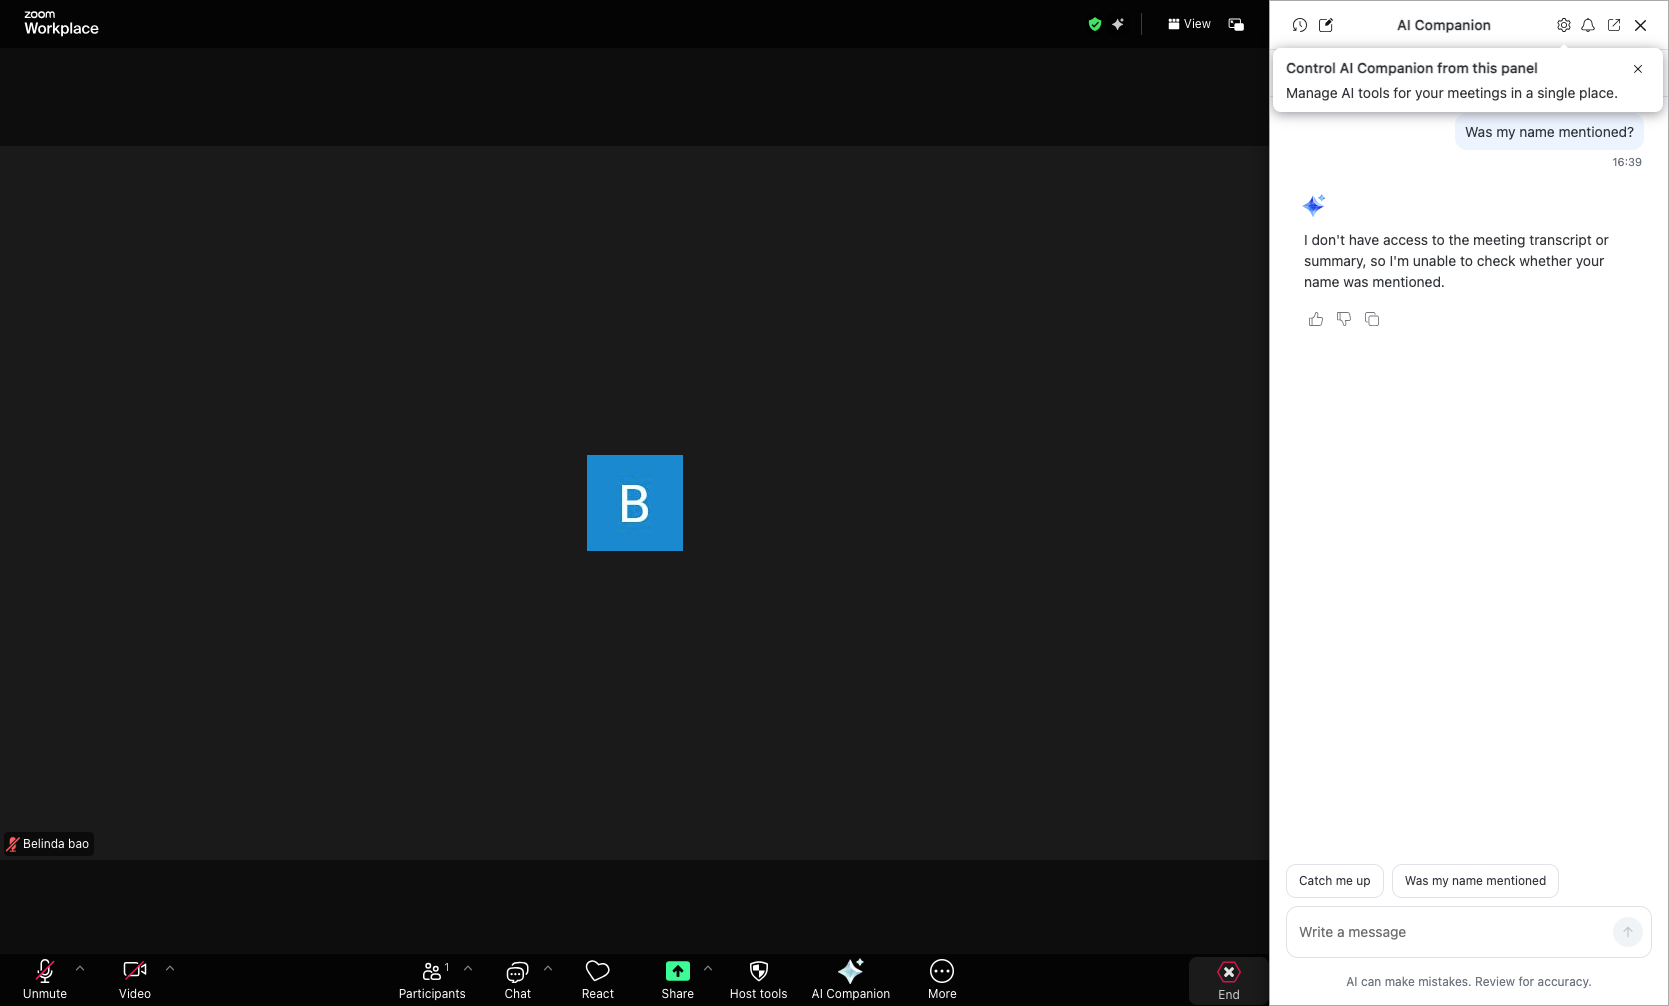
Click the AI Companion button
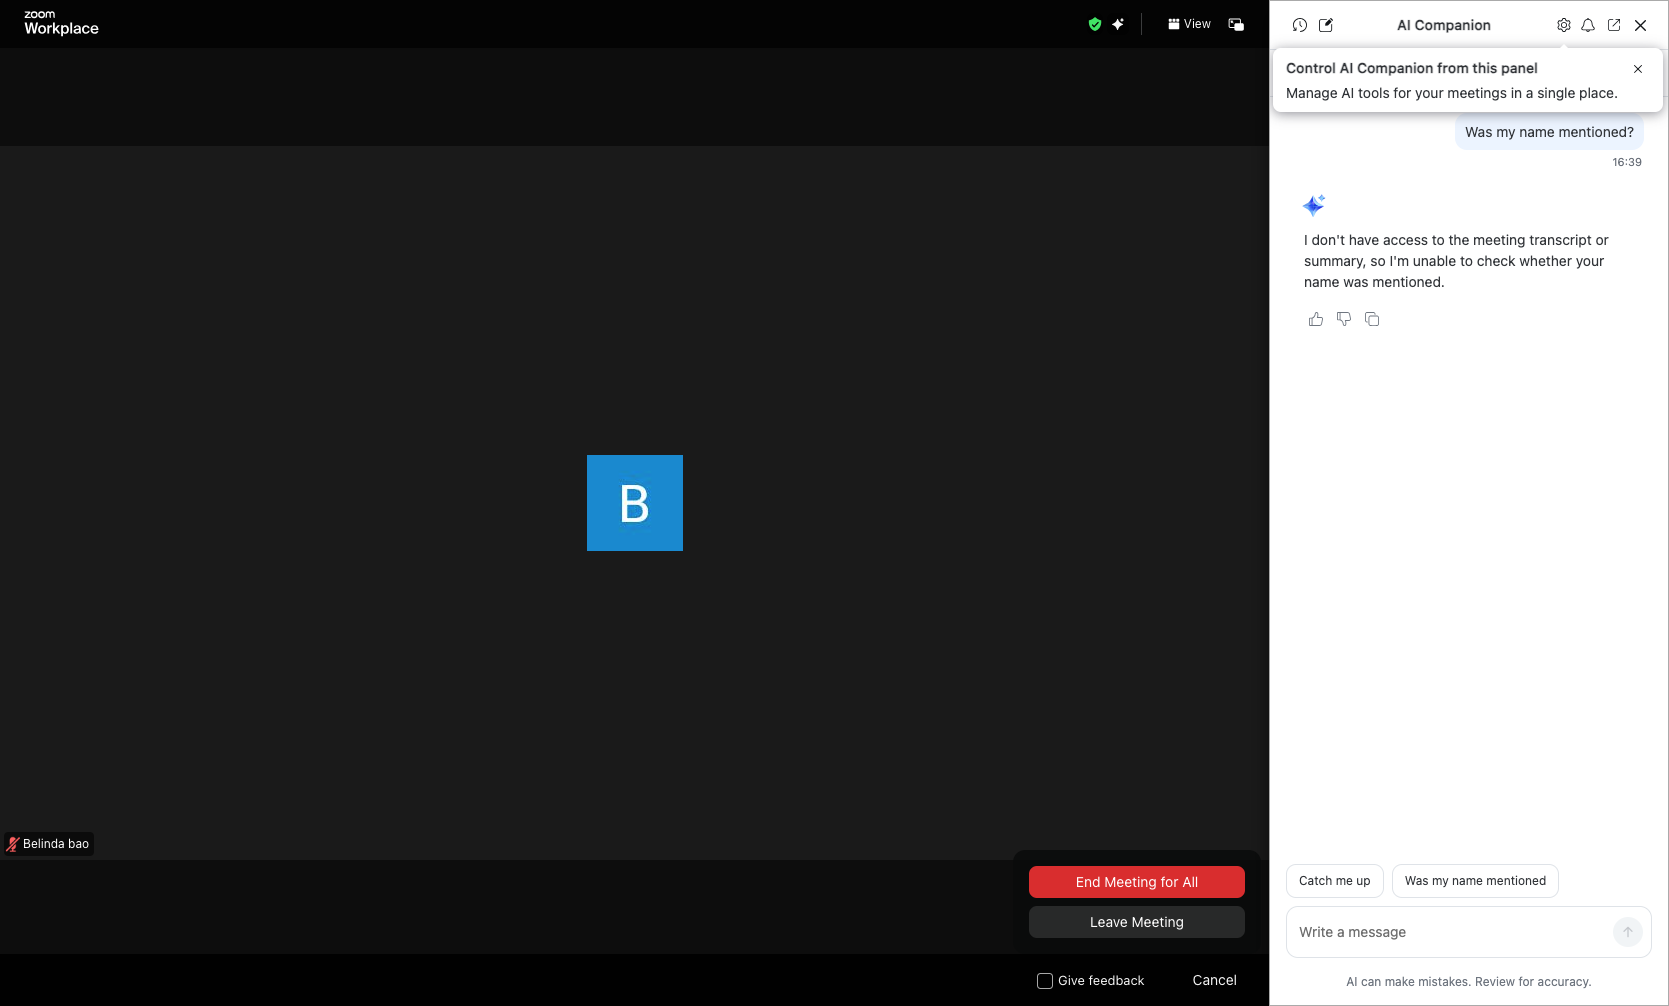
Click the AI Companion button to open the AI panel on the right side. This feature allows you to ask questions about the meeting, get summaries, or check if your name was mentioned during the session.
- Step 11 of 12
End the meeting
Click the End button
Click the End button in the bottom-right corner to access meeting end options.
- Step 12 of 12
Select end meeting option
Choose end option
Select your preferred option from the menu: • End Meeting for All - Closes the meeting for all participants (host only) • Leave Meeting - Exits only yourself while the meeting continues for others
Conclusion
You have successfully used the core interaction controls in a Zoom meeting, including sending reactions, using chat, managing audio and video, accessing AI features, and properly exiting the session.