
Purpose
This SOP describes how to navigate the Zoom Scheduler interface to create booking pages and configure notification settings for appointment scheduling.
Scope
This procedure is intended for Zoom users with a Workplace Basic plan or higher who want to set up appointment scheduling. Follow this SOP when accessing the Scheduler feature, creating booking pages, or configuring automated notifications.
Prerequisites
Active Zoom account with appropriate licensing
Logged in to zoom.us
Note: Some features require upgrading from the Basic plan to access multiple booking pages and advanced notification settings
Procedure
- Step 1 of 8
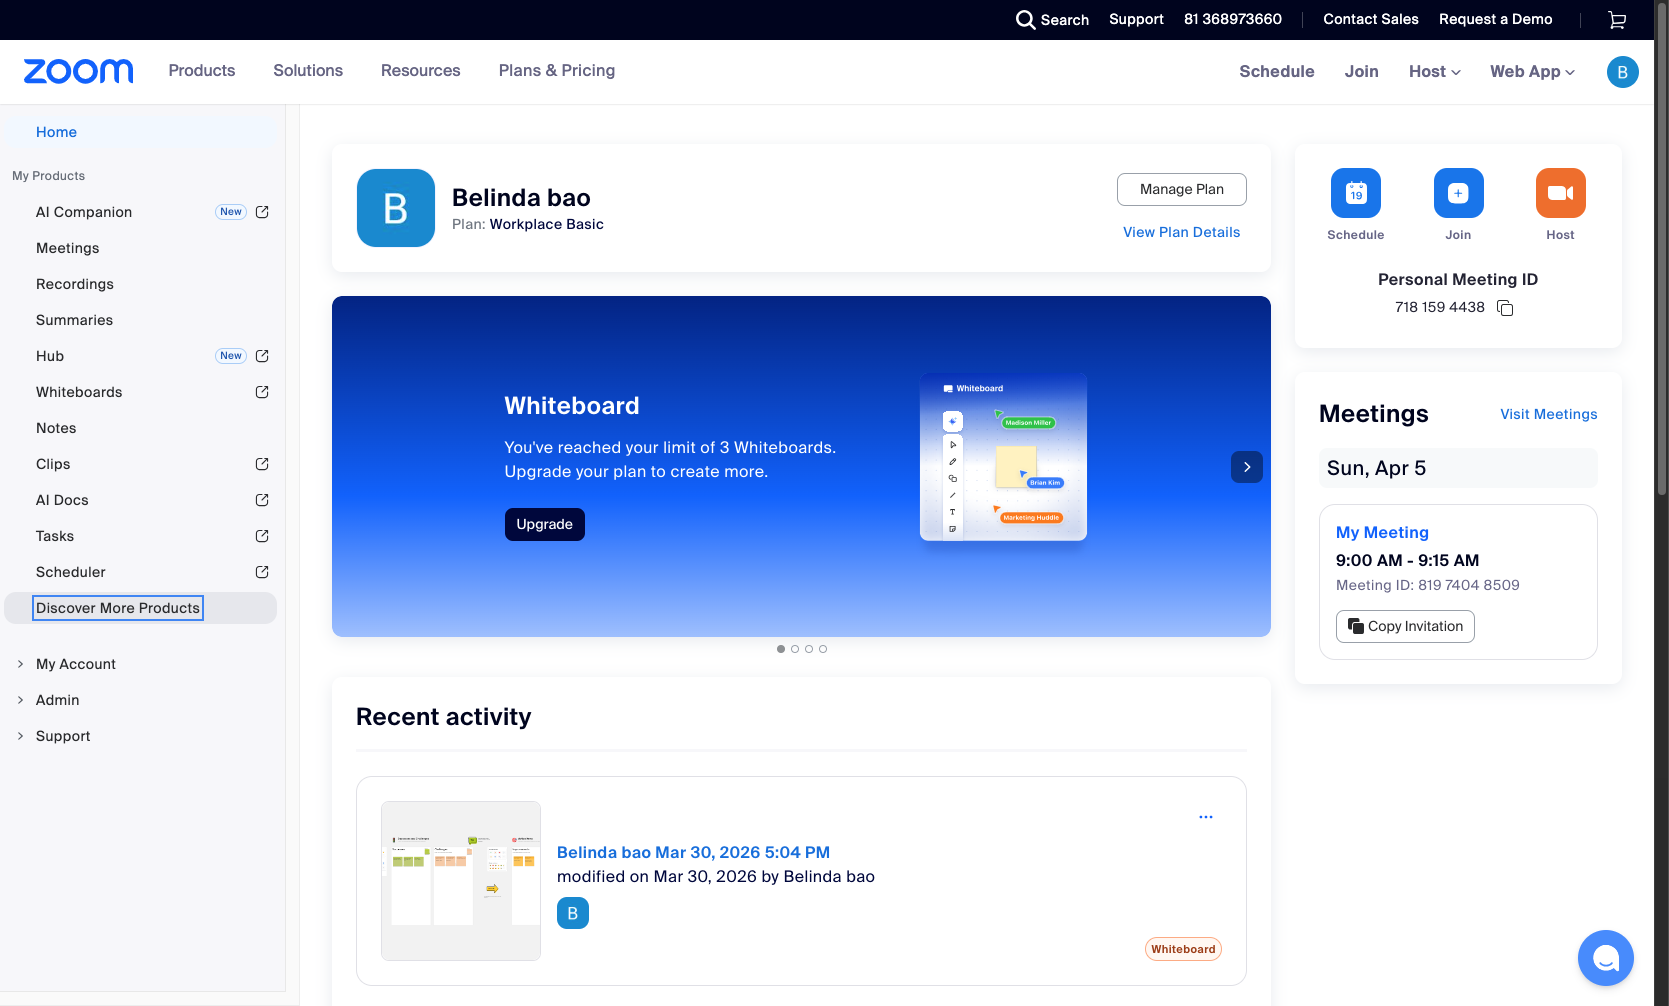
Navigate to zoom.us
Open the Zoom web portal
Navigate to zoom.us/myhome and sign in with your Zoom account credentials.
- Step 2 of 8
Open Scheduler
Click the Scheduler menu item
In the left sidebar navigation menu, locate and click on Scheduler under the My Products section.

- Step 3 of 8
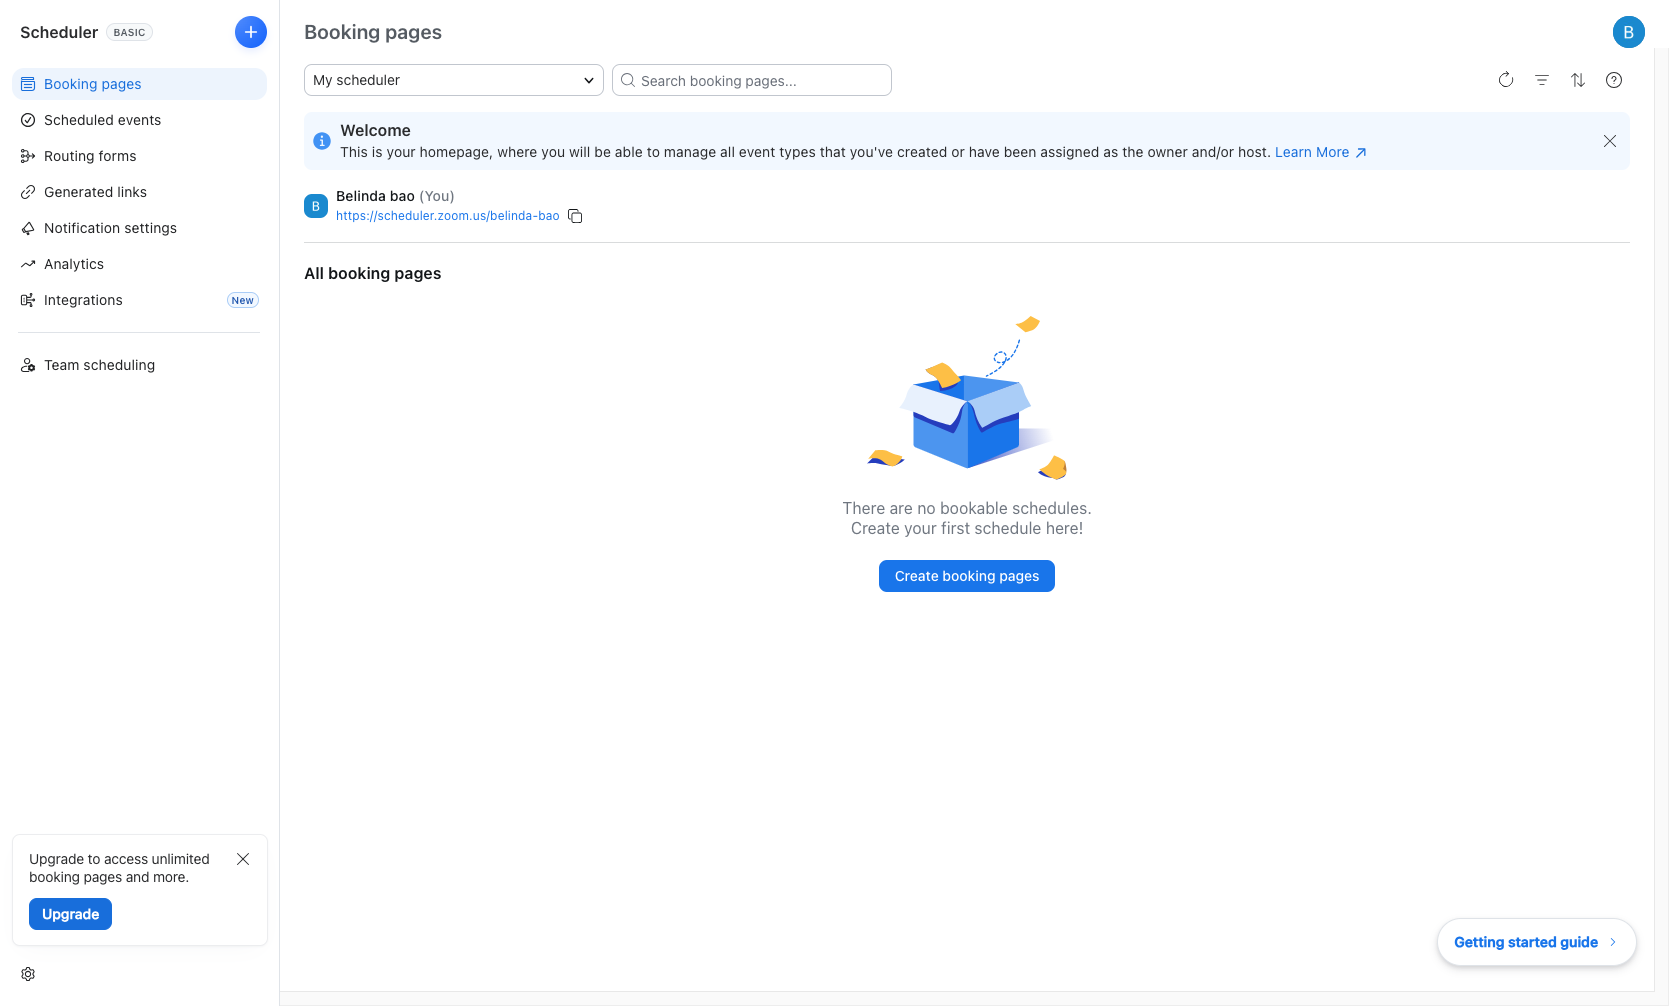
Access Booking Pages
View your booking pages dashboard
The Scheduler opens to the Booking pages section by default. This dashboard shows:
- Step 4 of 8
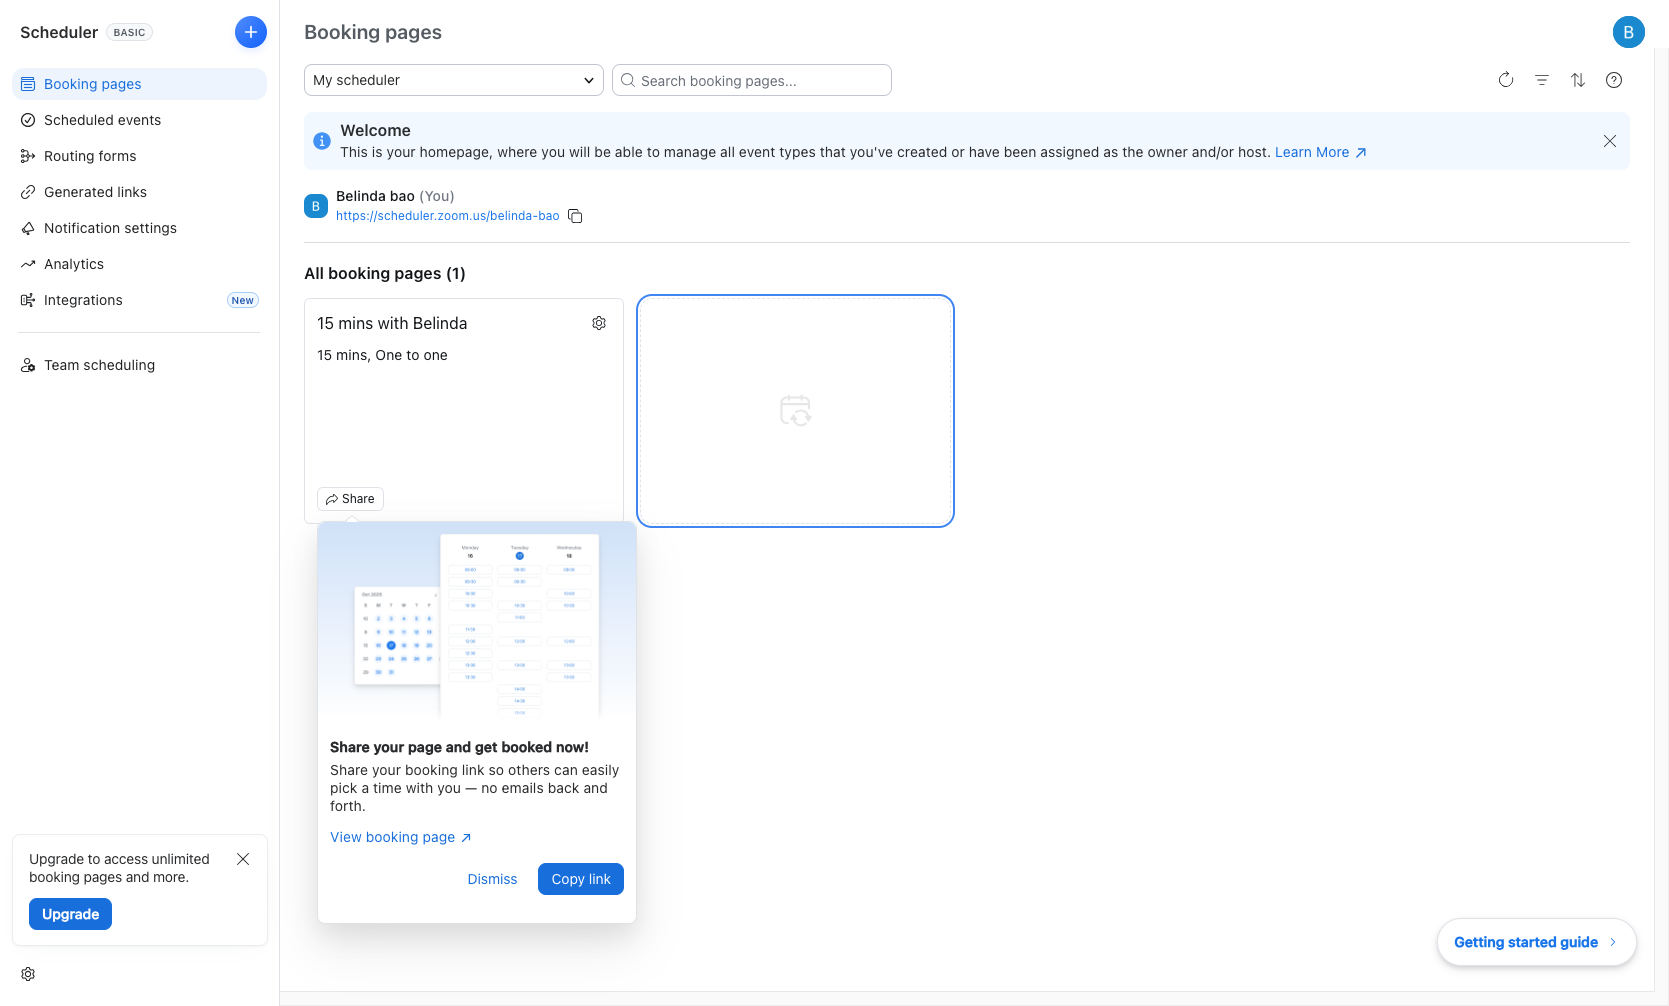
Create New Booking Page
Click to add a new booking page
Click the Create booking pages button or the empty area to start creating a new booking page.
- Step 5 of 8
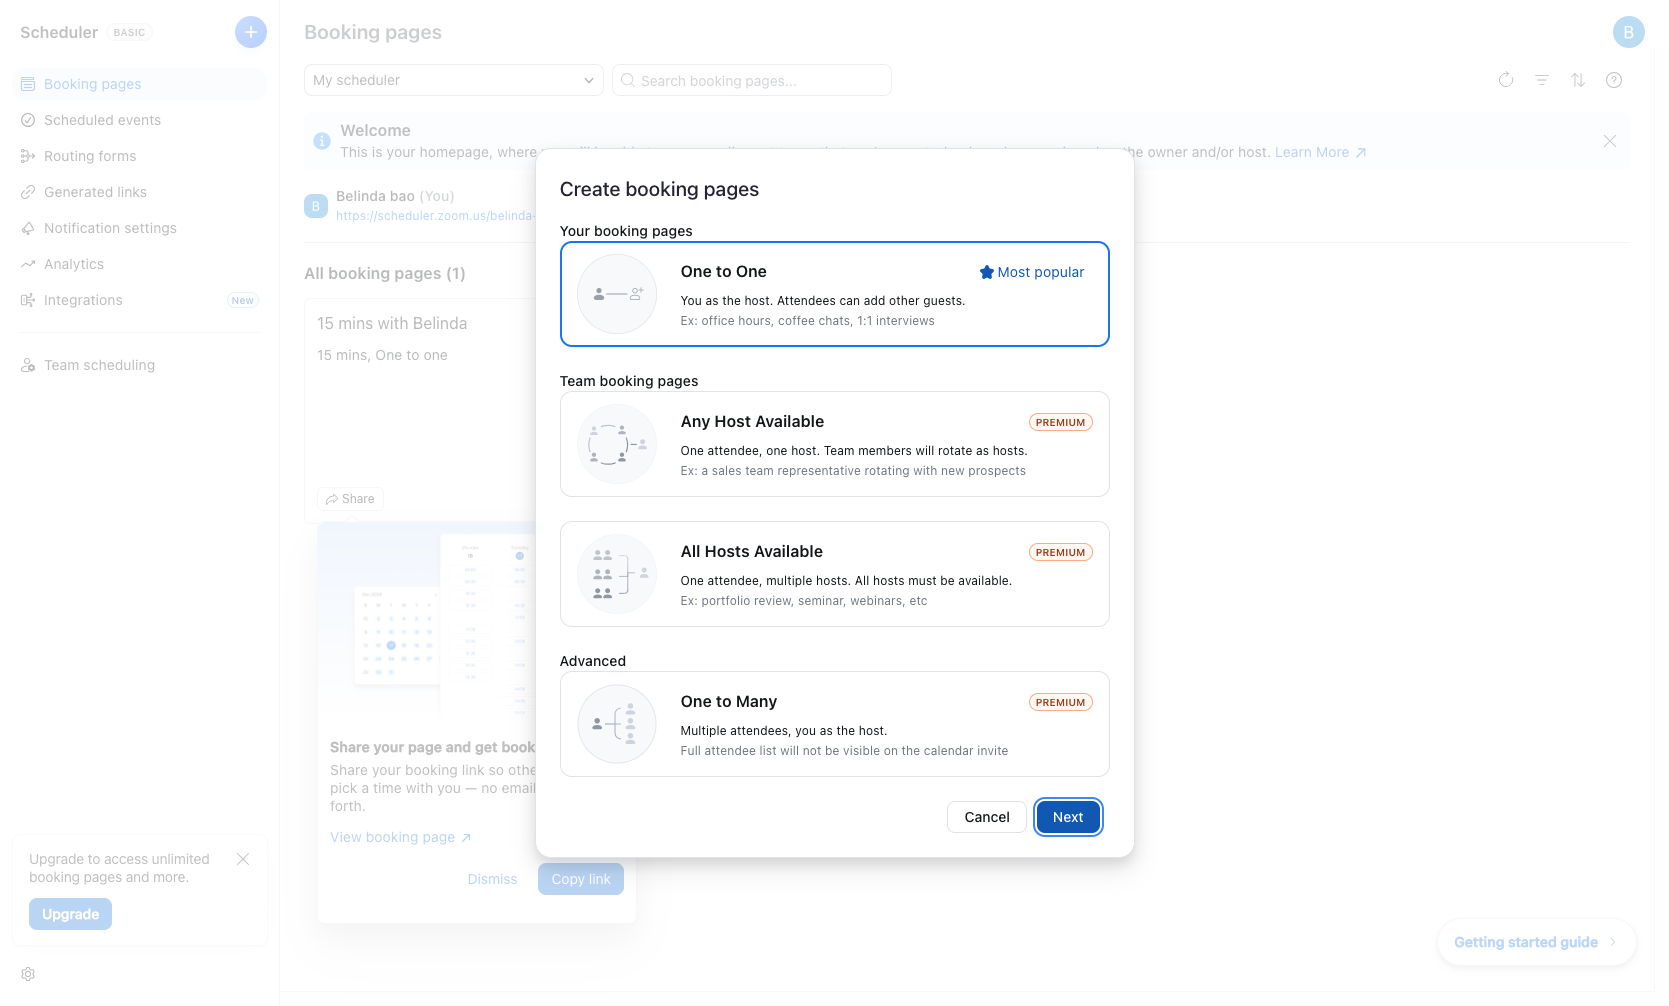
Select Appointment Type
Choose your appointment type
In the appointment type selection dialog, choose from the available options:

- Step 6 of 8
Proceed to Next Step
Click the Next button
After selecting your desired appointment type, click the Next button to continue.
- Step 7 of 8
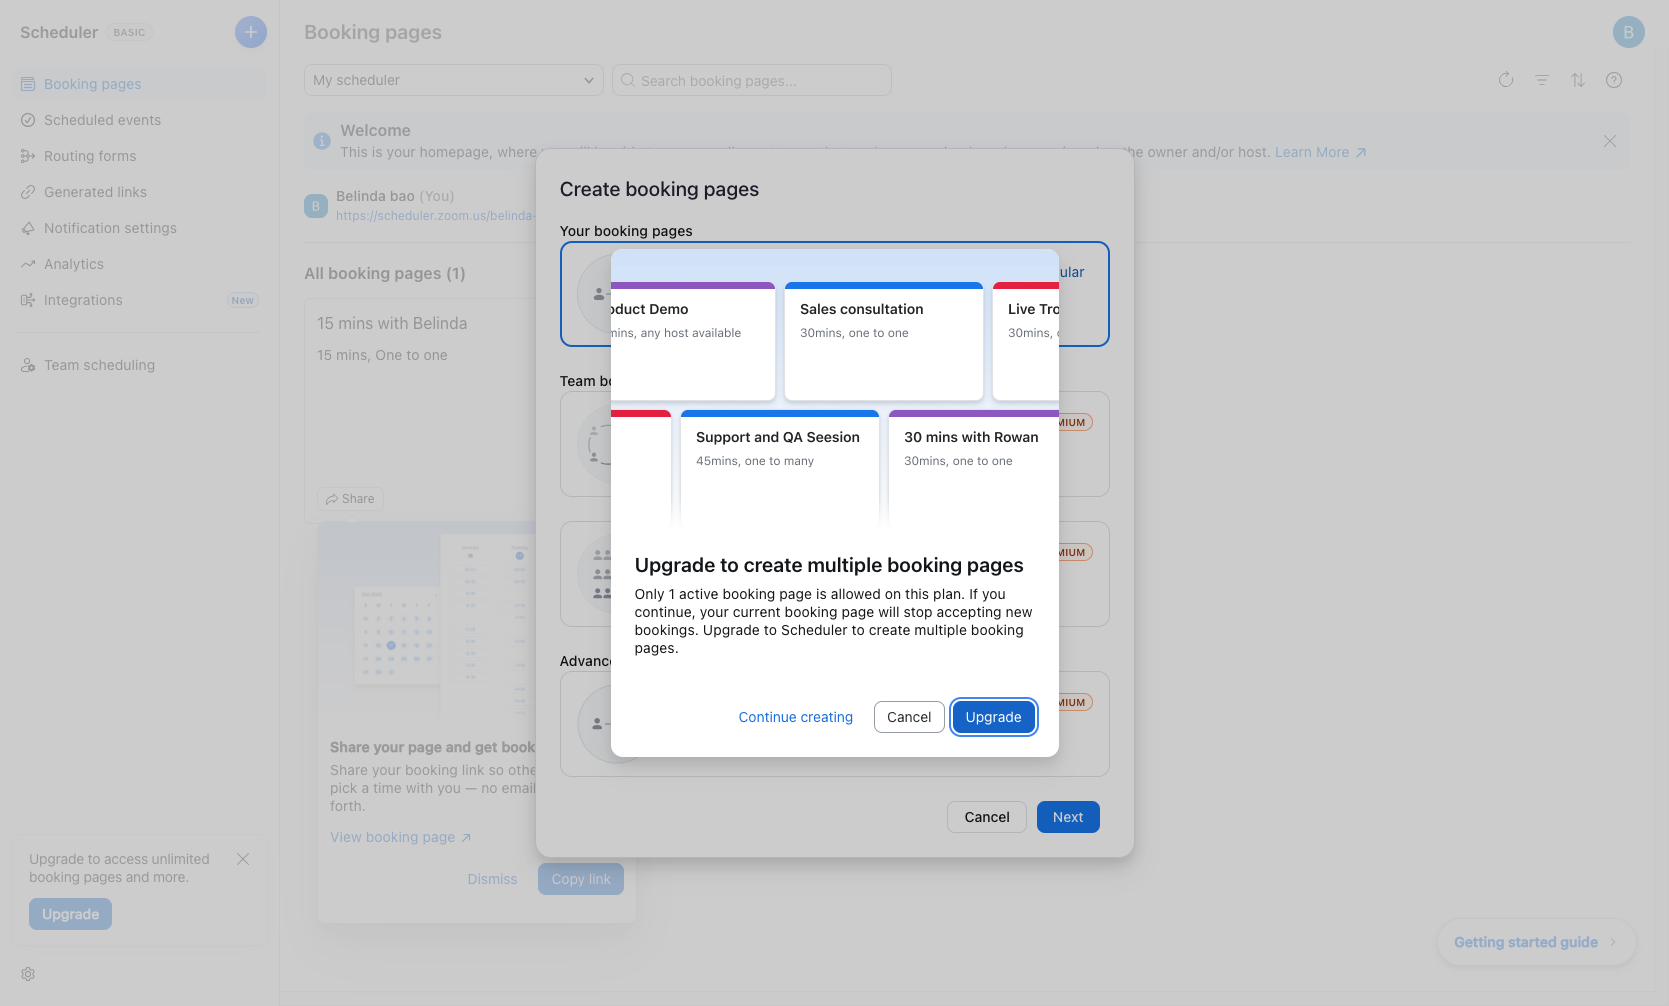
Review Plan Limitations
Review upgrade options
If you are on the Basic plan, an upgrade dialog may appear stating: "Upgrade to create multiple booking pages"
- Step 8 of 8
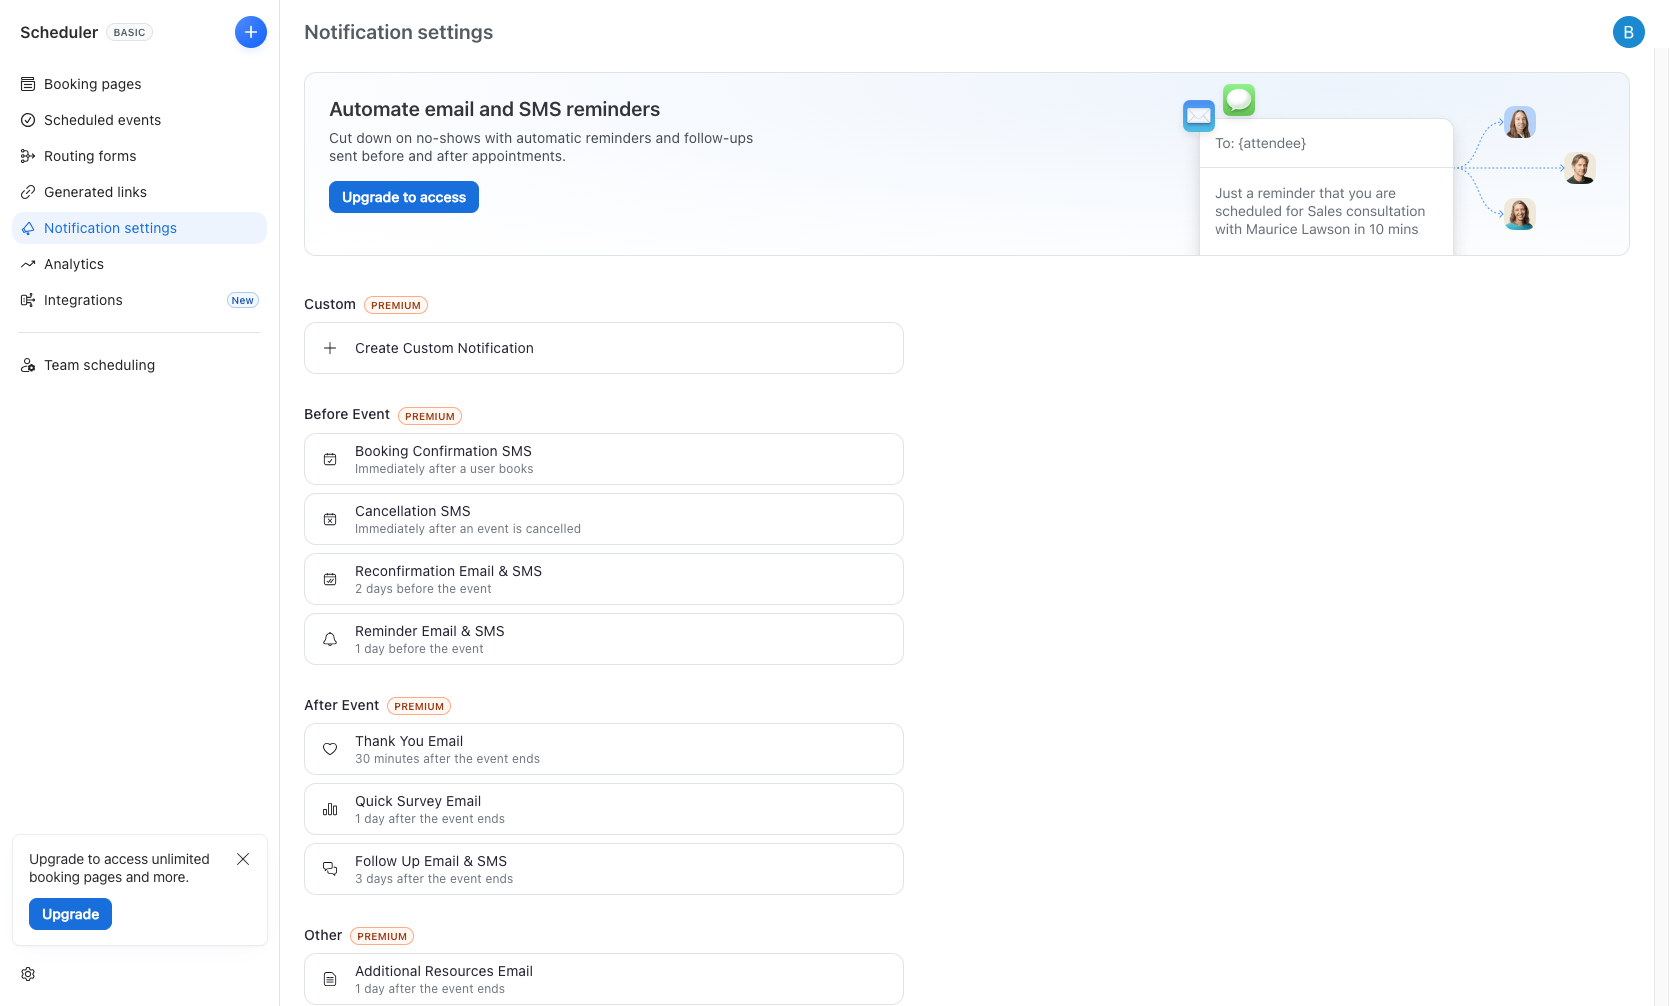
Access Notification Settings
Navigate to Notification settings
To configure automated reminders, click on Notification settings in the left sidebar navigation menu.
Verification
After completing these steps, verify your access to Zoom Scheduler features:
Confirm the Scheduler option appears in your left sidebar navigation menu
Verify you can view the Booking pages dashboard
Check that your existing booking pages (if any) are visible
Review your plan status to understand which features are available vs. premium
Conclusion
You have successfully navigated to the Zoom Scheduler interface and reviewed the workflow for creating booking pages and configuring notification settings. Depending on your plan level, you can now create appointment booking pages or upgrade to access premium features like multiple booking pages, team scheduling, and automated notifications.