
Purpose
This SOP describes how to create a new whiteboard in Zoom and add additional pages with pre-designed templates to organize your collaborative workspace.
Scope
This procedure is intended for Zoom users with any account type (including free plans) who need to create whiteboards for meetings, brainstorming sessions, or project planning. Follow this SOP when starting a new collaborative whiteboard or expanding an existing one with additional pages.
Prerequisites
An active Zoom account (free or paid)
Logged in to the Zoom web portal
Procedure
- Step 1 of 8
Navigate to Zoom web portal
Open the Zoom web portal
Navigate to us05web.zoom.us/myhome and sign in with your Zoom account credentials if you are not already logged in.
- Step 2 of 8
Access the Whiteboards section
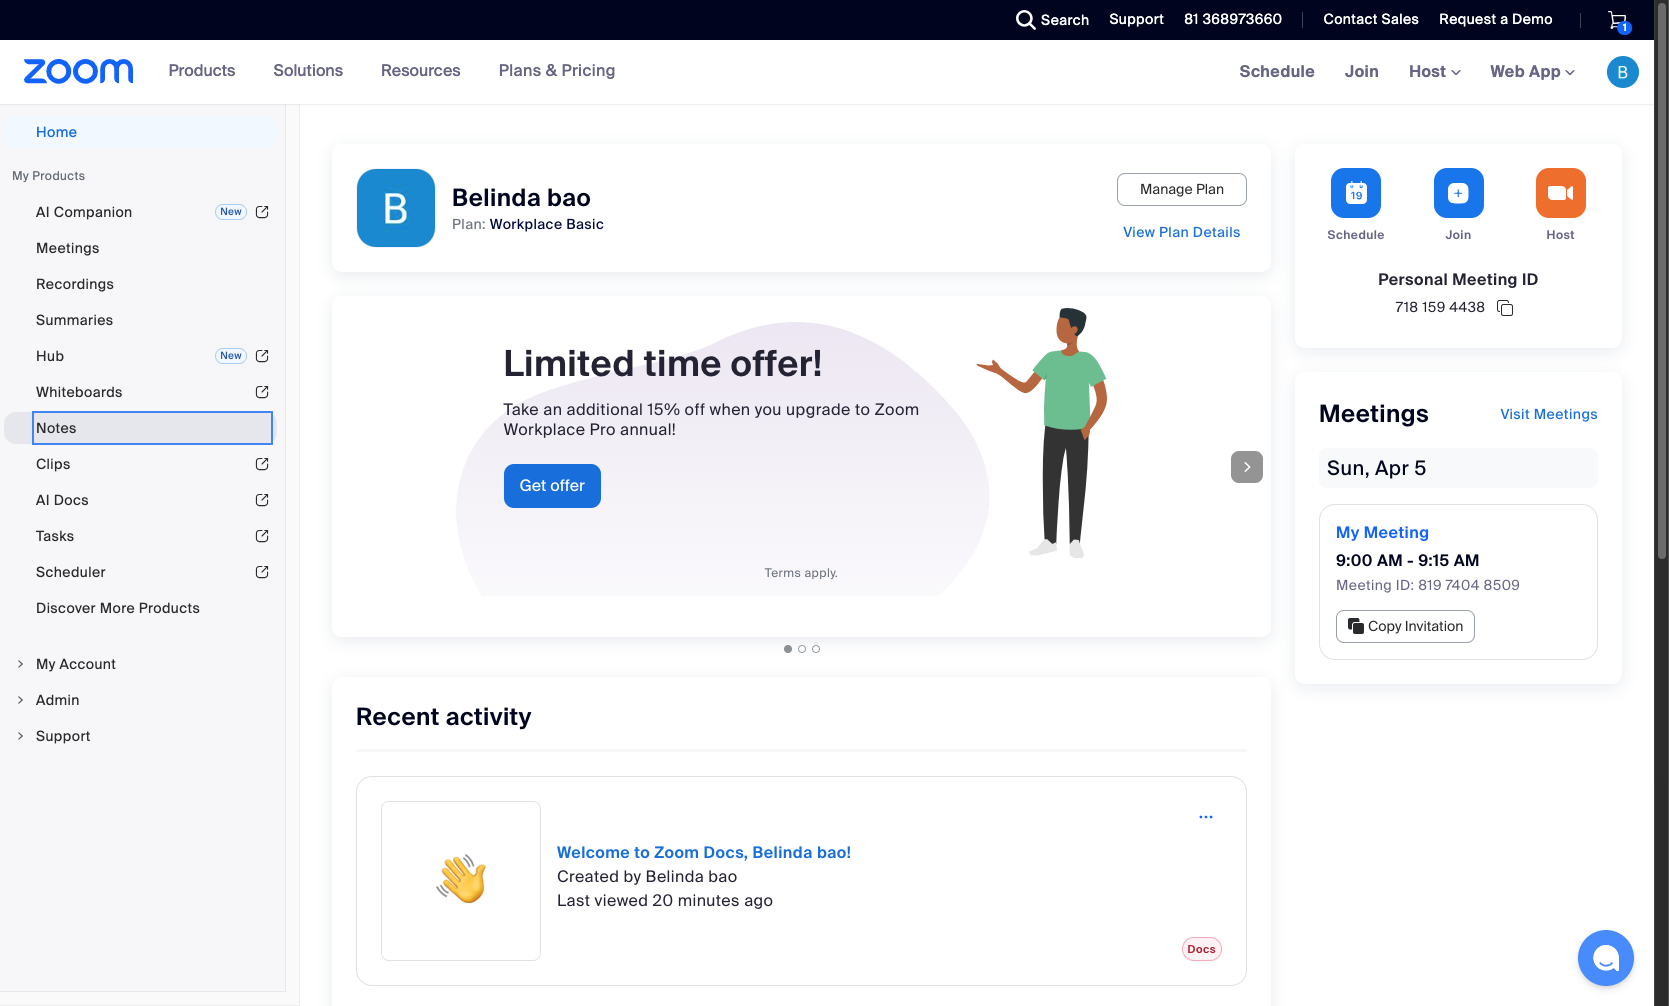
Click Whiteboards in the left sidebar
In the left sidebar menu, locate and click Whiteboards under the My Products section. This will open the whiteboard dashboard where you can view existing whiteboards and create new ones.
- Step 3 of 8
Create a new whiteboard
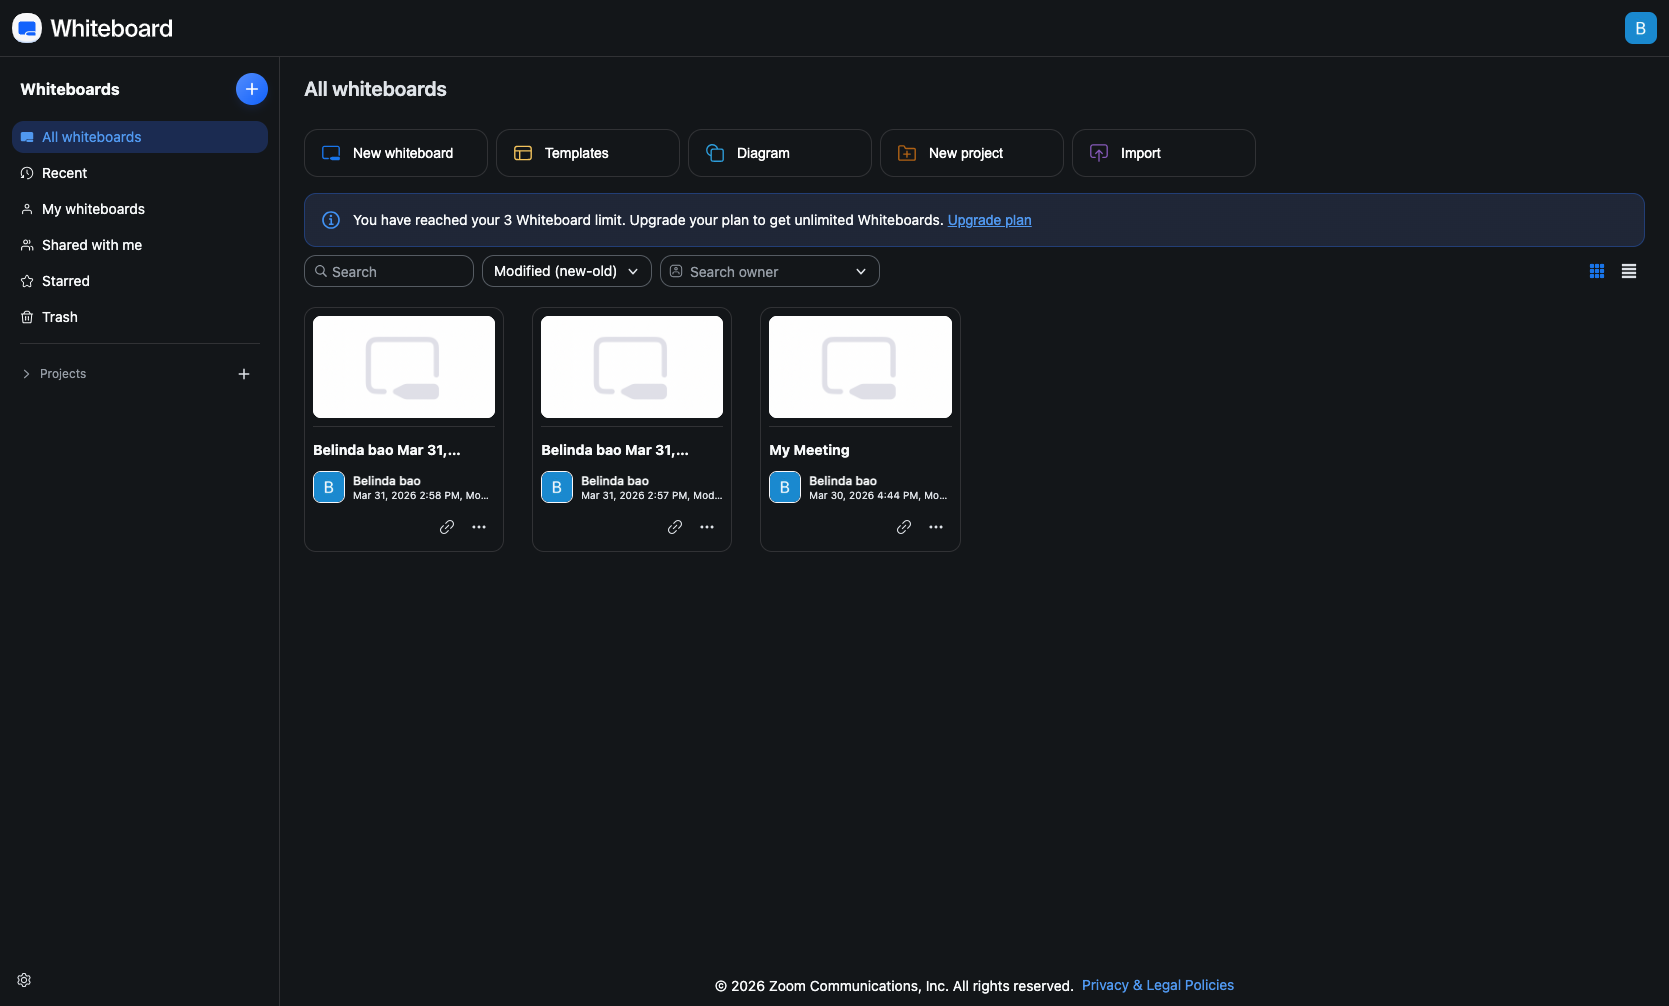
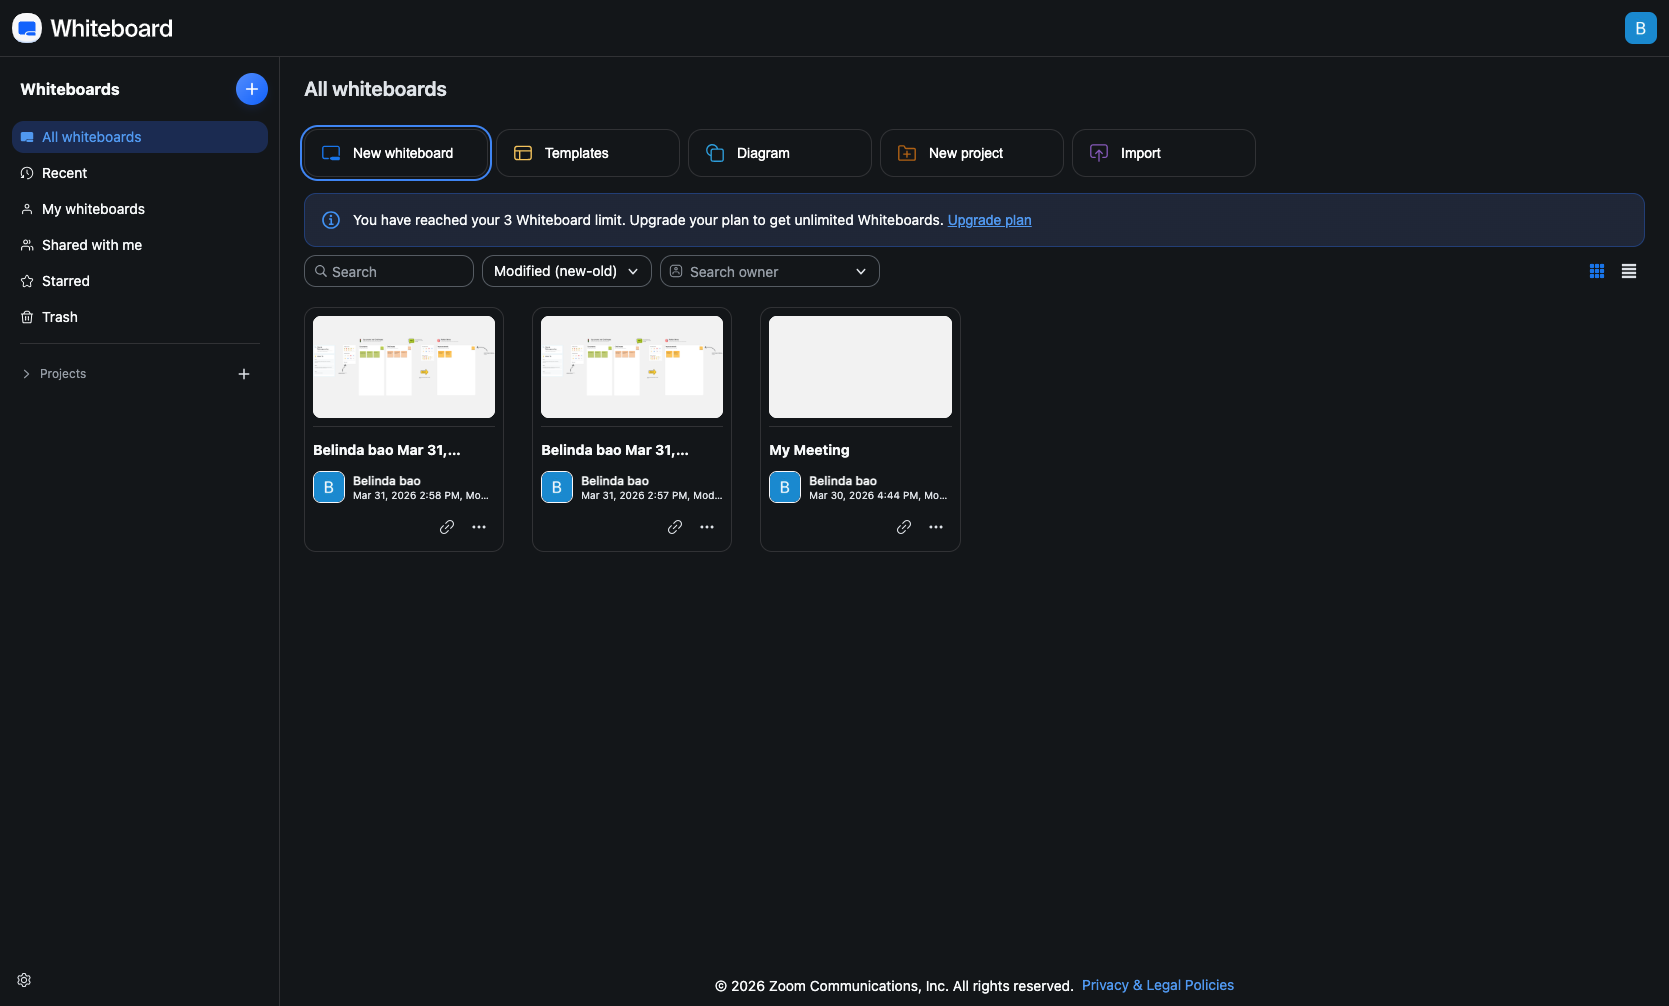
Click the New whiteboard button
At the top of the All whiteboards section, click the New whiteboard button to begin creating a new whiteboard.
- Step 4 of 8
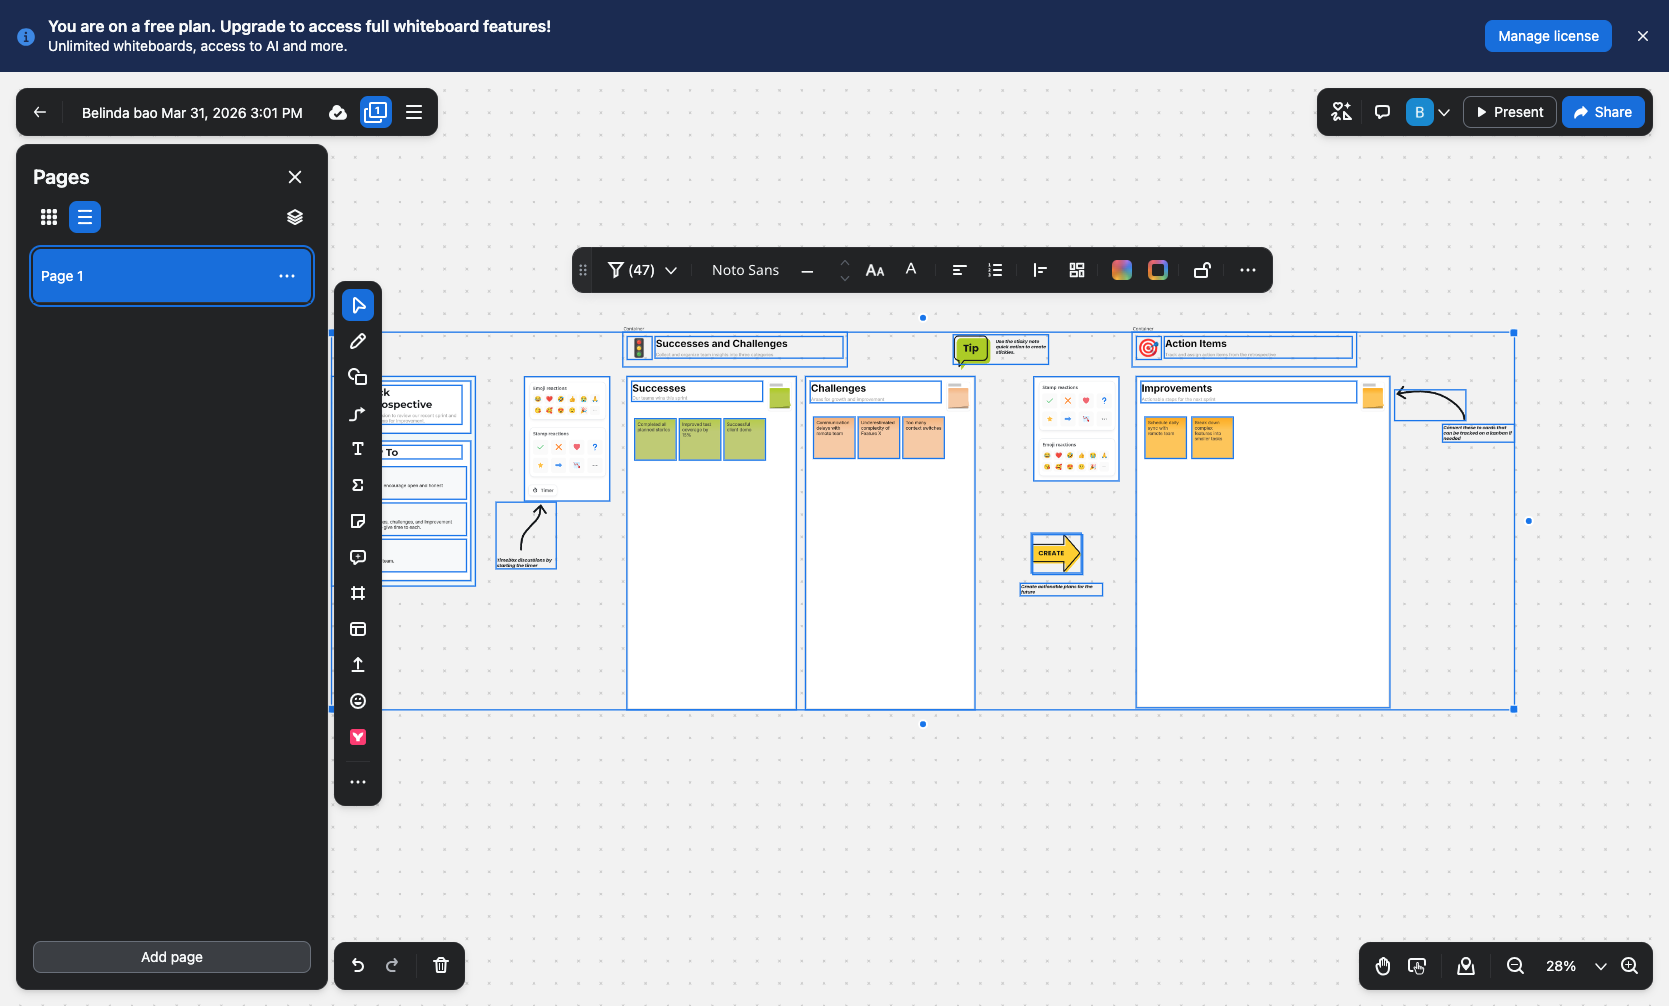
Open the Pages panel
Click the Pages button
Once the whiteboard editor opens, click the Pages | 1 button located in the top-left area of the toolbar to open the pages management panel.
- Step 5 of 8
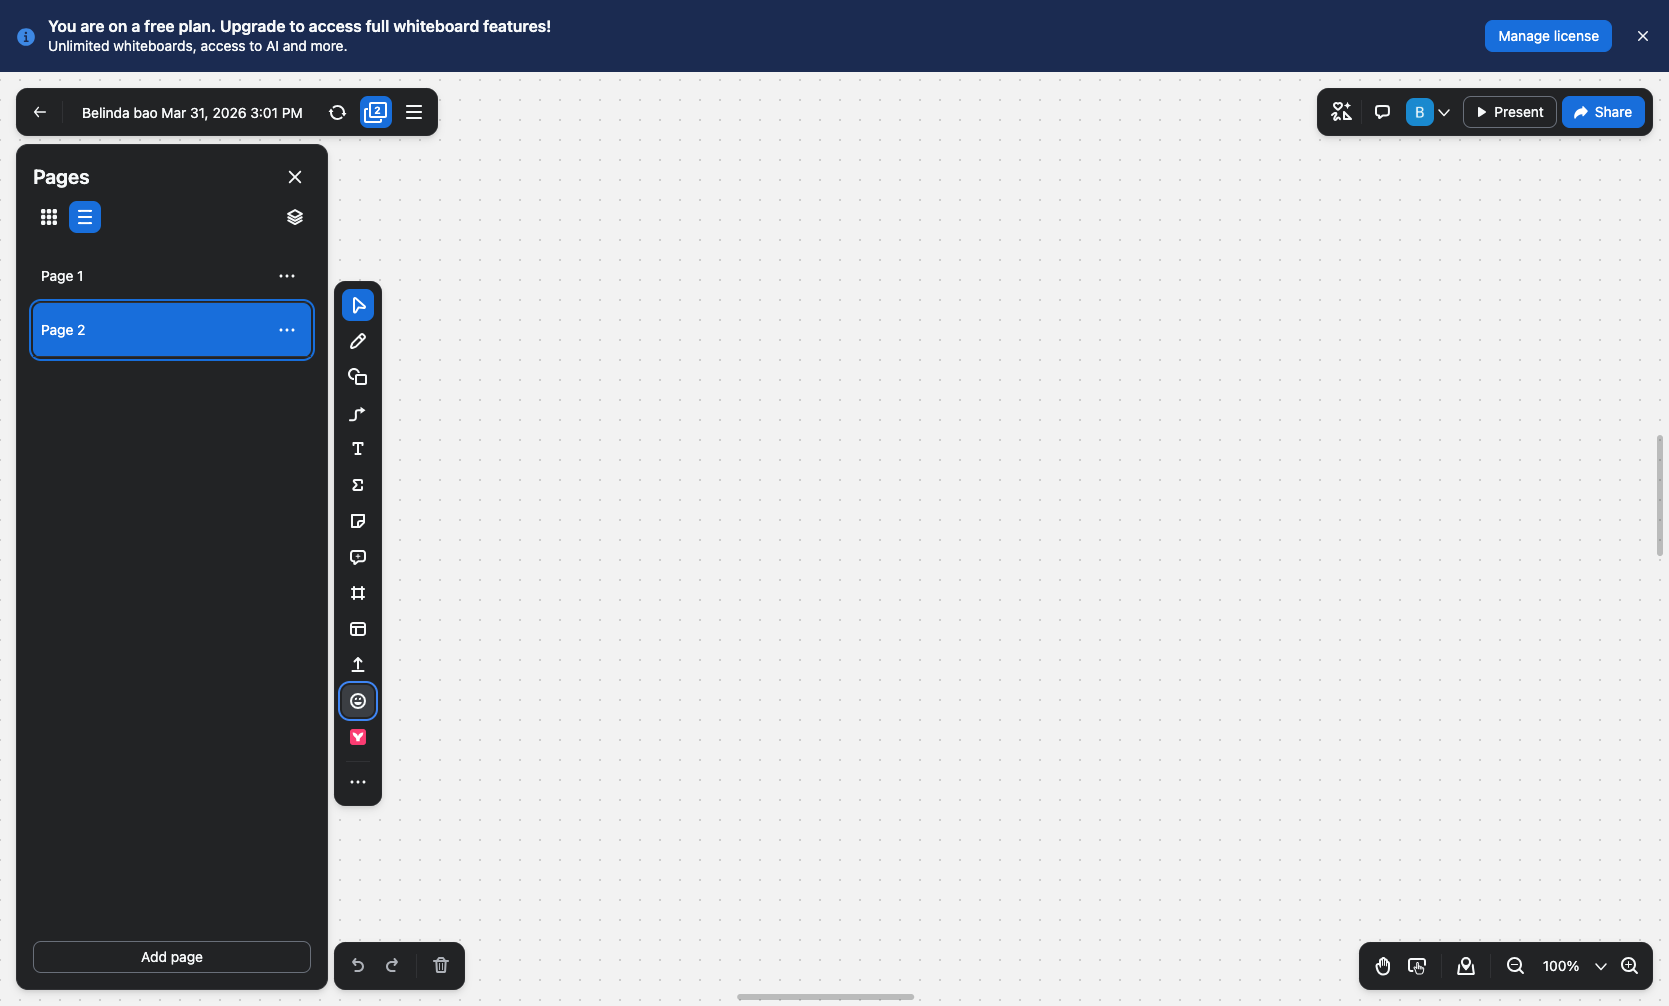
Add a new page
Click Add page
In the Pages panel on the left side, click the Add page button at the bottom of the panel. A new blank page (Page 2) will be created and automatically selected.
- Step 6 of 8
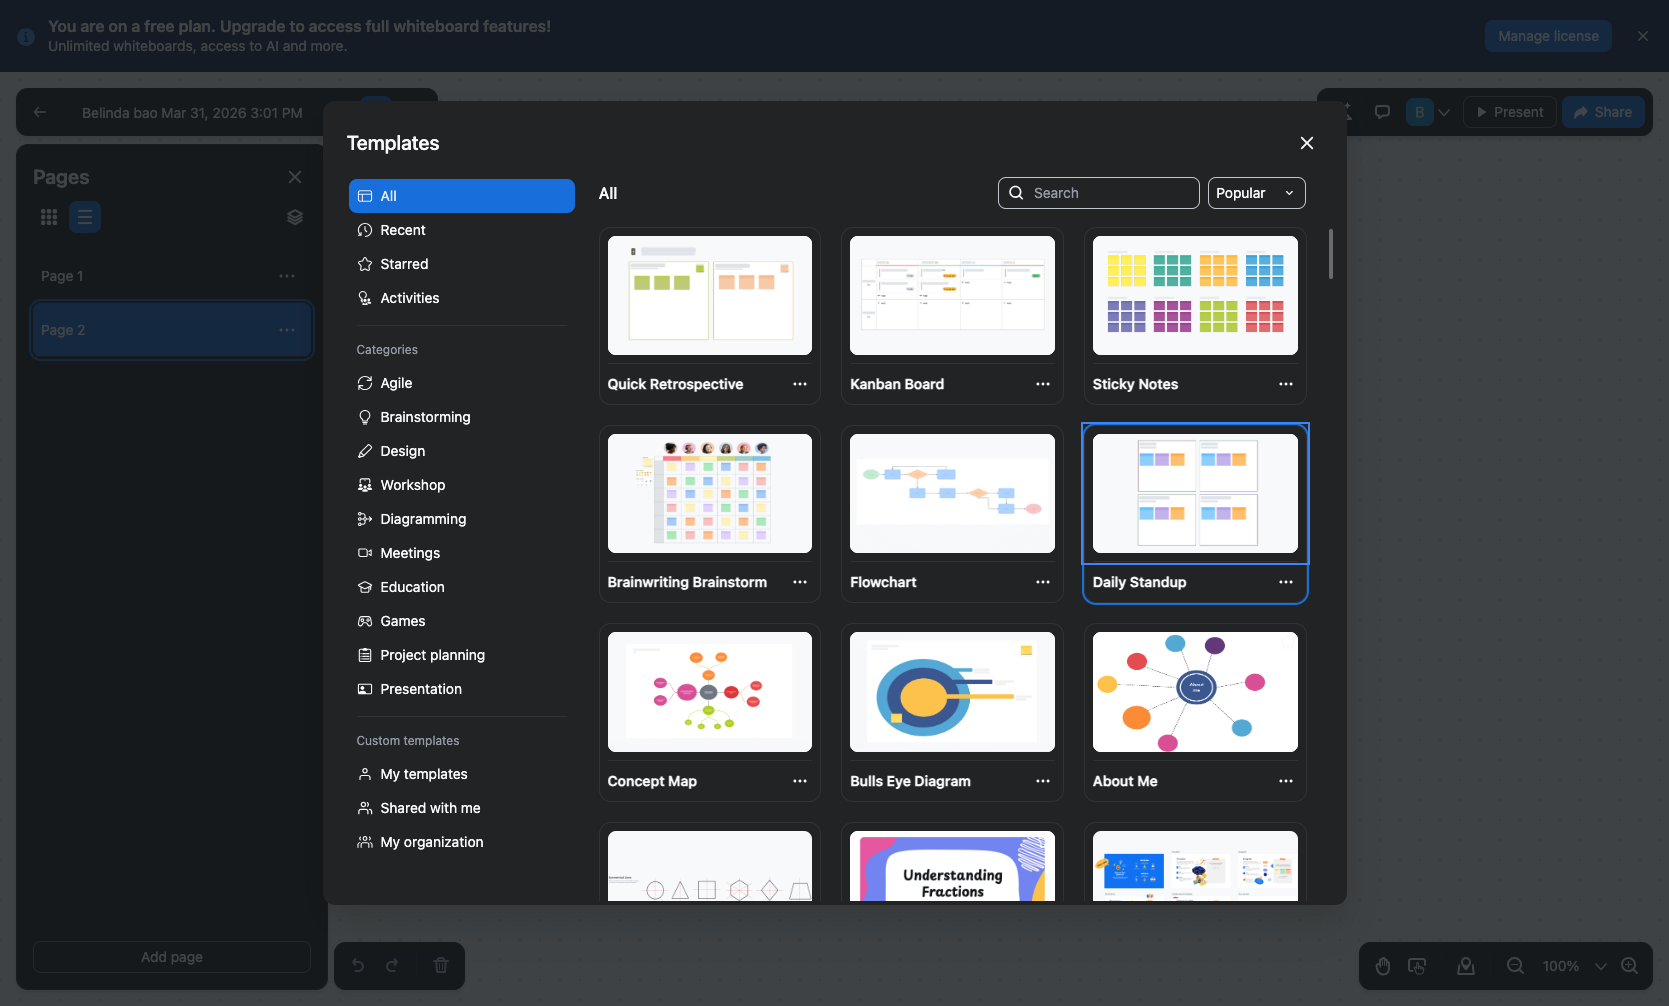
Open Templates
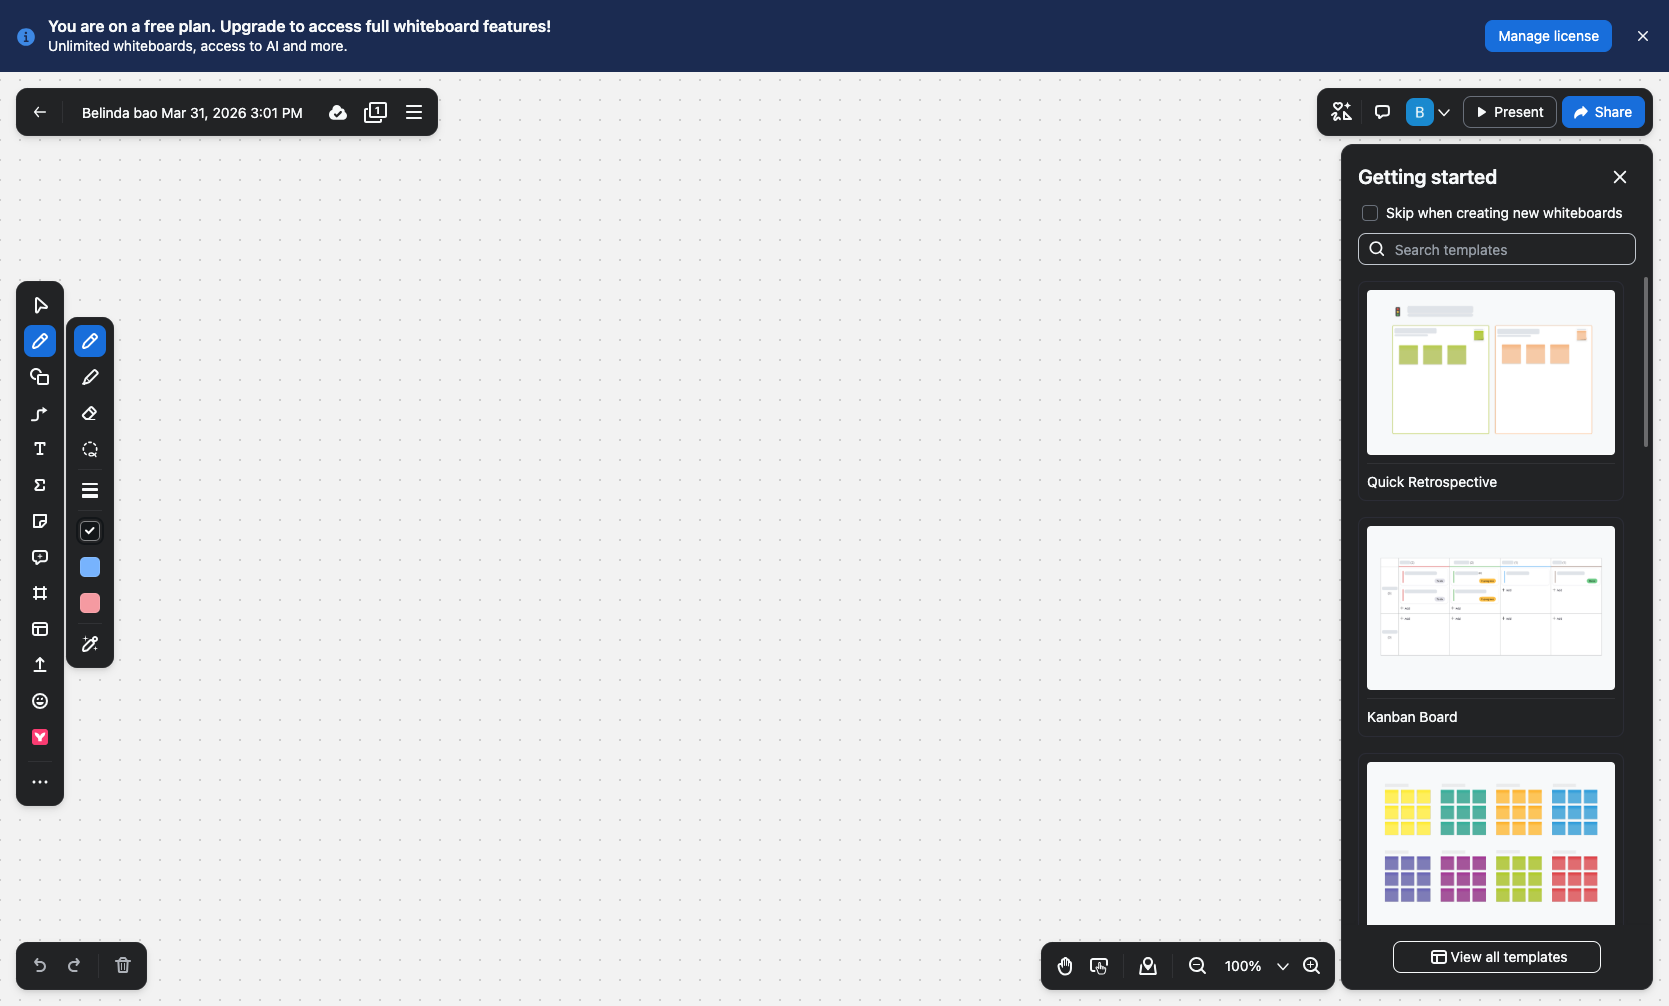
Click the Templates button in the toolbar
Click the Templates button in the left vertical toolbar to open the templates gallery. The Templates panel will display various pre-designed templates organized by categories.
- Step 7 of 8
Select a template
Choose a template from the gallery
Browse the available templates in the gallery. Templates are organized by categories such as Agile, Brainstorming, Design, Meetings, and more. Click on any template thumbnail to preview it. For example, you can select Daily Standup for agile team updates, Kanban Board for task management, or Quick Retrospective for team retrospectives.
- Step 8 of 8
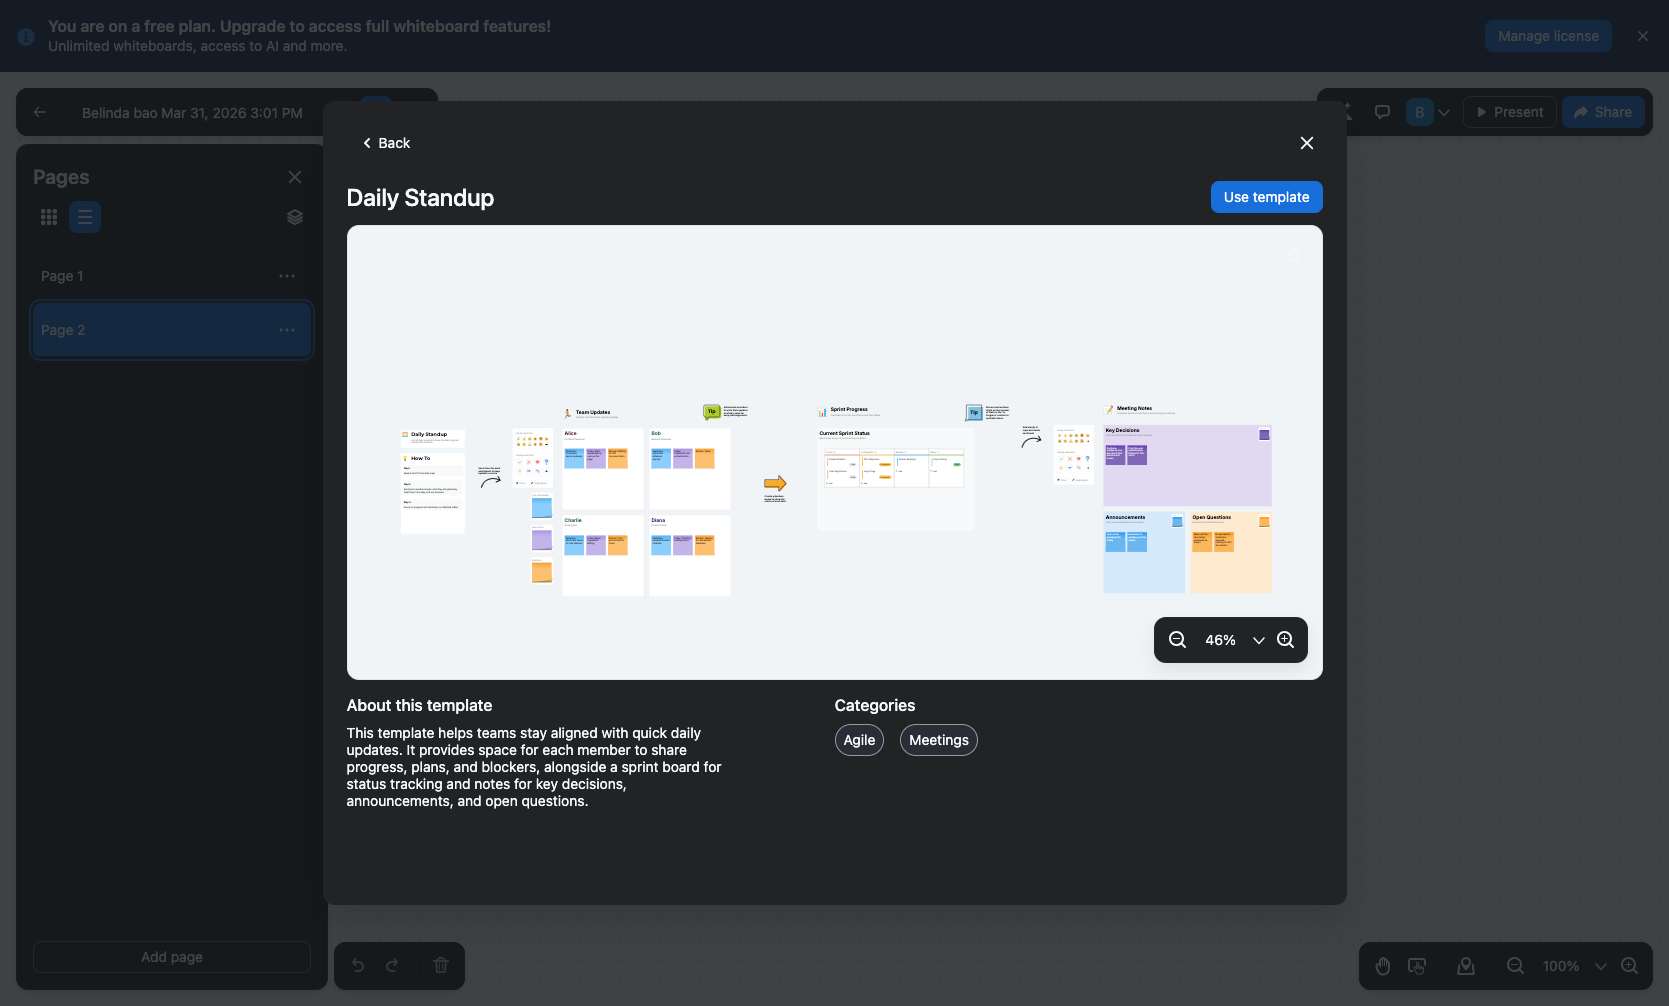
Apply the template
Click Use template
After selecting a template, a preview modal will appear showing the template details and layout. Click the Use template button to apply the template to your current page. The template content will be loaded onto your whiteboard page, ready for customization.
Verification
Confirm that the procedure was completed successfully by verifying the following:
The whiteboard editor is open and displaying your new whiteboard.
The Pages panel shows multiple pages (e.g., Page 1 and Page 2) if you added additional pages.
The template content is visible on the selected page with pre-formatted sections, sticky notes, or diagrams as applicable.
Conclusion
You have successfully created a new Zoom whiteboard, added an additional page, and applied a pre-designed template to organize your collaborative workspace. You can now begin adding content, collaborating with team members, or presenting your whiteboard during Zoom meetings.